


Hi Everyone…. It’s Jenn, aka jk703, here to bring you another quick and easy tutorial. I’m glad to be back, especially after Super Sandy came to visit the Northeast, left havoc and devastation in her wake. We’ve got power back, and we are back to our routines. We were lucky. A huge Thank You goes out to Chelle for posting my Dry Embossing tutorial for you and Krisi for getting this post finalized and ready to go out to you!

Today, I thought it might be fun to show how you can make your own scalloped edges. You can use them as fun layering strips on your background page, or you can even make a frame. Another idea would be to use different shapes for the edge, for my example I used a circle. There are so many options on the edges that you can create, just play around with the shapes and the tools that are available to you in your brushes.
For Photoshop: (for PSE & SBC+ 4.0 see below)
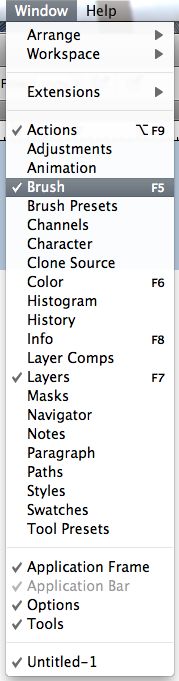
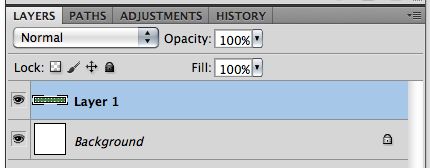
Step 1: From the File Menu Bar, choose View, and click on Brushes. A Brush Tab will pop up. I am working on a plain canvas. It made it easier for me to show off the different steps. If you are working within a layout, just remember to add a layer, so you won’t use the Brush Tool right on top of a paper, or ellie.
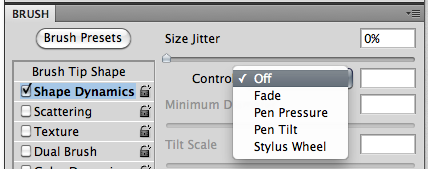
Step 2: The Brush Tab has so many options, but right now, you want to click on Shape Dynamics. Shape Dynamics are how we can control the size, angle and roundness of the brush as we paint with it. For this tutorial, all we need to do is make sure the Size Jitter is turned off. This will allow us to brush in the same size and no changes to the brushes thickness. If you change the option and see a little exclamation point, then that option is not available to you.
Step 3: Next, click on Brush Tip Shape, and notice the size of the brush, hardness and spacing. I’ve made my example 185 pixels. Since I am making a scalloped edge, I made my brush the highest setting of hardness. I don’t want it to be soft on the edges. Here, you can see that my spacing is 140%, which allows more space between each part of my stroke.

Here you can see, I’ve lowered the spacing, and my circles are now touching. I am at a setting of 90%

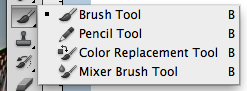
Step 4: Now, choose the Brush Tool from the Tools. You can also press “B,” which is the Brush Tool’s shortcut.
Step 5: On a new layer, click, press shift, and drag your mouse to one side or up and down, then release your mouse and shift button. I know it seems like a lot to do, but it is well worth it. By holding the shift button down, your will automatically be brushing in a straight line. If you release the mouse button, but still hold the shift key, your lines will connect in the next spot that you click on the canvas. Here is what my straight line looks like now:

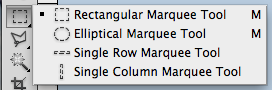
Step 7: Now, choose the Rectangular Marquee Tool from the Tools. Make sure you have your new brush layer within the Layer’s Palette chosen. Click and make a rectangle over your brushed circles. I was about halfway through mine.
Here is what my straight line looks like with the rectangular marquee marching ants floating around:
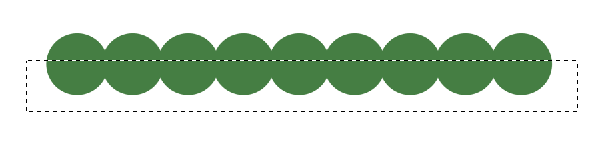
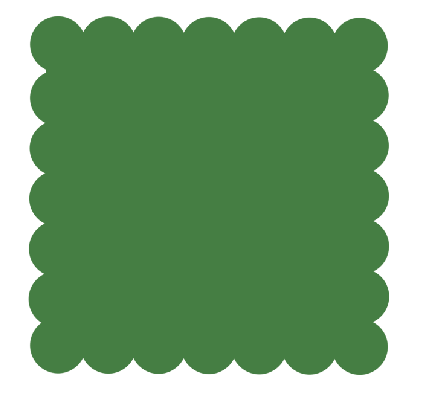
Step 8: Again, make sure your brushed circles are the chosen layer in the Layer’s Palette. Press delete. Whatever was within the marching ants will be deleted from the circles. Tadaa… a fun, scalloped shape edge. You can adjust the size, shape and spacing too!
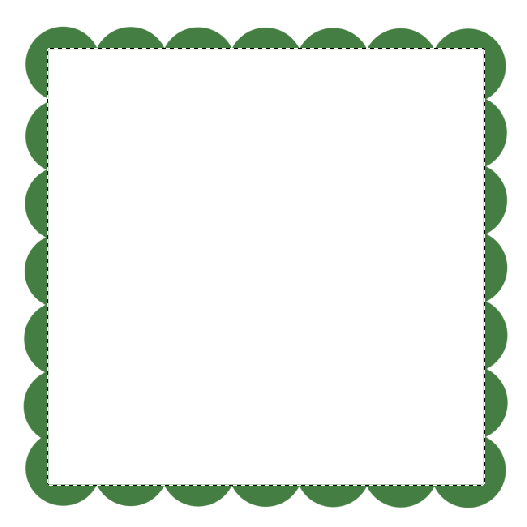
Here is a scalloped box frame…
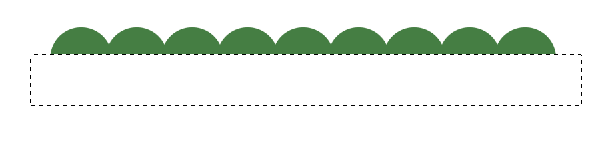
 Here is a scalloped photo mat or paper layer…
Here is what Chelle’s team did with their scallops! Take a look!
Kayla did this fun layout using We Wish You a Merry Christmas Bundle and Scribbles 2 Alpha

This card from Leslie using Indian Summer. Leslie used PSE and did the spacing at 61%

Leslie was kind enough to do this screenshot for PSE users

This layout from JennV she used a different style of brush – a triangle – to make a pinked edge. Layout uses Chelle’s Traveler kit.

Erica used the technique for a small element in her cluster. She used We Wish You a Merry Christmas and Newsprint for her layout.

This layout from Jan using We Wish You a Merry Christmas which she created using SBC+ 4.0

She was nice enough to give us some directions on how to do this in SBC+ 4.0.
After placing your chosen paper onto the page, go to >Cut and Fill >Straight >Shaped Edge. Choose the shape of your choice from your library and resize the shape to your liking, working the aspect ratio and spacing to get your final shape. Place the shape where you want it on the paper then either cut or copy. Next, trim down the paper to get the desired size edge.
And there you have it … Making Scallops for your layouts or cards.
Thank you so much for coming by Chelle’s blog today – I hope you learned something new to you! Have a great week!
Jenn/jk703


 Hi! I'm Chelle: a 40 something mom of 7. My husband & I live in a rural community in the rocky mountains with our 4 children still at home. In the winters we enjoy sledding & snuggling by the fire. I the cool fall evenings we love relaxing around the campfire & meeting friends at the county fair. Admiring the stars


