Hi Everyone! It’s Jenn, aka jk703 here for today’s post. It’s Thursday here, and almost Friday! That just makes me one day closer to the weekend and a much happier person! Today, I thought I would share a fun and new to me technique that I just recently learned. We all love our digital scrapbooking papers, and Chelle sure has some awesome ones! Here is a way to mix up the papers and get a cool effect for your backgrounds.
For today’s tutorial, I’ve used papers from Chelle’s All Hallow’s Eve kit.
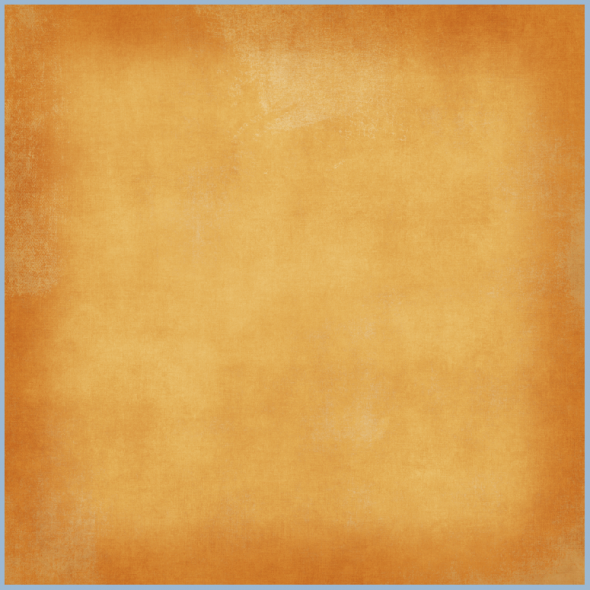
Step 1: Open up a new document and then one of the background papers.
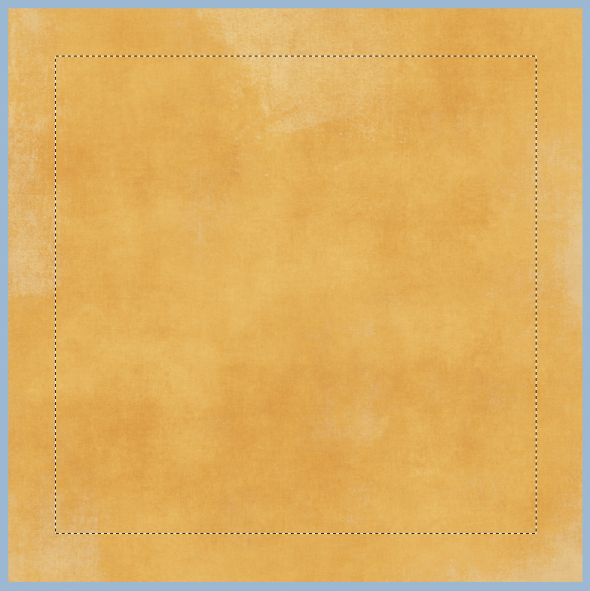
Step 2: Using the Rectangular Marquee tool, select the area that you would like to have show a different background paper. This should leave a border on your paper with marching ants. Here is the tool and my chosen selection.
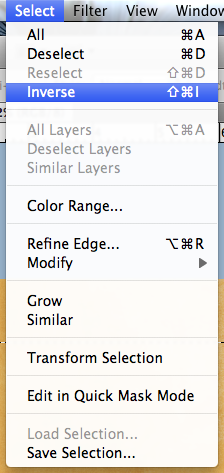
Step 3: Click on Select > Inverse from the Menu Bar. This will inverse the marching ants to the edge instead of the inner part of the background paper.
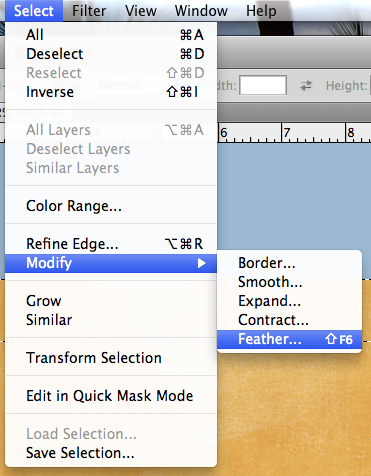
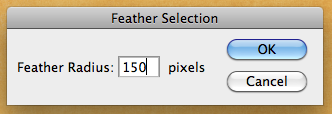
Step 4: Next choose Select > Modify > Feather. We are going to soften the edges on the selection. A menu will pop up, and you can choose any value you like, but I found that it works nicely when between 100 and 250. For my example, I chose 150.
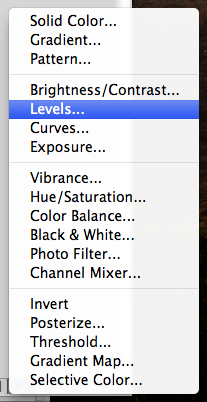
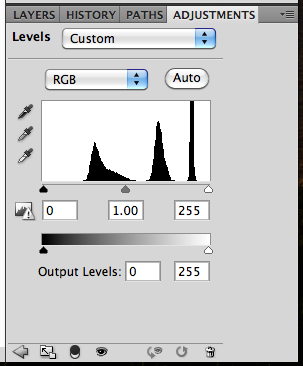
Step 5: Next, you will clicl on the half black/white circle on the bottom of the Layers Palette. Choose Levels (or from the Menu Bar you can choose Image > Adjustments > Levels.) When the adjustments menu appears, you will slide the middle GREY triangle toward the right. You will see the paper change all on the selection.
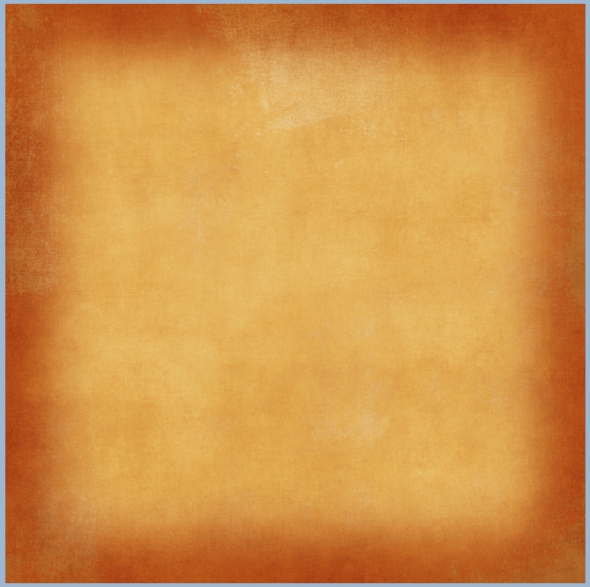
Here is what my plain background paper looks like after playing with the adjustment level.
Here is another version with the slider closer to the right (towards the white triangle).
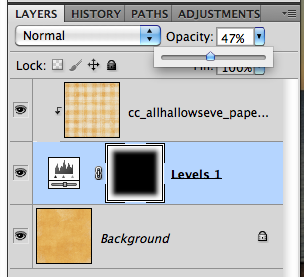
Step 7: Now, to incorporate more background papers, you can layer them and clip them to the adjustment layer. After you have opened another background paper, make sure the layer is above the adjustment layer. Next, right click and choose Create Clipping Mask.
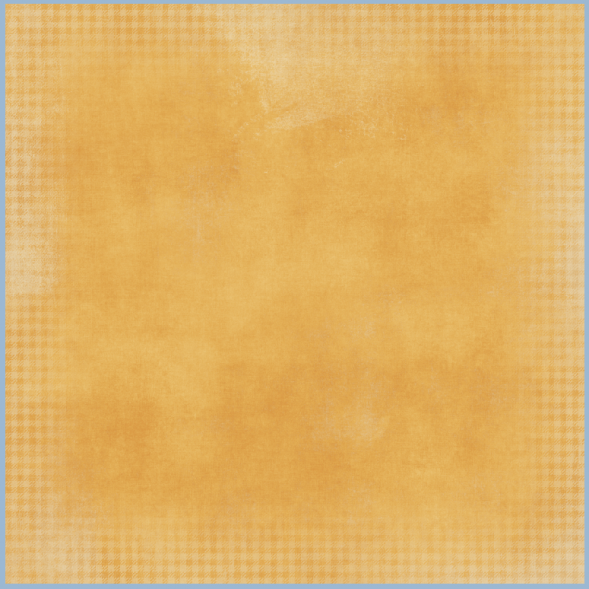
Step 8: Clip the paper, and then you can play with the opacity of the top background paper. Here I’ve lowered mine to about 47%. And the final background.
Looks cool, right! I can’t wait to incorporate this in my next layout! I was so excited to share this, that I didn’t get to scrap it, lol! Thanks for visiting today! I hope this was a fun and interesting new technique. We hope you come back soon!






 Hi! I'm Chelle: a 40 something mom of 7. My husband & I live in a rural community in the rocky mountains with our 4 children still at home. In the winters we enjoy sledding & snuggling by the fire. I the cool fall evenings we love relaxing around the campfire & meeting friends at the county fair. Admiring the stars


Thanks for a really good tutorial. As I was reading I thought I knew where you were going, then at end it switched to something different! Can’t wait to try it out tomorrow tks for something new. Di in Perth Western Australia
This is so cool! Thanks, my friend! <3
Wow that is so cool …I just love it when I learn something new…thank you for this great Tutorial!
Jenn…I am loving this tutorial!! I am totally going to have to use this!
Thanks so much for your instructions. I can’t wait to try this out!
Thanks – I’ve been wondering how that was done!
Just used this tutorial and love the end results. Thanks so much for sharing this great idea. A great way to get more looks out of a kit.
Chelle, thanks so much for the cheerleading kit. I had asked you for one and you gave it to me. I love your blog and all the tips and tricks I learn from you. Take a look at my blog when you get a chance.
Have a great day,
Barb Hines