Hi Everyone! Hope you are enjoying the last few days of the year; I always think it’s crazy how fast each year passes!
Today, I’m going to show you how to add a fun, if not watery, technique to your stash of Chelle’s alphas, or any fonts that you have. For my technique today, I’m using Chelle’s CU Splats, which give a great watery spots to add to your layout. Then to add a little spray or texture, you can use so many of her other products, such as the CU Texturizing Brushes 2, Stains and Spills, or even the CU Spritzers. So many options!
When I’ve used this technique in the past, I work in a separate file and then duplicate my final layers into my working layout. This way, I don’t mistakenly ruin a part of my layout, and it makes it easier to see my letters and layers.
Here is my example, plain. I used Chelle’s Scribbles alphabet.
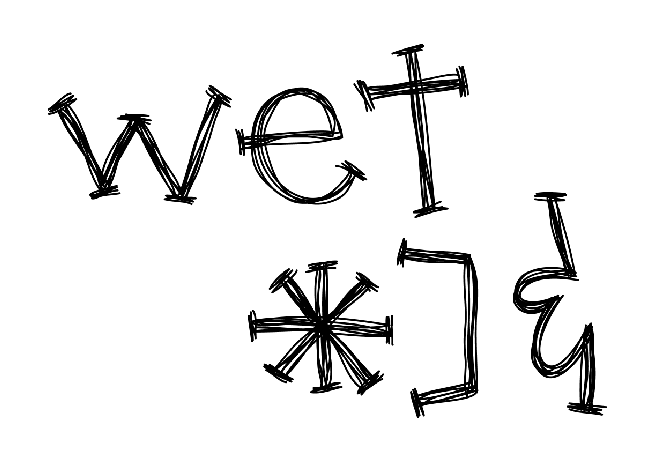
Now, I look through my stash of splats from the CU Splats and I’m going to focus on the asterisk. I’m looking for a splat that will work with the shape of the symbol (or letter). Once I bring it into my layout, I make size it smaller. You will be making the splats pretty small, so they go with the size of the letter or symbol.
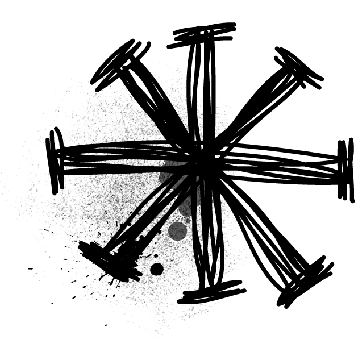
You can focus on corners, or edges. Try using long splats on long edges, or even blobs on points. Water can bleed and splash in any direction or multiple directions. Play with the blend modes and the opacity when working with the splats. You can see how they react with the layers below and the colors.
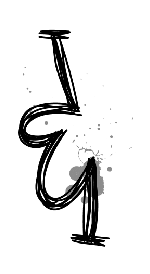
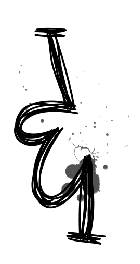
Here is a mix of splats, spritzes and textures to my original example.
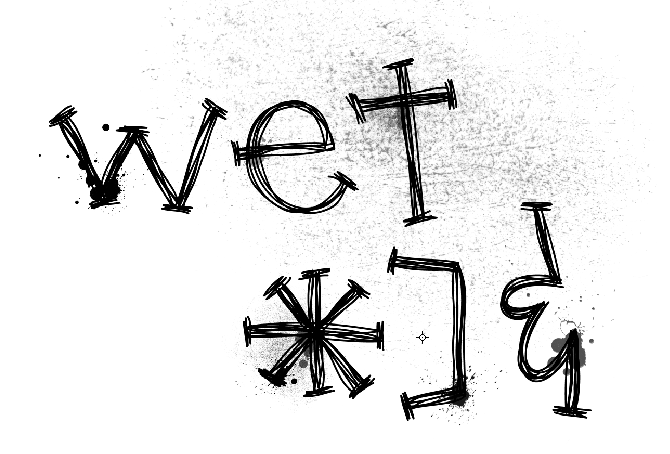
You can also use this technique on fonts. Here is “wet” in Arial. Next to the plain image is my “wet” image with splats and watery effects.


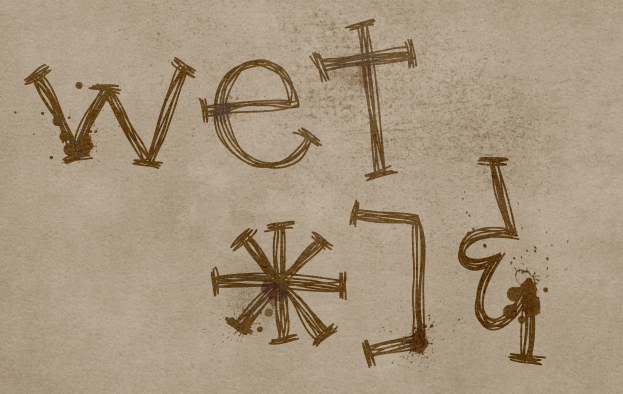
Here is what my image would look like on a background paper (from Home For the Holidays) and using two different Blend Modes.

Another really cool way to change this effect is to delete a selection. I merged all the splats and watery drop layers into one layer. Then press Command (Control for Windows) and click on the splats and water drop layer thumbnail in the Layers Palette. The layer will get marching ants. Next, choose the text layer, and press delete. Here is what happens:

Another idea would be to duplicate the splat and watery drops layers. Change the blend modes on each layer, delete from the original word, and play around. Here is an example where I merged all the watery spots, then duplicated the layer. I then deleted the watery spots from the word, and applied another blend effect to the other layer. Mix and match and see what you end up with.Here is what I ended up with for the Typed Font and the Scribbled alpha…. Pretty neat, right?!
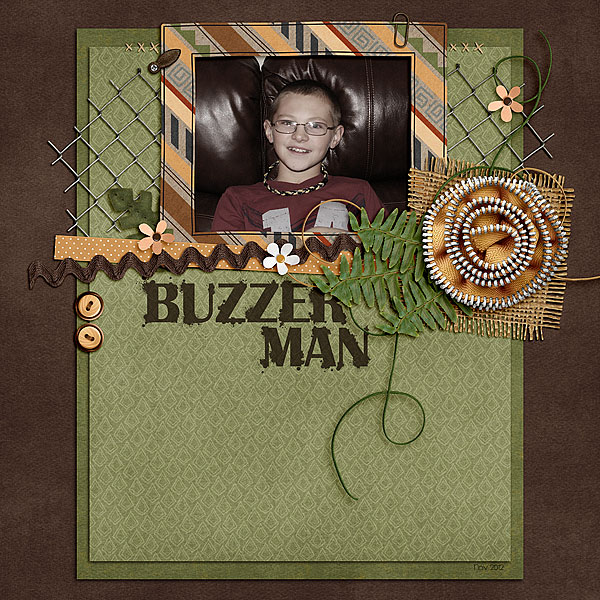
Here is what the CT came up with… First, Jennifer (jmljensen) created this page using Zoopendous and Apple of My Eye.
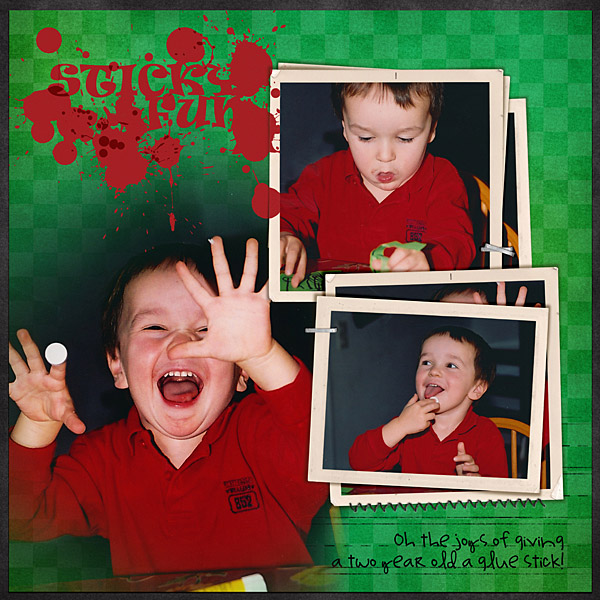
Ronnie created her sticky page using many parts of Chelle’s Creations products – such as All Hallows Eve Staples, Primarily, PhotoStacks, CU Splats, and Rainbow Neutrals Stiches.
Give it a try… it is a fun technique to use and you can add a little oomph to your pages!
Thanks for stopping by – hope to see you again!






 Hi! I'm Chelle: a 40 something mom of 7. My husband & I live in a rural community in the rocky mountains with our 4 children still at home. In the winters we enjoy sledding & snuggling by the fire. I the cool fall evenings we love relaxing around the campfire & meeting friends at the county fair. Admiring the stars


That is really cool! Thanks for the tutorial!