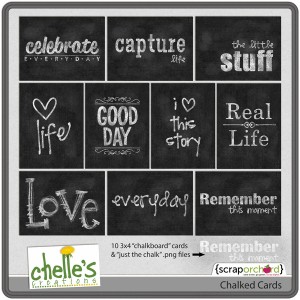
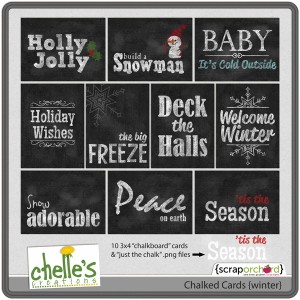
I LOVE all the framed chalkboard designs I’m seeing on Pinterest. But I’m not so good with chalk (Did you see this one? Yikes that is a lot of work!) Hurray! Photoshop saves the day. Now I can have that trendy chalked look on all of my digital scrapbook layouts. Check it out:
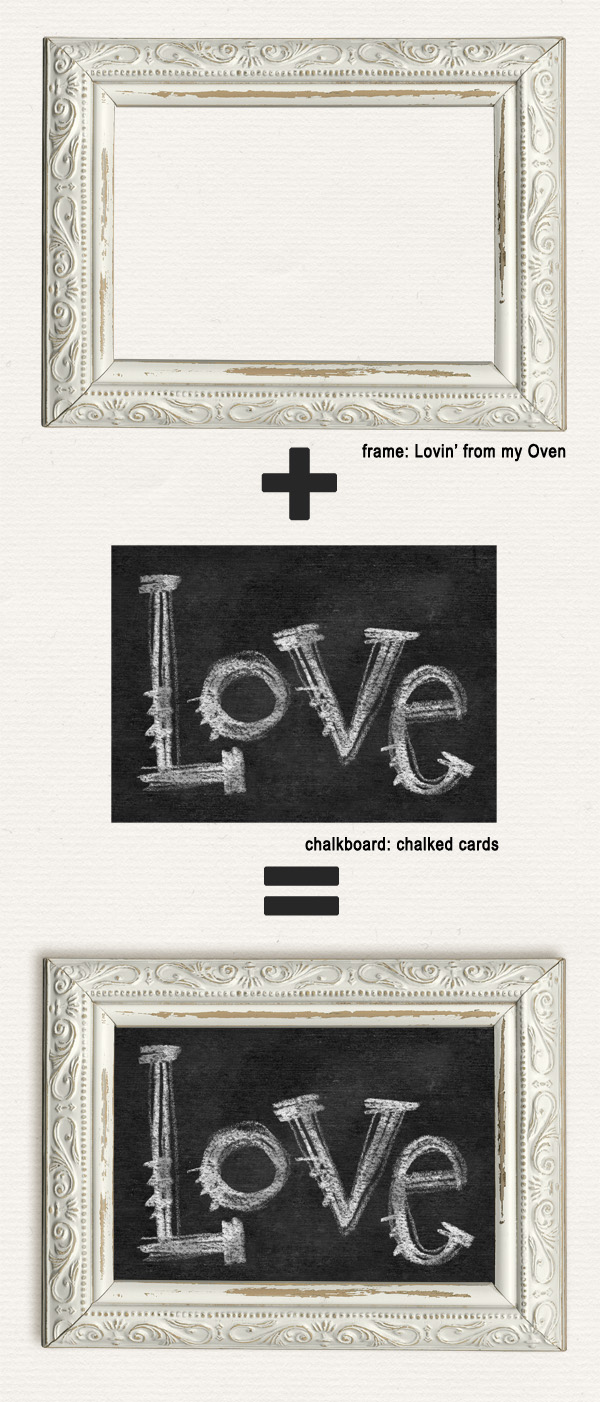
Step 1: pick a frame. If your chosen kit doesn’t have a real frame, snag one from another kit. Pick a chalked card. Stack ’em up. Resize the larger one smaller until it fits.
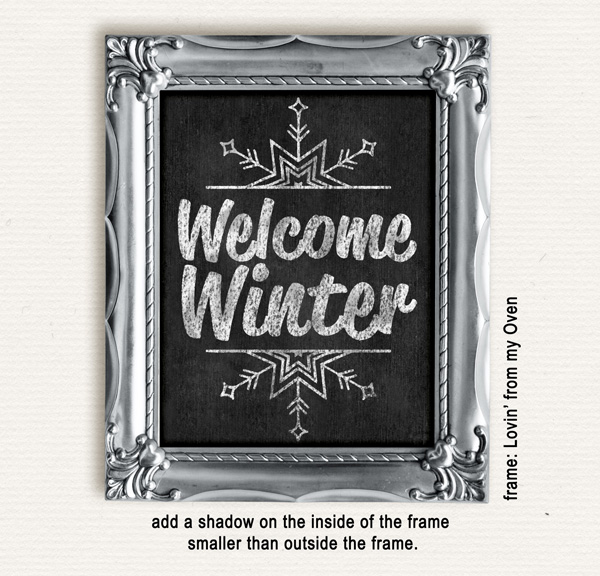
Step 2: For a more realistic look, add a shadow to the inside of the frame that is SMALLER than the one you add to the outside of the frame.
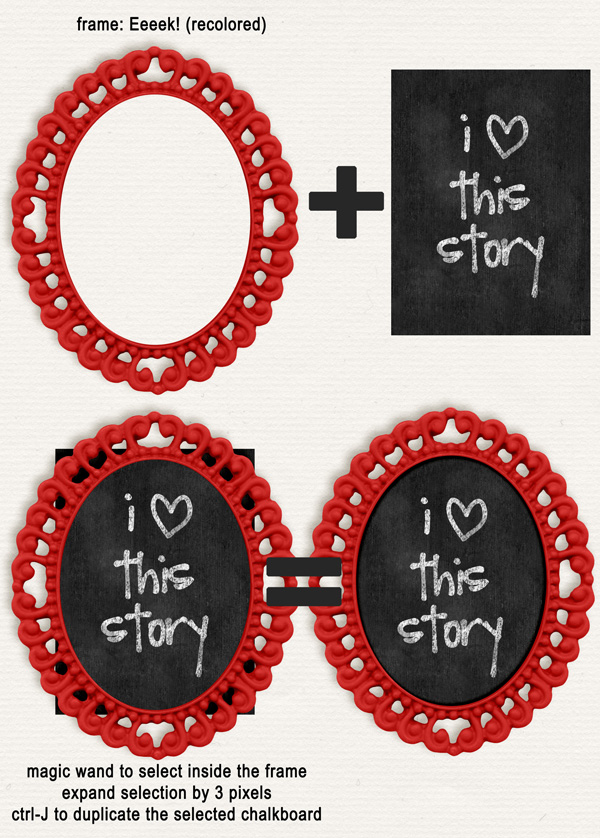
Don’t let an oval or round frame stop you. (as long as the chalked decoration fits) use your magic want to select the space inside the frame. Expand the selection by 3 pixels. Then Ctrl-J to duplicate the selection from your chalked card. Ta Da!
Frame not the right color? Use the hue/saturation slider to adjust it ’til it coordinates with your layout.
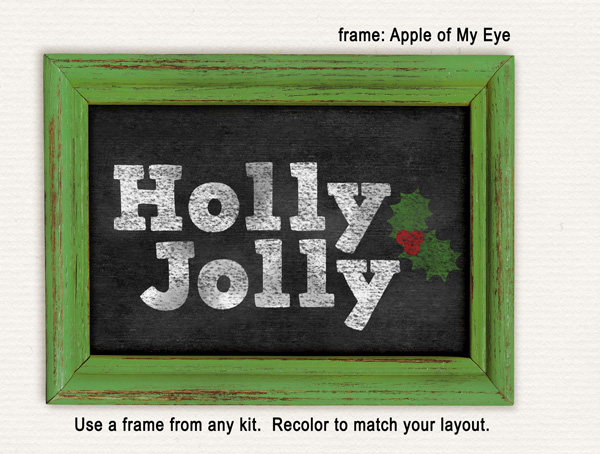
That’s all there is to it. Now your frame is ready to use on any layout (or in a siggy…or your facebook timeline….)
You can find frames in nearly all of my kits. You can find the chalked card sets here:





 Hi! I'm Chelle: a 40 something mom of 7. My husband & I live in a rural community in the rocky mountains with our 4 children still at home. In the winters we enjoy sledding & snuggling by the fire. I the cool fall evenings we love relaxing around the campfire & meeting friends at the county fair. Admiring the stars


Thx for the great tutorial. Just grabbed both your chalked card sets! I love them.