Yearly Archives: 2012

September 2012 Desktop Freebies | Digital Scrapbooking Freebies

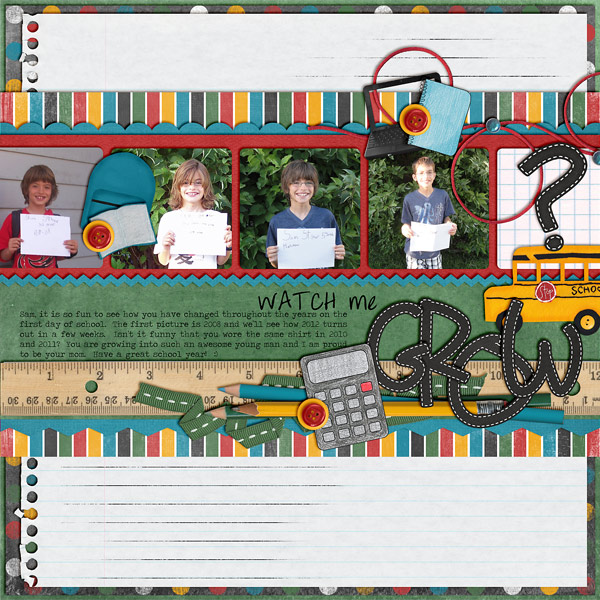
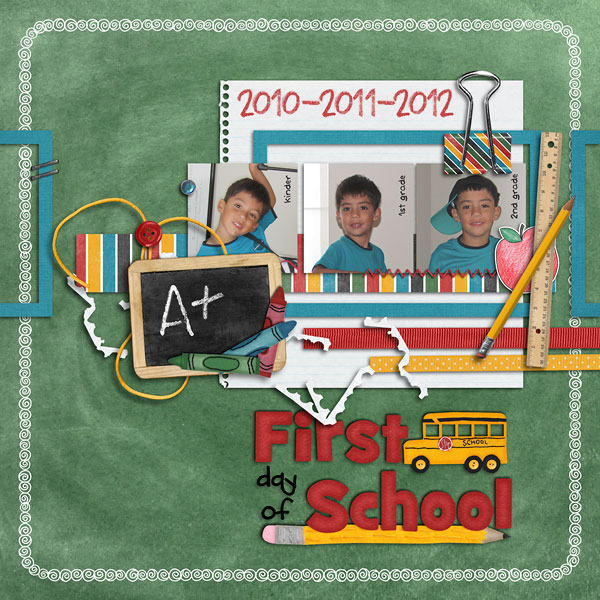
The kids are headed back to school this week… where did the summer go to? I hope you get a bit more warm weather before the cold descends!

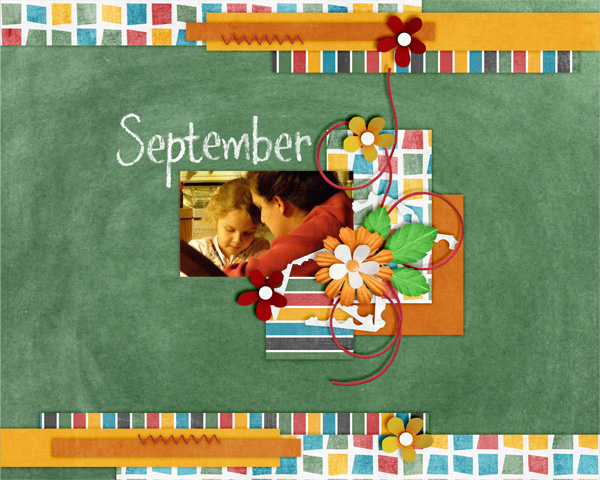
This month I chose to use Chelle’s Back to School kit because, well, it’s perfect for a desktop this time of the year. I added in some flowers from her Rainbow Collection so that it’s not too “schooly” – hopefully it’s a good balance for everyone!

You can snag all three desktop sizes in one easy download here!

Have a super September!

Blessings! *Ü*

Lifted Strings | Digital Scrapbooking Tutorials

Lifted Strings | Digital Scrapbooking Tutorials


Hi Everyone!  It’s Jenn here, otherwise known as jk703 around digiland!  Hope you are enjoying your summer!  Today, I am going to show you how to play with the shadows on strings. They will look as if they are lifted off the page, and this can be applied to papers, and other embellishments too!

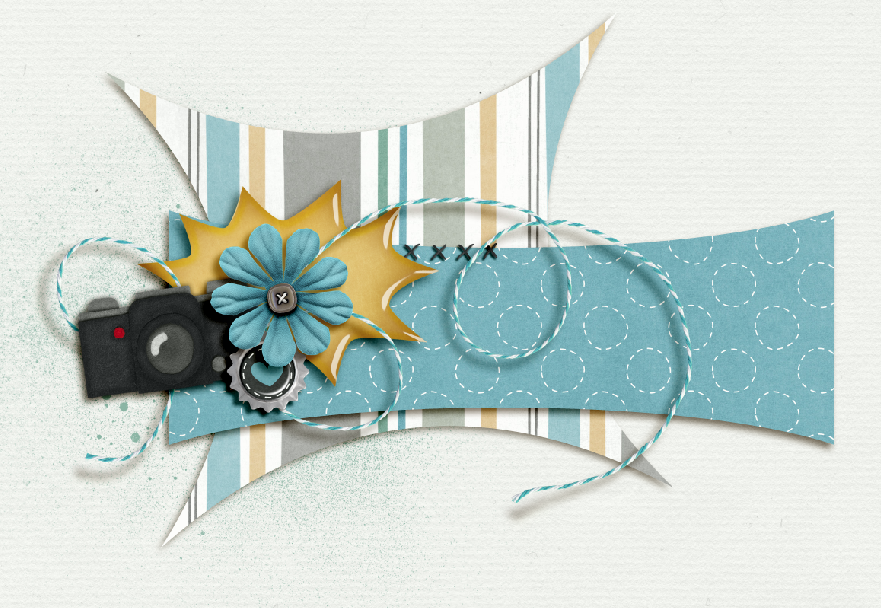
Scrap as you normally would scrap. After you have finished your page, we will tweak your string shadows to make them appear just a little lifted off the page. I’m using Photoshop CS5 and you will need to be able to split your Shadow and element by “Creating Layers” in the Layers Palette. For my example today, I’ve used Oh Snap! and I decided to make a siggy! For this tutorial, I have inserted a white paper for the background so it would be easier to see the shadows and how they move. Here is what it looks like now:
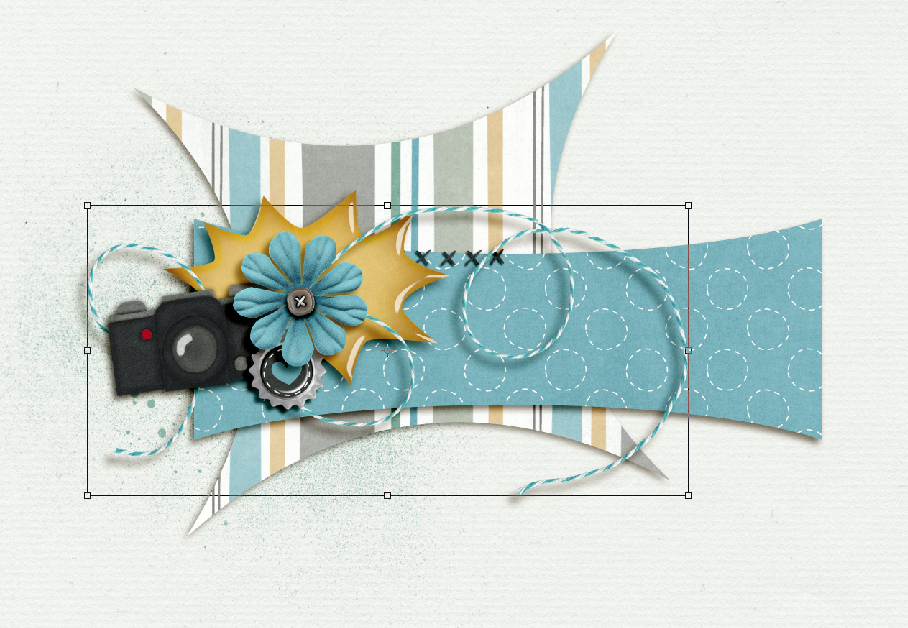
Now, you will right click on the string layer in your layers palette. Choose Create Layer.
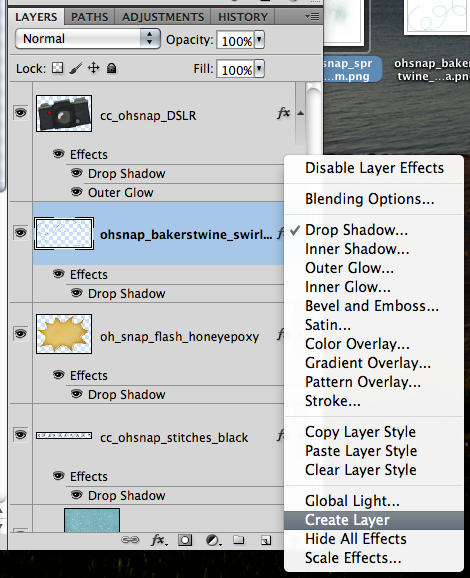
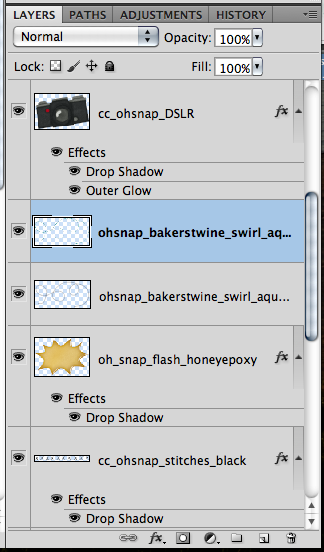
Next, you will have the string’s shadow selected from the layers palette. Click on the Smudge Tool.
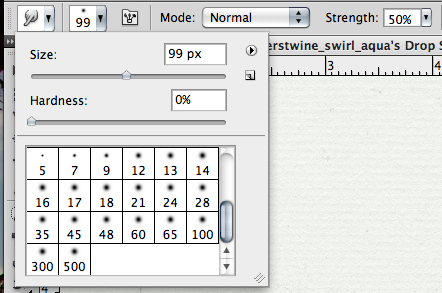
After you have chosen the smudge tool, you will want to change your brush to around 100 or so and with an opacity of 50%. This is all personal to what you like, so you can change this as you see fit.

Look at the shadow of the string, and see where you would like it to lift a little from your page. Click on the shadow of the string, slightly move it in the direction that you want. I moved three different spots on my string. The problem now, is that my string looks too dark where it was lifted.
Choosing the Eraser Tool, and changing the size to about 135 with an opacity of 20%, I slowly erased some of the shadows darkness where the string is lifting.

Next, I went back and used the smudge tool on areas to make the string appear closer to certain layers, such as the topmost paper. It takes practice, and it is a personal preference as to how much your strings are lifted off the page. You can also go back and create layers for papers and other elements, such as flowers and bows. Smudge them up, and give a little lift to your pages. Here is what mine looks like after I played with the strings and paper corners.

Here is my final Siggy…
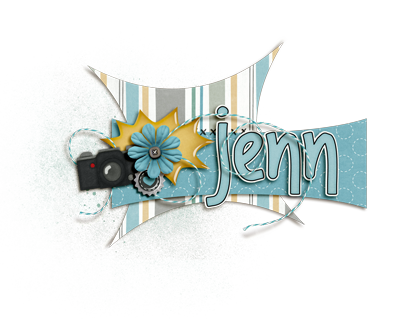
Here are some layouts that they team did using strings. Here is Karen’s before layout and then her after layout. She worked her layout in PSE, and used her own workaround to lifting the string! She used Chelle’s Oh Snap! also. Before:
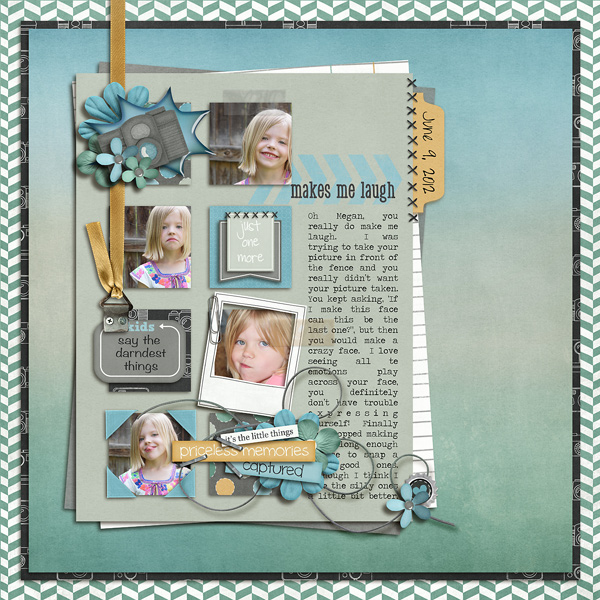
After:
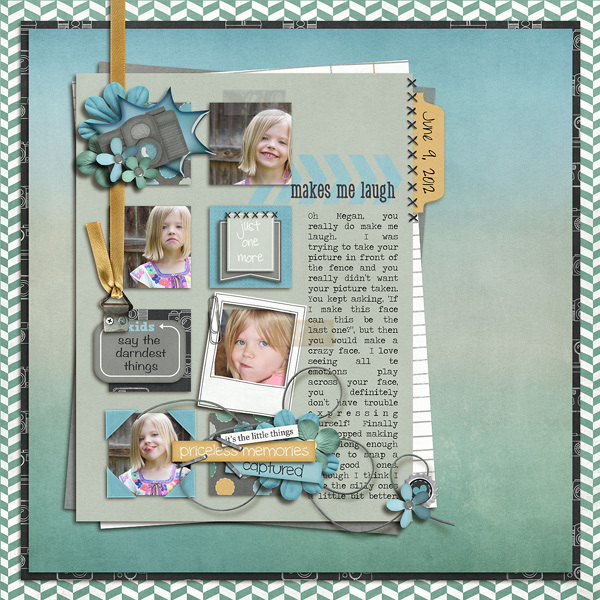
From Melissa, using Beat The Heat:
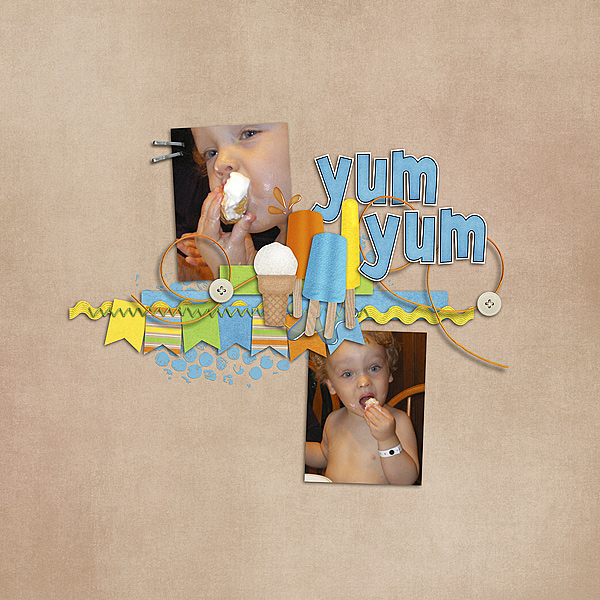
and one from Jenn, also using Beat The Heat:
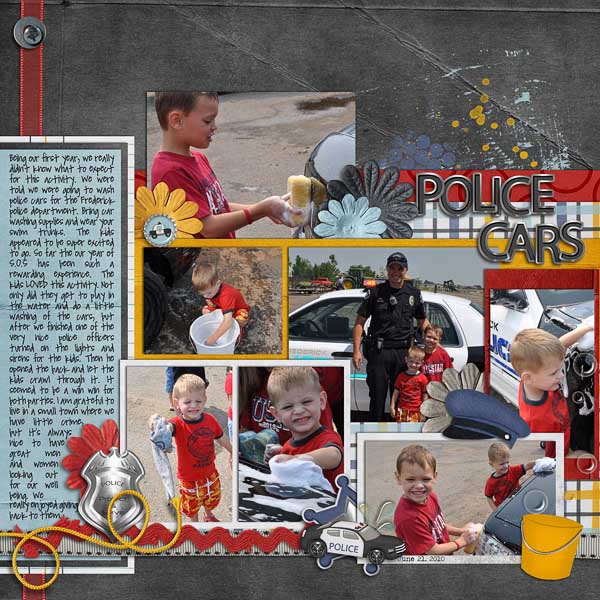
Erica made this awesome page using Heroes {Police} and the bucket is from Spic -n-Span:
 There you have it. Hopefully, you can give it a try!  We would love to see your layouts in the gallery trying out any of the tutorials you can find on Chelle’s blog!  Thanks for visiting and we hope you come back soon!


Sneaky Peek & Chance to WIN! | Digital Scrapbooking Freebies

Hello everyone!
Sisters, Friends, Grandmas…a sweet kit for your sweet relationships…coming soon:

Remember we have NEW RULES!!!
You can enter to win by sharing the sneak peek. You can…
1. share it on your blog
2. share it on Facebook
3. share it via twitter
4. share it on Pinterest
Remember, since the winner is chosen using a random number generator, be sure to come back and know in a new comment when you’ve done each way.
Deadline: 11:59 PM EST Wednesday.

Rainbow Collection | Digital Scrapbooking Classics

Have you ever wished you had just one giant digital scrapbooking kit to be the backbone of your entire collection? Before I knew about Chelle’s Rainbow Bundle, I wished for a multi-purpose kit to be the basic background for any layout, and then I could add elements from specialty themed kits, if needed. The Rainbow Bundle is that staple I needed. Chelle’s team members have been playing with the bundle, and I want to show you their layouts.

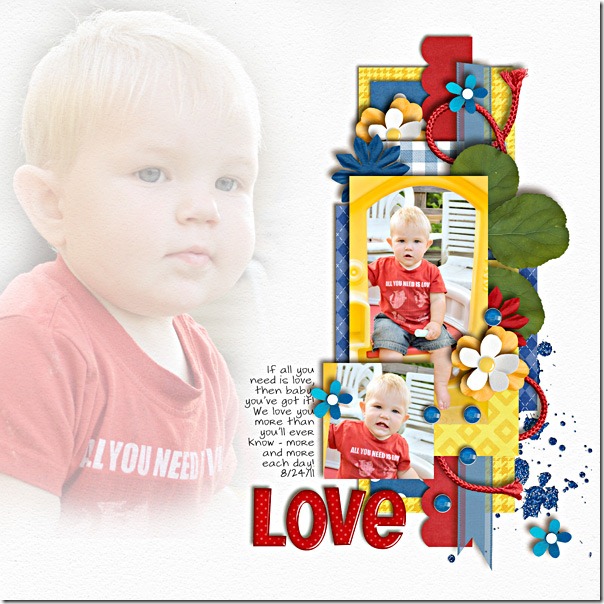
First, Mary used the Rainbow Bundle to make a page with some photos of her sweet little blonde boy. She has used all bright colors in the kits, various elements from the primary color sets, to make a cheerful page with her gorgeous photos. I love how she used the phrase on his t-shirt as the inspiration for the page, and her clustering of flowers and strings is the perfect background for the pictures.kentlove-2011Mary

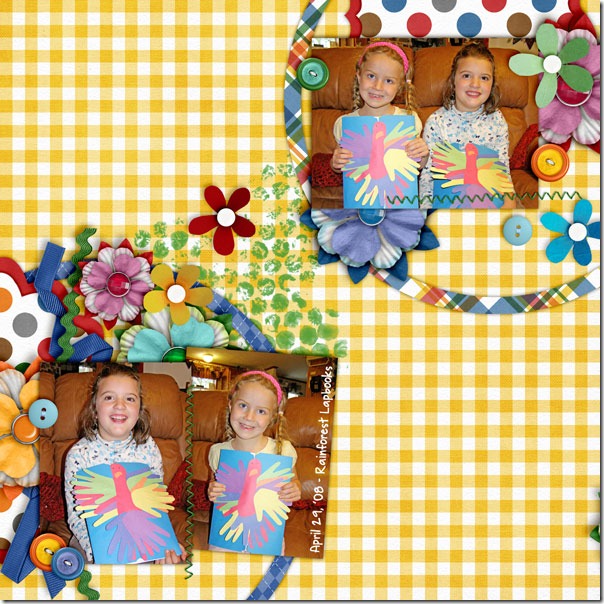
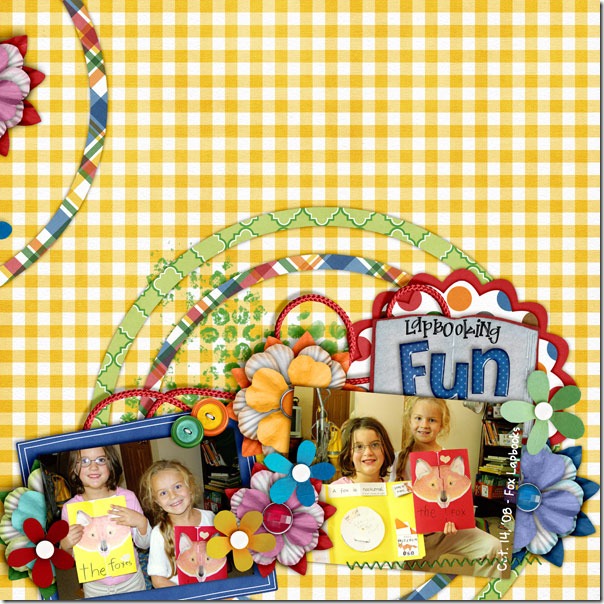
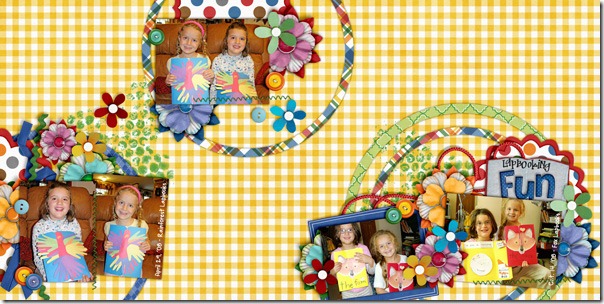
Next, Kairyn made a double page layout with the Rainbow Bundle. Her children made adorable lapbooks about subjects they had in school, and her pictures of them proudly holding their projects are the focus of her pages. First, the left side2008-04-29Lapbooking-LKairyn then the right2008-04-29Lapbooking-RKairyn and here’s what the double layout looks like altogether 2008-04-29Lapbooking-2pgKairynLisa I love that yellow gingham paper in the background and the many buttons and stitches holding down the photos.

Here’s a closer look at the bundle in the market: cc_rainbowcollection_bundle

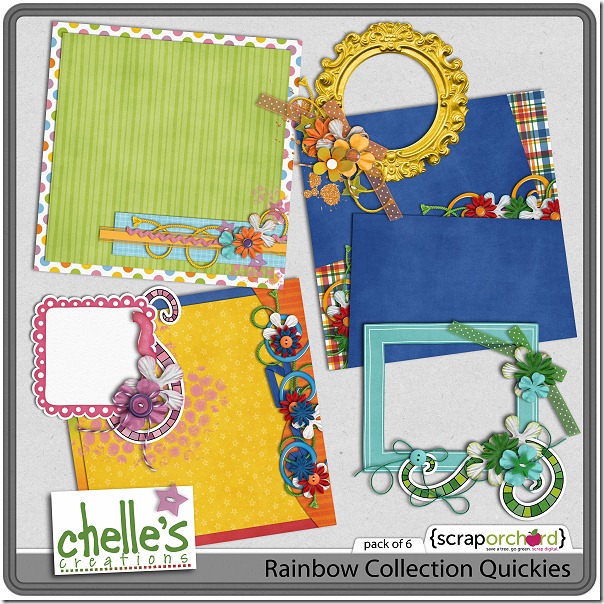
and in case you want to try it out on a smaller scale first, I love the quickies Chelle has done. cc_rainbowcollection_quickies

Aren’t they just cheerful and happy? I know you’ll have fun with these, and they will certainly be a staple of your stash of supplies.

Through The Year QP Playdate | Digital Scrapbooking Inspiration

Hello Everyone!
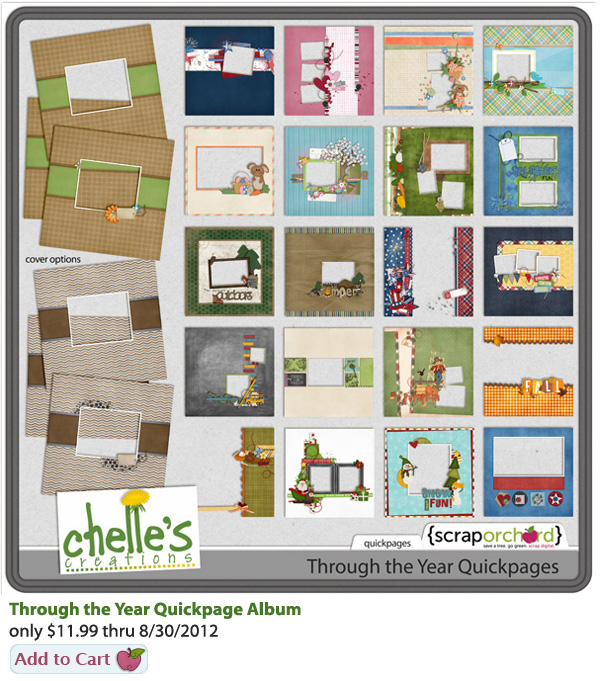
I’m sure glad it’s Saturday? I had a CRAZY week, and I don’t have kids going back to school. I don’t know how all you busy Mom’s do it, but I hold you all in the highest esteem. Christmas is just a few months away. Wowsers!  Chelle thought it might be a good time to get a jump start of photo books and get ahead of the Christmas shopping season. She gives us Through The Year quickpages. There’s also a freebie on the blog with 2 additional pages.  Adorama has a 50% off 14 page 8×8 album through 8.28 . Here’s a link to the photo book information. Code: PXSEEIT.
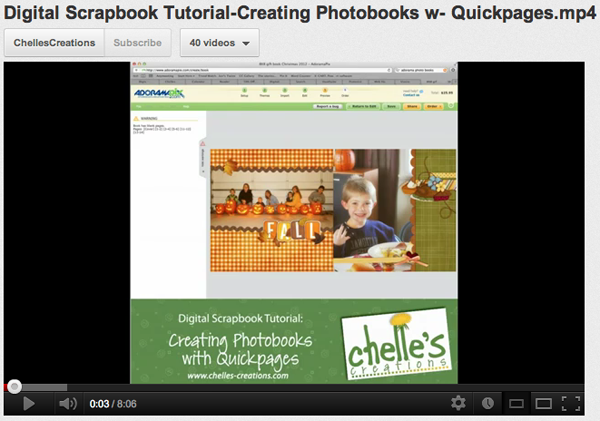
To make it even easier, Chelle will walk you through the process using this scrapbook tutorial video.
If your mail client doesn’t play friendly wtih the video, you’ll find all Chelle’s videos on her You-Tube Channel.

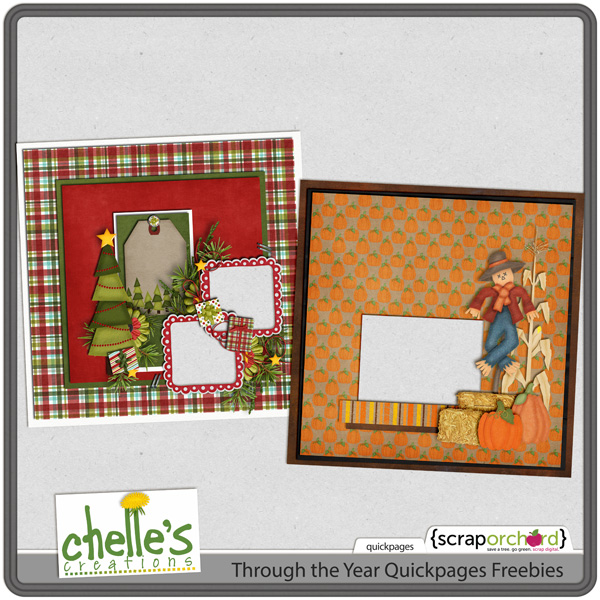
Here’s the freebie I mentioned.

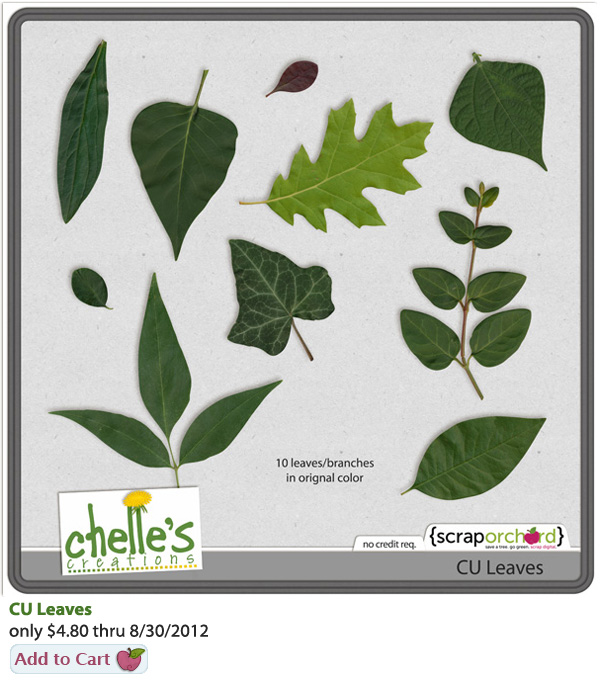
For our CU Friends, Chelle offers CU Leaves.
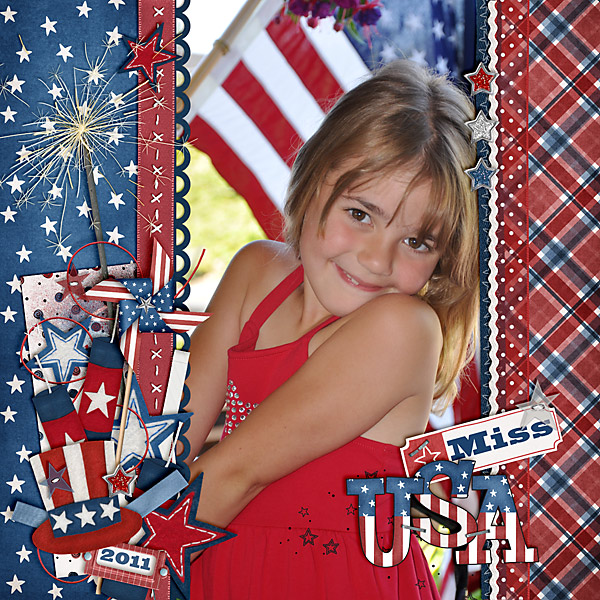
Let me show you the QP’s the CT came up with:

Carol

Heather

Jenn J

Jenn S

Melissa B

See you next week! Hugs!

121 Days ’til Christmas? Quickpage Album Freebie | Digital Scrapbooking Freebies

Quickpage albums make great gifts.  They don’t take as long as regular scrapping.  You can work out an entire album in a few hours.  Here’s a couple of sampler Quickpages for you to try:

Want more?

Want to see how quickly you can make a gift album?

Do it now.  Get an album going and cross some of those hard-to-shop-for peeps off your list.  Adorama has a 50% off 14 page 8×8 album through 8.28″ Code: PXSEEIT

Jingle Bells…Jingle Bells.  I’m crossing gifts off my list.  Join me!

Back 2 School Ideas | Digital Scrapbooking Resources

Hey Everyone! The other day I came across one of my high school photo ID cards. Wow! Was I ever really that young, skinny & awkward? Let me start this story by saying and “Griffin/Thompson” eyebrows are big and thick. I literally could put a 1/2″ curler in my Dad’s eyebrows. Imagine this, my mostly bald Father asleep in the recliner during a semi-annual TV church meeting. To keep my quiet, Dad would let me “curl” his hair. I always wanted to put the curlers in his eyebrows. How I got away with “wetting” his eyebrows with a comb & putting in rollers, is beyond me now. I’d only get cussed if I let the cold water run down his neck! I never did get to curl his eyebrows. LOL

I digress. The day I needed to go register for sophomore year, I decided I had to get my eyebrows done. I found someone who could do it and went and had them “done.” The beautician was a “very-thin-one-line” eyebrow person. I didn’t know this. This was a DRA-AA-STIC change for me. Not to mention that the wax was too hot and she burned my skin around my eyebrows. They were glowing red. I’ll let you imagine how lovely that picture turned out. The funniest was when my Mom (Chelle’s grandmother) saw me, she told me I looked like a surprised stink bug! That really boosted my confidence. I was extremely shy back then. Not so much now! LOL

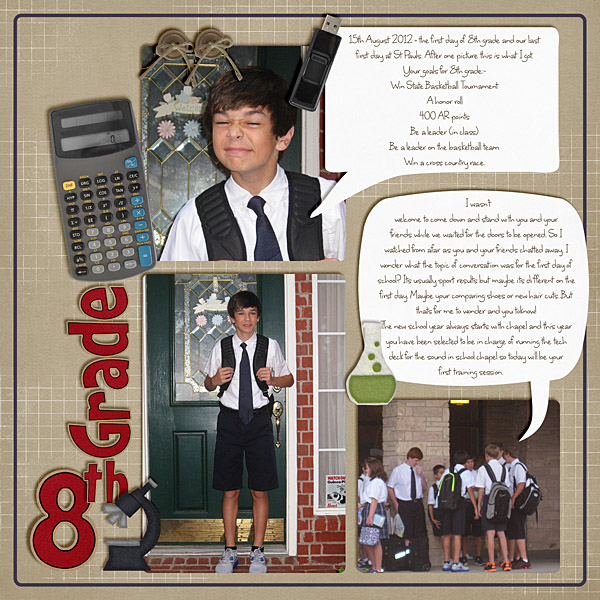
The other day Chelle and I were talking about Back 2 School as a great photo opportunity. If you take the same photo in the same place year after year, you’ll have a visual growth chart. There are lots of details you can capture each year.  Chelle said, “I love how the clothes & hairstyles my daughters choose for their first day show how styles change.” Start a tradition now!

Let me show you what the CT made for us.

Ronnie

Karen S

Roxana

Here’s Chelle’s Back 2 School List:

Hugs!

Scrap Skills: Using Arrows

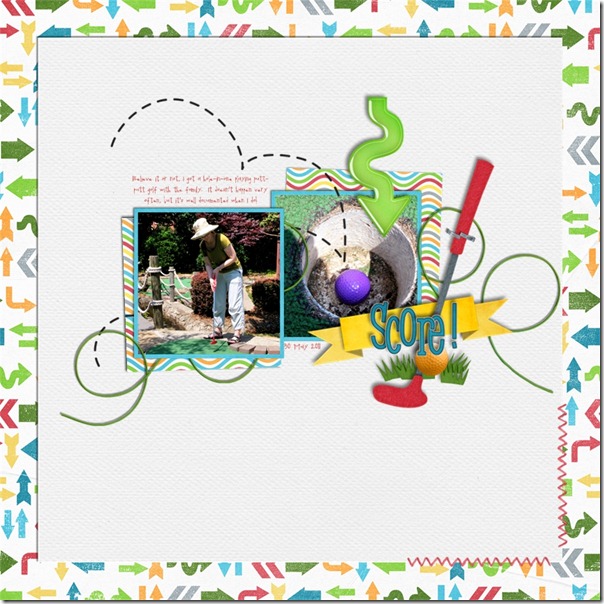
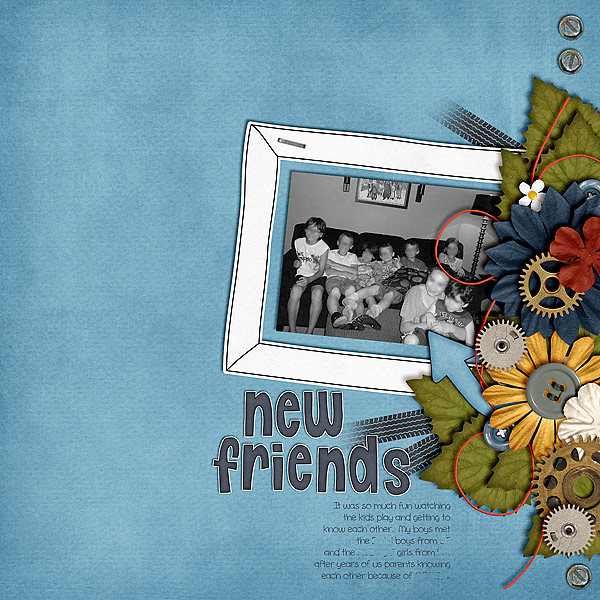
I love arrows on digital scrapbooking pages. In fact, I have been known to purchase a KIT just because it contained several cute arrows. They are great for directing attention to what I really think is important, especially if it is a small detail that might otherwise get overlooked. I also like to use them to direct the flow of attention because a scrapbook page doesn’t necessarily need to be read left to right, top to bottom, as we do for books, and arrows can add interest and emphasis and a unique artistic element. For example, consider the following layout by Jan. She used a background paper full of arrows that give a general feel of movement to the page, and then she added a large arrow to point to the photo of the ball in the hole in her game of mini golf – all from Chelle’s Putt-Putt kit. I also love the dashed lines she used to create a bouncing ball path. scoreJanJenn used a different kind of “arrow” on her page. Like Jan, she used arrows to keep the pictures as the focus, but she created her own arrows from chevrons using the shape tool in her program and then clipped a paper and splatter from the kit to the shapes. By the way, she used the Oh Snap! kit and the Button Alpha on her page. i-7sCm6pF-LJenn

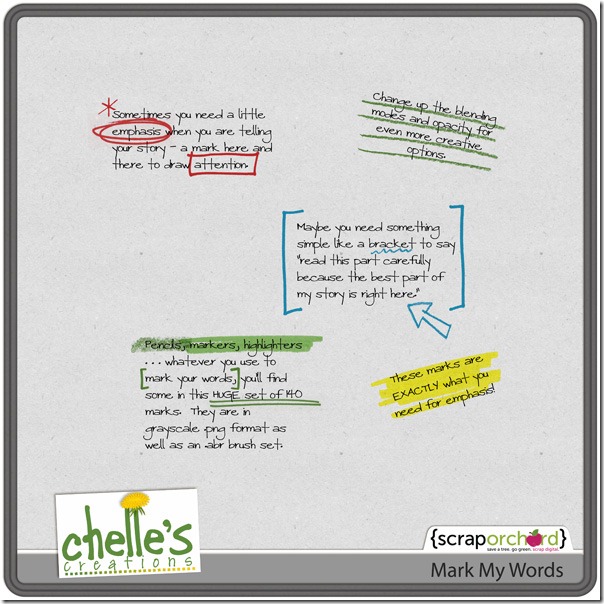
Chelle’s newest release Mark My Words has several arrows in it as brushes and PNG elements that can be added to a page for emphasis. Shannon used several of the arrows from this to add emphasis to her page. Notice how well the arrows help to draw the eye all around the page to read the important information, and they add visual interest and a playful feeling to her page.17-SL-LBH-MMWShannnon Here’s a closer look at Mark My Words in the Market (image is linked). cc_markmywords I hope you are inspired by these layouts as I am to try some of the techniques the ladies have used. If you haven’t used arrows in a while, maybe this is just what you need to jumpstart your page.

Unlikely Pairs: Vrooom! & Traveler | Digital Scrapbooking Kit Combinations

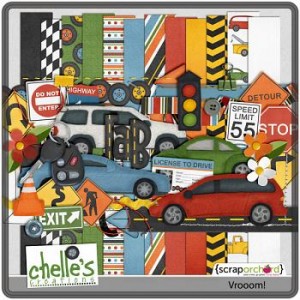
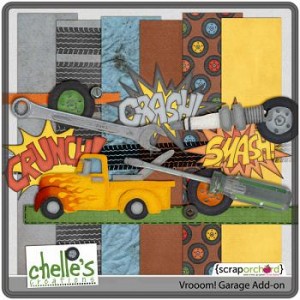
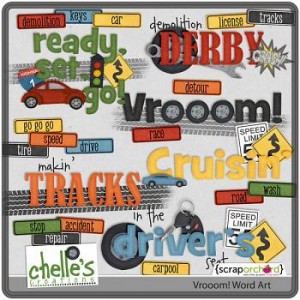
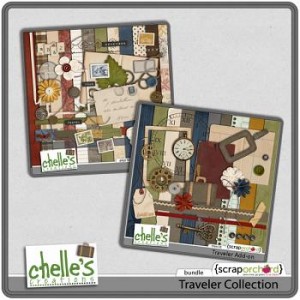
Hey! Hope you are having a great day! Utah is in the center of a ton of fires in the surrounding states and some of our own. Cache Valley, were Chelle & I live, has been pretty smoky the last few days–which got me thinking about Vrooom! & Traveler and our ancestors who helped settle the American West. I wonder if they had wildfires and how they would have coped with it. Perhaps, a neckerchief dunked in water and tied over the mouth & nose? I can’t imagine how badly their eyes would have watered from the smoke.

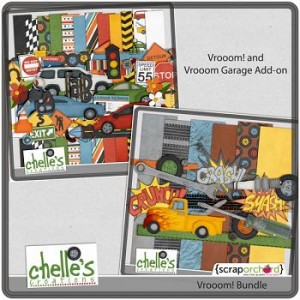
We’re lucky to have the Bonneville Salt Flats & Speedway available for our inner VROOOM here in Utah.  Traveler makes me think of  vintage trains & the Golden Spike National Park where the Union & Central Railroads met in 1869 here in Utah. This week we challenged the CT to make a LO that incorporated Vrooom & Traveler. Let me show you what Jenn J & Ophelia came up with. Thank you ladies, they are really moving! LOL Bad pun! Where has your mind ventured off to as you look at these LOs & Chelle’s stuff? I bet you have a few ideas zooming along in your brain. So scrap ’em now! Ok Enough with the bad puns!

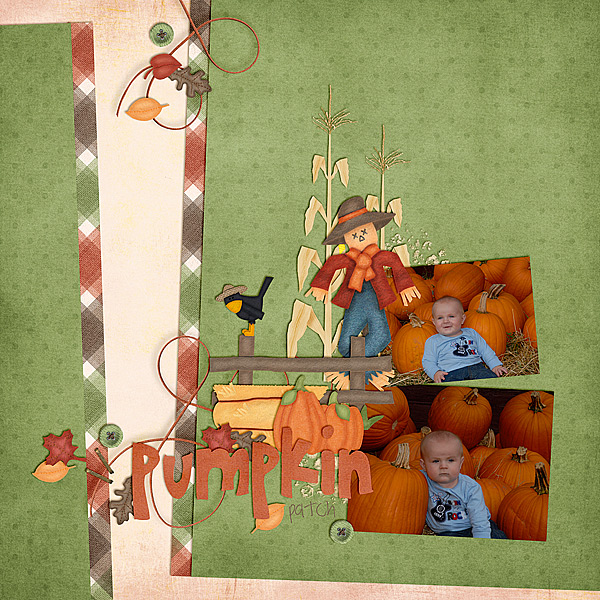
Jenn J

Ophelia

Here are links to the products they used. Can you find all their elements in these kits?
Hugs!