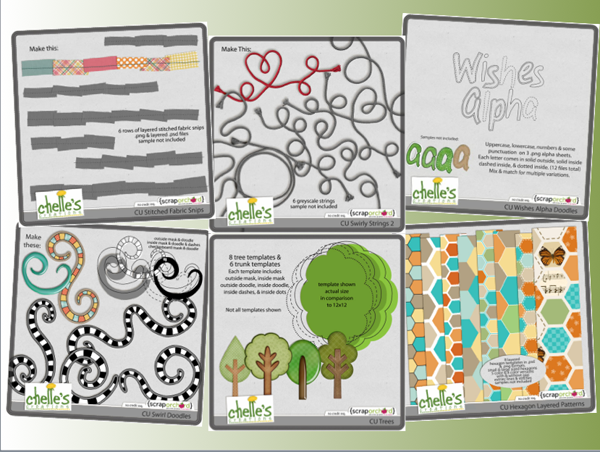
Hey Scrappers! I’m sponsoring a speed scrap as part of the Mousescrappers Minnie Marathon this weekend. Here’s the prize I’m giving away:
Join Melinda on Saturday at 1 pm EST.
Hey Scrappers! I’m sponsoring a speed scrap as part of the Mousescrappers Minnie Marathon this weekend. Here’s the prize I’m giving away:
Join Melinda on Saturday at 1 pm EST.
I’ve heard it said that the best camera to use is the one you have with you. Sometimes that is the phone on my camera. I haven’t always taken photos with my phone. Probably because the quality on my old phone wasn’t great. But mostly because I didn’t know how to get the photos from my phone…to my computer. I hated trying to track down the right cord….or just remembering to do it.
Recently when listening to an episode of The Digi Show, I learned I could do it with dropbox.
I’ve been using dropbox for a while, but I didn’t realize how simple it was to get my photos onto my computer:
Now after I take a photo with my phone (as soon as I am in wifi range) my photos are uploaded to my dropbox account. With a quick click & drag I can move them to my Photos 2012 folder in the correct month…freeing up space in my dropbox for the next time I take photos.
It only takes a few minutes to set up the whole system. You’ll be glad you did when, for example, your husband finds your phone in the toilet courtesy of your 18 month old. Just saying’.
Hey Everyone! Thanks for sharing Chelle’s Creations on your facebook, twitter, pinterest accounts.

Thanks for the chance! It looks adorable! I shared it on facebook!
Have you ever wondered what to do with the glitter elements or papers in a digital scrapbooking kit? Maybe you tend to shy away from them, but I would encourage you to use them once in a while to give a little sparkle to your layouts. Chelle’s Creations has glitter in various forms; for example, the Pearly Whites kit has glitter frames and brads in various colors, and the Ho! Ho! Ho! Bundle and the Holly Jolly Bundle each have a pack of glitter papers. The elements that are already glittered can simply be added to a page, and the papers can be simply added, as well. But, Chelle’s very talented team members have made some pages to show you some simple ways to add glitter where there wasn’t glitter already in the kit.
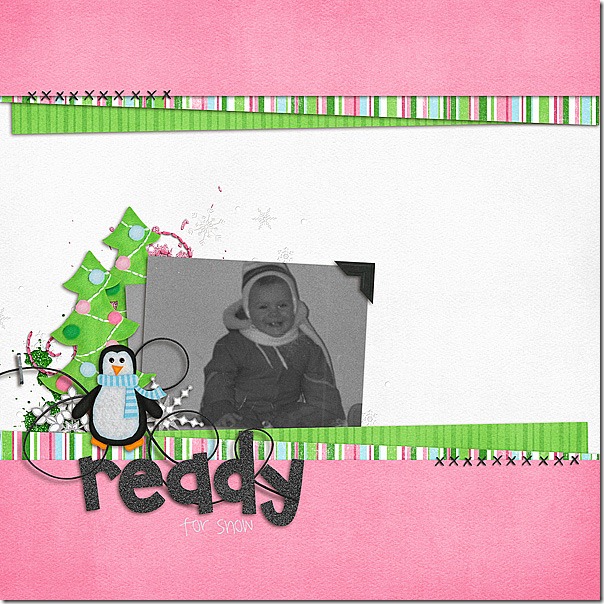
First, Roxana used the Mane Event kit to make a page about a trip to the salon, which was a perfect kit for her photos. She used the black glitter paper from Holly Jolly Holiday Glitters to clip to the banner elements from CU Banners V3, and she also clipped the glitter to a paint splatter. Using the black glitter in multiple places on the page draws attention to their dark hair and helps to keep a reader’s attention on the “mane” point of her page.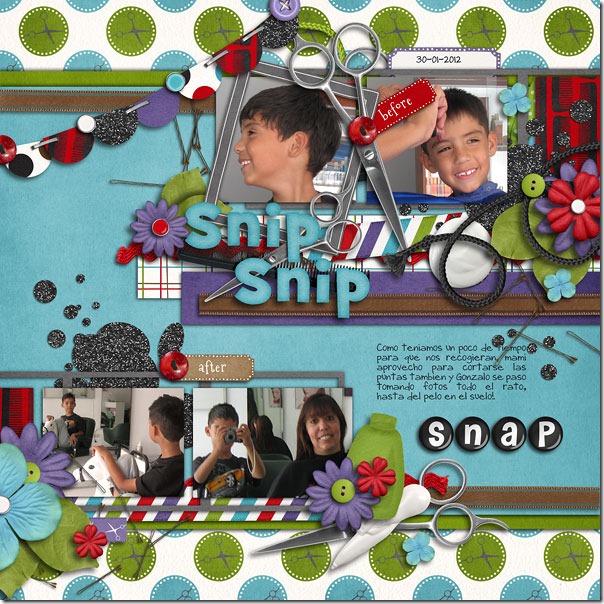 Next, Melissa used the glitter splats in the Holly Jolly kit on her page, and she clipped a glitter paper to her title alpha. It is the perfect compliment to the vintage black and white photo she used.
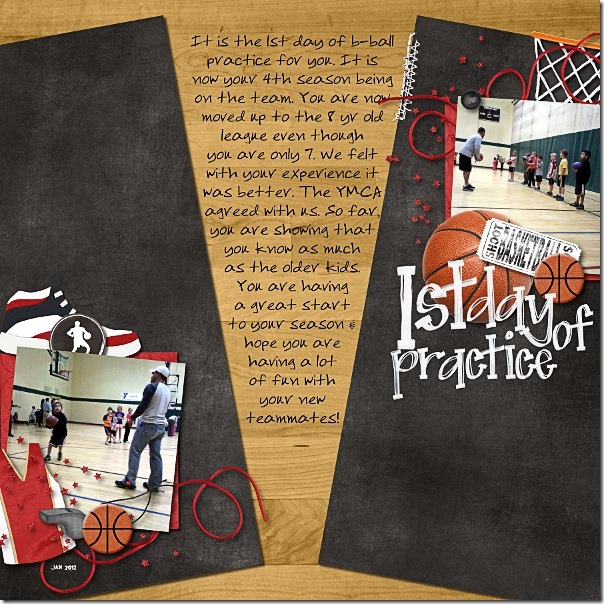
  Finally, Ophelia used the red glitter paper to clip to the stars scatter on her basketball page.
Let’s take a look at a couple of bundles in the market that have glitter papers and elements.
I’m planning to use this technique of clipping glitter papers to elements when I scrapbook my pictures of the nighttime view from the top of Rockefeller Center. Even though I visited New York City in the summer, I will use glitter papers from these winter kit bundles because I think my pages will benefit from the sparkle. Think outside the box: do you have some pages that need sparkle? Clip some glitter papers to some elements; I think you’ll like what you see.
Hello everyone!
Is the heat getting to you? Chelle has the perfect way to beat the heat…coming soon:

Remember we have NEW RULES!!!
You can enter to win by sharing the sneak peek. You can…
1. share it on your blog
2. share it on Facebook
3. share it via twitter
4. share it on Pinterest
Remember, since the winner is chosen using a random number generator, be sure to come back and know in a new comment when you’ve done each way.
Deadline: 11:59 PM EST Wednesday.
Hello Everyone! Chelle’s Aunt Sari here. Summer is the time for jellying. I miss the fresh berries off the vine. My favorite fruit is a black cap raspberry. I remember picking them each summer at my Grandma Pearl’s. We’d get up early, probably about 6am. Put on clothes, then use a flannel shirt as a jacket. Grab a belt, a 5 quart ice cream bucket, a bandana and gloves. We used just about anything to protect us from the thorns on those black cap vines. It didn’t matter how careful you were, you always came home with scratches in places you didn’t realize those thorns could get to. LOL! Into Grandma’s house to give her the new harvest. She’d have her juicer/steamer on the stove, with the berries reducing to a liquid which slowly drained into another pan. That liquid is a very intensely flavored syrup which we then used to make jelly. It’s a hot job performed in hot weather, as the steamy room is perfumed with the steam of fruited syrups. I highly recommend central air. LOL Again!
They creative team has used Chelle’s Summer Lovin, Summer Lovin’ Ginghams & Home Canning Mini kits.
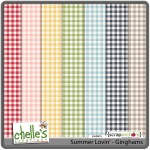
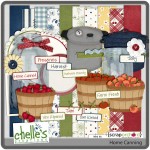
Here are some designs from Chelle’s Creative Team. I hope they inspire you. (They made me hungry! LOL)
Look what Kayla came up with for her church group.
Hope you have a great day! Hugs!

Hello Friends! Chelle’s Aunt Sari here. Wow what a weekend! We have an annual family golf tournament (on saturday) named in honor of my father, The Glen Griffin Classic. You may recall, I don’t participate – the direct sunlight and allergies issues I have. So instead, we get babysitting duty. I love me some little peeps. I just didn’t know they were coming until yesterday morning. 7 of the peeps. (Jayley 12, Mylie 10, Ivy 7, Daizee, 5, Zion 2, Tanzi <1, and Nikkos <1) LOL! NOISE! MORE NOISE! My sister Barb and I (ages 50, and 45) don’t make a lot of noise, so having 7 of the peeps was pretty noisy! They were a lot of fun. Jayley and I played with PSE9 and Chelle’s Girl Power Reloaded kit. She did AWESOM! I knew she’d catch on fast. We also cut out (yes, by hand with scissors, yuck!) some of Chelle’s stuff & put it through my Xyron and made stickers. I’ve had mine for 20+ years and we use it all the time. Especially for sunday school lessons. I think I created a MONSTER! AWK! I definitely should have through that through better. LOL Oh & guess what? My adhesive cartridge is now gone! Love me some peeps!
Leafy Treetops reminds me of a favorite childhood church song and I’ve been humming it since I first saw this kit during the Iron Scrapper Week 1 kit & SOUL’s (Scrap Orchard Live) first live broadcast. I was thinking about Leafy Treetops and couldn’t help thinking about Labor Day and hauling wood when I was around 10-16. Labor day was definitely L-A-B-O-R day in my family. Dad would get us up at 5, we’d make a sack lunch, climb in the wood truck and head for the canyon. Dad would cut down the dead Quaking Aspen and start cutting it up. My job was to roll the big pieces down the hill to the truck. As I got older, I learned to stack the wood in the truck, just as tight as I could. If I didn’t, Dad would throw them all out of the truck and we’d have to hand them to him again and he’d re-stack them. Dad was a jokester!!! Just before he would fell the tree, and he knew it was going to fall upward, he’d yell, “Run! Sara Run! It’s come right at you.” Terrified, I’d jump and run anywhere that wasn’t where I had been! You could hear the tree knocking branches off other trees and I just knew I would die under a quakie! Dad would stand up there and laugh and then tell me I sure could run fast when I needed to. He did that at least once every “haul” and you never knew if it was real, so, each time we would run like crazy! He was a very funny Dad. LOL!
On to the products, this week we have Leafy Treetops & Leafy Treetops Quickies & offers CU Bubble Wrap Brushes for her CU friends.
Oh Snap! Kit, Oh Snap! Word Art & Oh Snap! Quickies: The Quickies are the new release this week. We previously released Oh Snap! Word Art & Oh Snap! kit was part of Chelle’s birthday daily download in July. I did the playdate on Oh Snap! in July. Here’s the link!
Chelle has started doing short video intros of her new products. What do you think? You like? Let us know, comment to this post. First is: Blending Photos & Second is: 5 Ways To Us Bubble Wrap. If your mail client doesn’t play friendly with these videos, you’ll find all Chelle’s videos on her You Tube Channel.
Did you see Chelle’s post about Creative Club Digi (CCD) & Creative Club Digi Designer (CCDD)? Register HERE. Check out the links, Chelle has some introductory videos about each club.
Chelle’s team have created some great LO’s to inspire you using Leafy Treetops:
The Oh Snap! LO’s are here. Hope you have a great week!
Hugs!

Hey Scrappers! I can FINALLY tell you about my exciting news. Take a peek (if you are a designer friend, see this post)
To watch the video, click here.
Can you believe it? ALL of that for $19.99 a month? Want to see it one more time?
If there had been Creative Club Digi in July, it would’ve looked like this:
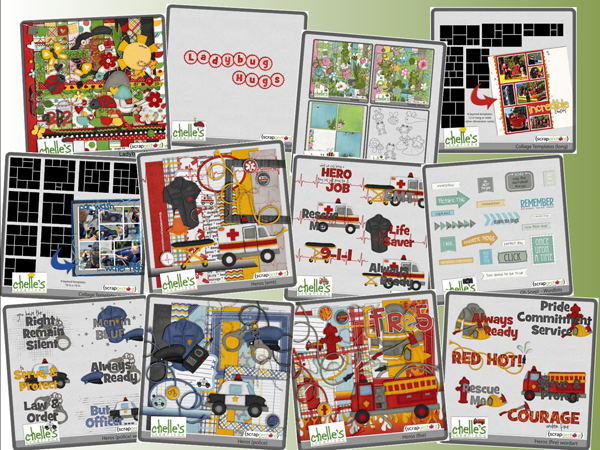
Perks include:
• Access to the Creative Club Digi community: forum, chats, webinars (and recordings)
• Download links for all Chelle’s Creations products released during your membership period: kits, collections, alphas, elements, quickies, etc. Excludes: collabs (the portion not created by Chelle), services, classes, & e-books.
• Monthly Tips & Tuts webinars. Join us each month as Chelle & guest share new ideas to spark your creativity. (Webinar recordings will be available for the duration of the calendar month.)
• Monthly Q&A webinars. How did she do that? Bring your questions to our monthly Q&A where Chelle answers your questions. Follow along as Chelle shows you how. (Webinar recordings will be available for the duration of the calendar month.)
• Monthly Newsletter. All the news & events summed up in one place. Did you miss something? Quickly scan what’s been happening and make a note of future events you’d like to attend.
How do you sign up? Click here to subscribe to Creative Club Digi.
Remember you can sign up for 30 days or six months for the price of five — that’s one month FREE!
Hey Ladies! I can FINALLY tell you about my exciting news. Take a peek (if you are a scrapper friend, see this post)
To watch the video, click here.
Can you believe it? ALL of that for $14.99 a month? Want to see it one more time?
If there had been Creative Club Digi in July, it would’ve looked like this:
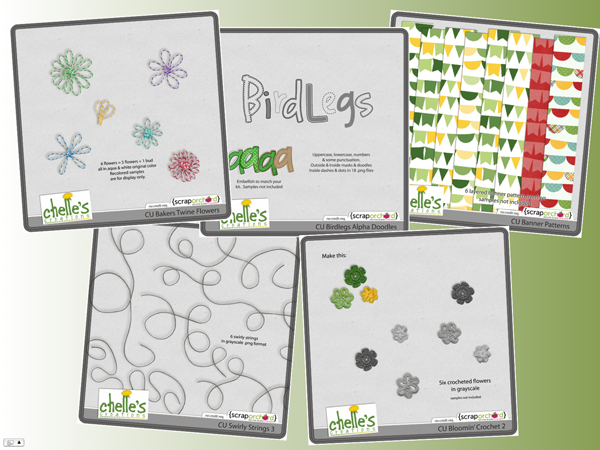
Or in February…
Remember Designer Edition members get their links ON THE FIRST OF EACH MONTH…weeks before the rest of the digi world.
Build your designer CU stash while you share your thoughts & feelings within a designer community.
Perks include:
• Access to the Creative Club Digi Designer Edition community: forum, chats, webinars (and recordings)
• Download links for all Chelle’s Creations commercial use products released during your membership period. Excludes: collabs (the portion not created by Chelle), services, classes, & e-books. Downloads for the entire month will be available on the FIRST DAY OF EACH MONTH. Get your products before the digi world can buy them.
• Monthly Tips & Tuts webinars. Join us each month as Chelle & guest share new ideas to spark your creativity. (Webinar recordings will be available for the duration of the calendar month.)
• Monthly Q&A webinars. How did she do that? Bring your questions to our monthly Q&A where Chelle answers your questions. Follow along as Chelle shows you how. (Webinar recordings will be available for the duration of the calendar month.)
• Monthly Newsletter. All the news & events summed up in one place. Did you miss something? Quickly scan what’s been happening and make a note of future events you’d like to attend.
How do you sign up? Click here to subscribe to Creative Club Digi.
Remember you can sign up for 30 days or six months for the price of five — that’s one month FREE!
Hi everyone… this is a photo tutorial.  It’s Jenn, aka jk703 here to share a fun and maybe new to you technique! Hope you like it!
Step 1: Open your photo in Photoshop or Photoshop Elements. Save as a new file. This way the original will be available if you need it.
Step 2: Choose the Quick Mask Mode. It is the little box with a circle under the Foreground and Background Color boxes.
Step 3: Choose the Gradient Tool. On the sub menu, click on the reflective gradient (3rd box), and also make sure that Reverse is checked. You can use any of these that fit your picture though.
Step 4: Select the part of the photo that will be the miniaturized portion. To do this, click, and drag up. Let go when you feel you have a good space that will be mini. After I let go, my image gets the red gradient mask. The portion that doesn’t have as much red will not be blurred as much.
Step 5: Click the Quick Mask Mode to turn off the red, and you will see marching ants marching on your photo.
Step 6: Click on Filter > Blur > Lens Blur. A large screen will pop up, showing all the options that you can play with. When doing this type of photo, I used the Invert and Radius (below). Play with them, and see what you like for your photo.
Here is what my photo looks like now:
Looks pretty cool, yet still shows off that wonderful island! Here is some more layouts and photo examples by Jennifer/jmljensen and Erica/Stanworth:
Jennifer’s Before:
Jennifer’s After:
And here is Jennifer’s Layout, and she used the Summer Lovin’ Kit:
Eric’s Before:
Erica’s After:
Erica’s Layout, and she used the Traveler Collection:
Well, a quick tutorial to add a “little” miniaturizing to your photos! Hope you learned something new!
Have a great day, and thanks for stopping by!