Yearly Archives: 2012

Friday Freebie Summer Word Art | Digital Scrapbooking Freebies

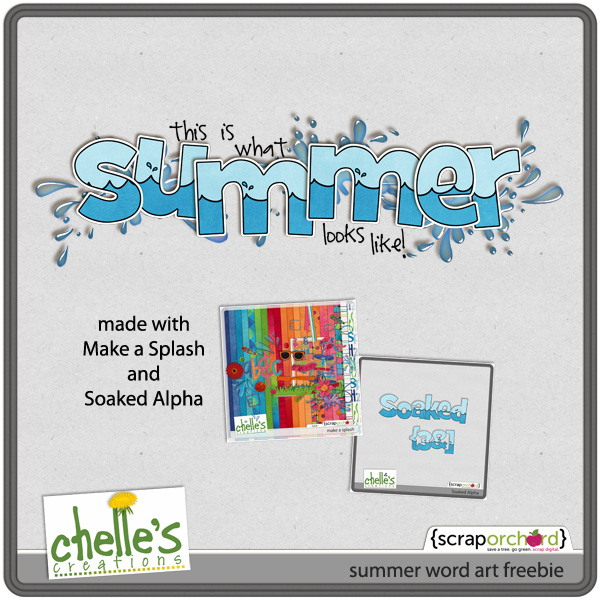
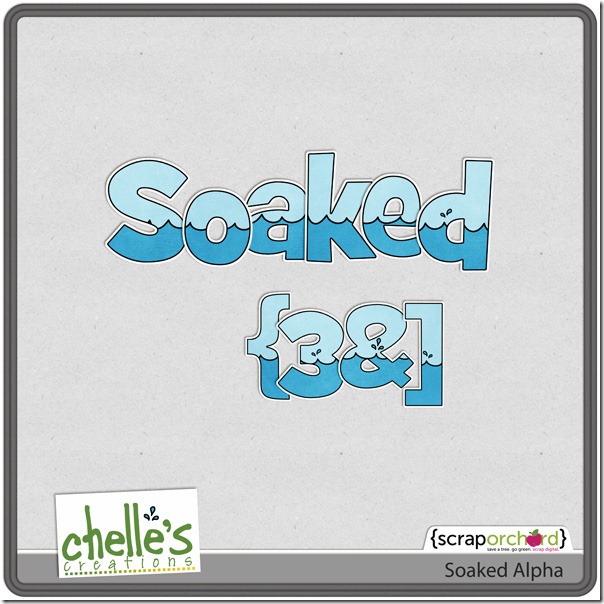
Happy Friday! Mary (aka plumdumpling) here with a fun summer word art freebee. I created this fun summer title in honor of our new pool pass. I’m not a huge pool lover, but I’m learning to become one. It’s so fun to watch the boys at the pool. I used Chelle’s new Soaked Alpha and the oldie but goodie Make A Splash kit.

Download here or by clicking the image below.

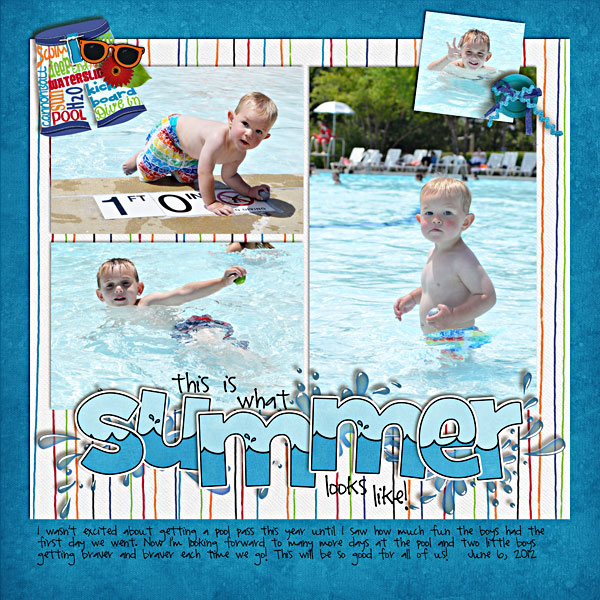
Here’s a layout I made of our first day at the pool. The boys started out pretty nervous, but were splashing, jumping, and having a great time by the time we left!

Enjoy and happy summer!

6.14 Tutorial: Using the Eraser to Make a Mask

Hi Everyone!  I’m Jenn, aka jk703, here to bring you a quick and easy tutorial for blended masks.  For this tutorial, you will use the Eraser Tool. Something a little different – but so easy!  Let’s get started!

For my Example, I used Chelle’s Traveler Kit. This is a kit that can be very versatile for Men, Traveling, and Everyday Memories. Lot’s to work with and works with all types of pictures.

Step 1:  Open the image and save it to a new file, allowing the original image available if needed. You don’t want to ruin your only copy of a picture. This is a good habit for anything that you open and plan on changing.

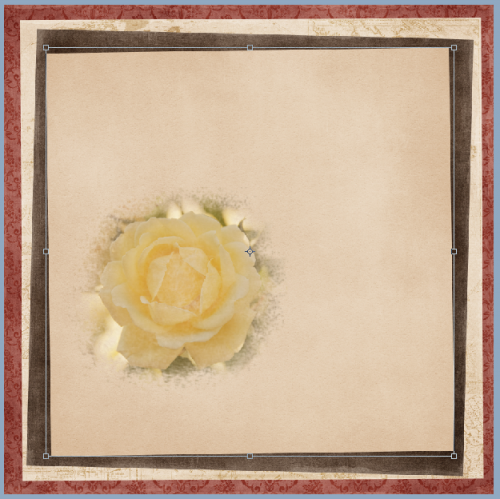
Step 2:  Import the paper that you want to have the Brushed Mask on, and make sure it is the layer above the photo. Change the opacity to 70% or so. Save your file, so that this is a working copy of your layout. This way the original paper is still available to use for later.
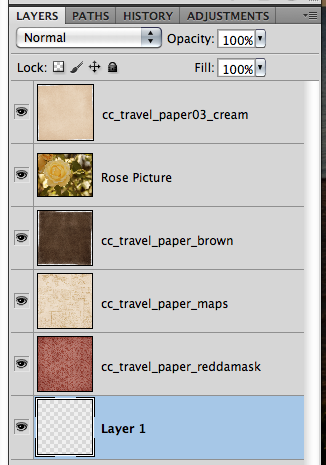
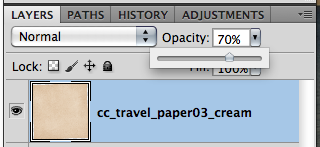
Here is what the papers look like with the photo and Opacity lowered to 70%:
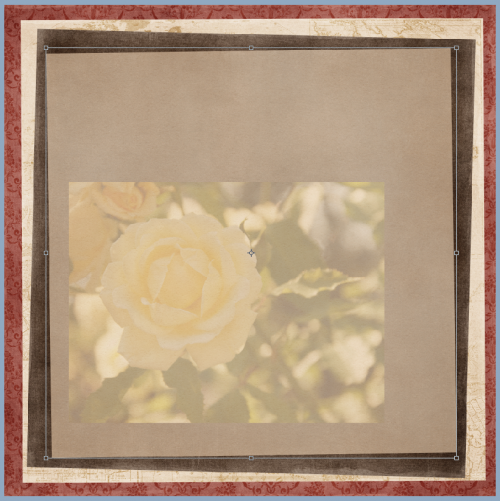
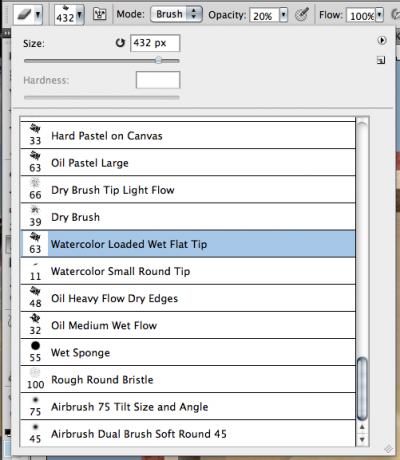
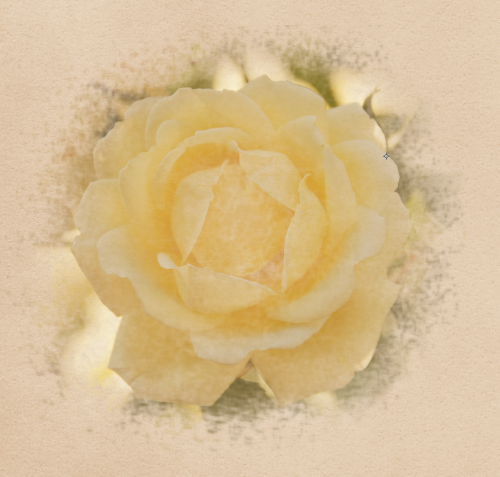
Step 3:  Choose the Eraser tool, and click on the small arrow next tot he number in the brush tool menu. Choose a brush you like, and make the size somewhere around 100 to 500. For my Example I used a Watercolor Wet Flat Brush, with an Opacity of 20%, and I actually turned the flow down to 60%.  My brush was on the larger side at 432 pixels. Remember, you can use multiple brushes to change the end result.
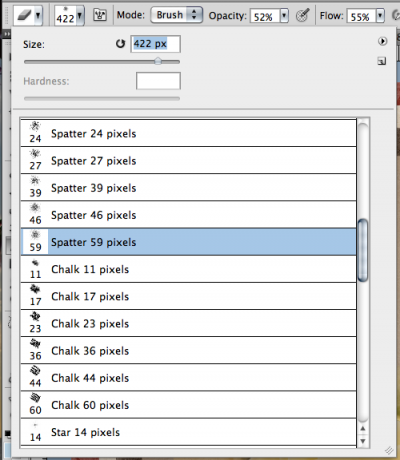
I decided to use another brush on top of this one. A splatter brush, 55% opacity, 422 pixels, and 55% flow.
Step 4:  Make sure you have the paper layer chosen in the layers palette. Brush on the layer and slowly show the image through the paper. Continue to brush the layer until your photo appears to your liking. Try out different types of brushes, sizes and opacities.

Step 5:  After your have completed the brushwork, change the opacity of the paper layer back to 100%. Your image now looks painted on that layer.
Close Up of the rose:
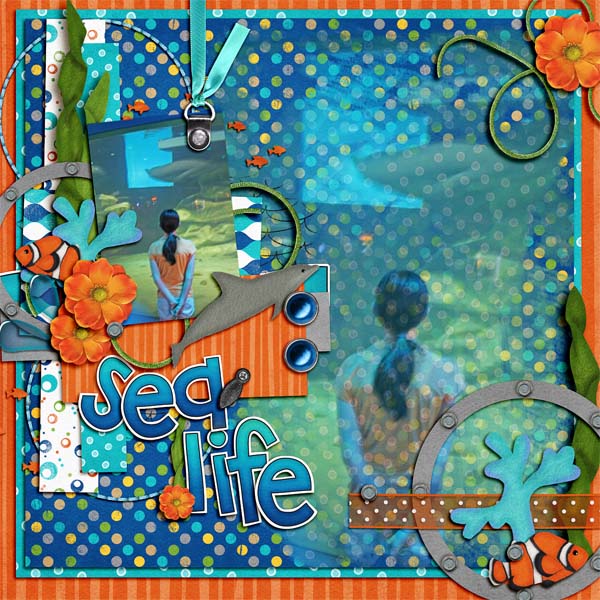
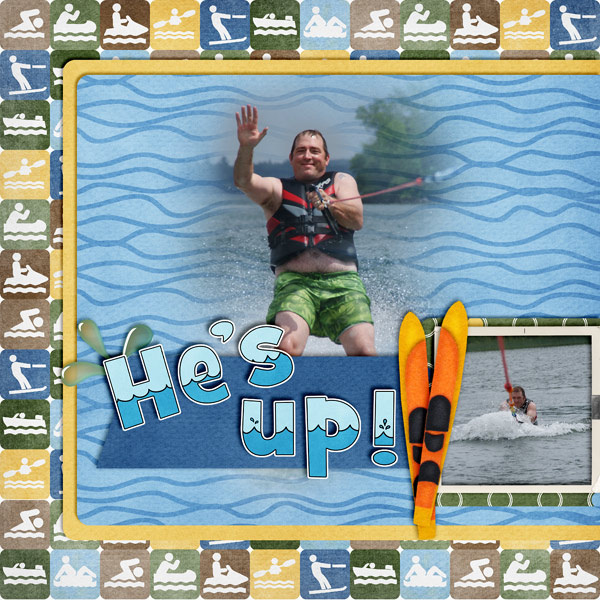
Super Easy technique there, and each brush will give you a different look on your paper and photo. Play with them and try it out!  Some of the girls on the CT give it a try!  Check out their layouts:

From Jenn:
 

From Jennifer:
From Erica:
 

We would love to see what you create!  Please let me know if there are any questions.

Thanks for visiting and I hope you come back soon!


6.13 Scrap Skills: Borders

Do you ever have a creative “block” when you want to make a new digital scrapbook page? One way to overcome is to start with a basic design element such as a border. A good border brings a strong visual anchor to your page and can give you a place to “attach” your photos. Chelle’s friends have been making pages with bold borders to show you some examples.

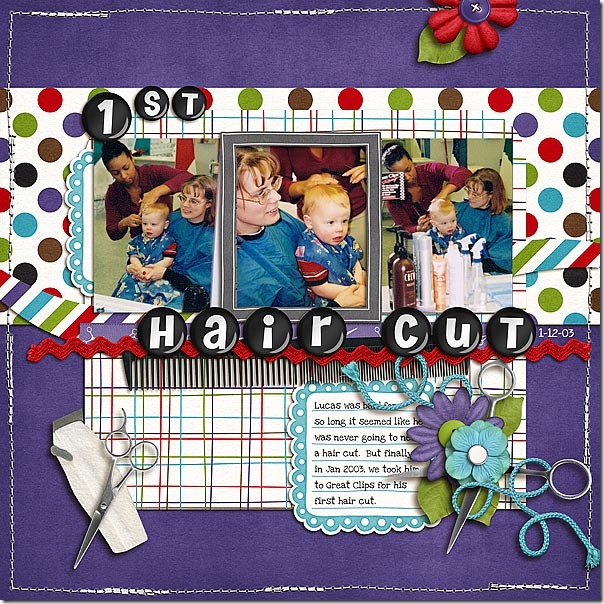
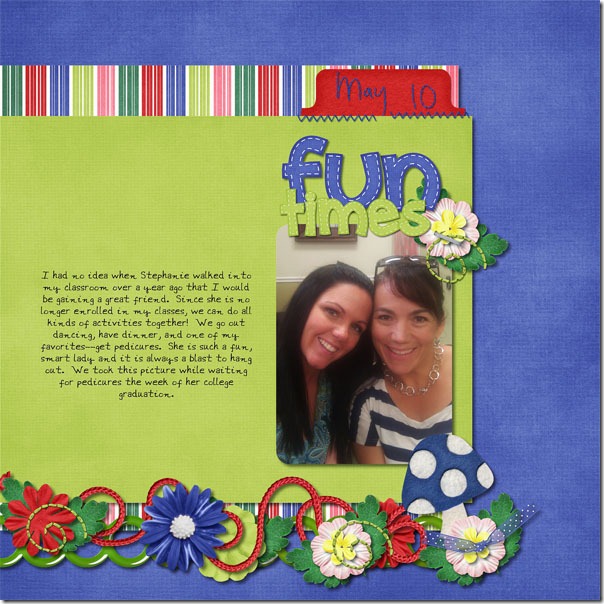
First, Jennifer made a page about a child’s first haircut, and she used the elements in the kit Mane Event to build her border. She layered a ribbon with rickrack and a comb horizontally across the page and then placed part of the title alpha on top. All her photos, elements, and journal spots are anchored to this border. This gives a calming, solid line that draws your eye to the “mane” event. web_first-hair-cutJennifer Next, Lynett also made a horizontal border of flowers and string and other embellishments from the Gnome Sweet Gnome kit. She made it lighter in appearance than Jennifer’s by giving the elements some space and allowing some of the background papers to show through. This type of border gives a more playful and dynamic feel and it compliments her layout perfectly while giving it a visual bottom to hold the reader’s attention toward the photo and journaling above. funtimesborderexampleLynett

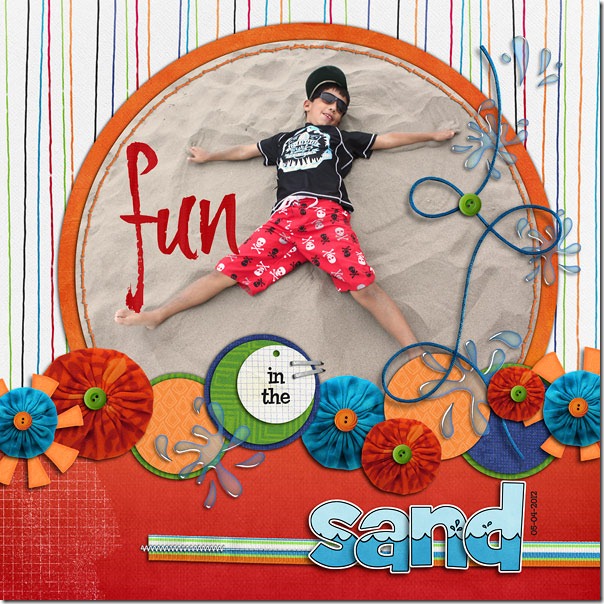
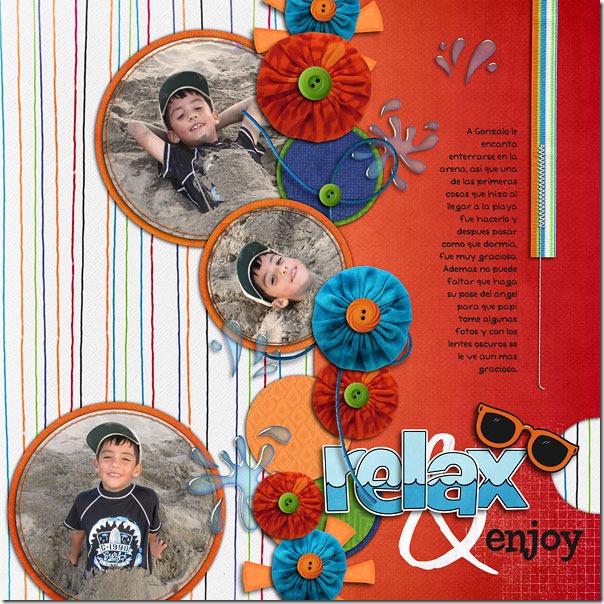
Finally, Roxana made two pages with borders as major design elements. The first page has a strong horizontal border made with circular elements – flowers, paper circles, and buttons – and her large photo is also circular and anchored to the border. This gives the page movement much like the movement of waves crashing onto the beach.  22-angel-left-webRoxana Roxana’s second page has a similar border, but this time it is vertical on the page. While still being made with circular elements, this linear approach mimics the vertical lines on the background paper and the vertically striped ribbon stitched to the right side giving the page a downward flow toward the title “relax & enjoy.” The title here actually forms a secondary border that is horizontal and less structured than the vertical one. Notice how this vertical arrangement suggests movement toward the more calm horizontal resting place with the appropriate title. 23-enterrado-right-webRoxana Did you notice Chelle’s new Soaked alpha Roxana used on both her pages? Here’s a closer look at it in the market. cc_soaked

I hope I have given you some inspiration to begin your next page. You can make a border from almost anything in any kit you use, just as these ladies have, and you will be well on your way to making a visually interesting page to scrap your memories.

Unlikely Pairs: Girl Power & On the Trail | Digital Scrapbooking Kit Combinations

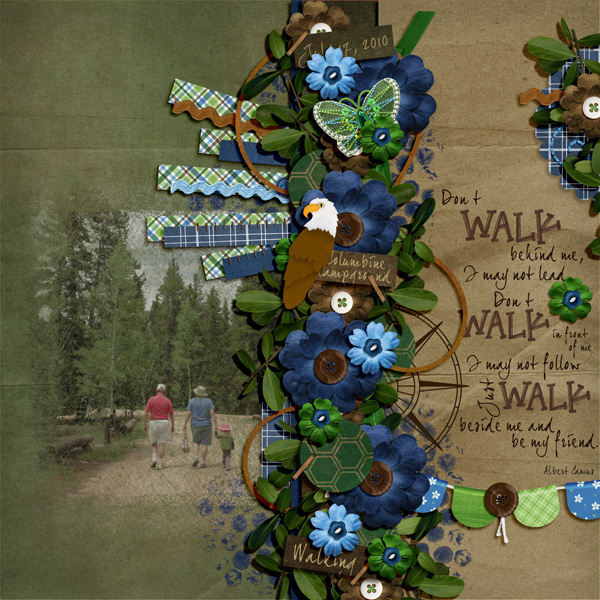
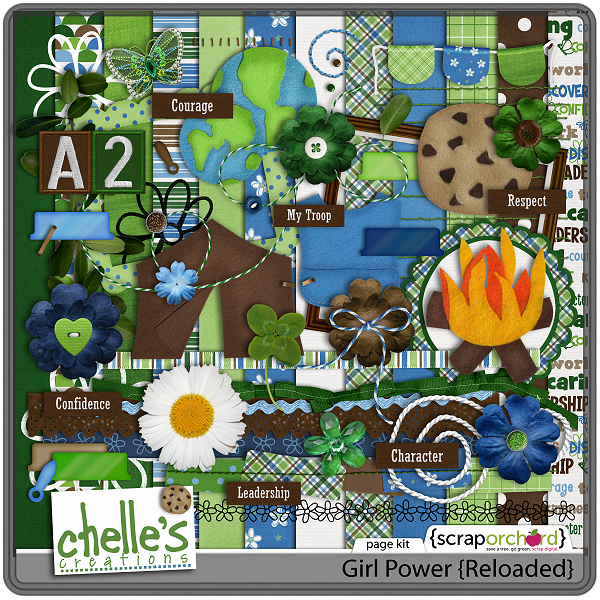
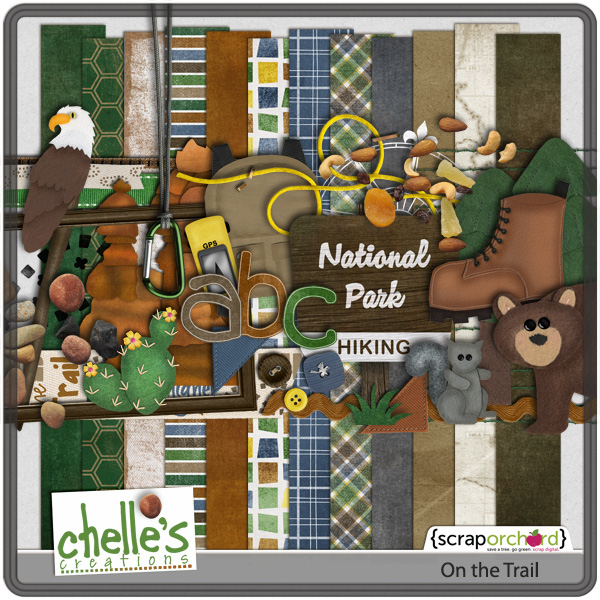
Hello Friends! Chelle’s Aunt Sari here. Today I am presenting some of the Creative Team’s LOs on Girl Power & On The Trail. At first you might not think of them together, but when you look at these LO’s, you might just change your mind. First up is Karen. I love the blended image of walking down the trail. Love the clusters & borders. The text is PERFECT. Might come in handy for one of your LOs. Love the use of the green and browns in the background paper.

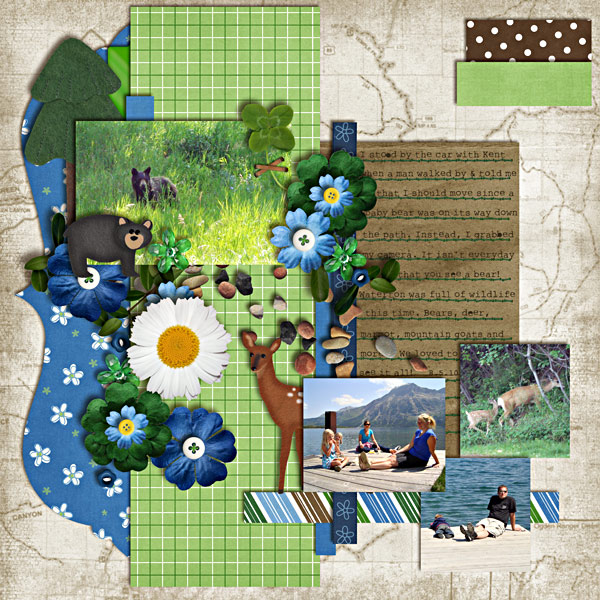
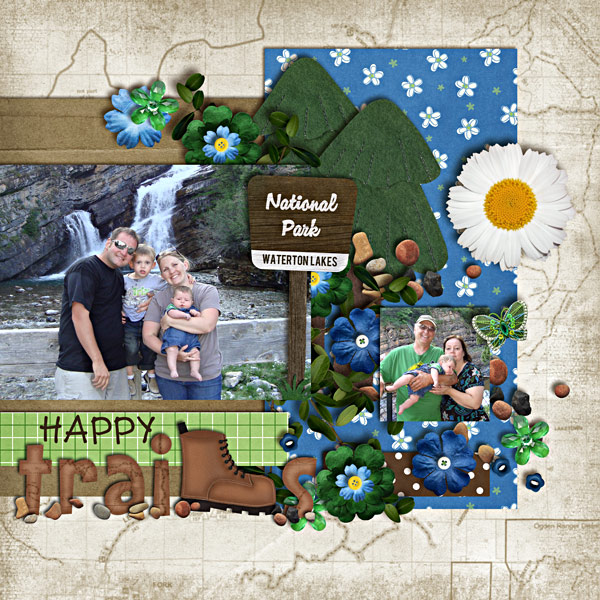
Then we have Mary’s 2-page spread.  Isn’t is lovely, with the beautiful textures? Love the map background and especially the “Trails” with the hiking boot used as an “L.” Love the contrast between the blues & greens.

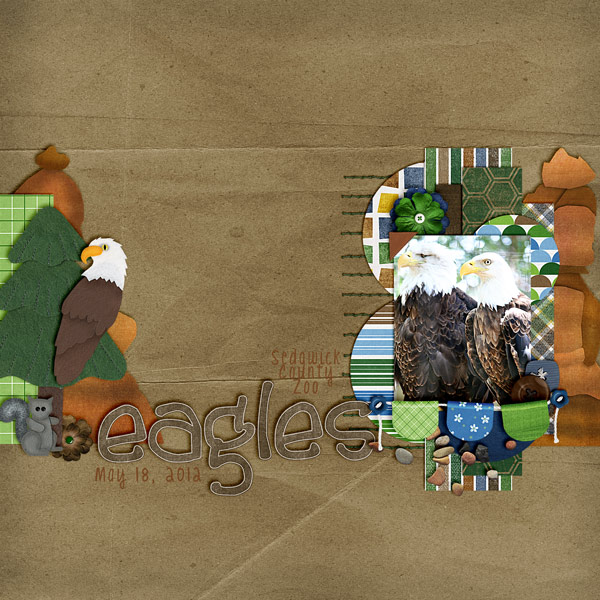
Last up we have Mel B. What a great idea for a “zoo” page. Love the border cluster in all the shades… Wonderful Job!

What could you scrap with these 2 great kits?
Want MORE? Here are the links to the products used in this blog post.


6.11 Sneaky Peek – Summer Lovin’

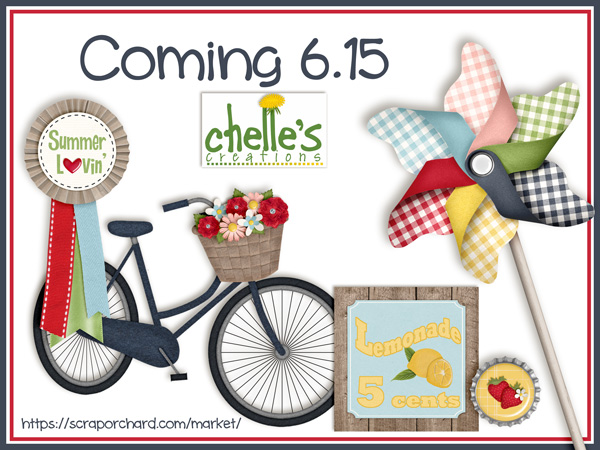
Hello everyone! I’m here today to give you sneak peek at what Chelle has coming out this week. I love the vintage feel of this kit. I remember summer bike rides. We didn’t ever have a lemonade stand. Hard to sell lemonade when you live in a rural area. But I do remember fund raisers for Girls Camp at the local farm store.  There was always traffic there. Be sure to check back on Thursday for the full reveal.

You can enter to win this kit in any or all of these ways:
1. Comment on this blog post.
2. Like this Facebook post. Or post about the sneak on your own wall and link it to this blog post.
3. Tweet about the contest.
Remember, since the winner is chosen using a random number generator, be sure to come back and post when you’ve done #2 & #3 each in their own comment.
Deadline: 11:59 PM EST Wednesday.

Chelle Scraps | Rescue Blurry Photos

I was determined to get a few minutes to digital scrapbook this weekend.  And a few minutes was all I got…at the very end of the weekend (it counts as the weekend if I haven’t gone to bed on Sunday night, right?…even if it’s actually Monday morning?  LOL!)

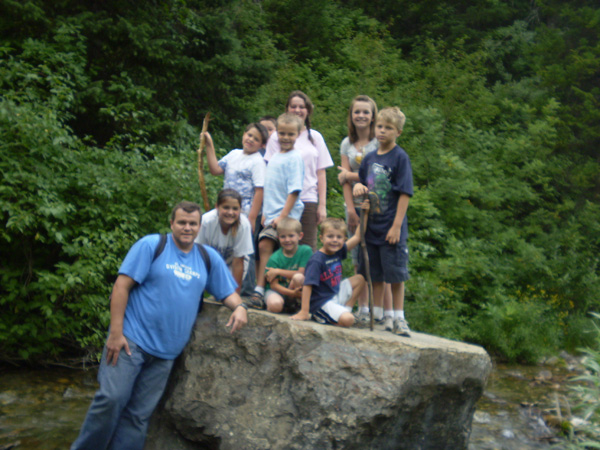
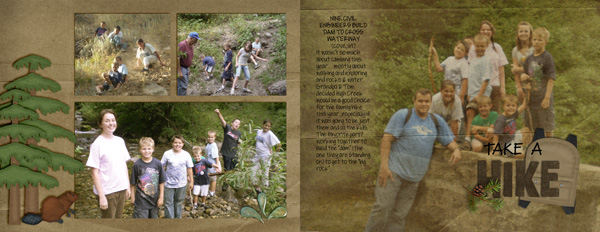
Rarely do I trust my camera to my kids…and almost never out of my sight. But I do try to send a camera with them…especially at events like this family hike.  Unfortunately my favorite photo from the trip was blurry…BADLY blurry    :(

There are several creative ways to include a photo like this in digital scrapbooking.  This time I’m using my favorite way:  make it BIG and blend it in.

I placed the photo on the right hand side of my spread and changed the blending mode to soft light.  The faces weren’t as clear as I would’ve liked, so I duplicated the photo layer and erased all but the faces area, to help them stand out.  Unfortunately that made my text difficult to read.  I tried white text, but it looked odd on the page, so I also partially erased the photo under my text until it was easy to read.

A beaver from Forest Friends, a couple of trees & a splash from On The Water, and an embellished word art title from On the Trail word art & this spread was completed super quick.

Oh, and notice my journaling…I started my journaling as if it were a newspaper article.  The headline reads:  NINE CIVIL ENGINEERS BUILD DAM TO CROSS WATERWAY (Cove, Ut) — a quick & easy attention grabbing device.

Hope this inspires you in your memory keeping!