Yearly Archives: 2012

Unlikely Pairs: Home for the Holidays & Oh Snap! | Digital Scrapbooking Kit Combinations

Hello Ladies!  Oh my gosh! I have some wonderfully inspiring digital scrapbooking layouts to show you from our creative team. We’re combining 2 of Chelle’s Kits. Home for the Holidays Bundle & Oh Snap! These ideas just capture the holiday season! I linked you up with the market down below.

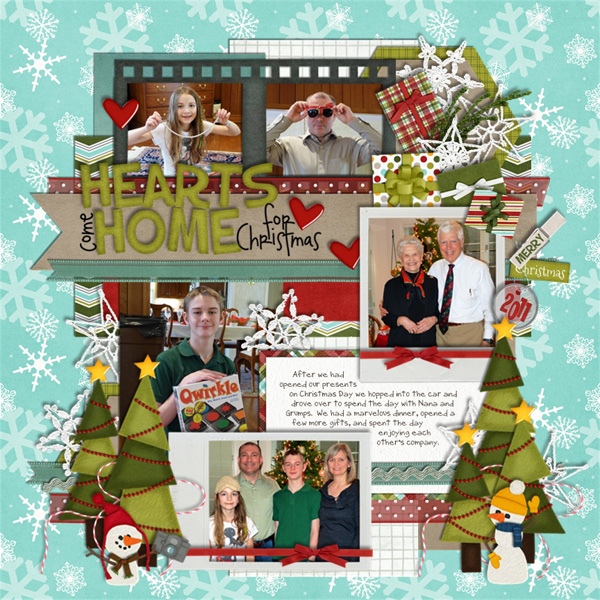
Isn’t Jan’s title work wonderful. I love that phrase. “Hearts Come Home For Christmas!” That’s a “scrapliftable” phrase if ever I’ve heard one. Play a game with yourself. Can you find the items in Jan’s LO that came from Oh Snap? It took me a minute or two.

Jan (quiltymom)

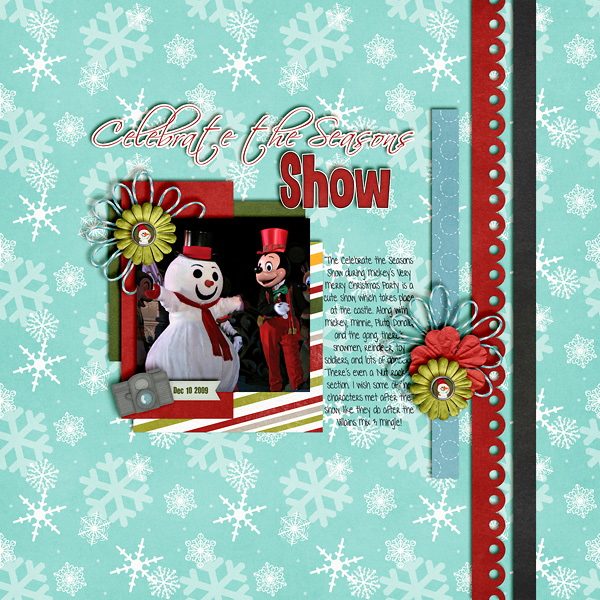
Did you see that cute little brad that Heather used in her flower clusters? Love Heather’s use of the paper that makes me think of candy canes. Doesn’t that camera just fit right into her layout? Bet you’ll find a use for the (4) camera’s in Oh Snap! in your seasonal layouts.

Heather (snowdrop)

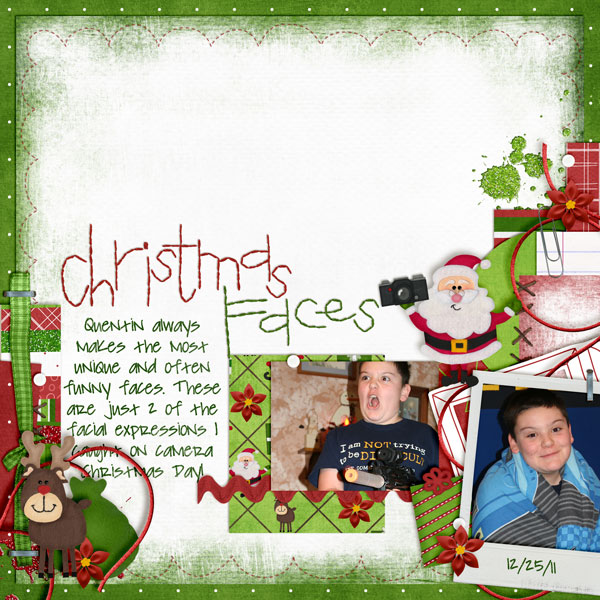
Mel used Santa, Rudolph, glitter splats, poinsettias, & Holiday Stitched-A-Bet in combination with Santa’s camera. He must be looking for who has been naughty or nice. Quentin’s face sure makes me wonder? I bet you could make a fab-u-lous Christmas newsletter with this LO. Scraplift away!

Mel N (KSCroppyChic)

Products used in these layouts:  Home for the Holidays Bundle, Home for the Holidays Kit, Home for the Holidays Add-On, Home for the Holidays Word Art, Home for the Holidays Quickies, Build A Snowman, Oh Snap! Oh Snap! Wordbits & Oh Snap! Quickies. Mel also used Holiday Stitched-A-Bet.
Have fun! See you soon.

11.27 Using 2 Alphas in a Title | Digital Scrapbooking Skills

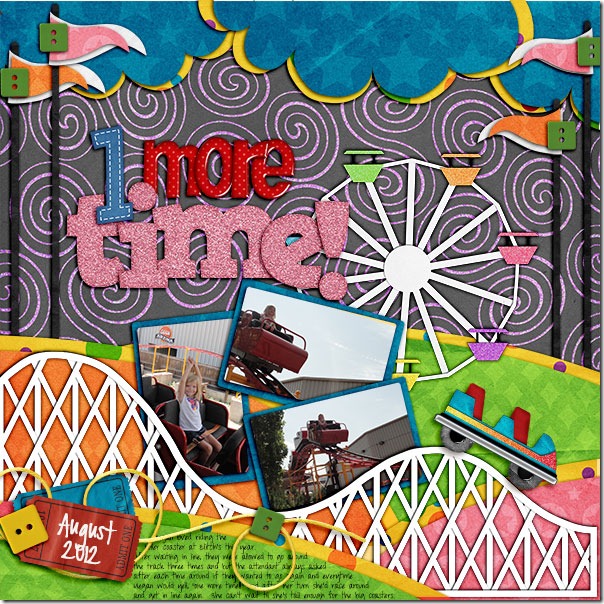
One thing I LOVE about digital scrapbooking is being able to easily add interest to a title by using multiple alphas. With traditional scrapbooking, it was so difficult and expensive to add multiple sticker letters to a page, that often my titles were short and boring. But, with digital scrapbooking it doesn’t cost any more to add 2 or more alphas to a title, and the impact is so great that I find myself doing it more often than not. I can mix kits I already own and use the alphas over and over without using them up, like I did with my favorite stickers, making any digital kit a great bargain. Take this page by Karen, for example: one-more-timeKarenShe has used 3 different alphas in the title, and the three different shapes, textures, and colors to the letters (and number) give emphasis to each word. It also fits the fun energy of the overall theme of the page about riding a roller coaster in the amusement park. She used Ticket to Ride for the page and she used the Rainbow Collection for the alphas.

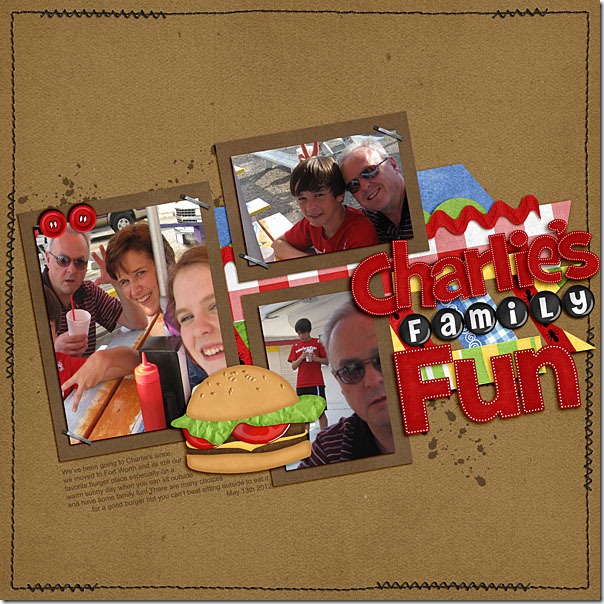
Next, Ronnie used Chelle’s Chillin’ and Grillin’ kit for most of the page and 2 words in the title, but she supplemented her title with the Button Alpha, which is a neutral colored alpha and works with any color scheme. The Button Alpha highlights the word “family,” which is always a good word to emphasize on a page, and making the word “Fun” much larger than the others certainly tells you about the page’s purpose. In fact, everything about this page says “Fun” from the angle of the photo collage to the bright colors of paper strips behind the photos. Chelle Creations - Button Alpha<br /><br />
Chelle Creations - Chill n Grill<br /><br />
Chelle Creations - Ladybug Hug<br /><br />
Chelle Creations - Rainbow Neutral<br /><br />
Scrapping with Liz - Fairly Simple Templates<br /><br />

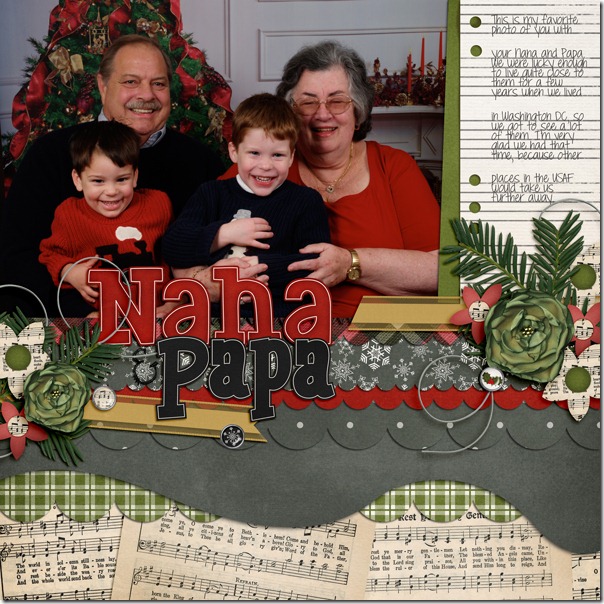
So, what if you are a “one kit” scrapper and the thought of mixing alphas from other kits makes your palms sweat? Chelle’s CU alphas are a great resource to help you. My friend Leslie has made a page specifically to show you a great way to break into the multi-alpha trend. She created a page with Chelle’s We Wish You A Merry Christmas {Bundle} which includes the red alpha she used in the title (it’s actually part of the Add-On which can be purchased separately from the bundle). Then, she used one of Chelle’s CU Dynamic Alpha Doodles and clipped a black paper to it to coordinate with the dark sweaters in the photo and the black music notes on the papers. Using a multipurpose alpha like this one with paper from your kit makes it easy to add that extra interest to your title without having to search through several kits to try to find a coordinating pattern.Christmas-2006-Nana-PapaLeslie

I hope I’ve inspired you to break into the multi-alpha trend. See you next week!

Gallery Standouts | Digital Scrapbooking Inspiration

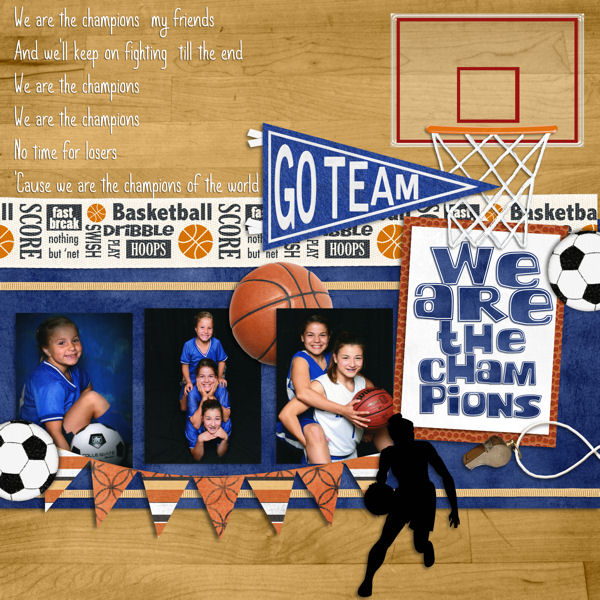
Hello Everyone! Today I have some great digital scrapbooking ideas for sports enthusiasts, holidays, and late summer. As I was looking through the gallery, this LO caught my eye. I love the banner and the use of the ribbon. A happy reminder of past sport experiences. We Are The Champions is a LO you’ll be sure to scrap lift.

(Tamie)  She used  Slam Dunk & the blue pennant/alphas from Play the Game by Chelle’s Creation.

I really liked this LO. How can you not smile and remember your favorite Christmas memories.

(zippyoh) She used Chelle’s “Ho Ho Ho” Bundle.

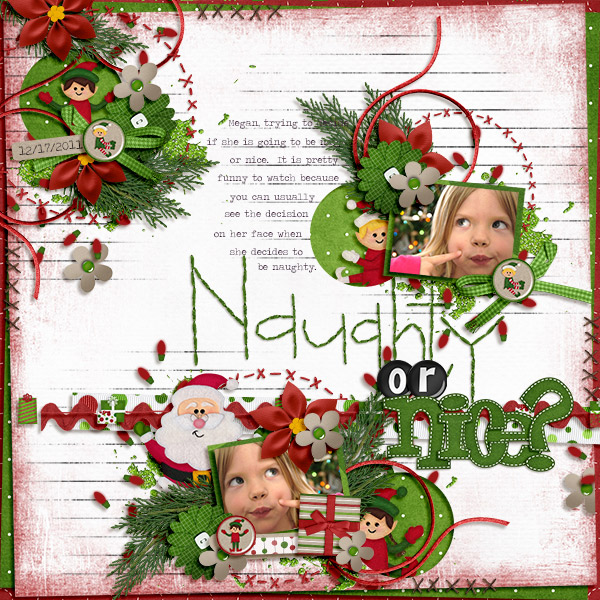
Love this little girl’s face. How does a sweet young girl try to look both “naughty and nice” at the same time? The clustering is amazing.

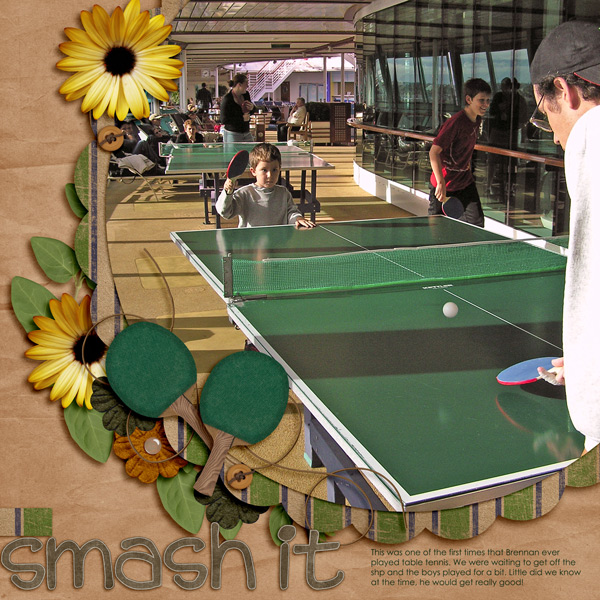
In July for her birthday celebration, Chelle offered Felt4U – and her peeps responded with requests. A ping pong paddle was one of the winners. Love the feel of this LO with the cruise ship deck as part of the ‘scene.’

(enjoy.your.pictures) She used Let’s Camp S’more, Fetch, On the Trail, Oh Snap (recolored), Eeeek, Sunnyside Up, and a very special, custom made Chelle’s Creation ping pong paddle!!

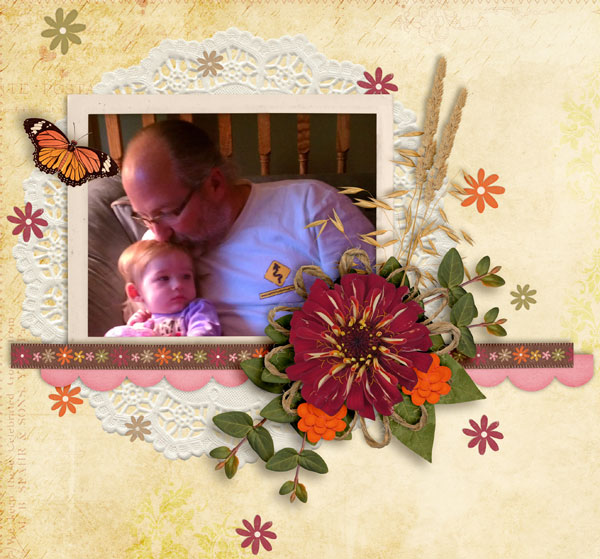
What a sweet picture of Grandpa & granddaughter. The cluster work is just beautiful!

(KTaylor6613) She used Indian SummerIndian Summer Freebie by Jennifer (aka Jmljensen)

Hope you enjoyed this “look” at a few of my favorite LOs. See you soon. Hugs!

Black Friday Freebie | Digital Scrapbooking Freebies

Hello digi scrappers,

Did you gobble til you wobbled yesterday?  I did!  I do every year on Thanksgiving.  There’s just so much good food that I can’t help myself.  =)

Today in the US  is a BIG shopping day to kick off the holiday shopping season, so if you’re brave enough to go out and fight the crowds more power to ya.  I’ve done it a few times, but this year I’m doing most of my shopping online in my pajamas! LOL  I don’t like to fight the crowds maybe that’s why I love digital scrapbooking so much, because I don’t have to run out to the store.  I can just get everything I need with a click of the mouse and it’s on it’s way right to my hard drive.  Then, I can scrap before my mojo decides to take a hike.  LOL

Speaking of getting everything you want with the click of a mouse, did  you see that last Friday Chelle released the We Wish You a Merry Christmas Collection.  It’s FABULOUS and you’re going to want it ALL to get ready for the holidays.

I used this bundle to make today’s freebie.  It’s a little cluster that would look fabulous on a holiday card, tag or layout.

Download the freebie here

Enjoy!  and keepscrappin’


Advent Calendar | Digital Scrapbooking Resources

Hello Everyone! December 1st is coming. I thought I’d give you some ideas for daily activities for each day in December, sort of an advent calendar activity list. Elf On A Shelf is a popular idea, and I found some fun ideas for the Elf to do as well.

  • This was one of my favorite displays for advent calendars. Each mitten contains a slip of paper listing the days activities. Easy to do on any budget. Digi this idea.

Chelle has several Christmas themed kits that you could easily use for your digital scrapbooking advent calendar.

Jump in. Give it a try. You’ll be surprised at how easy it is to make your own advent calendar.

Hugs!


Making A Scalloped Edge | Digital Scrapbooking Tutorial

Making A Scalloped Edge | Digital Scrapbooking Tutorial

Hi Everyone…. It’s Jenn, aka jk703, here to bring you another quick and easy tutorial. I’m glad to be back, especially after Super Sandy came to visit the Northeast, left havoc and devastation in her wake. We’ve got power back, and we are back to our routines. We were lucky. A huge Thank You goes out to Chelle for posting my Dry Embossing tutorial for you and Krisi for getting this post finalized and ready to go out to you!
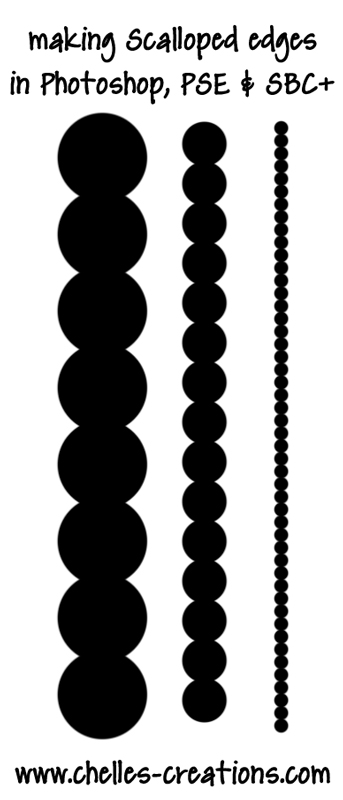
Today, I thought it might be fun to show how you can make your own scalloped edges. You can use them as fun layering strips on your background page, or you can even make a frame. Another idea would be to use different shapes for the edge, for my example I used a circle. There are so many options on the edges that you can create, just play around with the shapes and the tools that are available to you in your brushes.

For Photoshop:  (for PSE & SBC+ 4.0 see below)

Step 1: From the File Menu Bar, choose View, and click on Brushes. A Brush Tab will pop up. I am working on a plain canvas. It made it easier for me to show off the different steps. If you are working within a layout, just remember to add a layer, so you won’t use the Brush Tool right on top of a paper, or ellie.

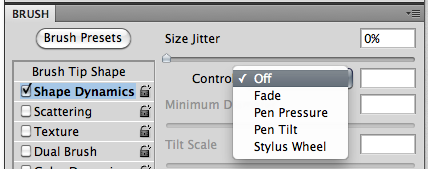
Step 2: The Brush Tab has so many options, but right now, you want to click on Shape Dynamics. Shape Dynamics are how we can control the size, angle and roundness of the brush as we paint with it. For this tutorial, all we need to do is make sure the Size Jitter is turned off. This will allow us to brush in the same size and no changes to the brushes thickness. If you change the option and see a little exclamation point, then that option is not available to you.
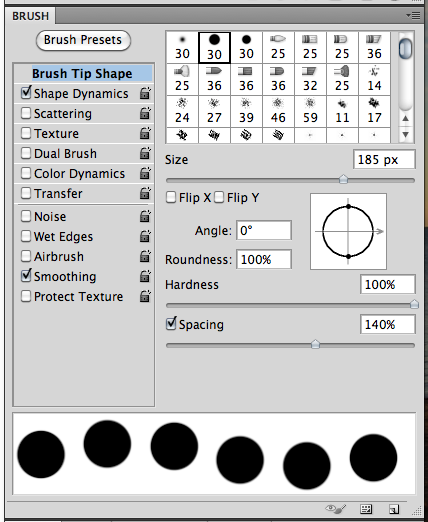
Step 3: Next, click on Brush Tip Shape, and notice the size of the brush, hardness and spacing. I’ve made my example 185 pixels. Since I am making a scalloped edge, I made my brush the highest setting of hardness. I don’t want it to be soft on the edges. Here, you can see that my spacing is 140%, which allows more space between each part of my stroke.
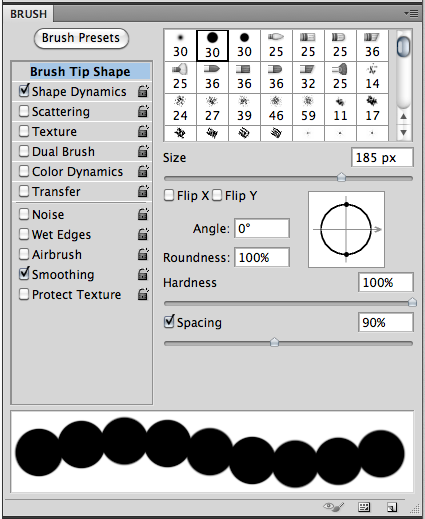
Here you can see, I’ve lowered the spacing, and my circles are now touching. I am at a setting of 90%
Step 4: Now, choose the Brush Tool from the Tools. You can also press “B,” which is the Brush Tool’s shortcut.

Step 5: On a new layer, click, press shift, and drag your mouse to one side or up and down, then release your mouse and shift button. I know it seems like a lot to do, but it is well worth it. By holding the shift button down, your will automatically be brushing in a straight line. If you release the mouse button, but still hold the shift key, your lines will connect in the next spot that you click on the canvas. Here is what my straight line looks like now:


Step 7: Now, choose the Rectangular Marquee Tool from the Tools. Make sure you have your new brush layer within the Layer’s Palette chosen. Click and make a rectangle over your brushed circles. I was about halfway through mine.

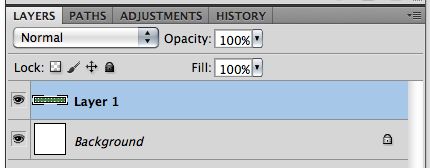
Here is what my straight line looks like with the rectangular marquee marching ants floating around:

Step 8: Again, make sure your brushed circles are the chosen layer in the Layer’s Palette. Press delete. Whatever was within the marching ants will be deleted from the circles. Tadaa… a fun, scalloped shape edge. You can adjust the size, shape and spacing too!

Here is a scalloped box frame…

Here is a scalloped photo mat or paper layer…

Here is what Chelle’s team did with their scallops! Take a look!

Kayla did this fun layout using We Wish You a Merry Christmas Bundle and Scribbles 2 Alpha

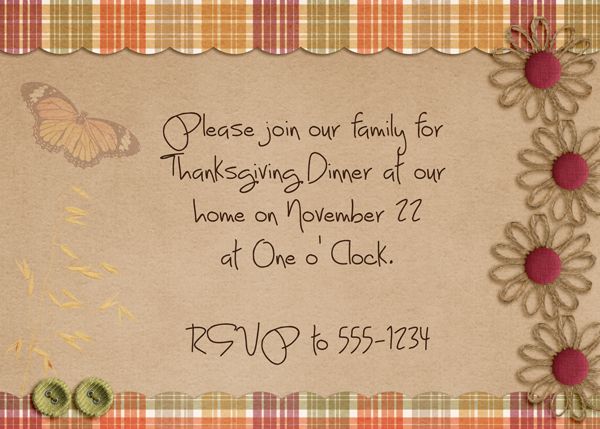
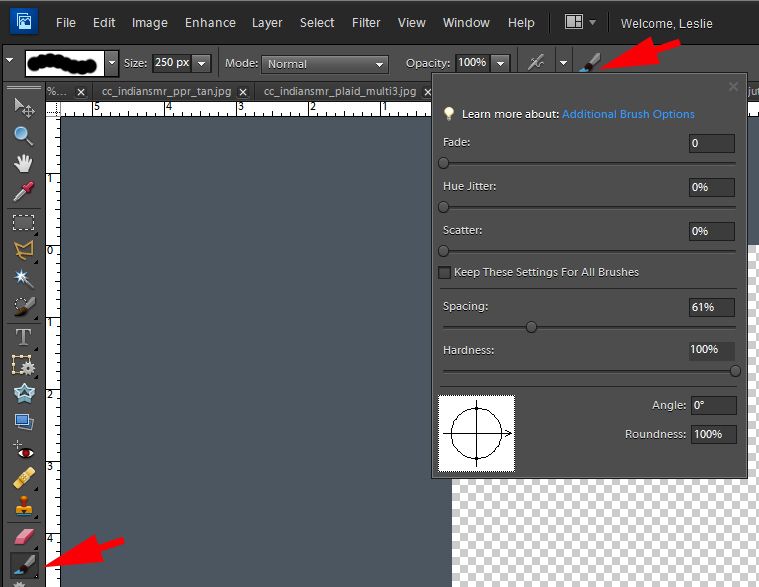
This card from Leslie using Indian Summer. Leslie used PSE and did the spacing at 61%
Leslie was kind enough to do this screenshot for PSE users
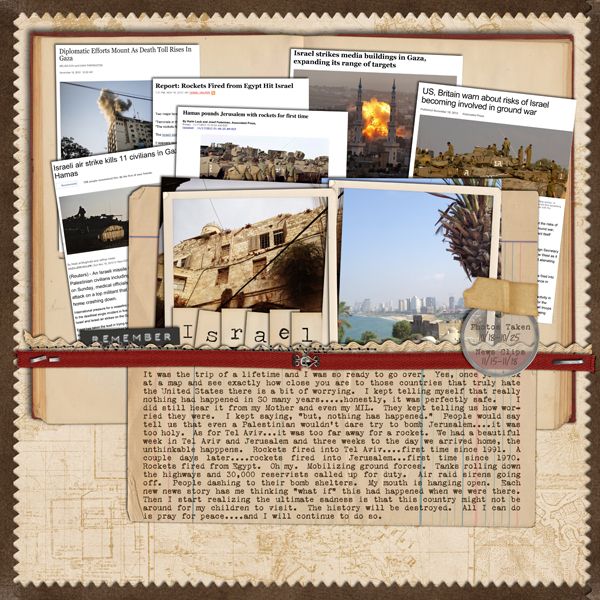
This layout from JennV she used a different style of brush – a triangle – to make a pinked edge. Layout uses Chelle’s Traveler kit.
Erica used the technique for a small element in her cluster. She used We Wish You a Merry Christmas and Newsprint for her layout.
This layout from Jan using We Wish You a Merry Christmas which she created using SBC+ 4.0
She was nice enough to give us some directions on how to do this in SBC+ 4.0.

After placing your chosen paper onto the page, go to >Cut and Fill >Straight >Shaped Edge. Choose the shape of your choice from your library and resize the shape to your liking, working the aspect ratio and spacing to get your final shape. Place the shape where you want it on the paper then either cut or copy. Next, trim down the paper to get the desired size edge.

And there you have it … Making Scallops for your layouts or cards.

Thank you so much for coming by Chelle’s blog today – I hope you learned something new to you! Have a great week!

Jenn/jk703

Ho! Ho! Ho! | Digital Scrapbooking Classics

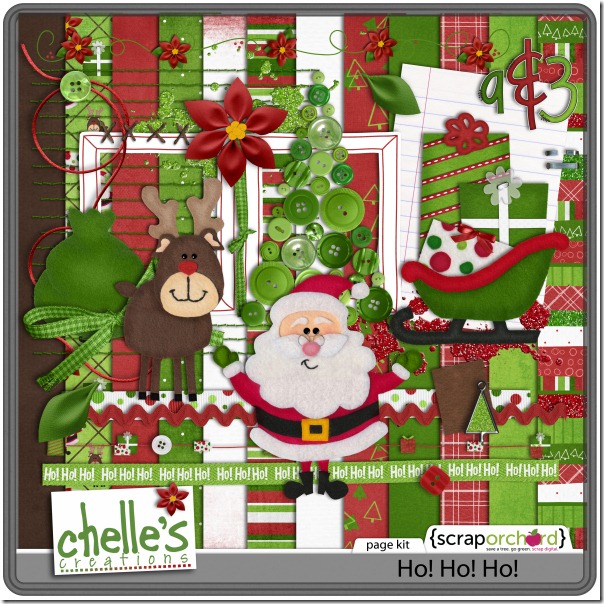
With Black Friday fast approaching, I’m starting to plan for Christmas, as I’m sure you are, too. I’m planning for bargain shopping, but I’m also planning for the photos I want to take because I LOVE to use my Christmas digital scrapbooking kits. One of my favorites is Chelle’s Ho! Ho! Ho! It has so many terrific items – the button tree, the jolly Santa, the reindeer, the sleigh, and some of the cutest gift boxes ever. Chelle’s talented team members have been playing with this kit, and I want to show you what they’ve created.

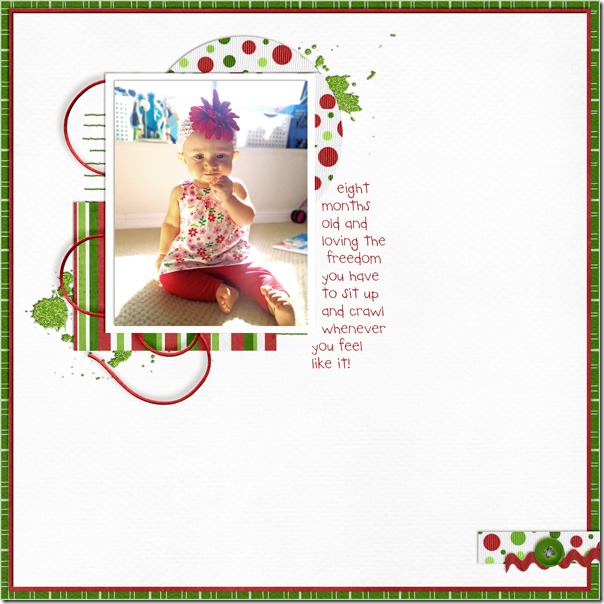
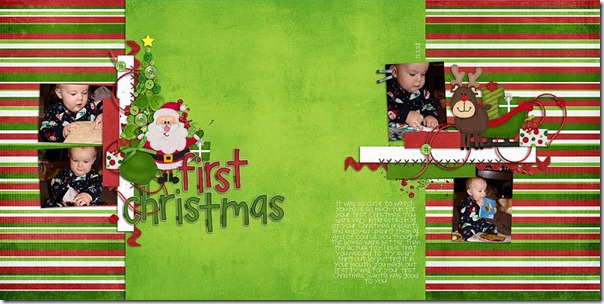
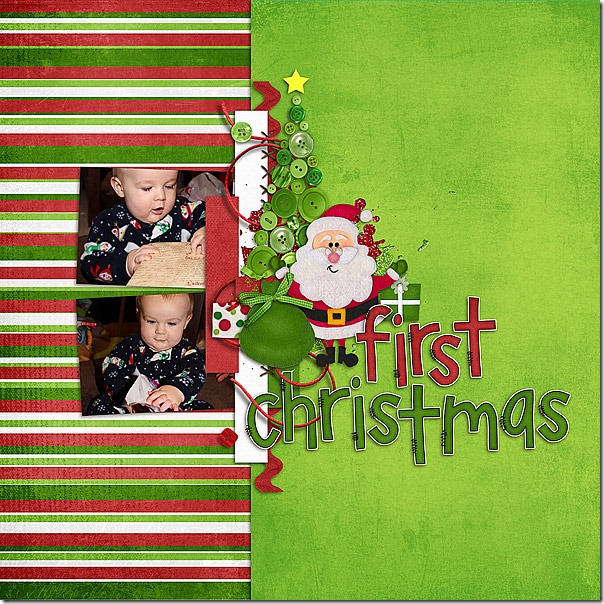
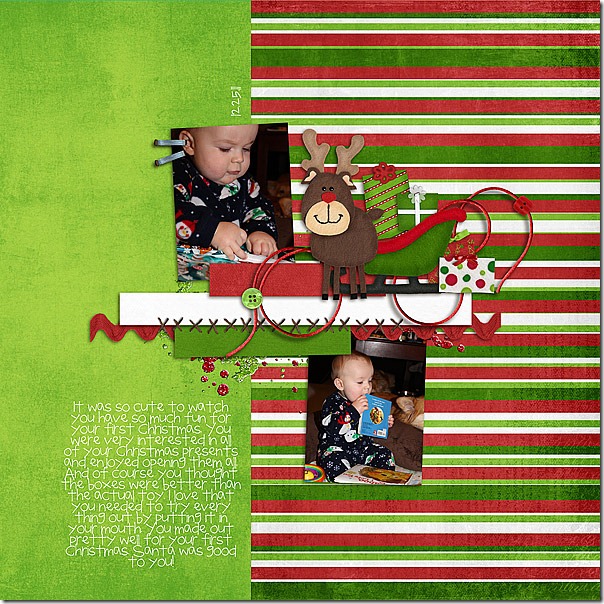
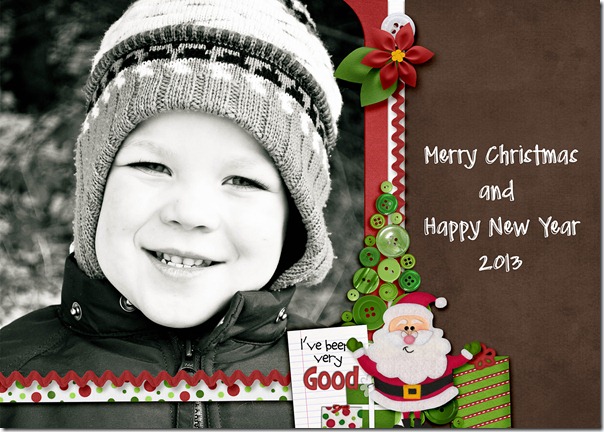
Kassie used Ho! Ho! Ho! to scrap a page that was NOT a Christmas page. Her daughter was wearing an adorable outfit with the same read and green colors in the kit when she captured her sitting up – a major milestone for a baby! She used the papers and string and splats without the Christmas-specific elements to make her page. Isn’t that the cutest little headband?sittingupKassie Melissa used the kit WITH all the Christmas goodies to make a double page about her son’s first Christmas, which is another major milestone. I love the way she used the Santa on one side and the reindeer and sleigh on the other. Here’s her double page and then a closer look at the left and right sides. First-ChristmasdbFirst-Christmas-LSFirst-Christmas-RS Finally, Dagi decided to make a Christmas greeting card with the kit, and of course, it is the perfect time to do that and the perfect kit to use! Her black and white photo is beautiful, and the word art from the bundle is the perfect embellishment.Merry&Bright_card3_1

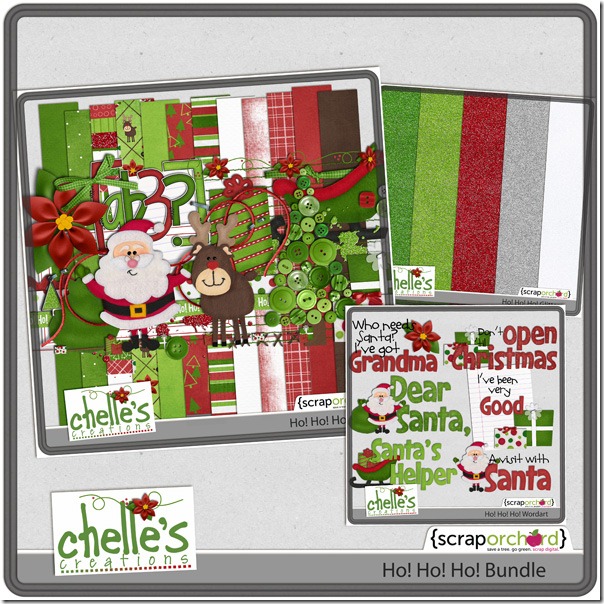
Here’s a closer look at the kit and the bundle in the market. The images are linked. chelle_hohoho_kitcc_hohoho_bundle_preview_2post

It’s time for me to get back to planning for the holidays. I hope your plans have some Ho! Ho! Ho! to them!