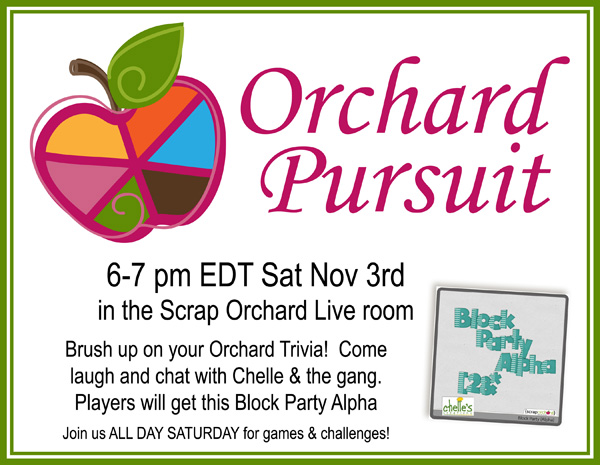
Hi Scrappers! It’s finally here, Digital Scrapbooking Day is just a few days away. We got some great games, giveaways, challenges & the Orchard Pursuit Chat, hosted by me, on Saturday Nov 3rd from 6-7 pm EDT. Players will receive the Block Party Alpha.
Yearly Archives: 2012
DSD Template Challenge | Digital Scrapbooking Freebies
Hi! This weekend is going to be so fun. Here’s the information about the template challenge. Use 100% of Chelle’s products to create your layout and there’s a bonus entry for using items from the DSD Grab Bag.
Win one of three prizes – ALL December PU new releases, $10 gift certificate or word art pack. Enter using the Rafflecopter widget below. Can’t wait to see what you create. 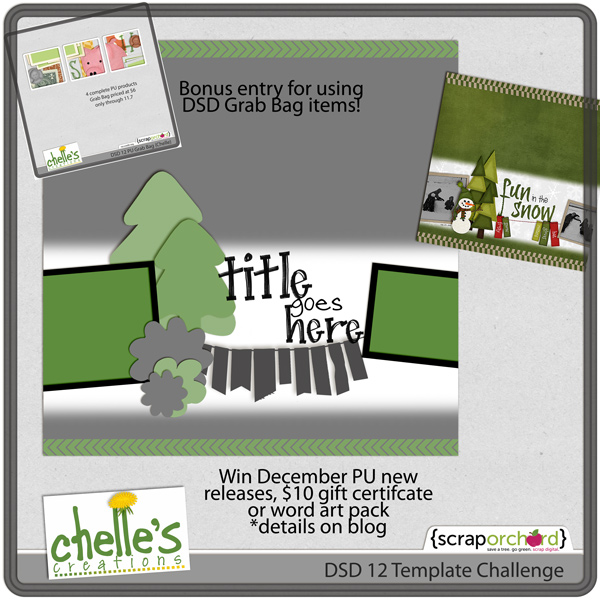
Check out Jennifer’s layout here – that the template was based on:
And Krisi’s interpretation:
You can download it HERE
Hugs!
Tweaking Templates | Digital Scrapbooking Skills
Hi Chelle’s fans! Do you use templates for making digital scrapbooking pages? I don’t think I can scrap without them. I have become quite accustomed to the time saving of using templates, but sometimes I can’t find the perfect template, and I need to tweak a template to make it perfect for a particular layout. Some of Chelle’s team members have done that and have some example layouts to show you what they do when they want to make a template “new.”
Roxana chose to use one of Chelle’s Archery templates given as a prize for a challenge during the NSD events in May, shown in this image here.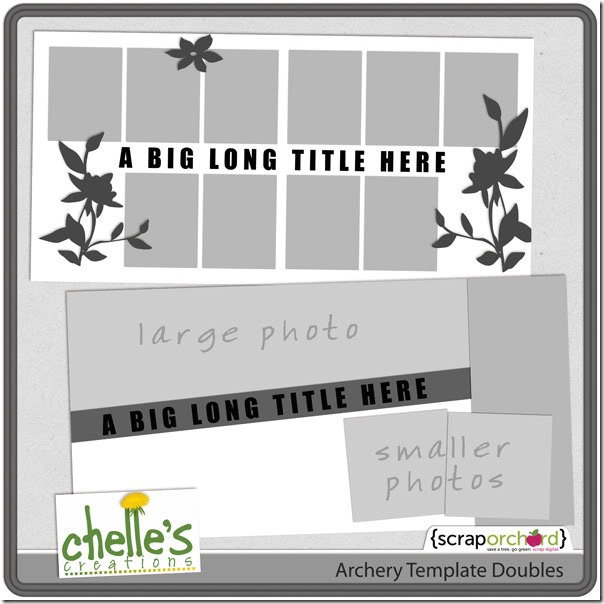 She took the double template and cut it down to a single 12×12 template and did a bit of arranging of the photos and flipped a layer or two. It made a terrific single page with her adorable large photo taking center stage. I love how she added her journal notes on top of the photo. Here’s her page:
 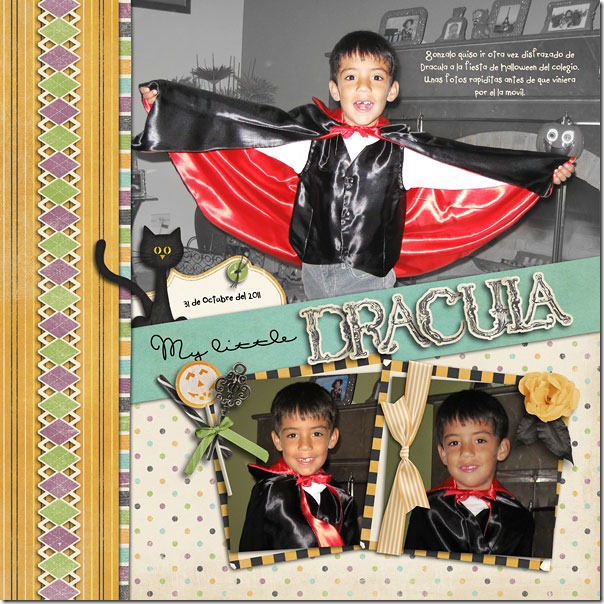 Kayla has an example to show how you can combine 2 templates to make a brand new one. She used templates from Bracket Love and Boo-tiful Blends, which are her own creations, by the way. She combined the two templates by moving 2 of the photo spots in Bracket Love down and to the corner and replaced the 3rd photo spot with the photo blending mask from the Boo-tiful Blends template.
 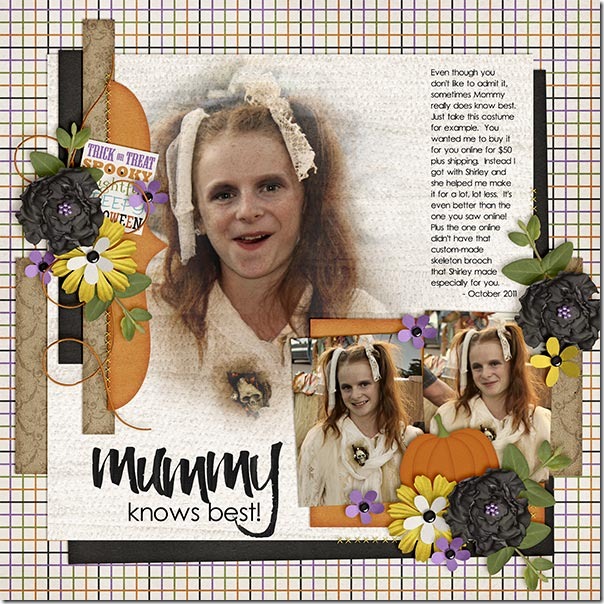 I love that large photo in a blended photo spot, and her perfect clusters are made from the Eeeeek Bundle and Kraftabulous. Her title is very fitting for her story, and it’s made from Chelle’s Wet Paint Alpha.
Tweaking templates is a great way to stretch your stash. Try experimenting with a template or two and see what gorgeousness you can make. If you use any of her products, post your layouts to Chelle’s Gallery at Scrap Orchard. I would love to see them!
Unlikely Pairs: Indian Summer & Taste of Home | Digital Scrapbooking Kit Combinations
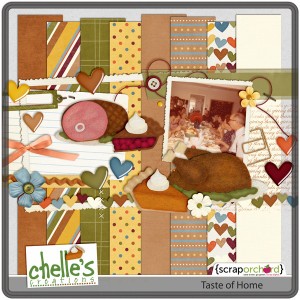
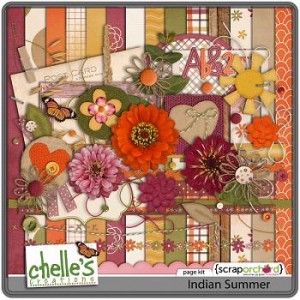
Hello Everyone! Tuesday means Unlikely Pairs and this week we focused on Indian Summer & Taste of Home.

Gallery Standouts | Digital Scrapbooking Inspiration
Hello Friends! Are you watching your calendar and counting down to Digital Scrapbooking Day? I am. Can’t wait to see what all the goodies are in the grab bags? It’s Monday and that mean’s sharing some great Gallery Stand Outs. As I was looking through the gallery at Scraporchard, I found some new LO’s that I liked. I’ll share them with you and tell you why I liked them.

This LO is by Jenn18 and uses Chelle’s “Under Construction” kit. I really like the use of the patterned papers and the dirt.The frame made of measuring tape holding the tools. Great!

Jenn V shares this LO of her son’s love of driving anything. The tire tread and the traffic signs are used together in such a great way! She used Chelle’s Vrooom! Bundle.

Clemmon03 created this “Tiger” LO of her daughter’s experience with the Tiger at the Tucson Zoo. I noticed her daughter first, then the clusters and last I liker her use of the chain link fence. She used Zoopendous Bundle.

Tbbuffy made this wonderful LO. Love the use of the cowhide paper and the buckle. The gentleman really draws you into the picture. I want to see more of work on the horse’s hoof. The LO uses Yeehaw.
Hope these fantastic LO’s gave you some ideas for your digital scrapbooking. Hugs!

Pin It, Share It, and Win It – starts now
Digital Scrapbook Day is just around the corner and we want to see what products of Chelle’s you love – so what better way to do that than on Pinterest.
What do you have to do to enter?
Pin the ad above
Then pin the products you have on your wishlist – you can find Chelle’s store here. Your pins should be in the same place you put the above ad.
Kraftabulous Playdate | Digital Scrapbook Inspiration
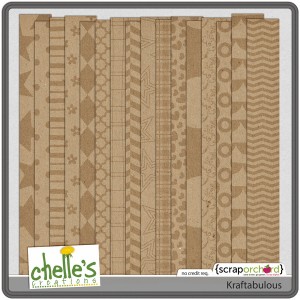
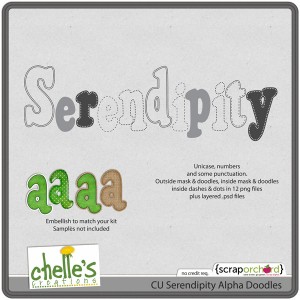
Happy Saturday morning! I can’t believe it’s then end of October and that we are a week away from Digital Scrapbook Day! I’m looking forward to the sales and seeing what Chelle has for us. This week she gave us an a Killer Kraftabulous Kit full of AMAZING set of Kraftabulous papers and for our CU Friends, CU Seredipity Alpha doodles. Check ’em out!
Chelle found a ScanMyPhotos.com – Online Deal! Get your pictures scanned. Make sure you take advantage of this. It’s a greaty savings to keep your digital scrapbook pictures safe. Click on the image for the link.
Our Creative Team had so much fun using the Kraftabulous papers with Chelle’s other kits. They are sure to give you some great digital scrapbook ideas. Great diversity since they picked one of chelle’s kits to add to Kraftabulous (obviously). The products they used are linked to the market underneath their LOs.
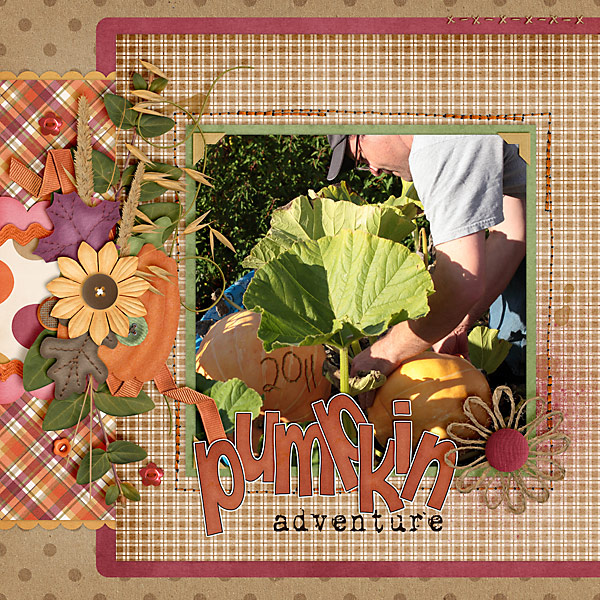
Carol Left (Iowan) She used Indian Summer.
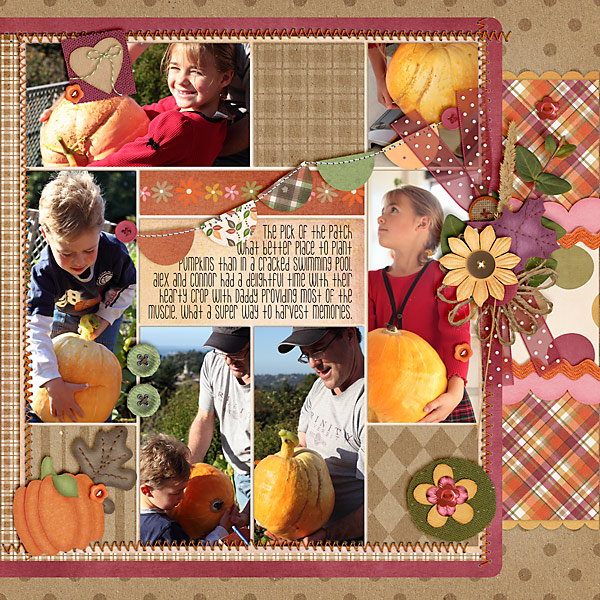
Carol Right (Iowan) She used Indian Summer.
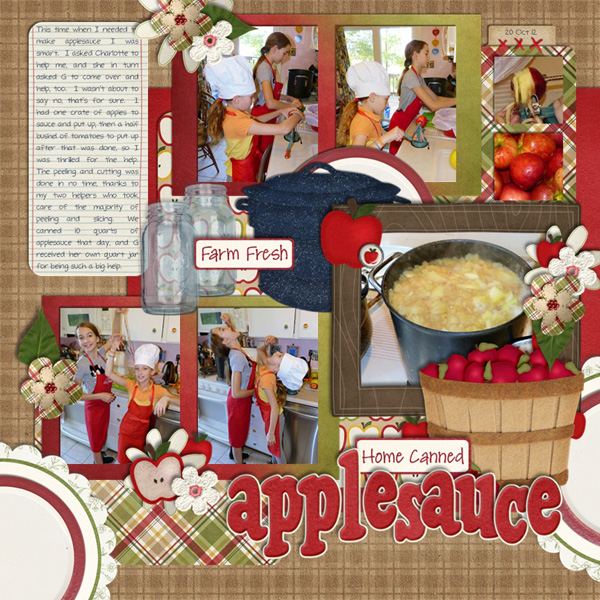
Jan (quiltymom) She used Apple of my Eye and Canning Mini.
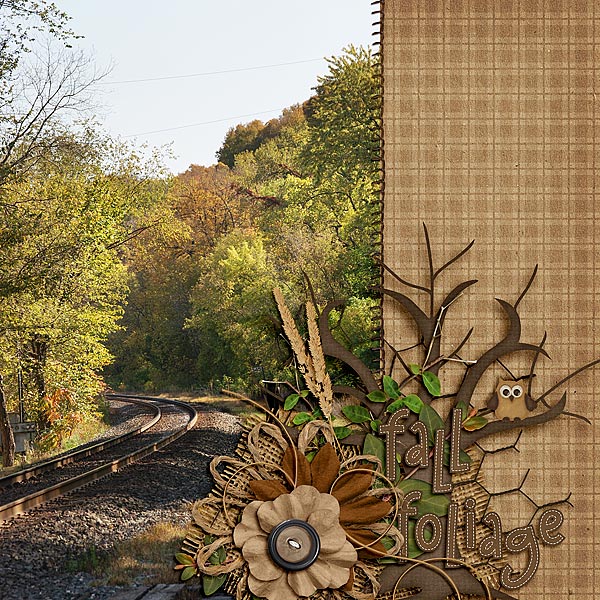
Jenn J (jmljensen) She used Rainbow Collection: Neutrals, Indian Summer and Apple of my Eye
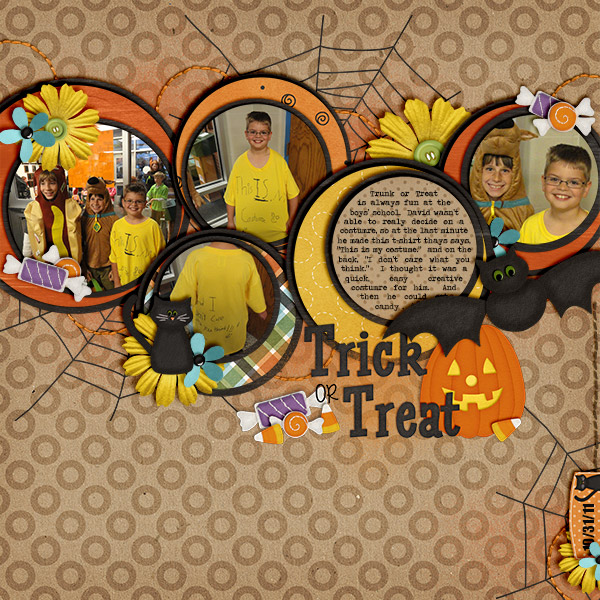
Karen (karen32) She used Eeeek!
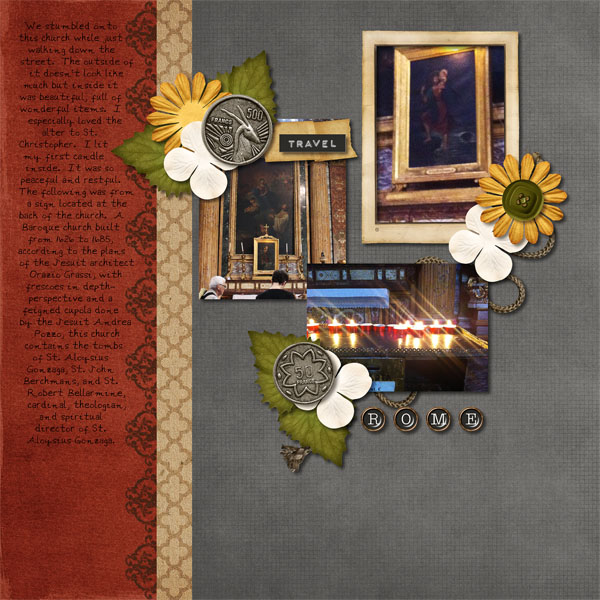
Lynett (lynett_rock) She used Traveler.
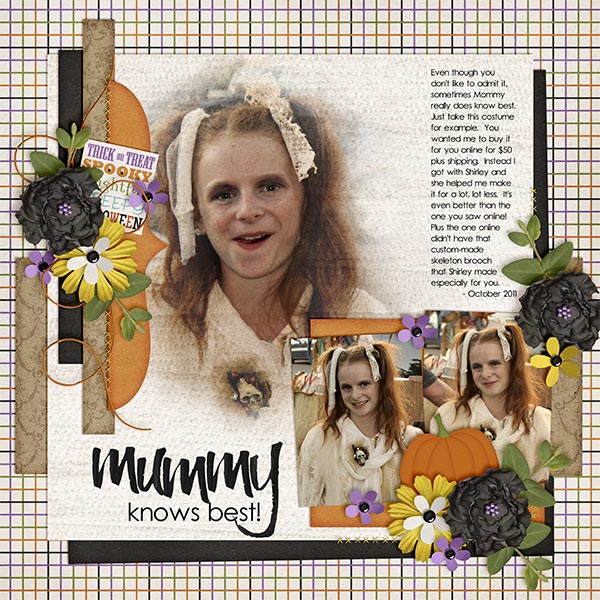
Kayla (keepscrappin) used Marker Alpha & Eeeek!
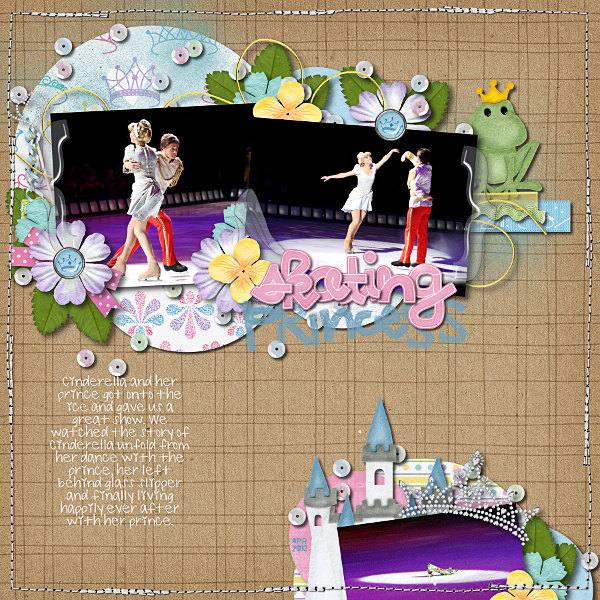
Ophelia (navaja77) She Happily Ever After, Mane Event, Toadally and Fill Me In: Pencil.

Ronnie (Ronnie_Texas) She used Heroes: EMT & CU Serendipity Alpha Doodles to create her own font.
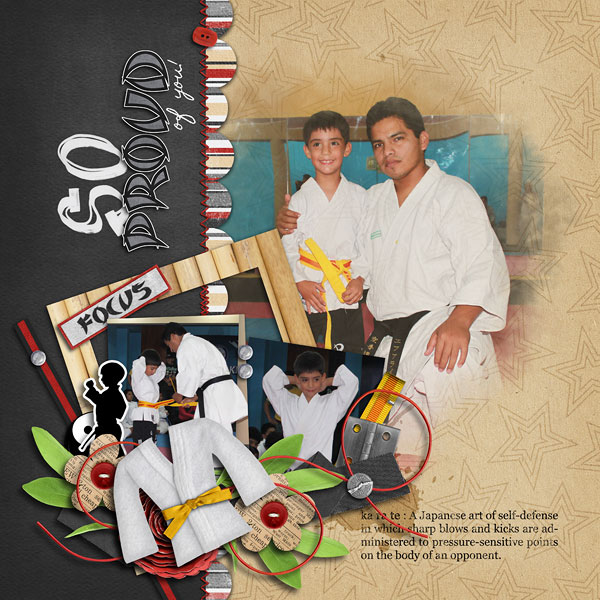
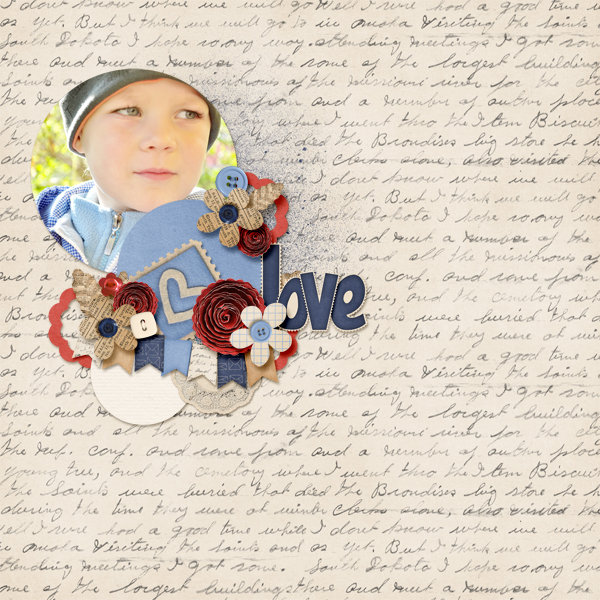
Roxana Left (roxanamdm) She used Black Belt, Letters From Home, & Marker Alpha
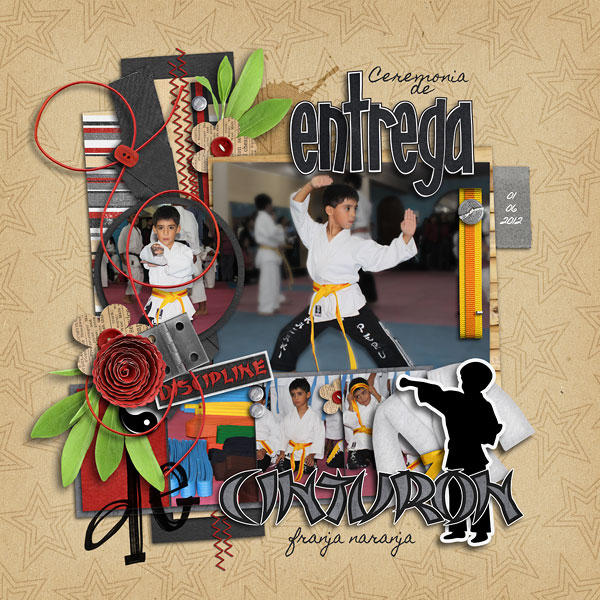
Roxana Right (roxanadmd) She used Black Belt, Letters From Home, & Marker Alpha
Cant wait to see what you post in the gallery! See you next week at DSD! Hugs!

November 2012 Desktop Freebie! | Digital Scrapbooking Freebies
Hello All You Lovely Folks!
It’s that time again! I almost forgot – but I remembered at the last minute, and I just cannot believe November is right around the corner! Yikes!
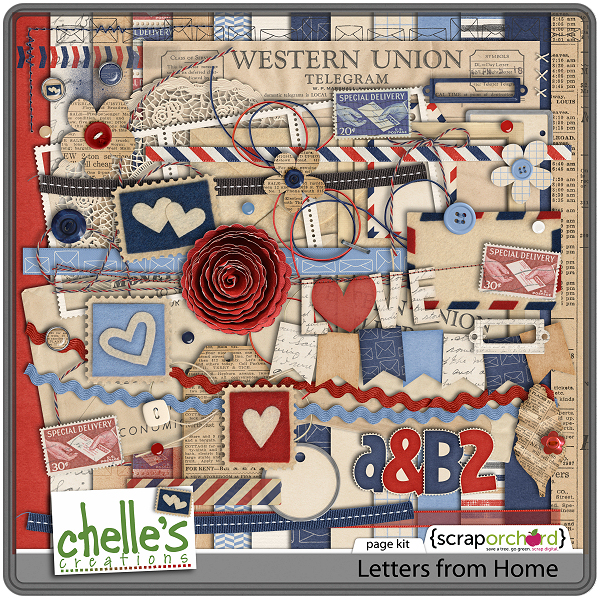
Have you been drooling over Chelle’s new kit Letters from Home? I have! I love the colors and of course, her papers are the best! You can grab Letters from Home at her ScrapOrchard Store! Take a peek:
Okay… here’s your freebie! Hope you enjoy it!
Again, it comes in varied sizes: 1280×1024, 1280×800 and 1024×768 – hopefully one will work for you!
Download all of them in one zip file here!
Blessings! *Ü*
Retouching Photos | Digital Scrapbooking Tutorials
Hi Everyone! It’s Jenn, aka jk703 Here for today’s post. Can you believe it’s almost November and DSD weekend!? This year is going by so fast. We are going to chat about retouching photos and I will provide some quick and easy tips to retouch your photos – fast and easily. First and foremost, when you retouch photos or work with any images, you should re-save the image as a new file so that the original will remain intact. The Layers Palette in Photoshop and Photoshop Elements is very important because you can work with your edits on each layer, without damaging your original photo. Just to be safe, re-save with a new name. Here are some great and easy tips.
1. Content Aware is an awesomely cool feature in CS6. It will allow you to remove unwanted items in your photos – which could be Wires, poles, other people, scratches, or other marks. This tool takes time to play with and you will end up with different results every time. Give it a try. It is found under Edit > Fill.
2. Smooth skin using the High Pass Filter. This is a backwards retouching technique. Most times the High Pass Filter will make your images crisp, and add some definition. For retouching photos, we will use it to soften skin and make it appear smoother. Make a duplicate copy of your image, and change the blend mode to Overlay. Run the High Pass Filter by Clicking on Filter > Other > High Pass. Next, click on Image > Adjustments > Invert. Your image will appear to have a fuzzy cloud over it. Click on the Mask button (grey square with a white circle inside) and add a mask to your duplicate layer. With the Mask selected, take a soft round brush and brush black on the areas of your image that you want to be sharp. The other areas will remain soft and smooth. Play with the Opacity to change the softness. Quick and easy smooth skin! (This can also be used for Teeth Whitening, too!)
3. Fix spots and other marks, scratches, or items on faces and people by using the Spot Healing Tool. This looks like a BandAid with a dotted circle behind it or you can press the shortcut: J. When using this too, you will want to sample All Layers and I usually use the Content Aware as my Type. You can also change the blend modes for this feature – replace, lighten, Darken, etc. All you have to do is press the Option button, and sample the skin that you want to work with, and then click and brush the area that you want to heal. This is especially great for the Under the Eye Bags that we get from scrapping all night long! For those pesky bags, make sure you have the Lighten blend option and play with the opacity.
4. Adjustment Layers and Curves can be used to tone down certain colors or add contrast to your photos. There is a small half black and half white circle on the bottom of your Layers Palette. This is the Adjustment Layer button. Click this and there are a HUGE amount of options for working with your photos. The Color Balance adjustment option allows you to change certain colors in your image, as well as Shadows, Midtones, and Highlights. You can also add a Curves Adjustment Layer to make changes to the contrast and processing. Be sure to click on the menu options you can try where it says Default.
5. Remove Red Eye with the Red Eye Tool lets you choose the darkness and size of the pupil. Get up and close to the eyes so you can be sure to cover the whole area that needs fixing. You can also
6. If all of your hard work is not working with your photo, and your editing and retouching hasn’t helped, try changing your photo from a color image to a black and white image. Black and white images are very forgiving and easy to do! First, make an Adjustment Layer, and choose Channel Mixer. Within that menu, click and check off Monotone. Your image will instantly become black and white. Next make another Adjustment Layer, and choose Brightness/Contrast. Play with the sliders until you are happy with the black and white conversion.
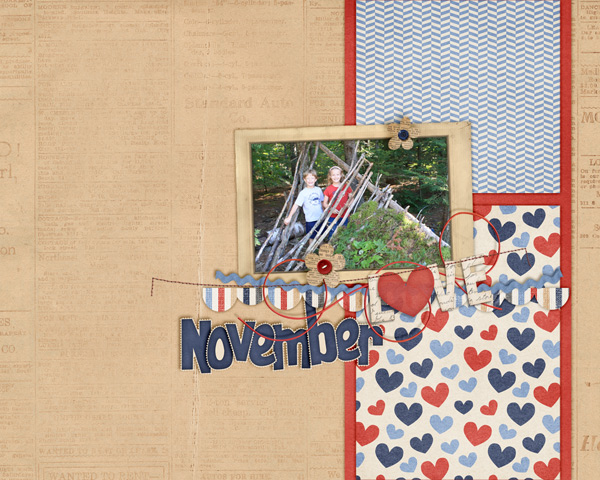
There are so many more ways to retouch your photos, but I think that working with these will get you off to a good start. Here are what the CT did with their photos and layouts. Dagi had a darker photo, and used an Adjustment Layer > Curves to lighten her image and improve the dark contrast. Here is her layout, and she used Letters From Home.
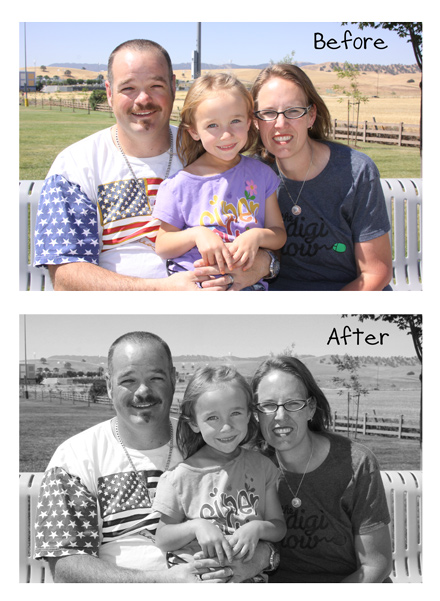
Carol sharpened the photo by using the unsharp mask, and then she used the clone tool to get rid of a scratch mark on his chin. She also lightened the area around the little girl’s eyes, whitened the whites of the eyes, and added some catchlights.
Before:
After
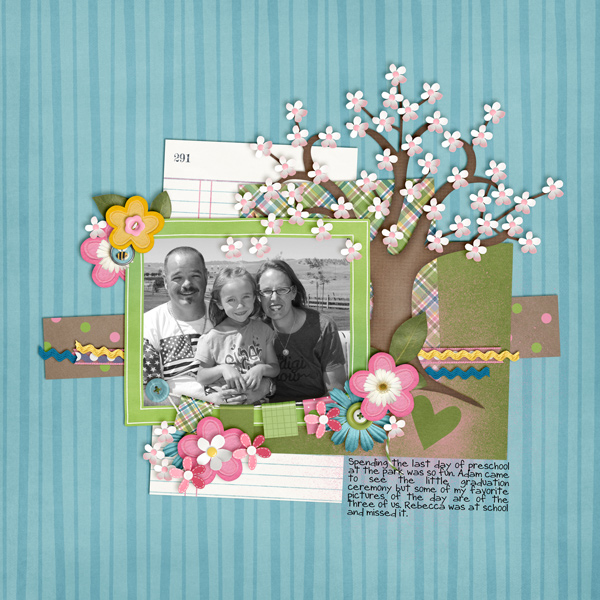
And her layout, using Bugcatcher in combination with other items:
Lastly, Krisi worked with a photo by using content aware to remove the pole sticking out of Rachel’s head. She also used an Adjustment Layer – Black & White – Maximum Black to change the photo to Black and White. I love how it turned out. Here are her images:
Here is her layout, using the Through The Years Quick Pages:
I hopt that you’ve learned something useful for retouching your photos today! Thank you for coming by the blog and visiting! Hope to have you back again!
Sayings | Digital Scrapbooking Words on Wednesday
Hello Friends! Numbers, they’re around us. Everything has numbers, elevators, street signs, price tags. Why not use them in your digital scrapbooking? I was thinking about a family history book I typed back between 2002-2004. Here are some ideas I thought of. # of great grandparents (2) # of children (12) # of grandchildren (51) # of pictures scanned (479) # of weeks to type the history (104).
I have 4 GREAT LO’s to show you. I even talked Chelle into letting me show you one of hers.
![0[3]](http://www.chelles-creations.com/wp-content/uploads/2012/10/03.jpg)



Now for the larger images:
Chelle’s up first. 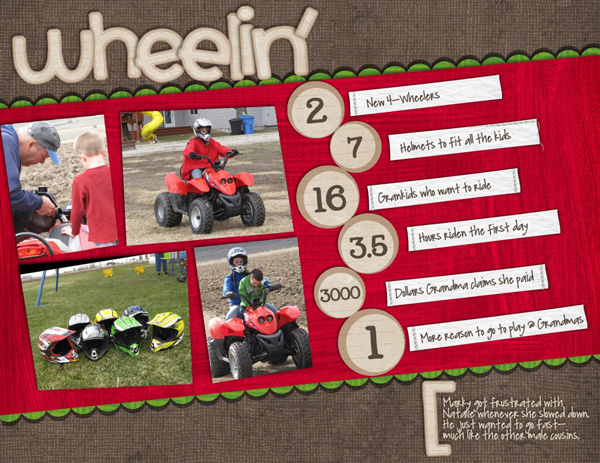
Mel N (KSCroppyChic) provides us with a baseball layout. She used Batter Up.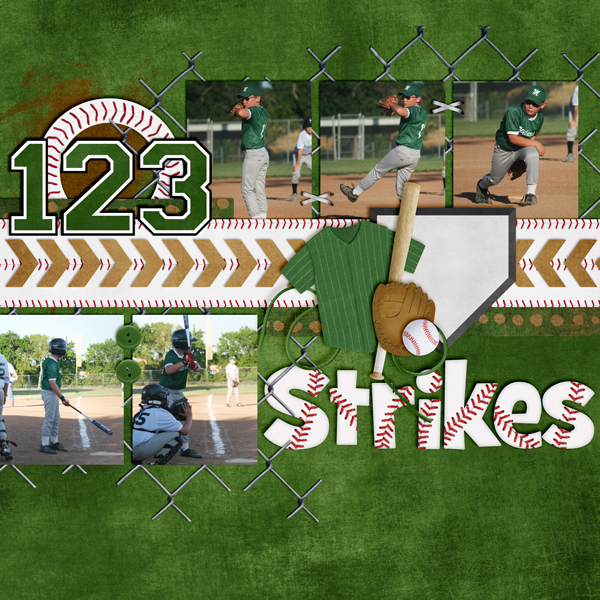
Jan (quiltymom) used “Apple Of My Eye” Love this idea.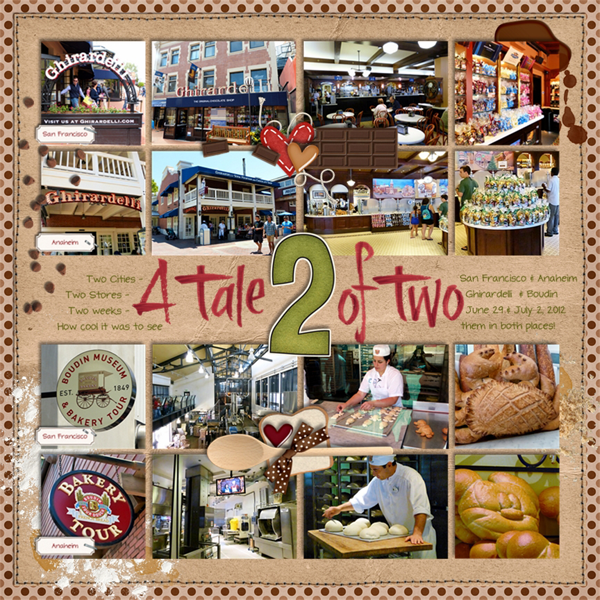
Karen (karen32) She used “Rainbow Collections: Greens.” It’s only available as part of the collection. 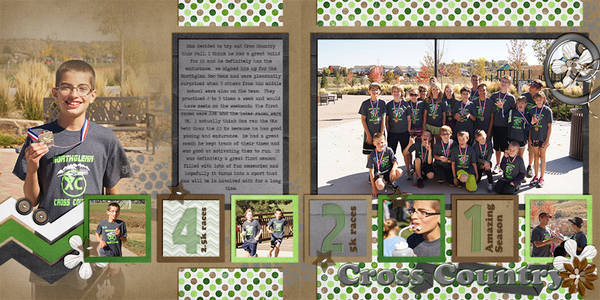
Get creative. Use #’s to add and subtract the elements on your LO. Hugs!








![0[2]](http://www.chelles-creations.com/wp-content/uploads/2012/10/02.jpg)


 Hi! I'm Chelle: a 40 something mom of 7. My husband & I live in a rural community in the rocky mountains with our 4 children still at home. In the winters we enjoy sledding & snuggling by the fire. I the cool fall evenings we love relaxing around the campfire & meeting friends at the county fair. Admiring the stars


