Hello Hello on this last day of February! I can’t believe it’s almost over already (yes, I repeat this in December too!) The time flies, and most times I wish for a pause button, and there are a few that I wish for a fast forward option! It’s Jenn here, aka jk703, to bring you a quick and easy tutorial to soften things up! I know when I have some pictures, I feel a bit exposed and stark. Well, when I feel this about the way a picture looks, I like to soften it up. For this tutorial, we are using the High Pass Filter to soften skin… Here we go…
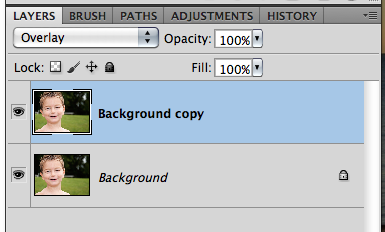
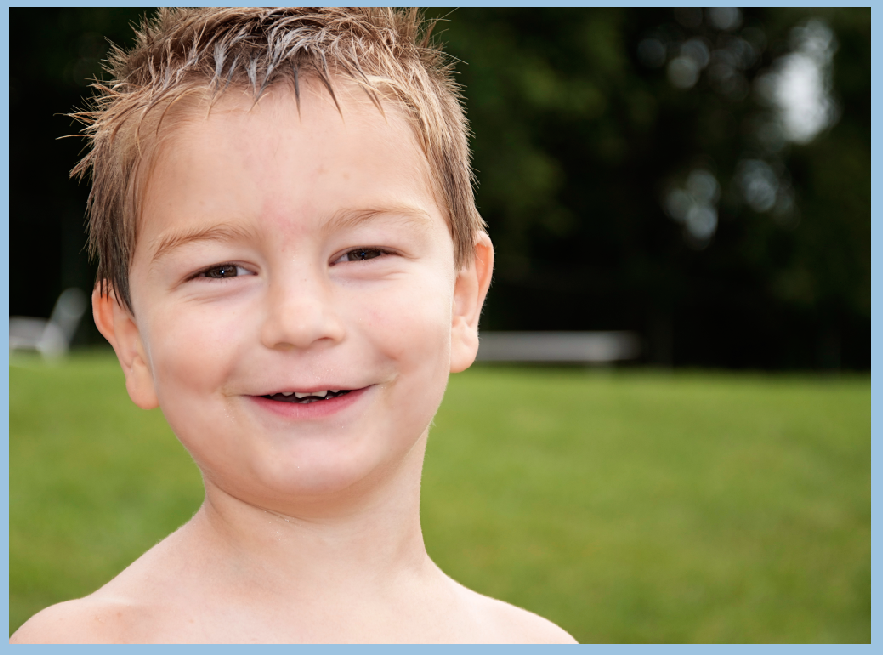
1. Open an copy of your image, and create a duplicate layer. Here is my son, Colin.
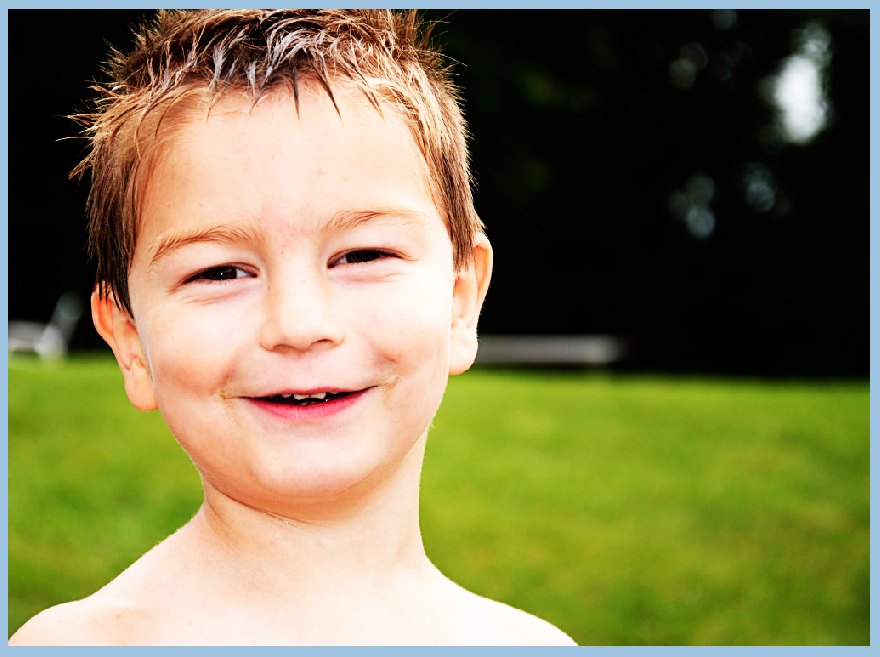
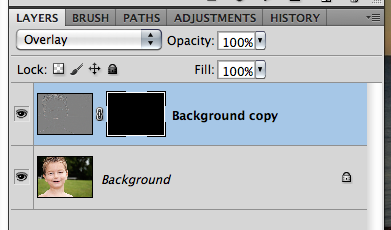
2. Change the Blend Mode to Overlay. Your image may become super saturated and bright.
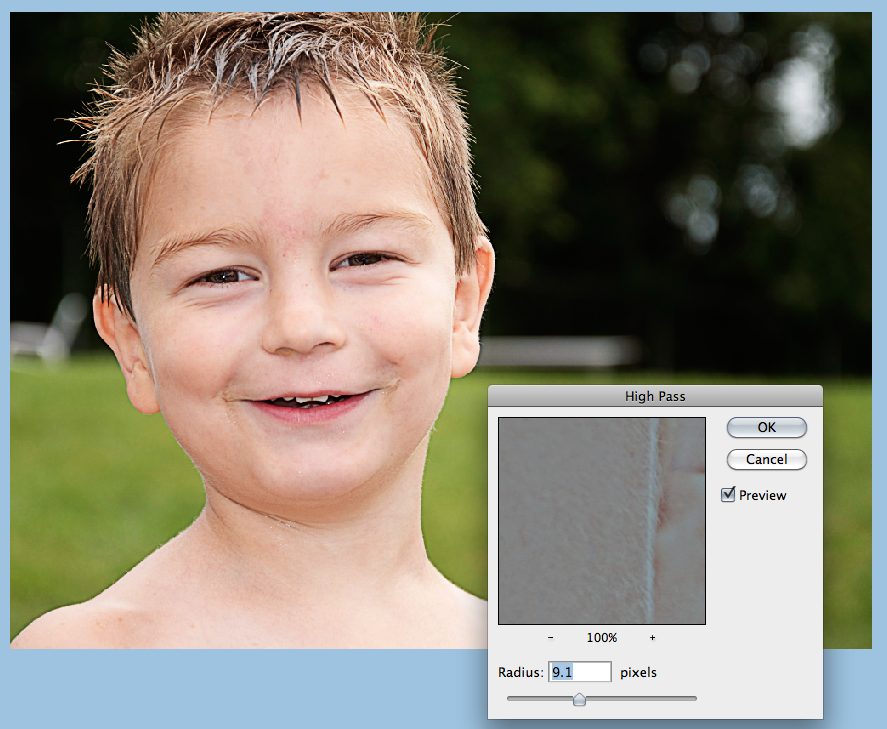
3. On the Menu Bar, Choose Filter > Other > High Pass.
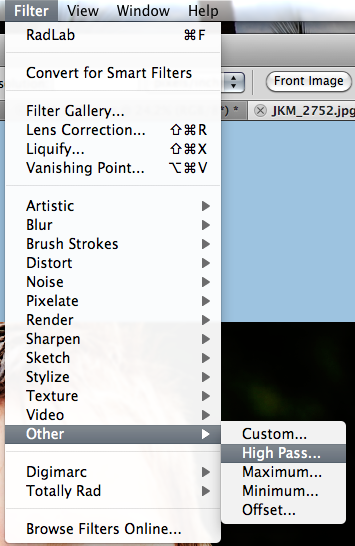
4. Move the slider to about 9-10 pixels. Your image will get really really sharp.
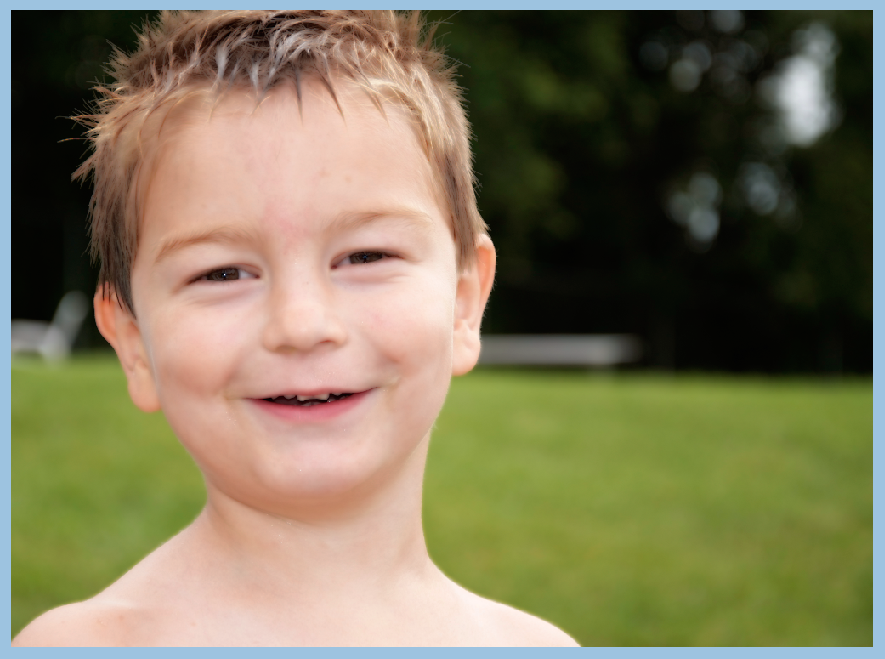
5. Press Command + I (I like Igloo) or Control on a PC. This will Inverse the sharpness and make it super soft. So, your image will get a changed color appearance, and softening.
6. Press and hold the Option Key (Alt on a PC). Click on the Add a Mask on the bottom of the Layers Palette (the square with a circle button). You should get a black mask box next to the overlay layer.
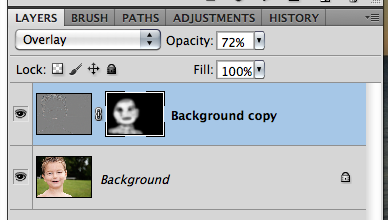
7. Click on the black mask in the layer – you will see slight edgers around the corners to know you chose that box. (See above image, check out the corners of the black mask box).
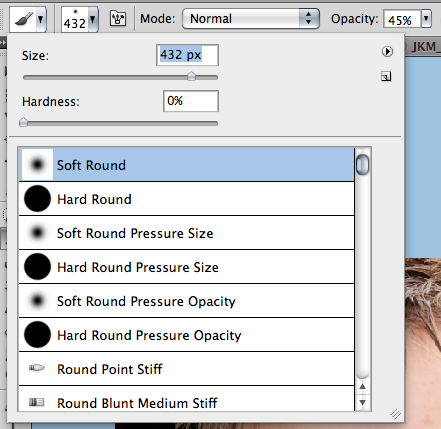
8. Click on the Brush Tool. Use a white, soft, round brush, and change the opacity to around 40-50%.
9. Brush on the masked layer and you will soften the skin.
My after picture is just a tad softer than my original. It’s softens his skin just a little, while giving a little more sharpness to his hair and features.
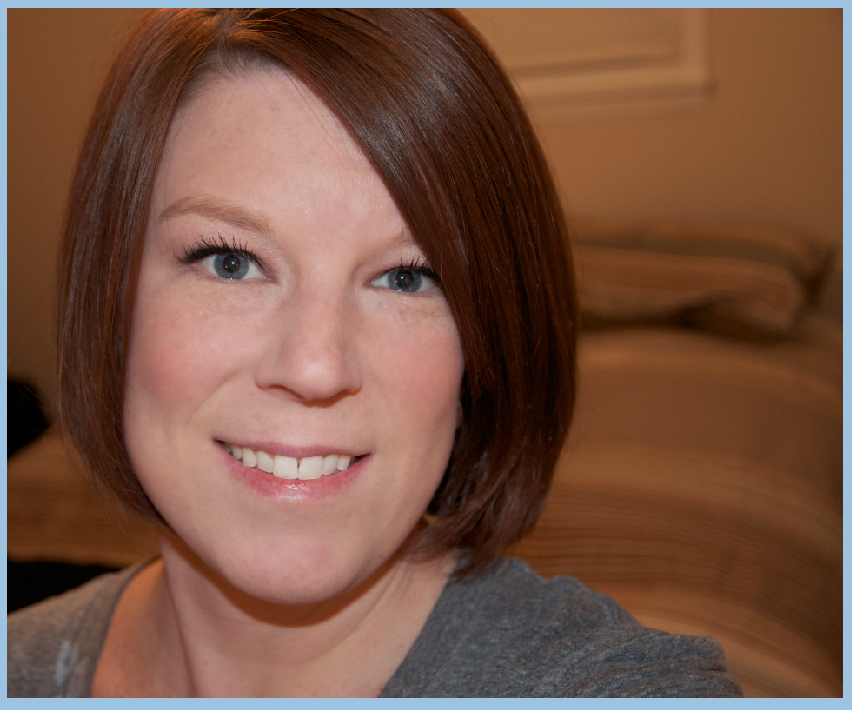
ok… Here goes. This is awesome for up close and personal face shots. Many people take “selfies,” which are pictures of themselves… and depending on the camera, this can be a super sharp picture of you. I wanted to show an up close and personal pic that I took of me… so… gulp, here is my before and after. The skin is the biggest change, and really makes me feel as if my bumpy skin, blemishes and wrinkles are a little less obvious.
Before:
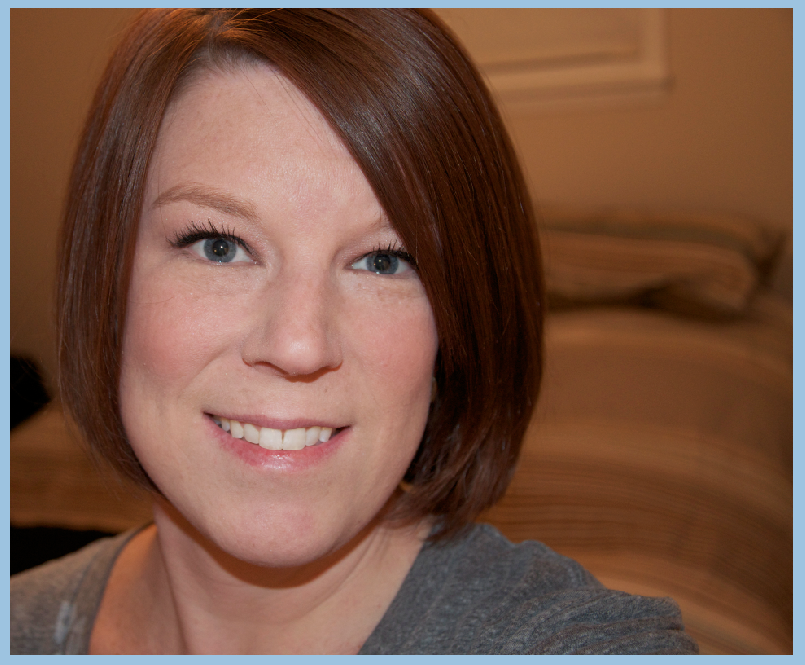
After:
Here is what my co-CT members came up with for my tutorial! They are pretty awesome!
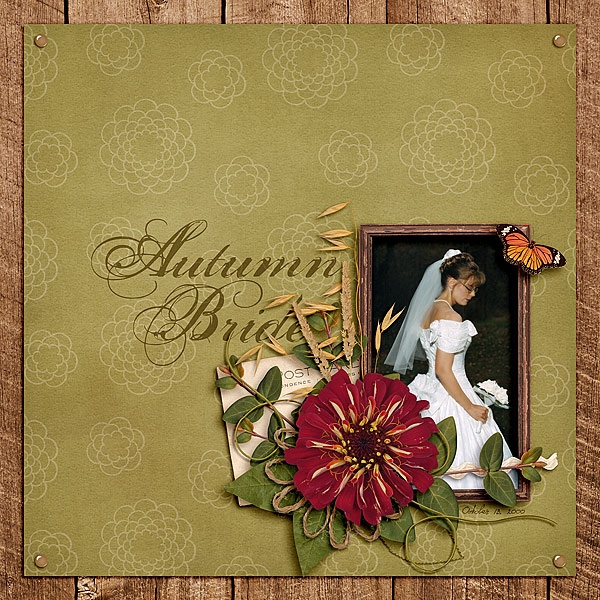
Jennifer (jmljensen) used this before and after shot for her layout! Isn’t it gorgeous?!
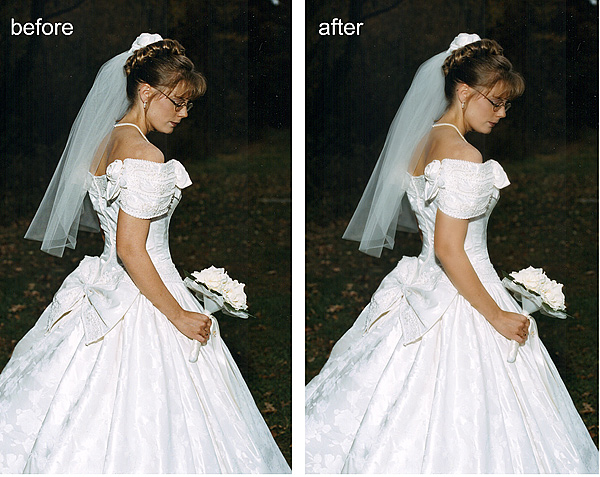
She used Chelle’s Indian Summer to create this beautiful layout! I love the title work and big cluster!
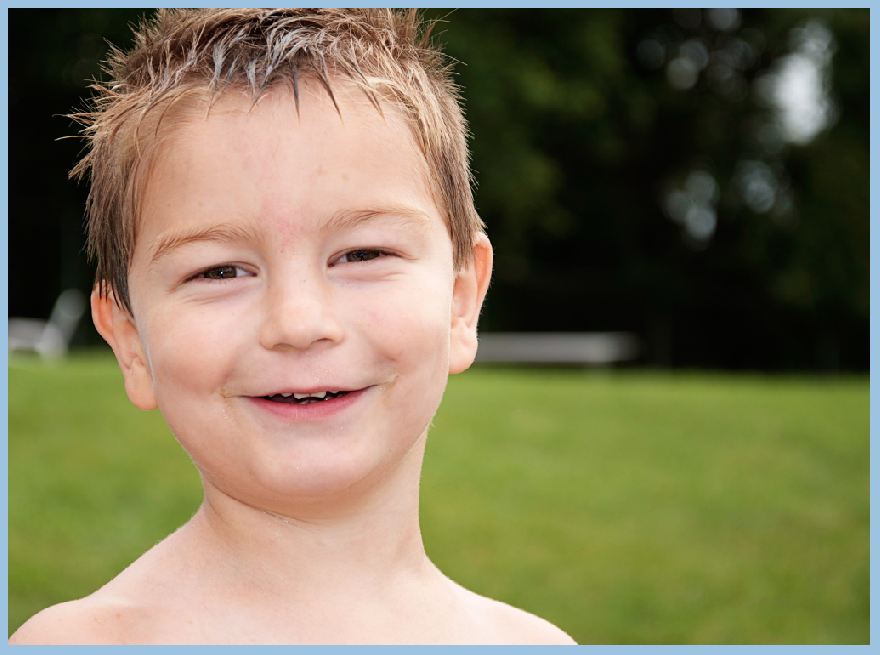
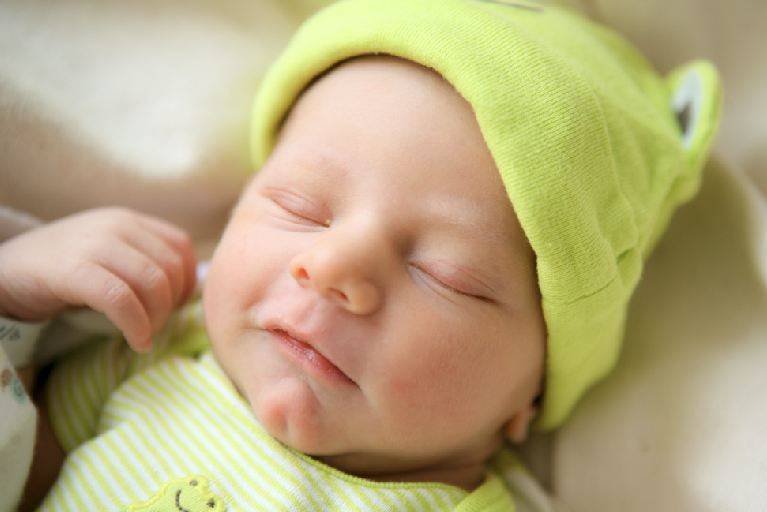
Leslie (lab130) used her nephew as her adorable subject. Here is the before….
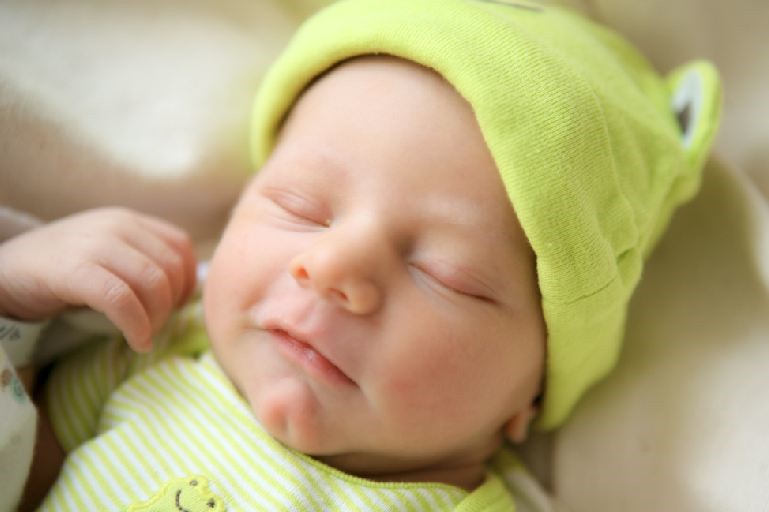
and the after…
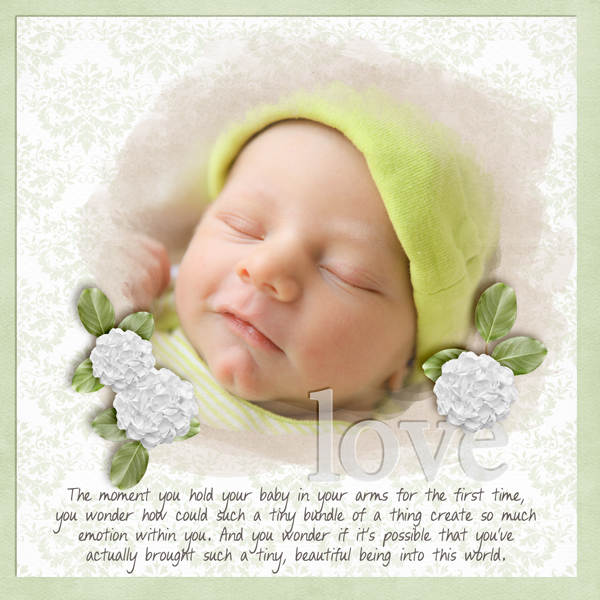
Here is her page… Leslie used Chelle’s Blessings Kit and the wonderful Watercolor Brushes for this masterpiece!
That’s today’s tutorial! Thanks for stopping by, and we hope you come back again!




 Hi! I'm Chelle: a 40 something mom of 7. My husband & I live in a rural community in the rocky mountains with our 4 children still at home. In the winters we enjoy sledding & snuggling by the fire. I the cool fall evenings we love relaxing around the campfire & meeting friends at the county fair. Admiring the stars


