Hi Everyone! It’s Jenn, aka jk703, here to share a fun and super simple technique for you! This technique is pretty subtle, but really allows you to stretch your stash! We are going to use Filters in Photoshop to change our patterns and background papers. Artisitc Filter Blends really are easy, and fun to use. For my layouts, I used one of my favorite kits of Chelle’s, called Oh Snap! Let’s get to it!
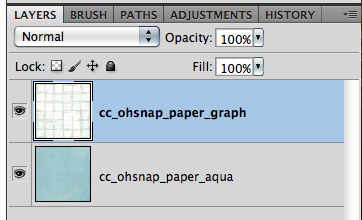
Layer at least two papers in the layers palette.
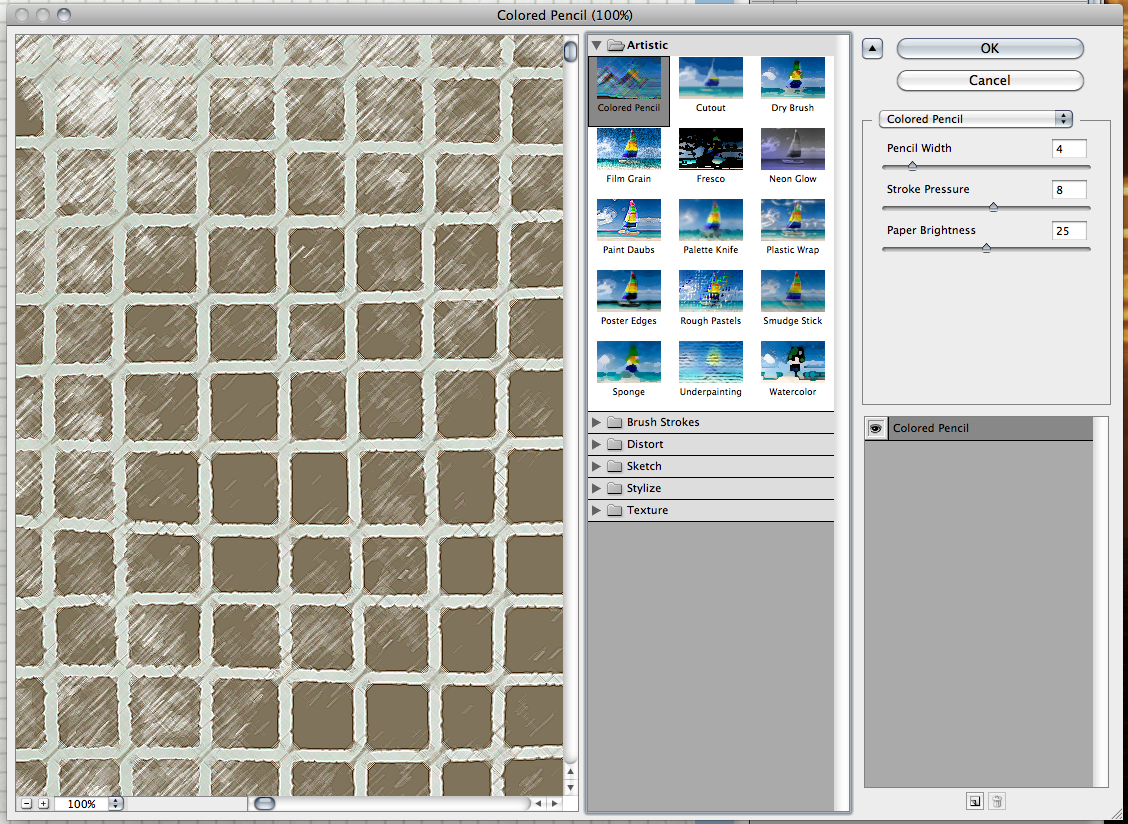
With the top layer chosen, click on Filter > Artistic > Colored Pencil. (Don’t worry, you can pick any once the menus pop up). 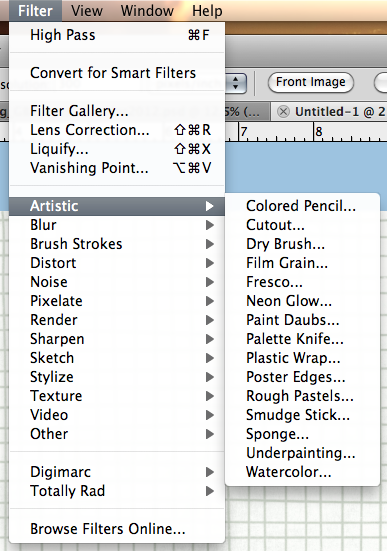
Once the Filters Menu pops up, you can click on each filter to see how each will interact with the paper that you chose. 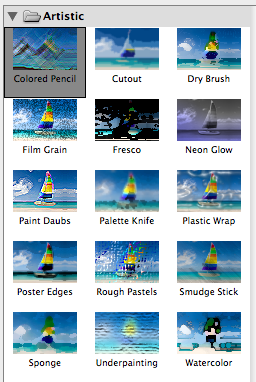
Play with each filters sliders to change any aspects – such as lighting, brush size and detail, stroke size and detail, and even definition.
When a filter is decided on, click ok.
Your paper will then change in your layers palette to the filterized version. 
Go through the blend modes to blend it with the paper below. Play with the sliders for Opacity and Fill. Presto! You have a new artisitc paper that you can use for your backgrounds, paper pieces, and strips. Here are some examples.
Colored Pencils:
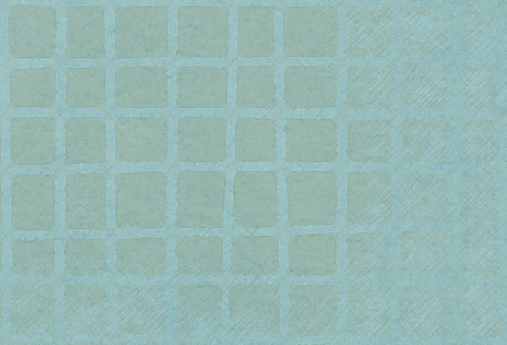
Paper using Colored Pencils and a Multiply Blend Mode:
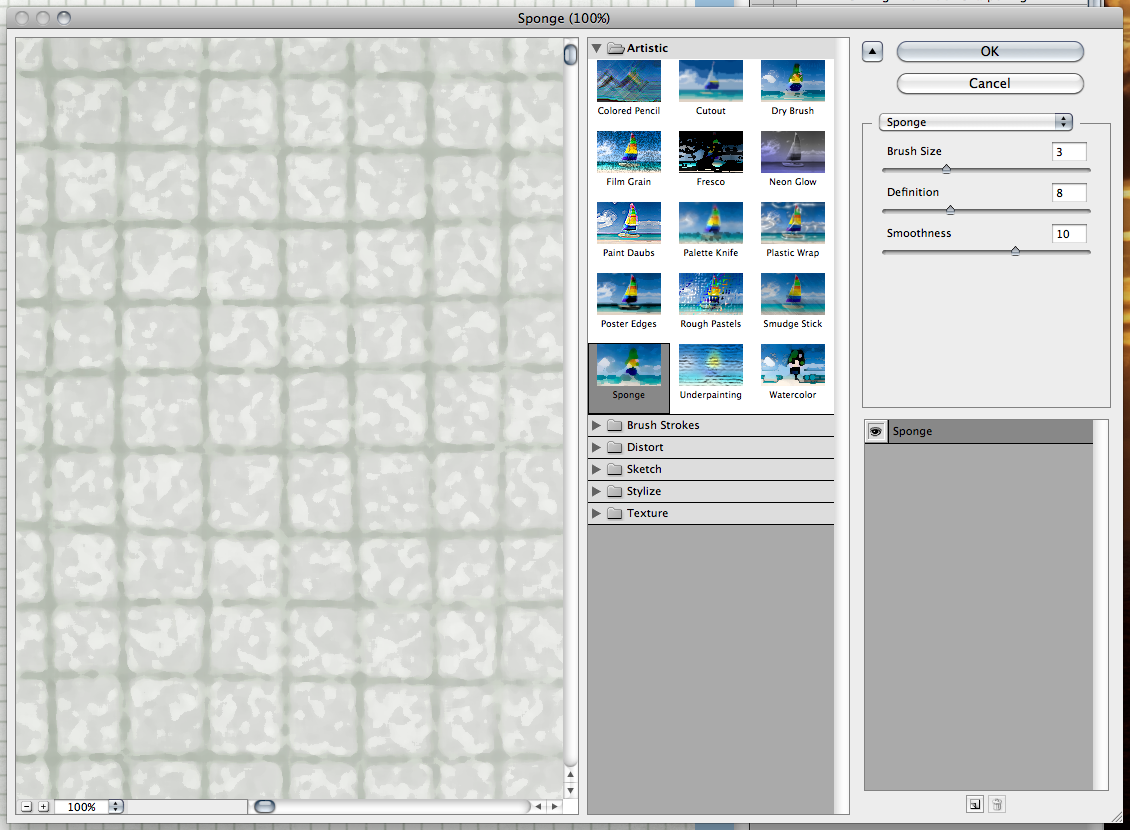
Sponge Filter:
Paper using Sponge Filter and a Color Burn Blend Mode:
Fresco Filter:
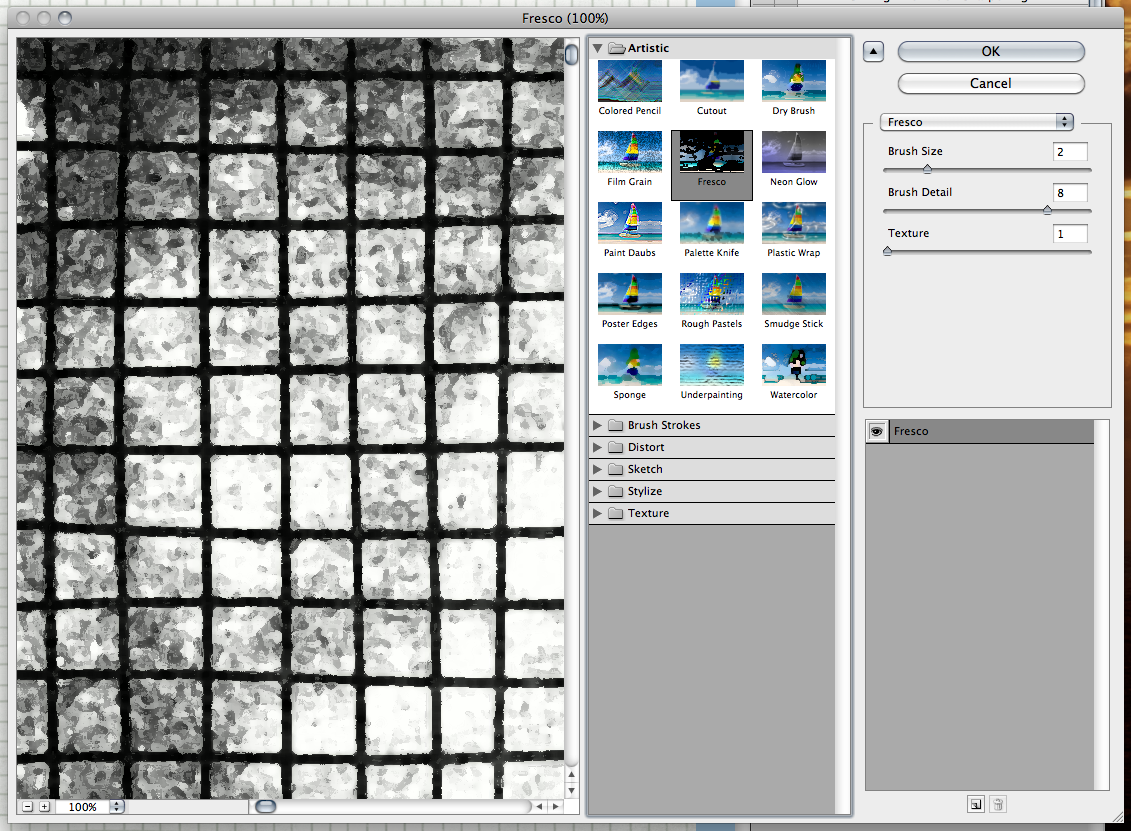
Fresco Filter with a Color Burn Blend Mode:
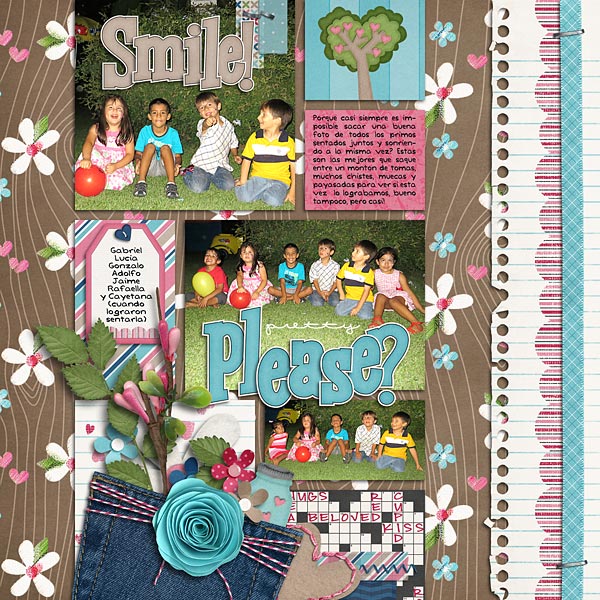
Really easy, right!? Here is a layout that Roxana (aka Roxanamdm) created. She said she used the Rough Pastels Filter on the brown flowered paper, but first deleted the brown color and then applied the filter, to keep just the flowers as the background is actually the wood grain paper. Now, the flowers kinda match the rub ons. Blended mode Normal and enlarged to 250% so the details are clearly seen when printed.
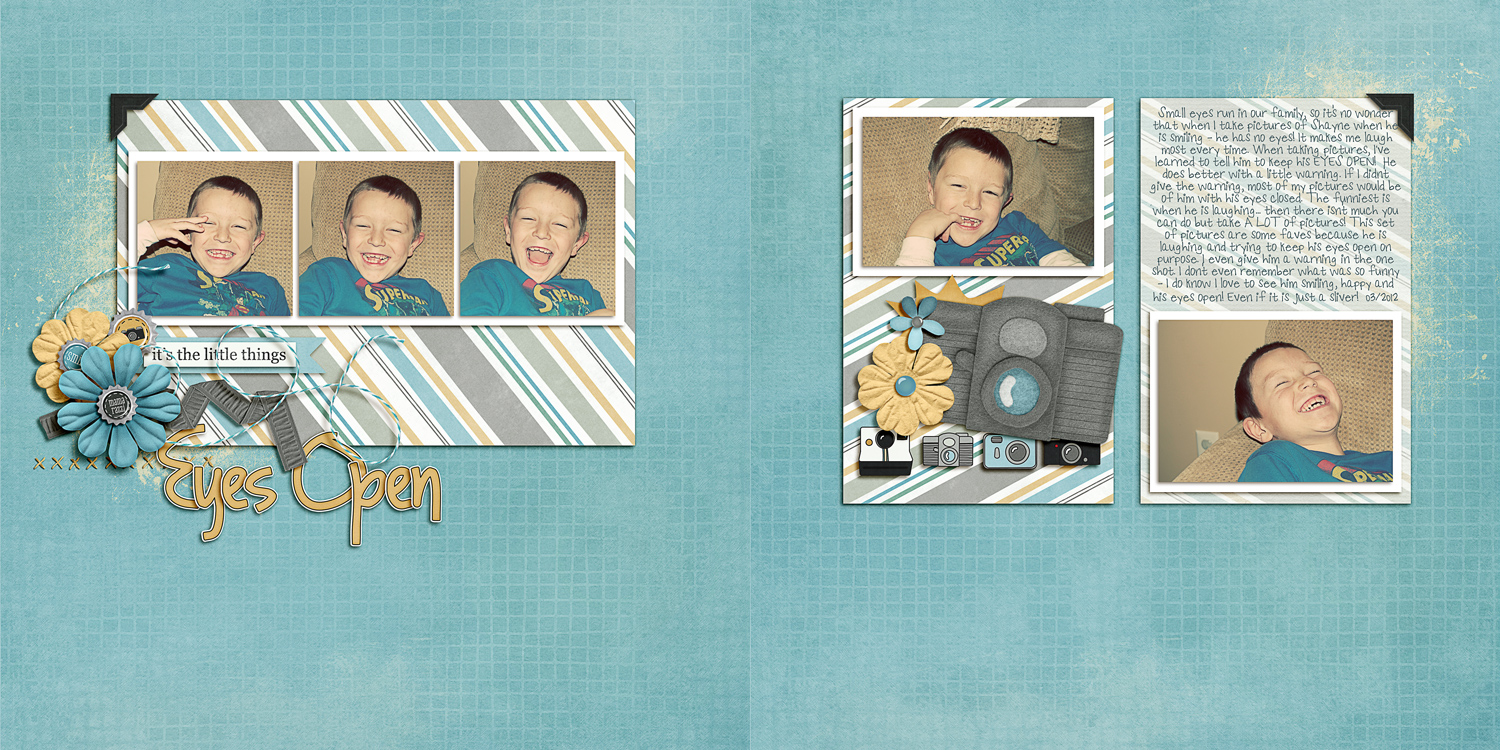
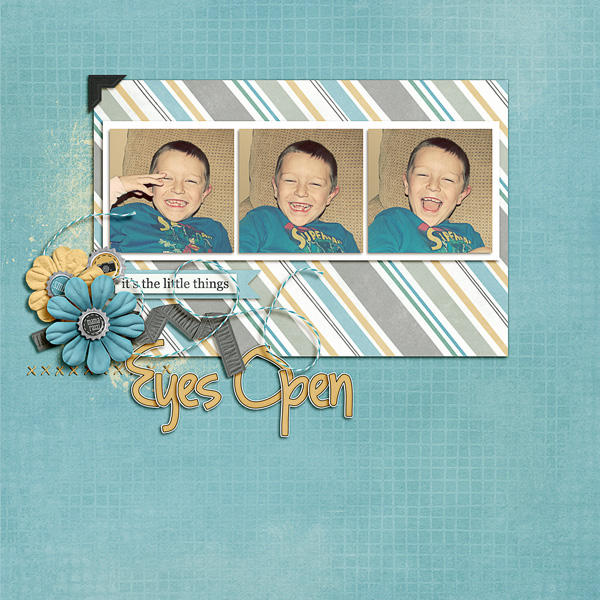
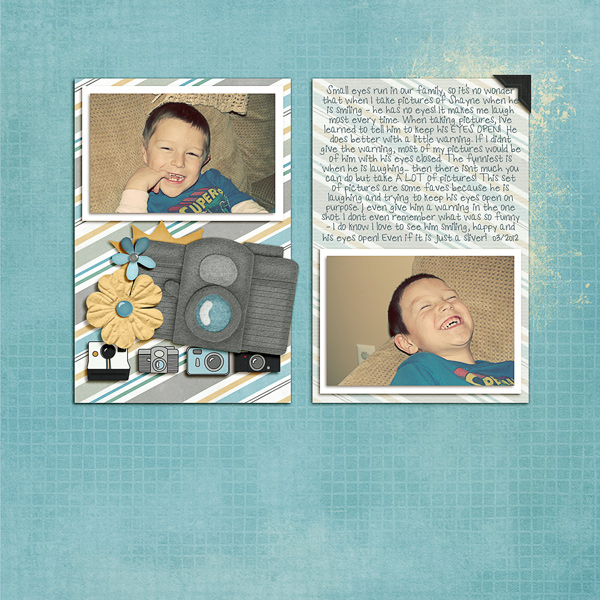
Here are the layouts that I created.
Fun, simple and super cute. Give it a try! Thanks for visiting today!







 Hi! I'm Chelle: a 40 something mom of 7. My husband & I live in a rural community in the rocky mountains with our 4 children still at home. In the winters we enjoy sledding & snuggling by the fire. I the cool fall evenings we love relaxing around the campfire & meeting friends at the county fair. Admiring the stars


