Hi everyone…it’s Jenn, aka jk703 here for today’s tutorial! I’ve made many layouts and I’ve printed and framed some. They get attention from my family, friends and other visitors to my home. One closes friend of mine really loved a layout of my boys, and wanted make one with the different kids in her family. Since she had her pictures, and was able to use Photoshop, I decided to send her a Quick Page. She could then insert the kids for her sister’s family, save, and make another copy for her brother’s family. It worked perfectly. Anytime you create something for another person, be sure you read the designer’s TOU to see if acceptable. If you are not allowed to send a Quick Page, then you can finish for yourself. Then ask for your friends pictures, add to your saved Quick Page, and send the flattened jpg file for printing and framing. So, today I thought you might like to learn the steps for making a quick page!
Once you’ve completed your layout, save it in it’s layered form. Here is mine, using Bluebirds by Chelle, that was recently available at The Daily Digi.
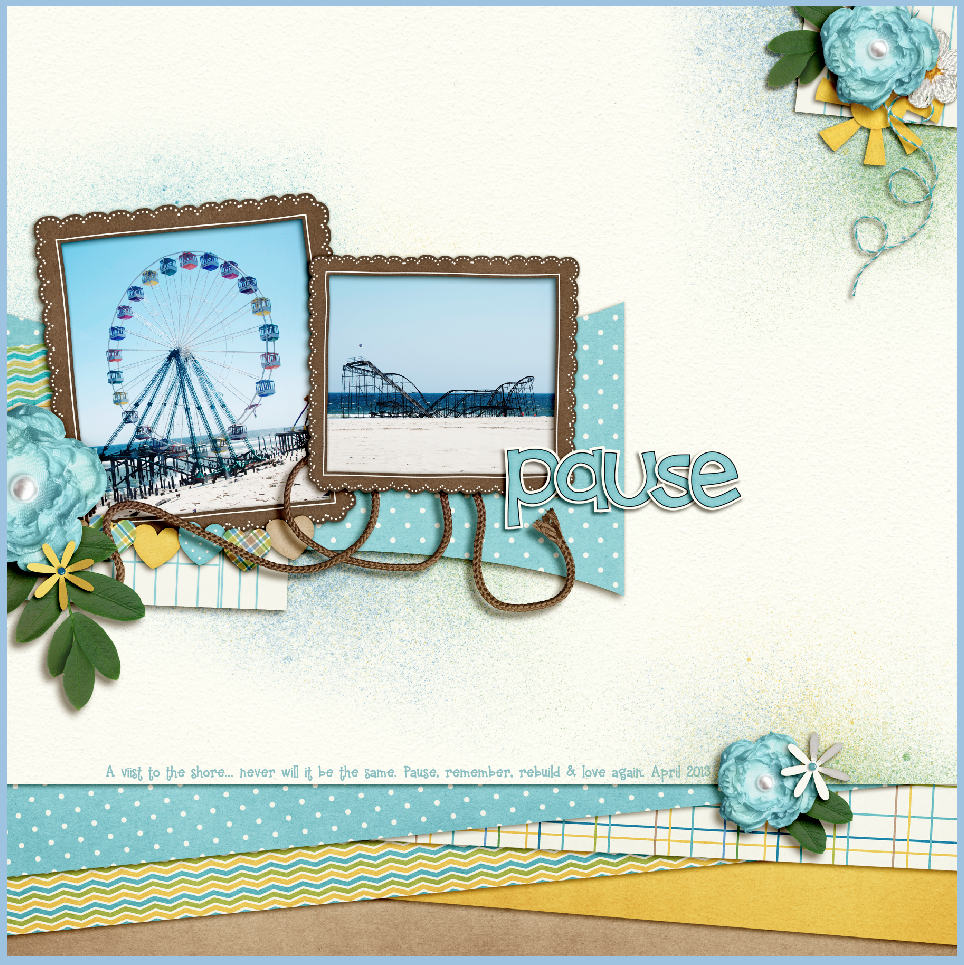
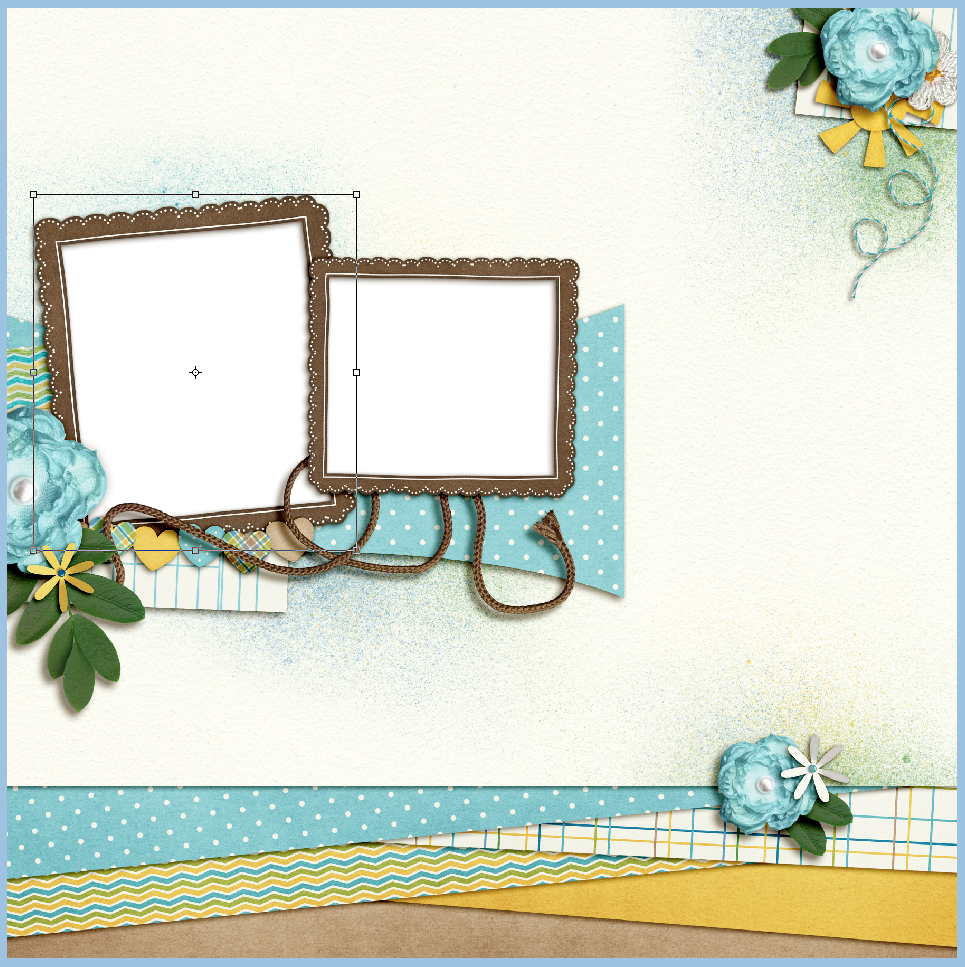
When you are working on making a Quick Page, you want to remove all personal details – such as any text, the photos, and the title. Here is mine a bit more bare.
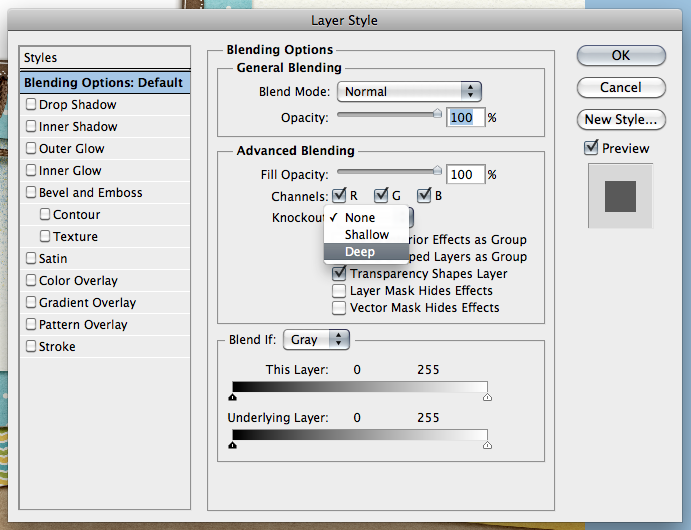
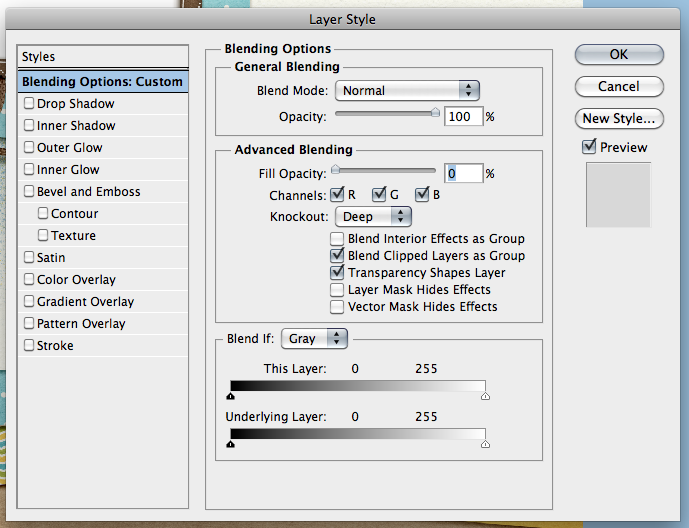
We need to make the filled frame masks transparent so that other people’s images would be able to be seen. Find one of the photo’s clipping masks and double click on it in the layers. The Style Menu will pop up. Once it does, there are two things that need to be changed. On the first screen, click on the Knockout. Choose Deep. Next, on the Fill Opacity, slide that arrow to 0%. If you have Preview clicked, you will see that the clipping mask will instantly become transparent. Here are the screens up close:
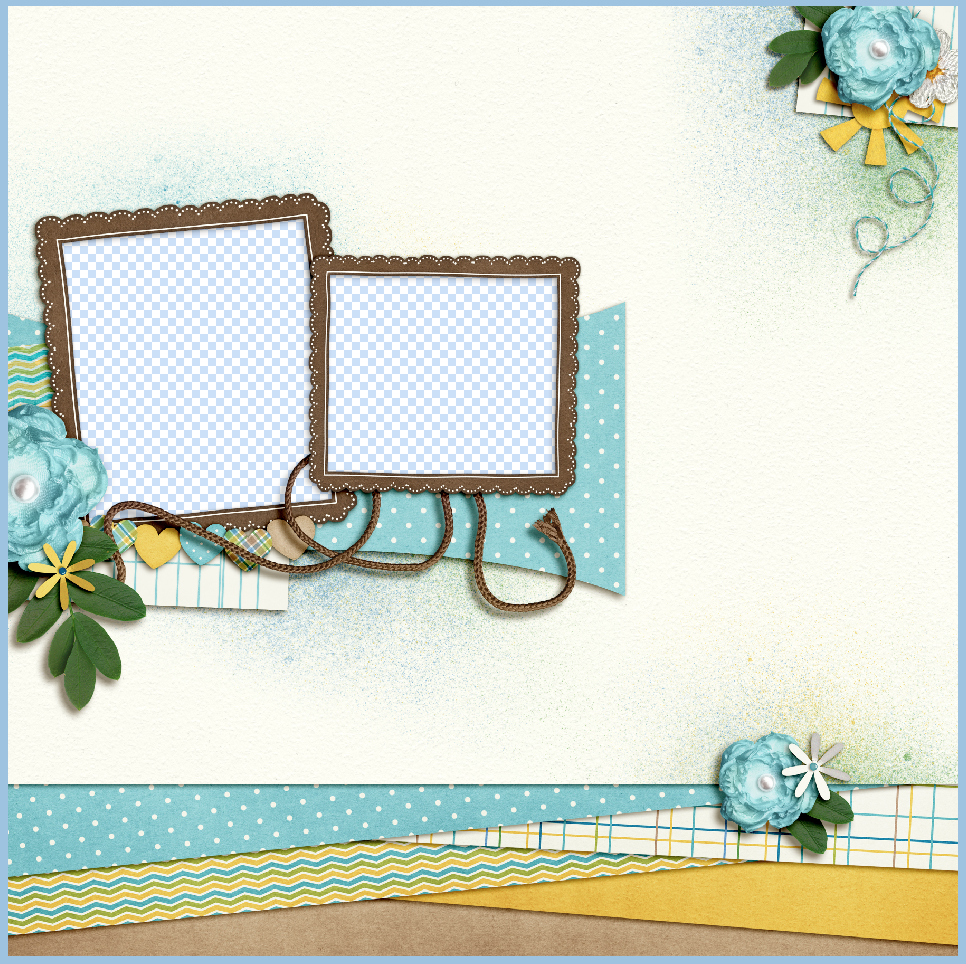
And what my layout looks like, open in Photoshop.
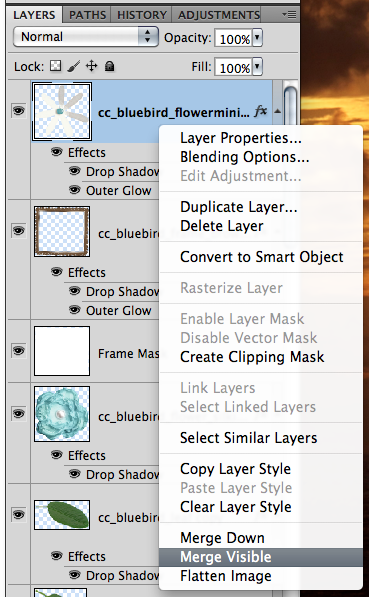
Next, you will go to the topmost layer in your Layers Palette. Right click on the layer, and choose, Merge Visible. Here is that menu:
Once you have merged the visible layers, here is what my Layers Palette looks like:
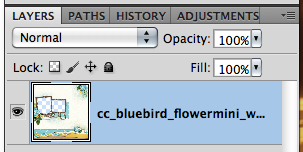
After you have completed this, you can then save your new Quick Page. Be sure to save it as a PNG image so the picture boxes will remain transparent. That’s it! Here are some layouts the CT made just to inspire you today! 
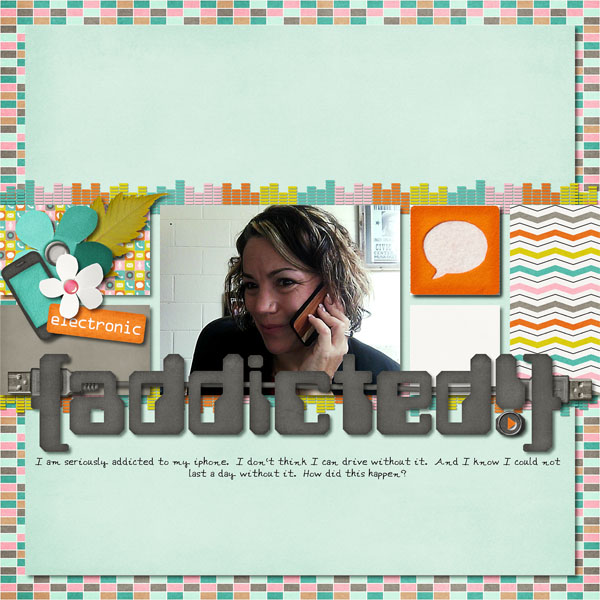
Lynette made this page using Chelle’s Technogeek Mini and the Collage Templates (Long).
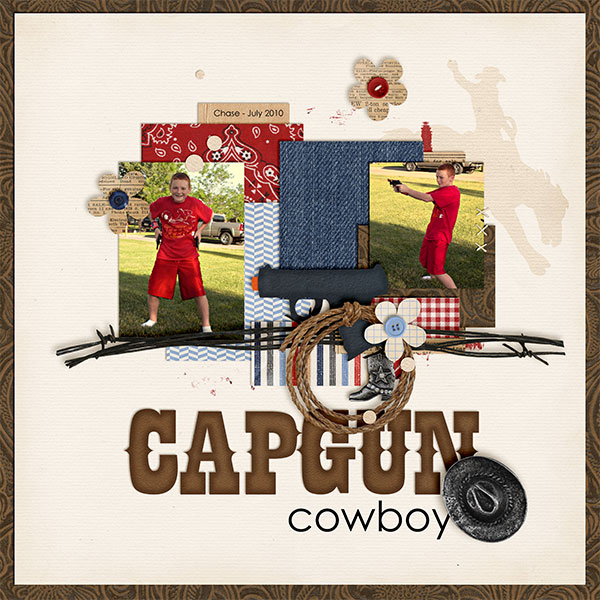
Kayla used Yee Haw Bundle, Ready Aim, Fire Felties, and Letters from Home for her creative layout.
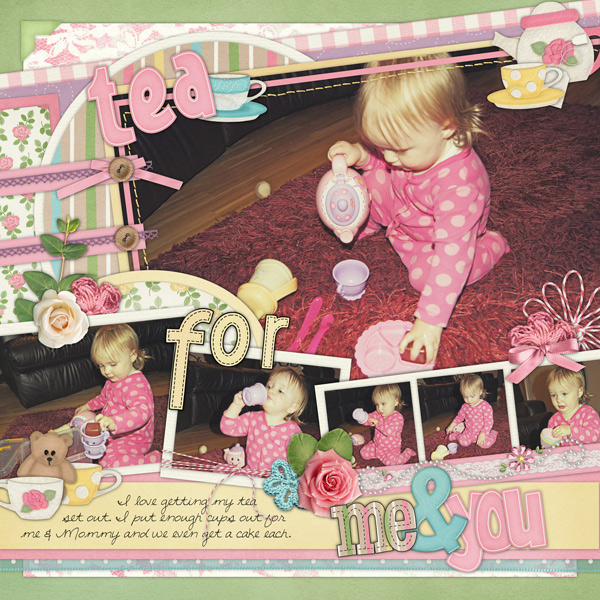
Lastly, Helen made this precious layout – she used Tea for Two, Boing Boing Alpha Doodles (CU), & Dots and Dashes Alpha Doodles (CU).
There you have it… a quick way to make Quick Pages… and some lovely layout inspiration! Be sure to come back later in the month to see what else you can do with Quick Pages!
Thanks for visiting!





 Hi! I'm Chelle: a 40 something mom of 7. My husband & I live in a rural community in the rocky mountains with our 4 children still at home. In the winters we enjoy sledding & snuggling by the fire. I the cool fall evenings we love relaxing around the campfire & meeting friends at the county fair. Admiring the stars


Jenn, thanks for the tutorial. Your method is so much better than how I make quick pages.