Hi Everyone! It’s Jenn, jk703, here again for our bi-monthly date!  Today, we are going to have a little fun with my Tutorial: Using Curves! Curves are a great way to transform your photos and do it non-destructively. Each adjustment is on it’s own layer and doesn’t affect the original photo. Curves allow you to control tones, colors, contrast, and so much more. Here are some detailed images that will help with understanding what curves can do for you.
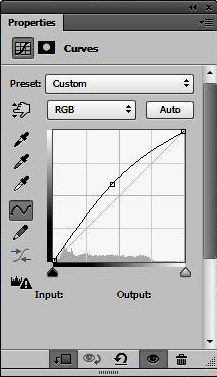
  All you have to do it copy the curves that you see in my layer/adjustment box, and you should have a similar effect. Some of the pictures don’t look great with the adjustments, but I’m trying to get across more of what each can do. Hope that helps!
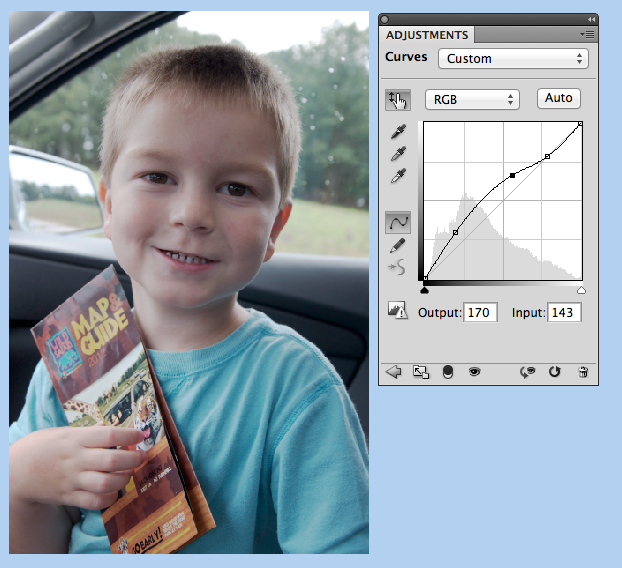
First, here is my original picture.

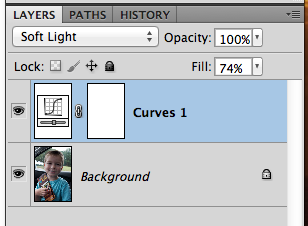
Now, before you actually start. After each and every one of these adjustments, you can tweak everything, and even change the blend modes so they work for your photo. All you have to do is click over to the Layers Palette, choose the adjustment layer and change the opacity and the blend mode.
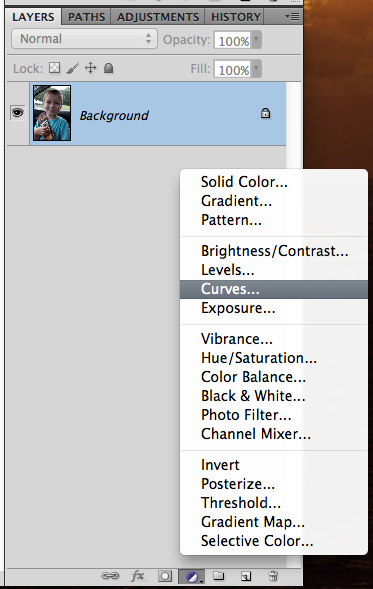
Next, to easily add an adjustment layer, click on the Black and White Cookie on the bottom of the Layers Palette. It’s the small circle that is half black and grey. Choose Curves.
I use Photoshop CS5, and know it works in that software. Melissa (prettypeaches) said that for Photoshop Elements, you have to follow a different route.
PSE Users: For PSE people to adjust curves: Go to Enhance → Adjust Color → Adjust Color Curves.
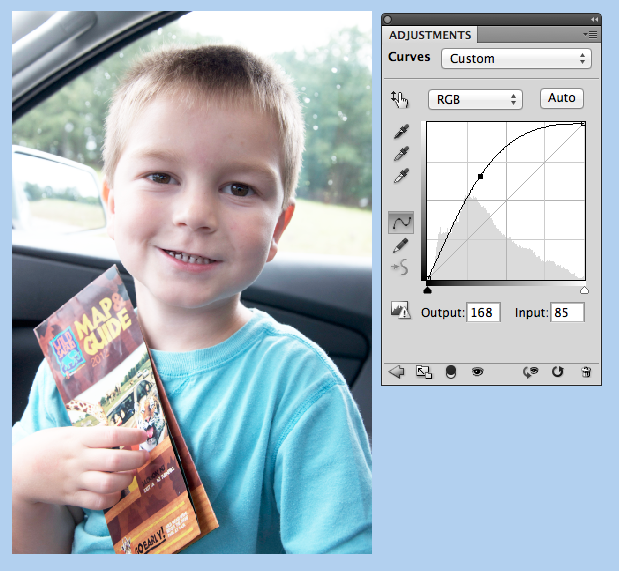
Click and drag the curve upwards to lighten the photo.
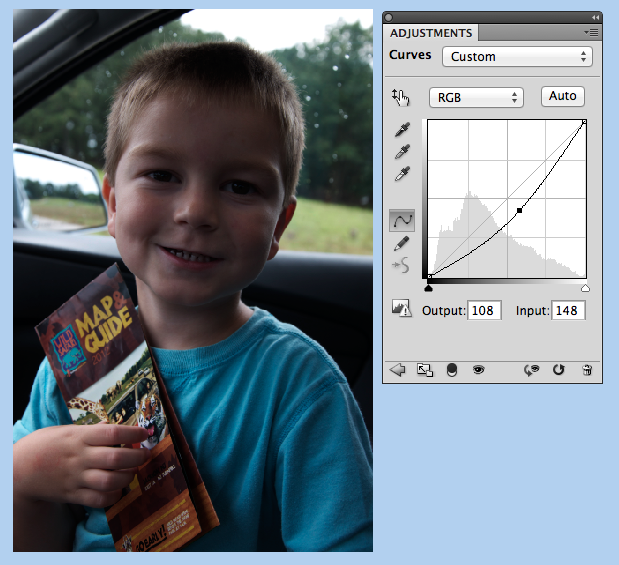
Click and drag the curve down to darken the photo.
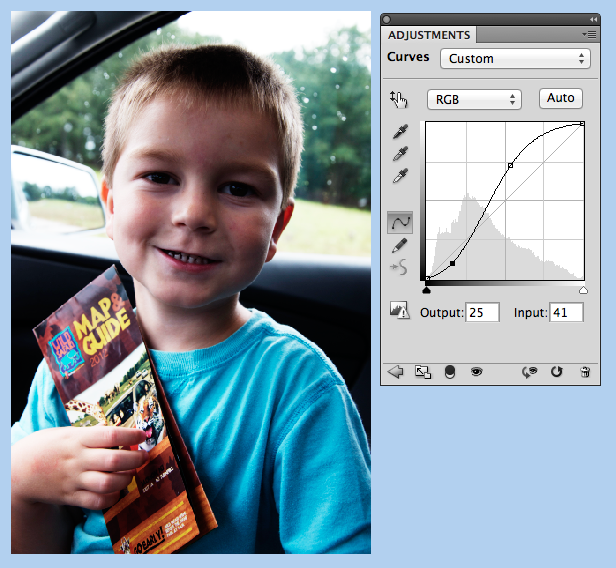
Click and drag the curve to make an S shape and you will be adjusting the contrast of the photo.
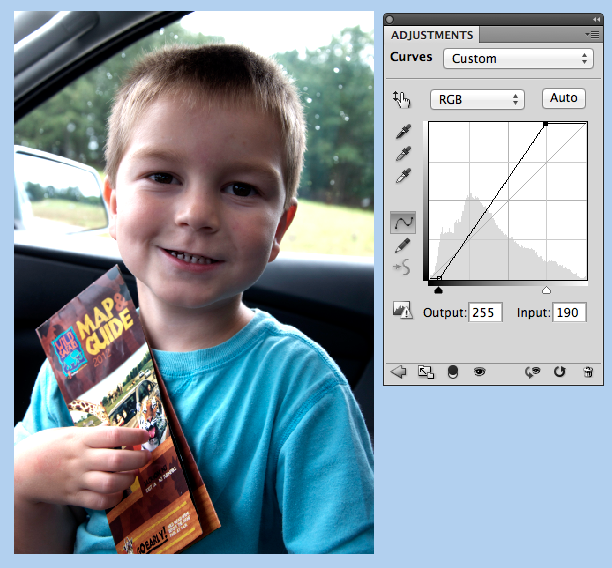
You can change the black and white points on the image, just by sliding the little triangles on the bottom of the graph.
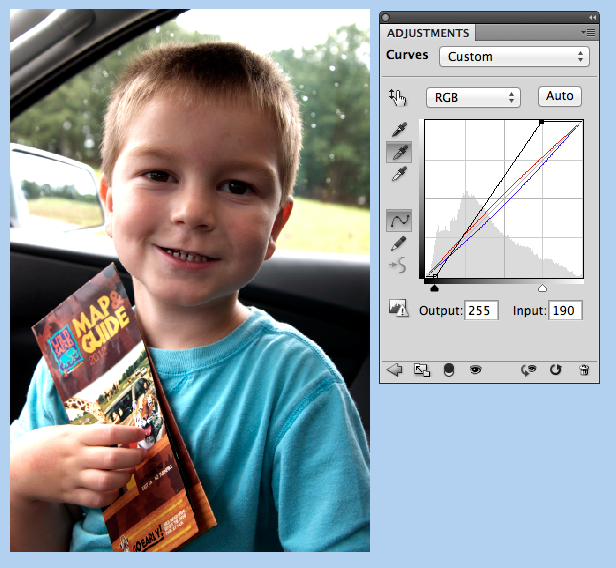
By clicking on the middle eyedropper, and clicking on a spot that should be grey in the photo, you can change the color cast. I clicked on part of the door, and it warmed my image up nicely. (When proofing this, I didn’t realize that I had created a second layer adjustment – see the black and white points? – they are the settings from the previous example.)
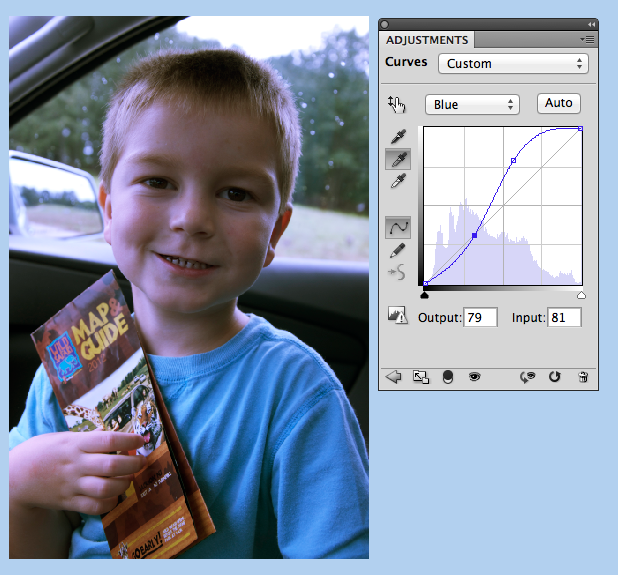
You can also use Curves to change a specific color. Click on RGB, and choose one of the colors: Red, Green, Blue. Then just adjust to your liking.
You can make changes by using the image as well. Click on the hand icon, and then click on your picture to change the curves.
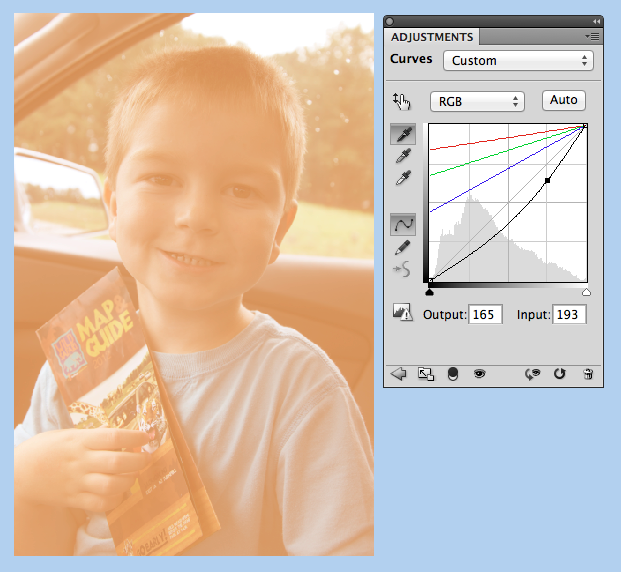
You can also add color casts by using the eyedroppers. I used the top one, and chose an orangish color. It turned my image bright orange, lol! But, don’t worry – remember you can fix the adjustment layer!
Here’s how. I have an orange picture! Now what!?
All you have to do is click to the Adjustment Layer, and use the Opacity and Blend Modes. This step can be done for each and every example above, but this specific one shows just how much this step can change the curves adjustment.
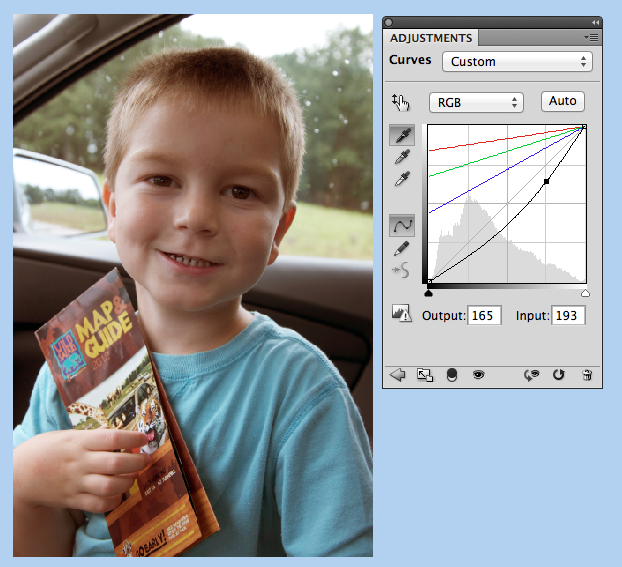
The final look for the color cast adjustment.
Here are some tips when using curves:
- Use Curves because they are non-destructive to the original photo.
- If you click on the finger, you can make your adjustments right on/in the photo and not use the chart.
- Once you finish an adjustment, you can double click on it and make additional adjustments.
- Curves can be found in two other ways – Image > Adjustments > Curves, or Layer > New Adjustment Layer > Curves.
- Once you click on a spot in the chart, you can use your arrow keys (up, down, left, right) for specific and very precise adjustments.
- You can have as many adjustment layers as you want. Create a layer for each change that you made.
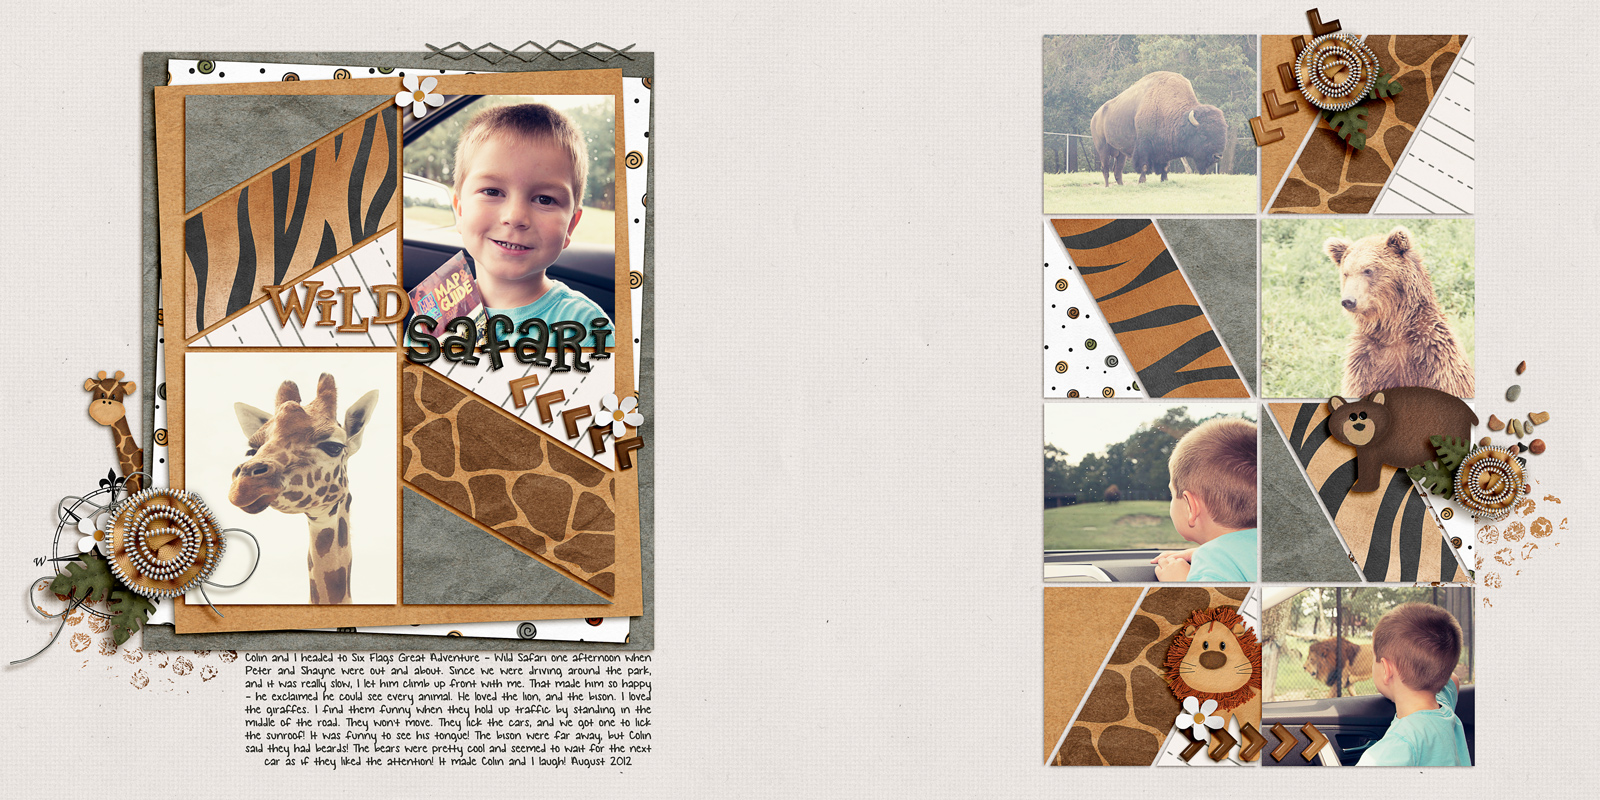
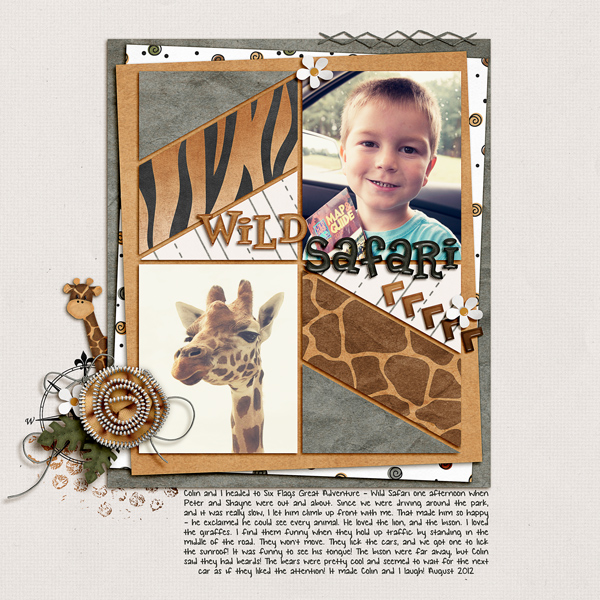
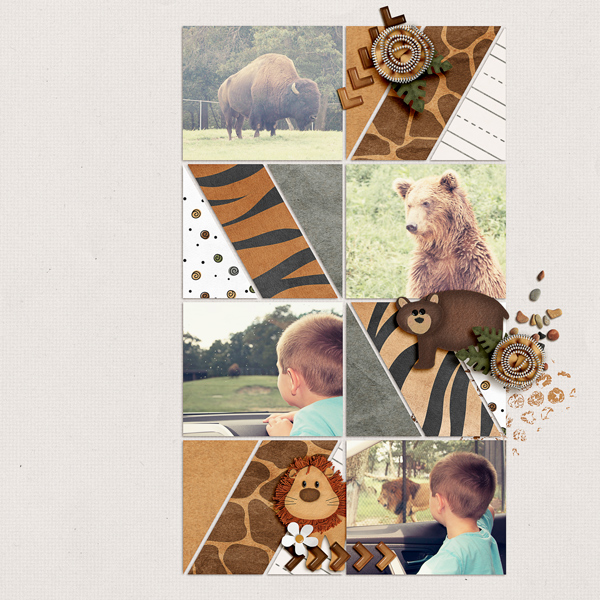
Here are my layouts. I used the same picture, just had multiple adjustment layers. (Lighter, Contrast, Color). Kits used: Toil and Trouble, Zoopendous, and On The Trail.
Lisa (kelseyll) gave this wonderful example, and had this to say:
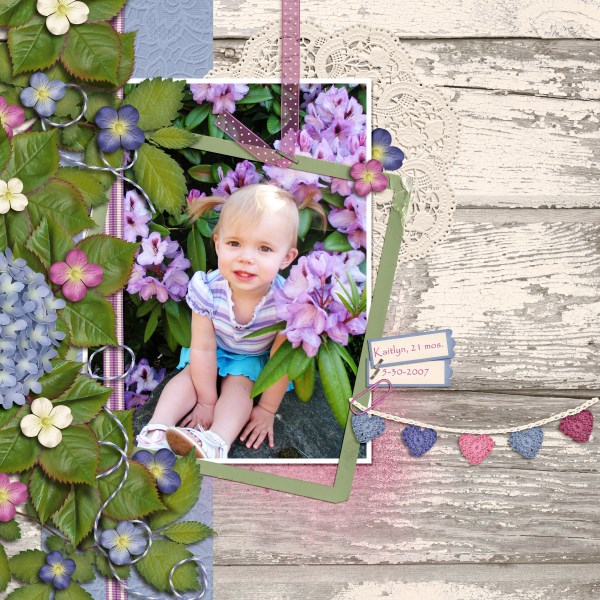
“I added 2 curves layers. For the first layer I clicked on the eye dropper that adjusts white and clicked on her sandal and changed the blending mode to soft light. That helped brighten up the colors in my picture. Then I added another curves layer and dragged the curve up a bit to lighten the photo. This one I left on “normal” for blending mode. The original picture had a muted tone and was a bit dark for the kit colors so using curves was a quick and simple fix to warm up her skin color and to get my tones to be more in line with the kit I chose which was Fleur de Violette.” Lisa uses Photoshop CS5.
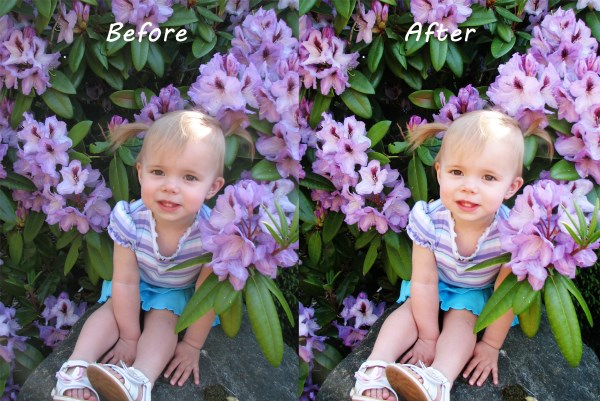
Carol (iowan) made this lovely layout, and here is the before and after. She used Pearly Whites and Love Grows.
No Curve
Actual Curve Setting
Curve
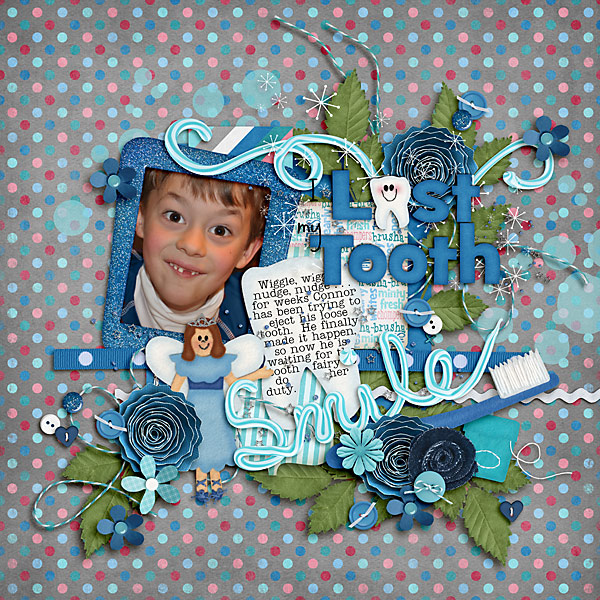
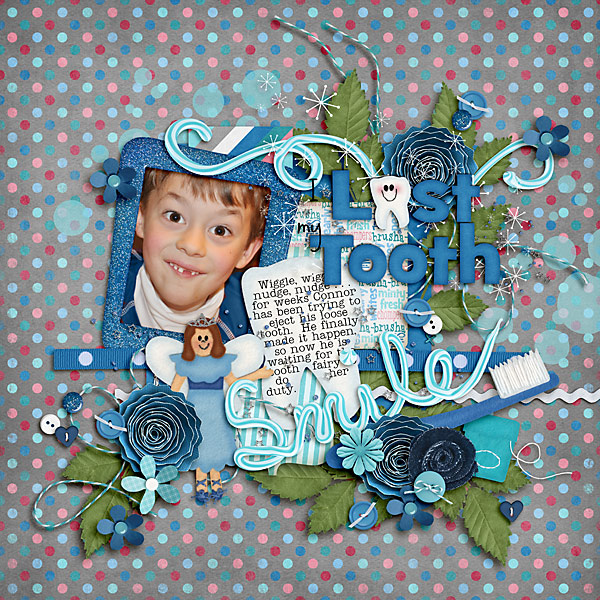
Jen (supergirljennie) used used About a Boy, CU Felt Flowers 2, and Fiddle Dee Dee’s What’s Your Angle 2 to make her page. Looks fantastic!
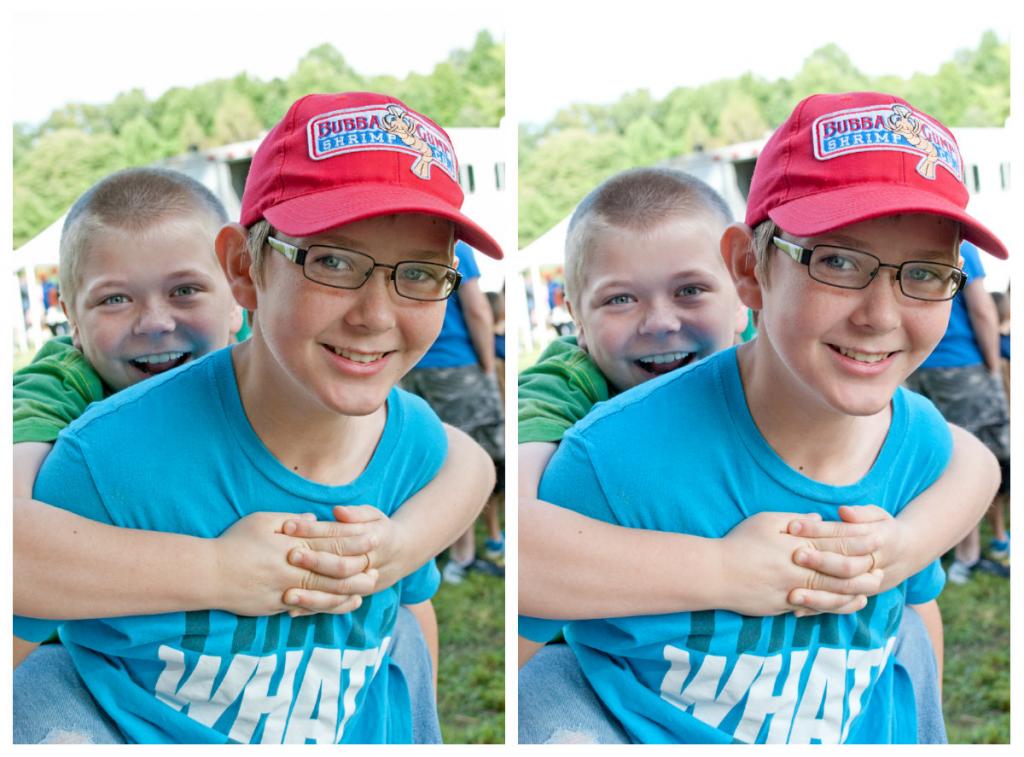
Melissa (prettypeaches) created a before and after set. She said ” I went to enhance, adjusted colour, then adjusted colour curves. I used the default settings, and I first increased the contrast and saved. I then darken the highlights and saved. I liked the effect the contrast gave to the background, but it made my lil guy bright, so by darken the highlights it made his face more natural looking again.” She used Hippity Hop Hop & Leafy Treetop.
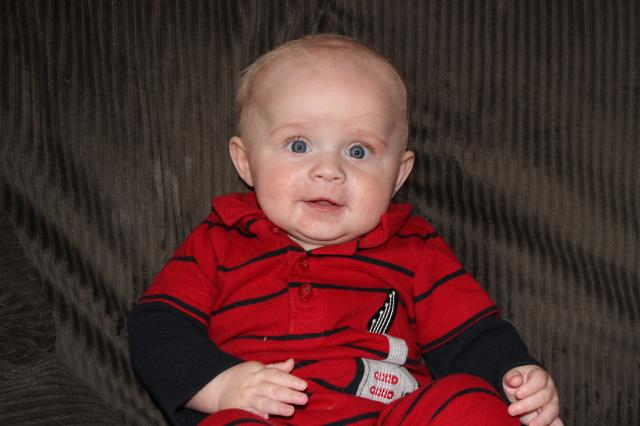
Before photo and layout:
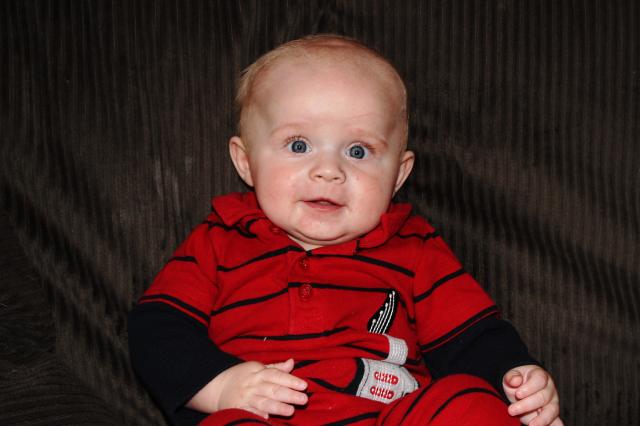
After photo and layout:
Give it a whirl! I hope this tutorial about using curves was a little helpful. You might be surprised how easy playing with curves is to make your picture pop! Have fun and thanks for visiting!
4.24 Tutorial: Using Curves






 Hi! I'm Chelle: a 40 something mom of 7. My husband & I live in a rural community in the rocky mountains with our 4 children still at home. In the winters we enjoy sledding & snuggling by the fire. I the cool fall evenings we love relaxing around the campfire & meeting friends at the county fair. Admiring the stars


Pingback: CraftCrave | DigiFree | CraftCrave