11.24.15 O Holy Night

Have you thought about making a Christmas card this year? Making a digital card with Chelle’s Classic kit O Holy Night is as easy as 1-2-3. First, you’ll need the kit. Second, you’ll need the word art. Finally, you’ll need a cute family snapshot. You can make your creation digitally and then order custom cards printed at any number of retail printers.

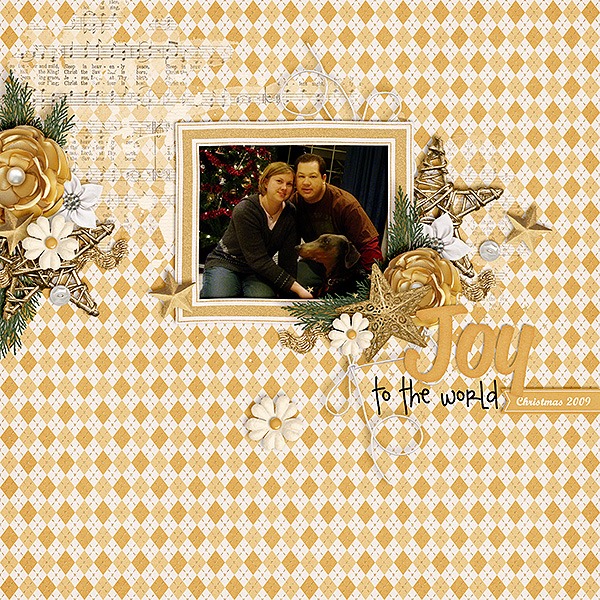
Karen has a digital scrapbooking page to show us that she made with O Holy Night and the coordinating word art. I love what she did with the hint of sheet music in the cluster of elements around her frame. Take a look!  fdd_ffMM3_tp3_600

Now take a second look back at her page. I think her layout would make a fantastic Christmas card to send out to her friends and family. She could switch out the photo with one from the current year and change the date on the page, then crop the entire page to whatever card size she wanted and she would have a professional card for the year, custom made.

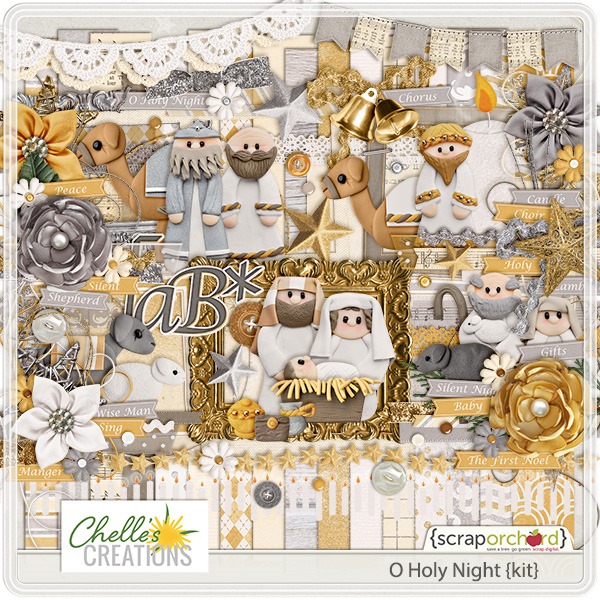
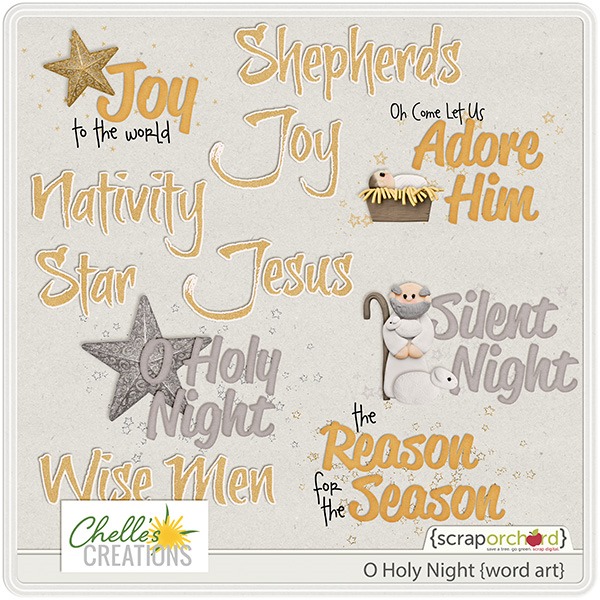
Want to play? Here’s the kit and the word art in the market.

cc_oholynightcc_oholynight_wa

by_Cheryl

11.09.15 Midnight Crow

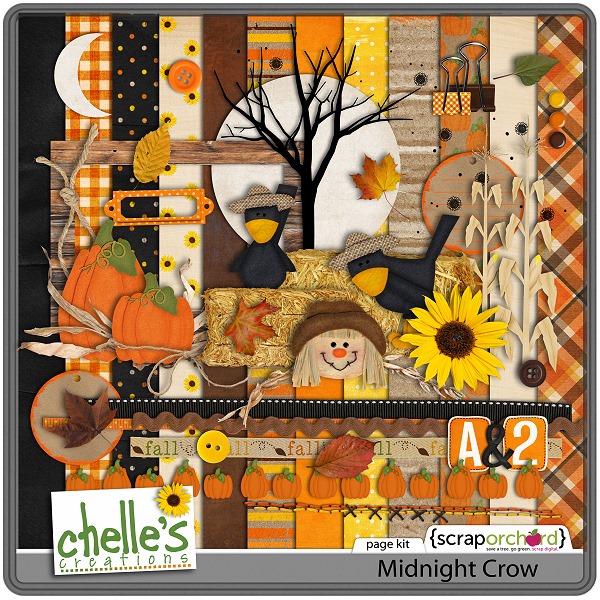
Today we’re taking a look at a classic Chelle’s Creation kit called Midnight Crow. It’s got the cutest fall color scheme and elements of any kit on the market. Those crows are adorable! Take a look at what Chelle’s creative team has come up with for us.

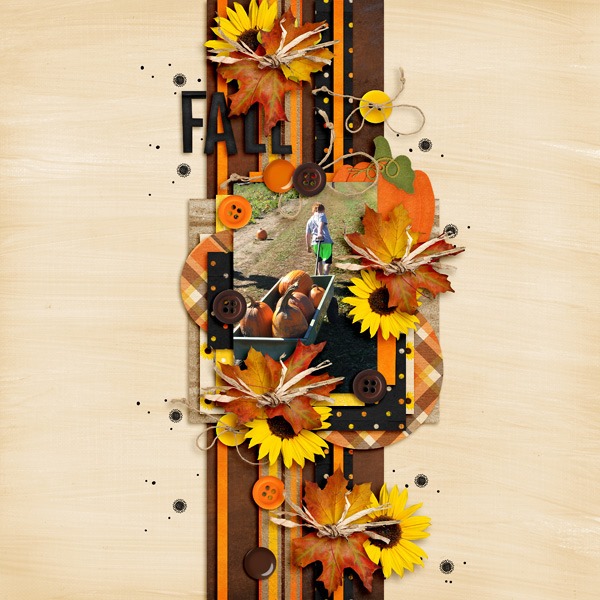
First, Jenny had the terrific idea of using a vertical layout for all her goodies on the page. I love the thought of “fall” falling down the page, and this kit is perfect for her pumpkin patch photo. Pumpkinpatch2015Tinci_CEAF_5_web

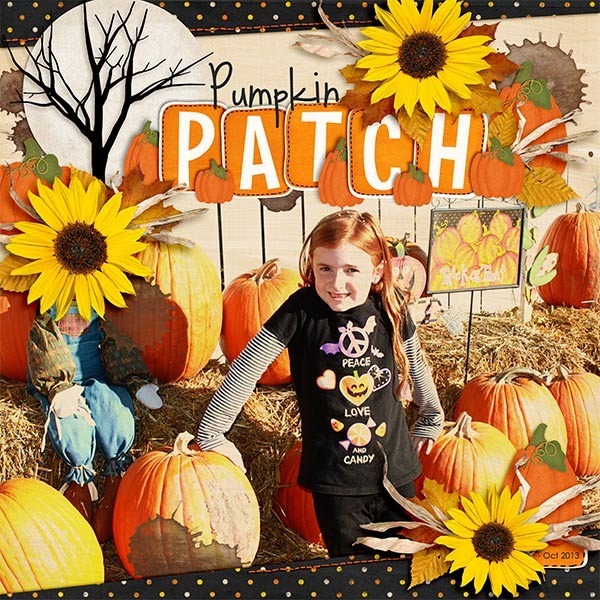
Next, Kayla shared a page with us that is a large photo of her daughter in a pumpkin patch. Take a really close look at it – Chelle’s elements are so life-like I found it difficult to pick out what was in the photo and what was an element Kayla added to the page. PumpkinPatch_Oct13_web

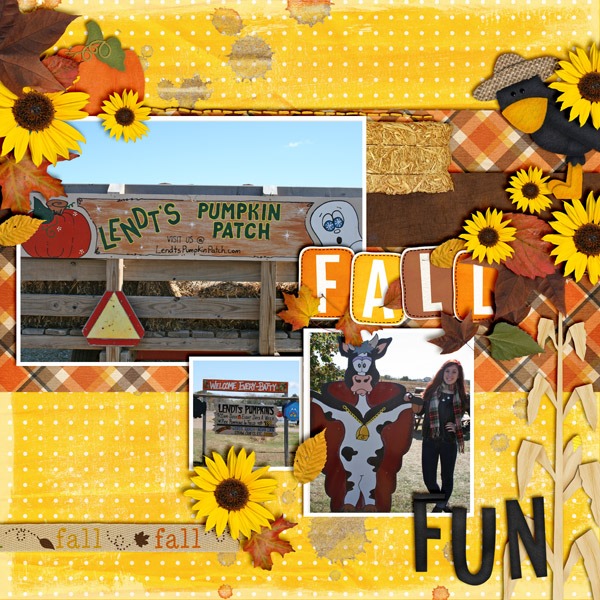
Finally, Jenn gave us this bright and cheerful fall page. I love the yellow background that brings out the bright and sunny fall day featured in her photos. And look at that crow peaking out up top. Isn’t he the best? fall fun

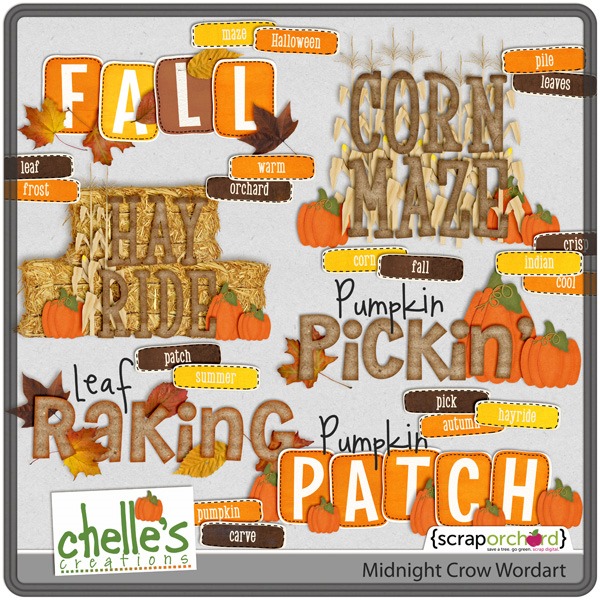
If this kit has escaped your attention until now, you can find it in the market by clicking the images below. cc_midnightcrow_kitcc_midnightcrow_wordart_preview2post

by_Cheryl

11.04.15 Reason #673 Why I prefer Digital Scrapbooking Over Traditional Paper

OK, maybe the 673 is exaggerating, but there are definitely hundreds of reasons why I prefer digital scrapbooking to traditional. One big reason is that it’s super easy to use photos to fill the letters of a title on a scrapbooking page. Sometimes that’s a difficult thing to do on a traditional page, but digitally it’s easy peasy. Two of our CT members have made pages to show you how they used this easy eye-catcher on their pages.

First, Donna used a template by WM[squared] Designs and Chelle’s Zoo Crew {jungle} to make this awesome page. Filling the large letters with photos allowed the page to have plenty of white space and made a very pleasing design. I love that border of leaves across the top.  web_djp332_cc-zoocrew_wm2_statetemp-dc_template2_zpsj7rq9x39

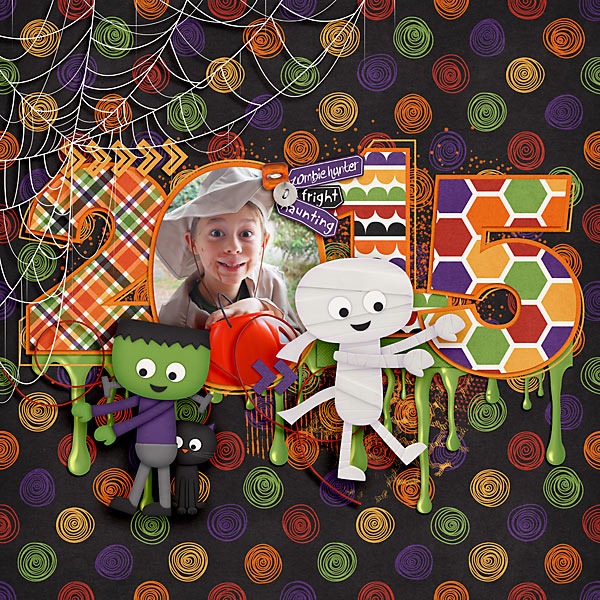
Carol also made a fantastic page with this technique. She started with a template from Fiddle-Dee-Dee Designs and Chelle’s Too Cute to Spook.  I’m a huge fan of having dates on pages, and this large 2015 leaves no doubt which year the photo was taken. Carol, that’s the cutest little zombie hunter I’ve ever seen! Zombie Hunter 2015 connor_zpsiyrrylie

Inspired? I hope so. Btw, this technique is great for making the title page to a book or a calendar topper, as well.

by_Cheryl

10.21.15 Using Sky Papers

Have you ever thought about how to use the sky patterned papers Chelle’s Creations has in some of her kits? I think they make great background papers for travel pages. They can give a page the perfect vacation feel, light, and airy, and ready to relax. Take a look at a couple of pages from Chelle’s CT.

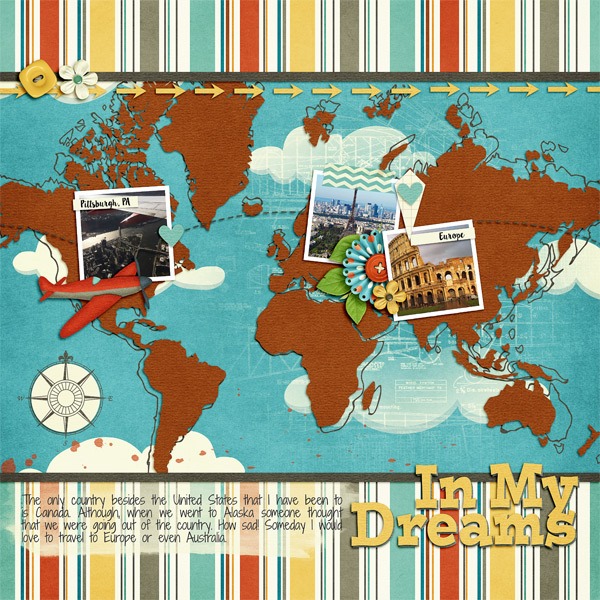
First, Donna made a gorgeous page about travelling across the world. She used Chelle’s Aviator kit to make a page about her dream of travelling to Europe. I love the way she layered shapes of the continents on top of sky paper when on a map we would normally see a blue ocean there. With that cute airplane taking off from Pittsburgh, it’s the perfect feeling of flight across the seas.  web_djp332_SwL_TravelingtheWorldTemplate4_zpsi59sermr

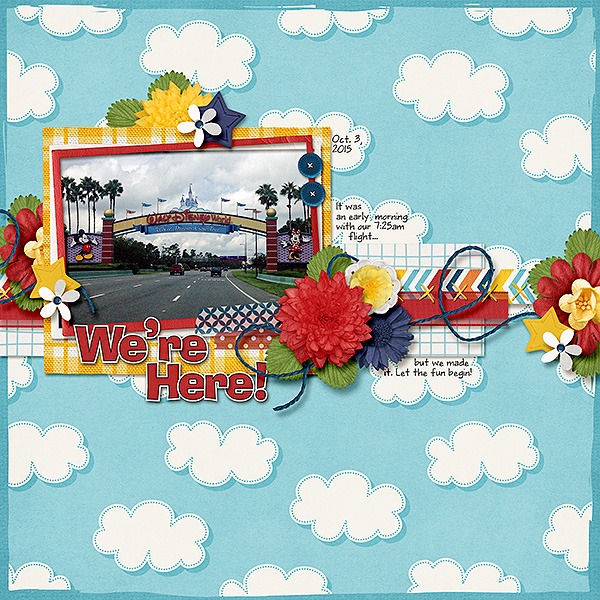
Karen also used a sky paper as a background. Her page is about a trip to Disney World and the sky paper gives the perfect light and happy feel. She used a combination of Chelle’s kits that worked perfectly together: Get Your Grill On & Good Night Teddy. Look how well her journaling fit on the clouds. That’s a perfect place to record memories from a magical day.  SwL_ArtsyJournalTemplate8_600_zpsfnq8ksri

When you’re thinking of using sky papers, don’t overlook the nighttime sky papers. Goodnight Teddy has a couple of those, of course. Are you inspired? I’m hoping you’re looking up now, finding your next great idea. The sky’s the limit!

by_Cheryl

10.13.15 Teacher’s Pet

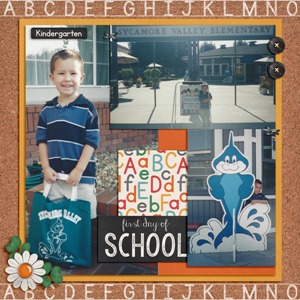
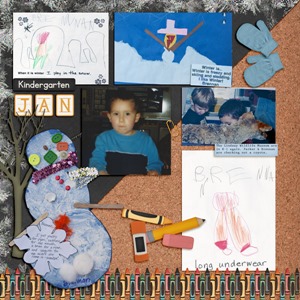
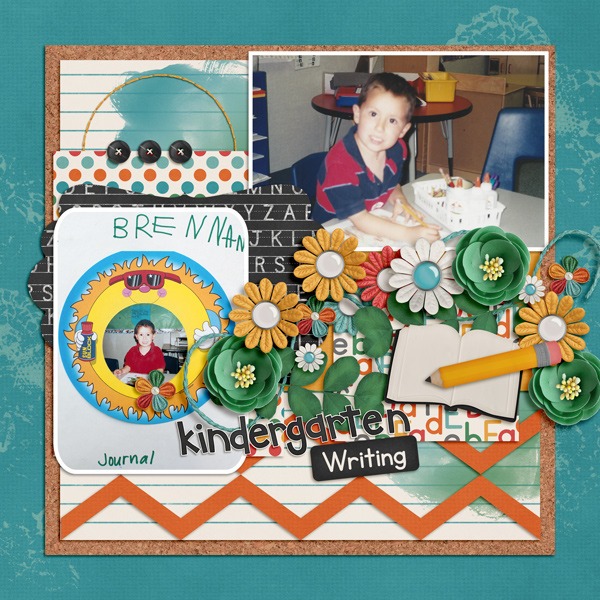
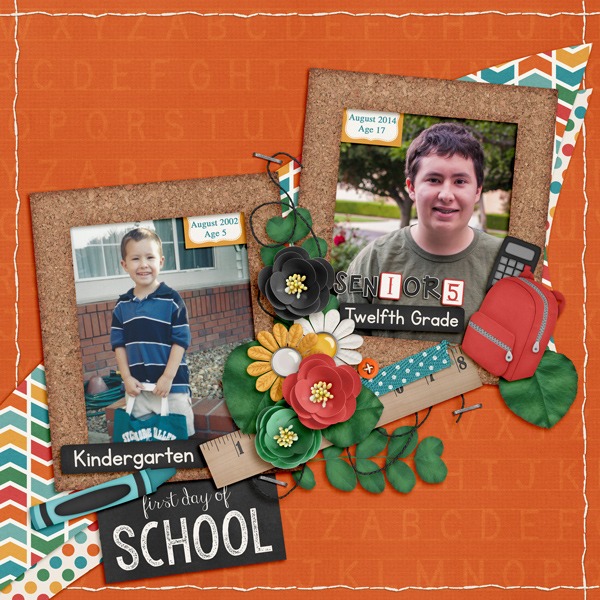
Today I want to feature Kimberly, a member of Chelle’s Creations CT who was a devoted customer even before she joined Chelle’s team. One thing that was always important to her was how useful the kit was for her. Being able to USE the kit is extremely important. Teacher’s Pet is right up her ally. When asked to submit a layout for this blog post, she gave me five layouts! That’s one of the best things about Chelle’s Creations. Her kits are easily mixable and matchable and can be used over and over again.

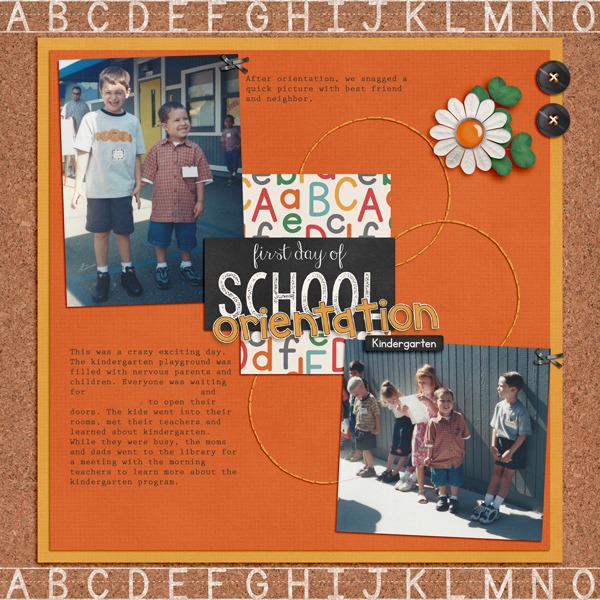
Take a look at what Kimberly created with this one kit. She has First Day of School pictures, Kindergarten, and even a high school picture all scrapped with Teacher’s Pet. I love how she leans toward the orange papers and elements in the kit. Take a close look, and see if you can find all the ways she used chalk on her pages.

_00Untitled-1_zpsu2fhmvan_00Untitled-2_zps0oaegnwc0K_B_01_Untitled_zpsnqfd0d860K_B_journalfdd_ffFreeBee86_zpszgths1in2014_08_FirstDaySchool_zpsdj4qyhik

You can find the basic kit here, but don’t miss the bundle. It includes the journal cards that are so very useful on a variety of pages, and a special block letter alpha.

by_Cheryl

Gymnastics

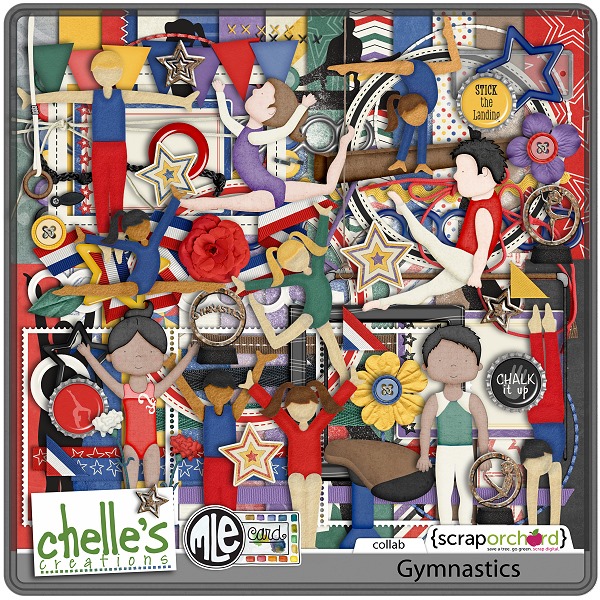
Here’s a look back at a classic kit from Chelle’s Creation celebrating everyone from the tumbling toddlers to the elite competition gymnasts in our lives. The Gymnastics kit is a collaborative kit by Chelle and mle Card with lots of brightly colored papers and hand rendered elements. But check out the digital scrapbooking pages Chelle’s CT members have created. I’ll show you three pages using the same kit, and you’ll be surprised at the variety.

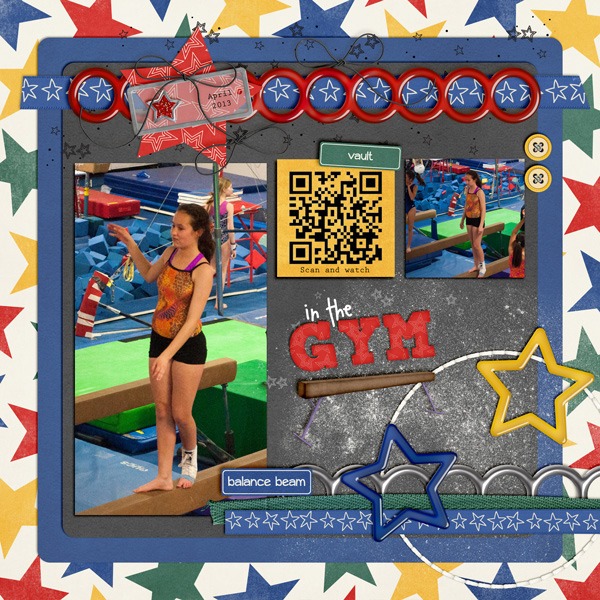
First, Kimberly has a daughter who does tumbling lessons and classes every day because she is a competition cheerleader in her high school. I’ve seen her in real life, and she is amazing. But, Kimberly’s scrapbooking skills are equal the task of capturing her daughter’s great moves. She used a layer mask on her large photo to mask away the bottom corner of her photo so she could tuck it behind the ribbon on the quick page (sold separately but made from parts and pieces of the kit). She even included a QR code which you can scan with your phone to see a video of her in action. The QR code comes out with a white background, so she used a blending mode on the yellow paper she clipped over the QR code. 2013_04-gymSwL_Feb2015SOTemplate2_zpsksbkfpol

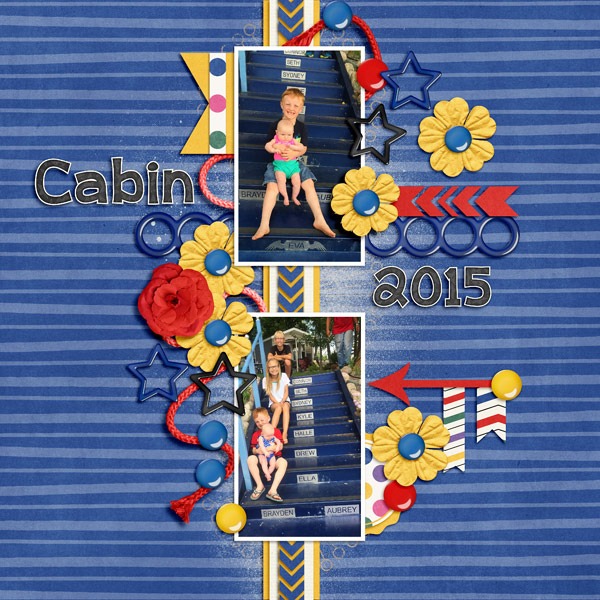
Next, Jenny took the same kit and made a layout that has nothing to do with tumbling, and yet the kit is absolutely the best choice. The bright colors and stars in the kit were a perfect match for her children, the stars of her show. I love the flow of movement down the page with the photos arranged vertically on the layered ribbons and clusters of flowers and stars. Cabin2015fdd_ffLABR2_tp2_web

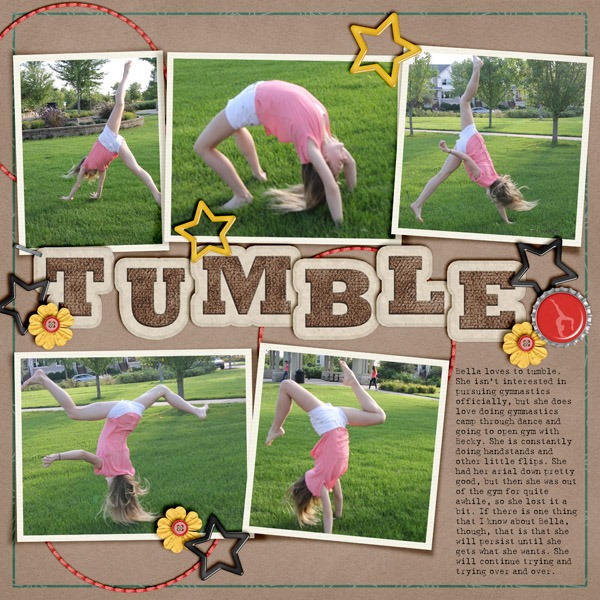
Finally, Jenn chose to use the neutral colors in the kit for her page. The tan paper and green stitched border are a great match for her outdoor photos. But the jumbled arrangement of the letters in the title caught my eye. They seem to pop off the page and complement her tumbling subject perfectly. tumble

Here’s a closer look at the kit in the market, but don’t miss the quickies or the bundle for a real bargain. cc_mle_gymnastics_kit

by_Cheryl

Mad for Monochromatic

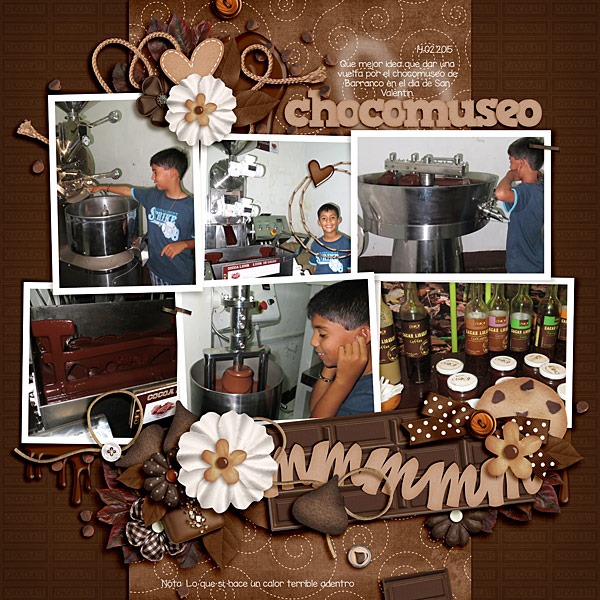
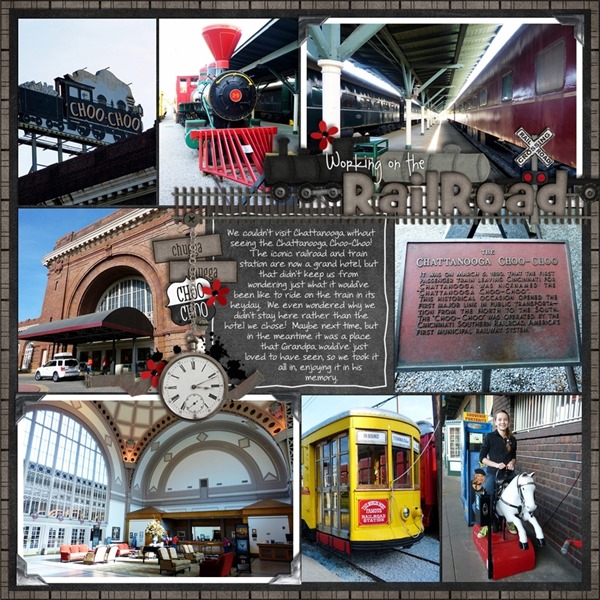
Pick a color, any color, and use it as the ONLY color on your next digital scrapbooking page. You might discover details in your photos you hadn’t noticed before, or that other colors in your photos pop instantly. Or, you might just notice that the monochromatic scheme you’ve chosen has a calming effect on you when you view your page. Chelle’s Creative Team Members have a couple of pages to show you how they used a basic brown color scheme to achieve two different feelings on their pages. Let’s take a look:

First, Roxana made her page from the brown elements in Give Thanks and Chocolate Lovers, the perfect choices for her trip to the Chocolate Museum. I can’t think of a better reason for a field trip than to visit that place of deliciousness, and Roxana’s page leaves me feeling satisfied and calm when I view it. I love the way she layered the flowers with the chocolate pieces in the Chocolate Lovers kit. ccsept11

In contrast, Jan’s page is also made from brown and neutral-toned papers, this time from Choo! Choo!, but the purpose of her color scheme was to bring out the exciting pops of color in her photos. Her page is very dear to my heart since I spent many wonderful years in that fun city of Chattanooga. The Choo Choo is definitely a fun destination and her color scheme has served her well in conveying that feeling. choochoo

I hope you’ve been inspired to try this technique. It might seem awkward to stick to shades of one color on a page, but I think you’ll find the results well worth it.

by_Cheryl

9.9.2015 Using Panoramic and Landscape Photos

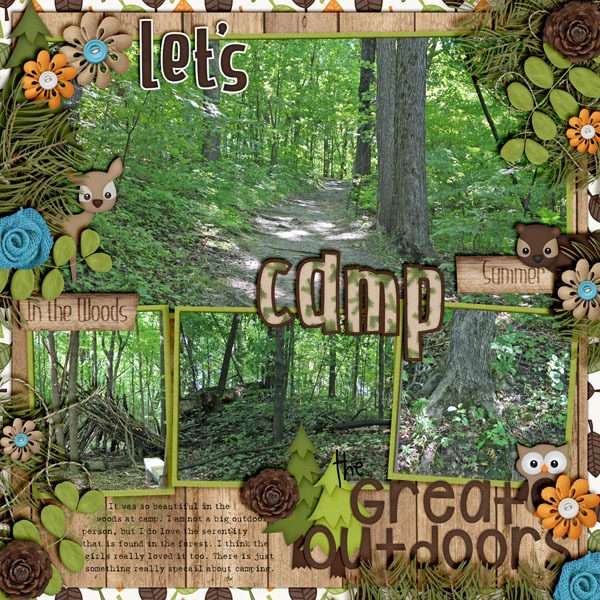
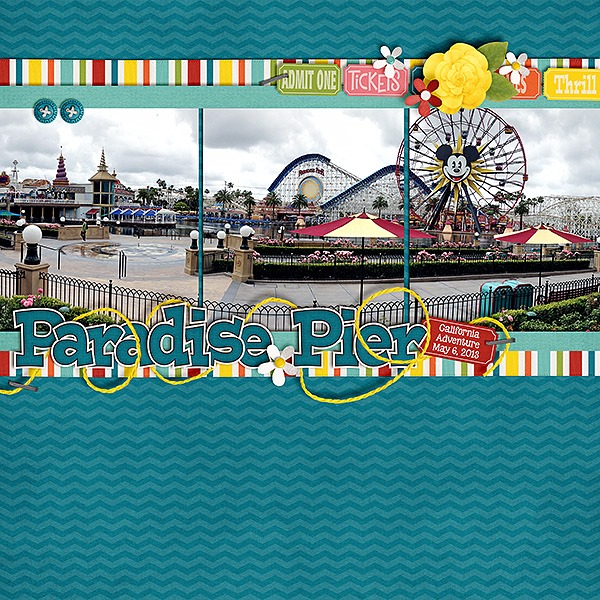
Now days, it seems most people have a cell phone with a panoramic option on the camera. It’s a great feature, but how does a really wide photo fit on a square digital scrapbooking page? Chelle’s Creations Creative Team have a few pages to show you how they use wide landscape photos. Let’s take a look!

First, Kimberly’s daughter texted her that there was a fire alarm at school, and when she asked her for more info she got no response. So of course this scared momma searched Twitter and found a picture of all her daughter’s high school friends standing outside their building when the false fire alarm was called. After being relieved that nothing was wrong, she made a great page about it. She cropped the photo somewhat but let it fill the entire width of the page and balanced the top and bottom spaces of the page with her title and journaling. She used Heroes {fire} and Techno Geek Mini kit to make her page. 2013_11-Fire-alarm-dbd_hero_fire_pp3_edited-1_zpszsoclvkp

Next, Jenn did something similar with her large landscape photo of a hiking trail. She used The Great Outdoors along with a Lay it on There 7 & 8 template to make her page. Notice how she filled the width of the page with her wide photo, but she balanced the weight of it with three smaller photos below, and she anchored them all together with the title spread across them all. in the woods

Finally, Karen did something totally different with her panoramic view of Paradise Pier. She used 3 photo spots to break up the width of her image without losing any of the detail, and she left lots of white space at the bottom of the page to let the eye rest. It’s a great way to showcase one very wide photo. She used Roller Coasters & Cotton Candy.paradisepier2013_600

Now that I’ve seen these three examples, I can think of lots of panoramic photos I want to take to use in my digital scrapbooks. Can you?

by_Cheryl

9.01.2015 Give me Liberty!

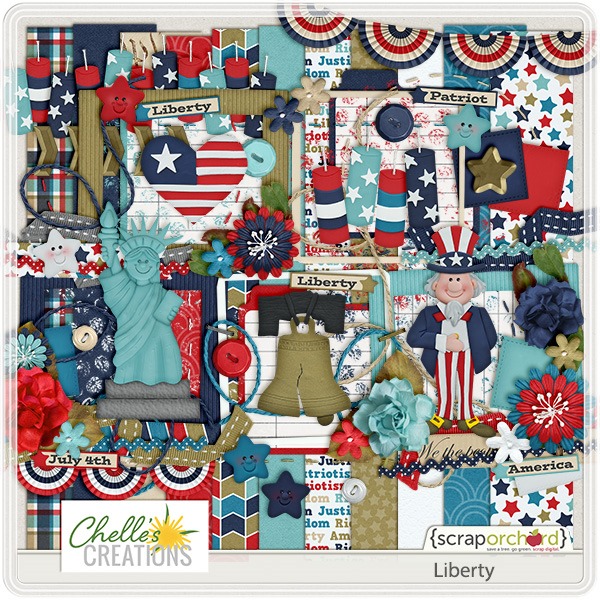
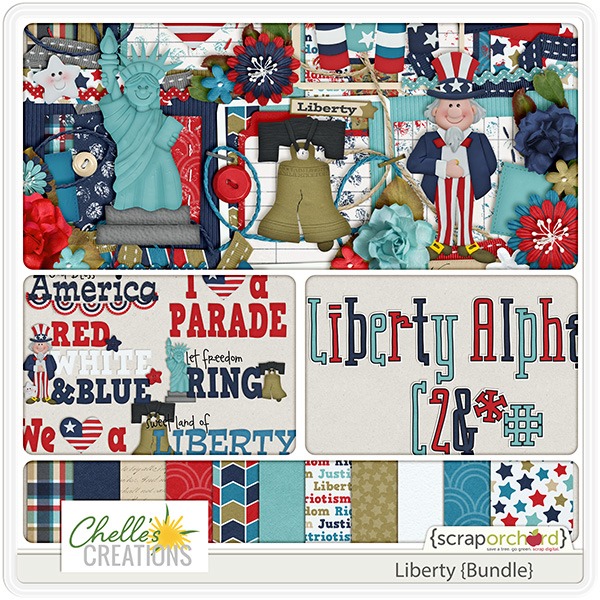
We’re taking a look at a classic digital scrapbooking kit in Chelle’s Creations store called Liberty, perfect for the 4th of July, or a visit to any number of patriotic sites. Let’s take a look at how her Creative Team has used this kit.

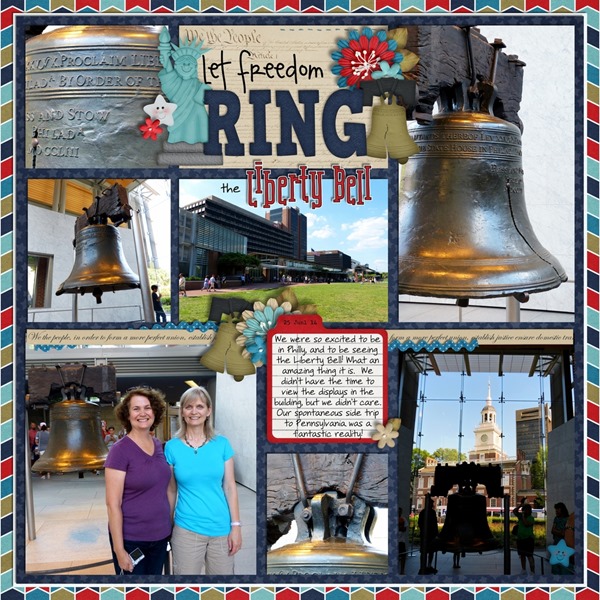
First, Jan had some photos from a visit to the Liberty Bell, so Chelle’s bundle was absolutely the best match for her memories. I love the way she used the word art for her title and the alpha for her subtitle. freedom ring

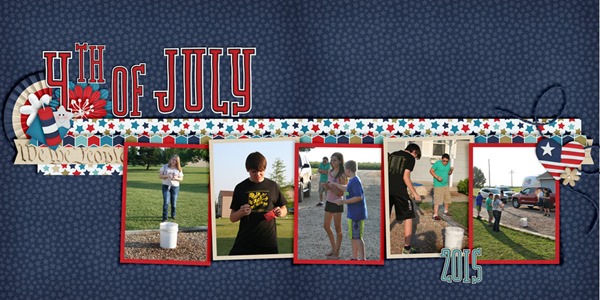
Next, Mel made a double page layout for her photos of the July 4th celebration. Her use of the banner to hold all the photos is terrific, and the weight of the pictures below the strip of paper is balanced with the title above.  4th-of-July-2015

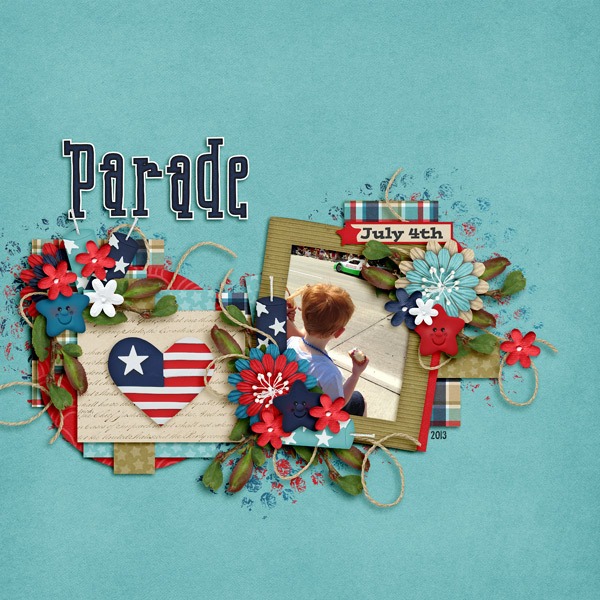
Next, Jenny had one special photo of her little guy watching the July 4th parade, and the greens in her photo are picked up by the green elements in the kit. Aren’t those little smiley-faced stars the cutest? 4thofJuly2013Tinci_Freedom_1_web

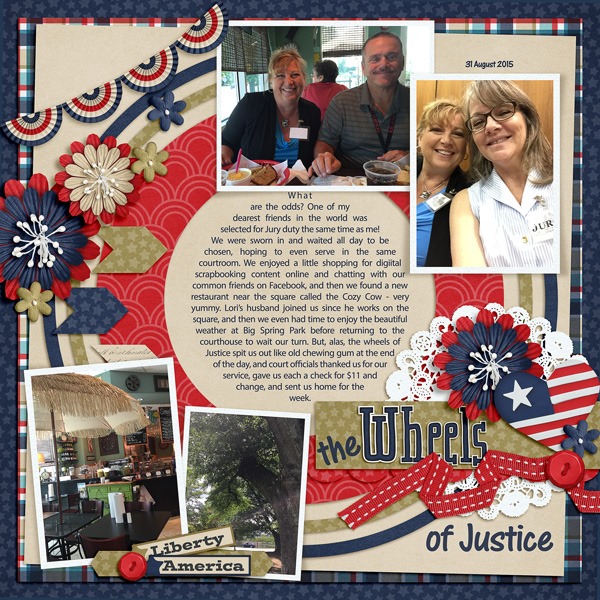
Finally, I have a page of my own to show you. Rarely do I post my pages, but this kit was such a perfect kit for a fun day of Jury Duty I had this week, that I just had to scrap the page right away and share it. By the way, I used a template from Fiddle-Dee-Dee Designs for my page as well as Chelle’s Liberty bundle. WheelsOfJusticeWEB

Here’s a closer look at the kit and the bundle in the market. The images are linked. cc_libertycc_liberty_bundle

by_Cheryl

Shadowing 101

One of the most important features of a digital scrapbooking page must surely be the shadows. If done well, a digital scrapbooking page can be so realistic you find yourself touching the print to feel the edges of the photos layered on the page. Luckily, Chelle has a product in the market that helps with shadows. It’s called Me and My Shadow and it works with PSE, PS and programs that use .asl style files. But what if you don’t have those programs for your scrapping? Never fear: I’ll show you an example from Jan who uses Artisan 4 (same as SBC 4.0), but I’ll also show you an example from Kayla who can and does use Chelle’s shadow styles with PSE. They each have some great tips for us regarding shadowing.

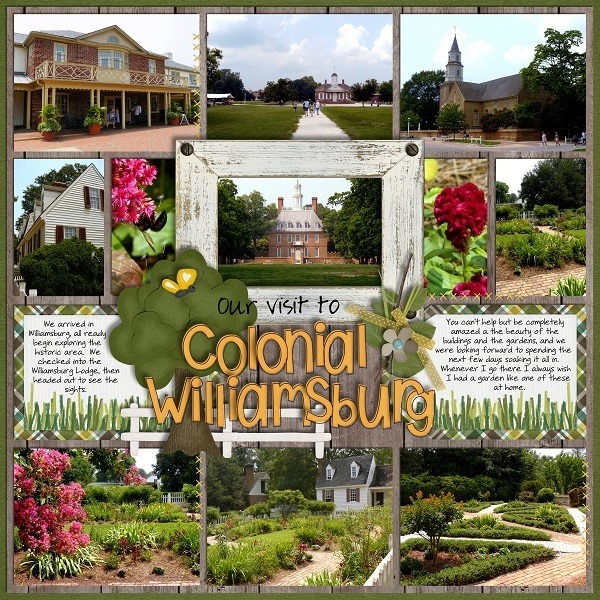
First, here’s Jan’s page. She used from the In the Pocket bundle and Down on the Farm and In the Backyard. Take a look at how realistic her layers are. Here’s what she had to say about how she manipulates the shadow settings in Artisan 4 to get that look. “I usually start with the smaller shadow (Depth 0.9; Softness 0.7) for my papers and other lower-level/layer elements that I don’t want to focus on, for I want them to look like they are laying flat down on a surface, rather than ready to fly off the page. I use the higher-level shadow (Depth 2; Softness 2) for those elements I want to stand out a bit more, like photos, elements that are laying on top of photos, and the like. I will play with the settings a bit for fun, or to make things look a bit more realistic. For example, I set the shadow for the stitches at Depth 0.3; Softness 0.1, to make them look like they are actually stitched onto the page. And I wanted to draw more attention to the title and the framed photo, so I set them at Depth 2.5; Softness 2.5. The butterfly is set at Depth 3; Softness 3. I typically don’t use anything higher than that because I don’t want anything to look like its floating away on it’s own! And I didn’t shadow the text part of my title for I wanted it to look like I wrote it on the page.” cw sm
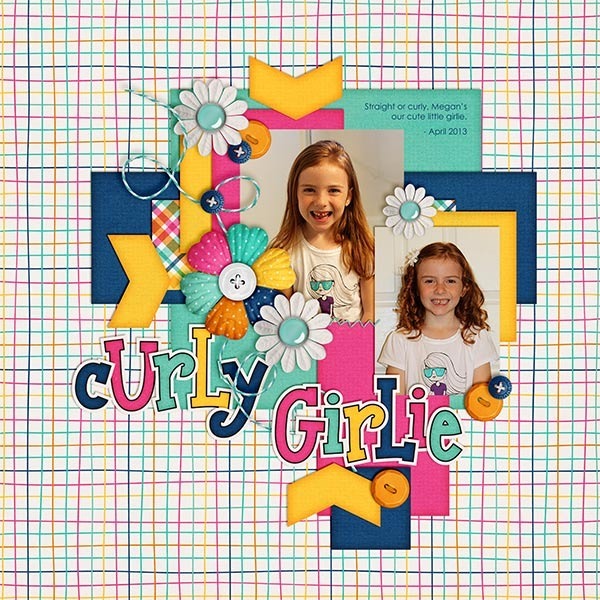
Next, Kayla used Chelle’s shadow styles along with Pajama Party Sampler 1 and Pajama Party Sampler 2. Her shadows definitely make the page look 3-dimensional, don’t they? In addition to using Chelle’s preset shadow styles, she has another great time-saving tip – copy and paste the shadow styles for similar layers. She explains, “For example I added the desired shadow style to one of the letters in my title and then right clicked on that letter in the layers panel and selected copy layer style. Then, I highlighted the rest of the letters and right clicked on the layers panel and selected paste layer style. That gave me instant shadowing for my title. I did the same for all my paper layers to quickly shadow my layout.”  CurlyGirlie_Apr13_web
Maybe you have a time-saving tip you could share. Leave us all a comment below.

by_Cheryl