Techno Love

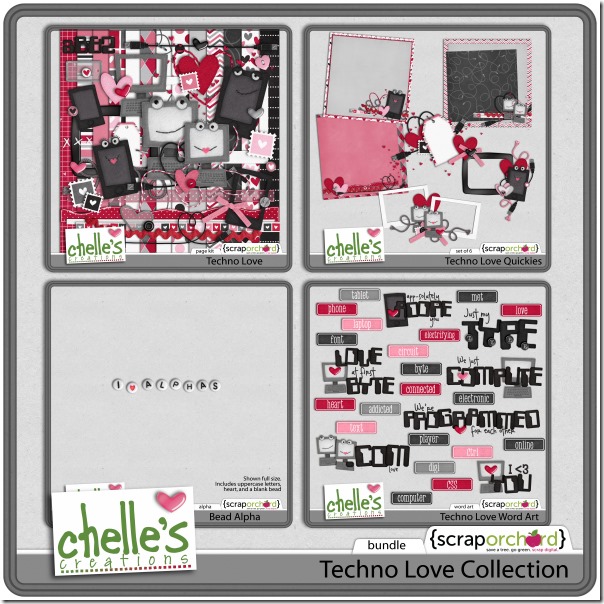
It’s almost Valentine’s Day, and digital scrapbooking kits with a love theme are popping up all over. Chelle has a great kit that combines this love theme with a techy feel called Techno Love. It’s great for scrapping your pictures of your sweeties with their electronic gadgets. Her team has had some fun playing with it this week, so let’s take a look.

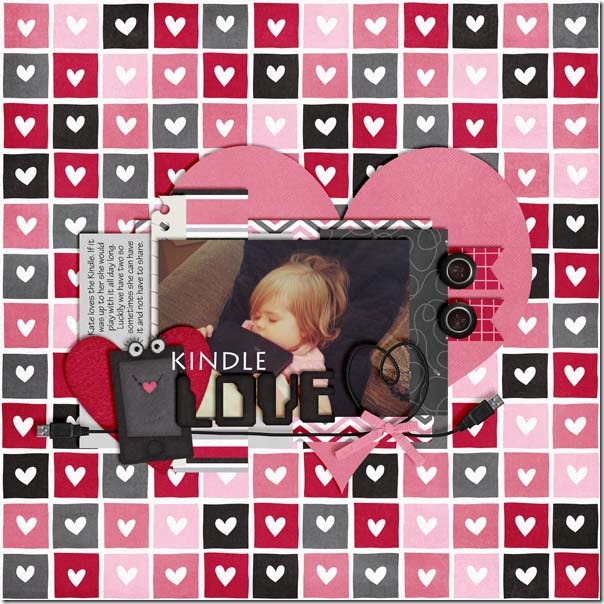
First, Heather had an adorable photo of her daughter playing with the Kindle, and she used Techno Love to make the perfect digital scrapbooking page. I love the way she used the little USB heart cable to layer on top of the matted photo. 12335621254_91a88ff3dd_o

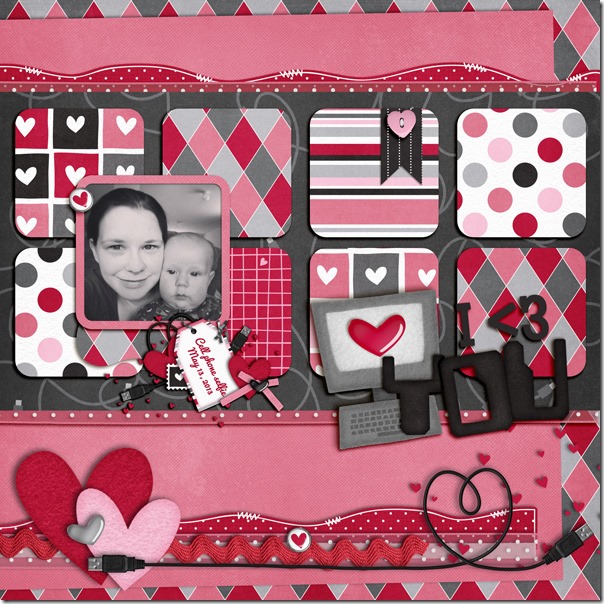
Next, Jen used the kit to make a page with a special black and white photo of her and her baby. Her title is from the Techno Love Collection – perfect for the theme of the kit and perfect for this page.0513_zpse9b24ee8

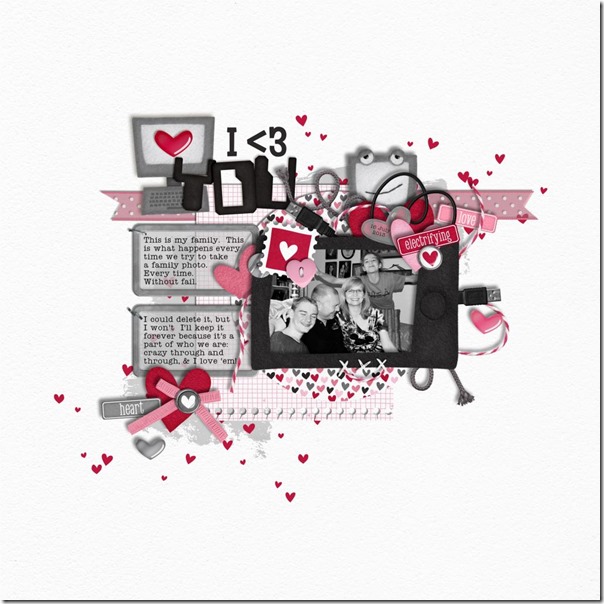
Finally, Jan also used a black and white photo with this kit. I love that she used a light paper for the background, and I love her story! She used a not-so-perfect family photo and tells us that this happens every time she tries to get a good one. Isn’t that familiar?technolove

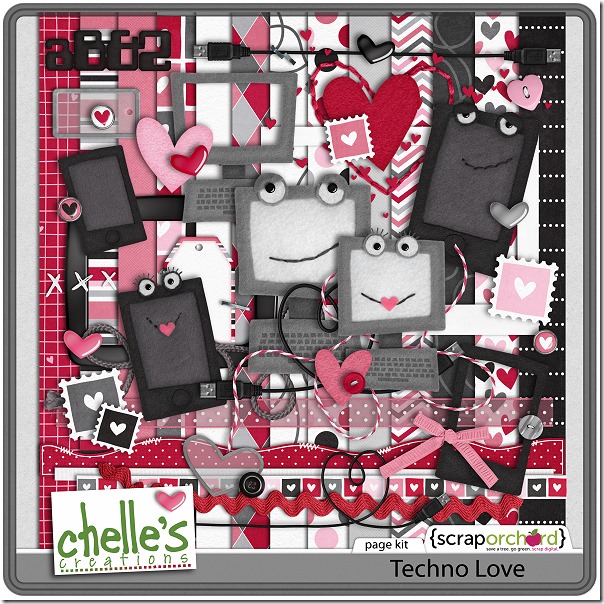
Here’s a closer look at the kit and the collection in the market. cc_technolove_kitcc_technolove_bundle

Happy Valentine’s Day to you!

by_Cheryl

Scrap Skills: Arrows

I love to see arrows on a digital scrapbooking page. They let me know what is important on the page or the direction my eye should follow. Chelle’s Creations team members have some pages to show you different ways to get the effect of arrows on a page.

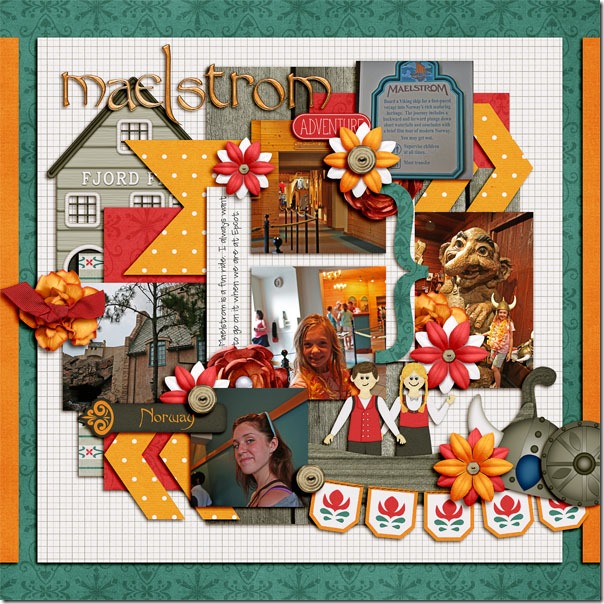
First, Jenn used Norlandia and the Norlandia {alphas} by Ziggle Designs and Chelle’s Creations to make her page. The arrows are large chevrons that are part of the Little Green Frog Designs template, and they are placed behind the photos. They create a great flow for the page.   maelstromJenn

Jenny also used a Little Green Frog Designs template and Chelle’s In the Backyard kit for her page. Again, the flow is obvious, and the page is fun to read.37385Jenny

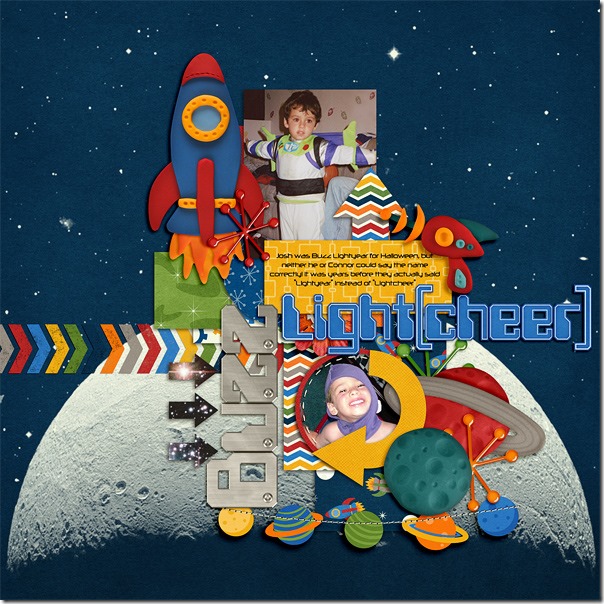
Tammy used Chelle’s newest kit Out of this World for her page. She has chevrons on her page, like the others, but she also has a large curved arrow framing an adorable young Buzz, and there’s another carefully placed arrow pointing to the hero in the top photo launching to infinity and beyond, I’m sure.Buzz-LightcheerTammy

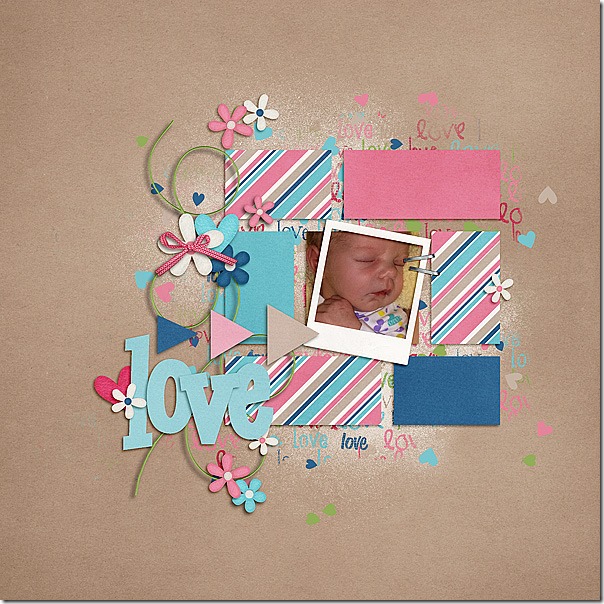
Melissa has made a page with Love Grows, and it’s the perfect kit choice for her sweet little baby girl’s photo. She has used triangle paper pieces to form an arrow pointing to that sweet baby face. sMelissa2ab69382

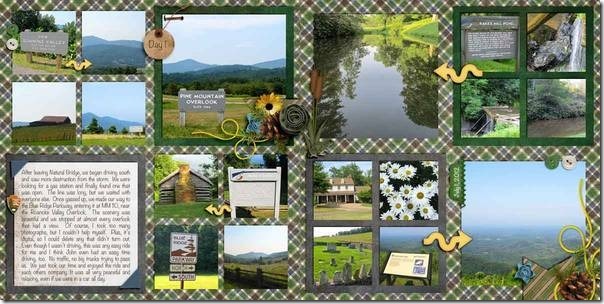
Finally, Donna has used lots of arrows for her double page layout. On a recent trip along the Blue Ridge Parkway, she took photos of signs she encountered and photos of the views those signs described. On her page, she has used arrows to point from each sign to its respective view. It’s the perfect way to use arrows to help journal. By the way, she used Chelle’s Great Outdoors Bundle and the arrows are from Vrooom! 5183Donna

I hope you’ll consider adding some arrows to your next page. You can use chevrons or triangles instead of actual arrows, or you could even use drawn arrows like the ones in Chelle’s Creations Mark My Words.

by_Cheryl

Classics: Heroes

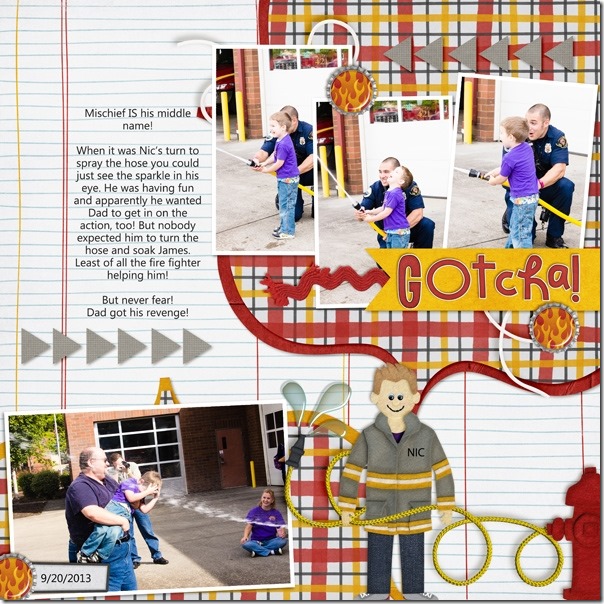
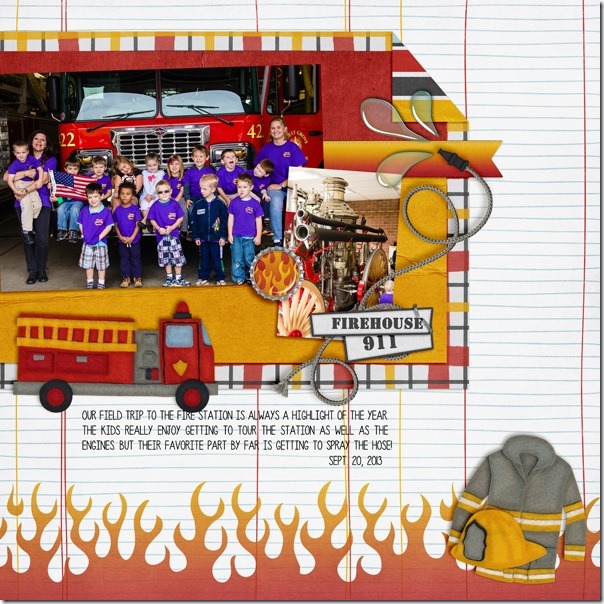
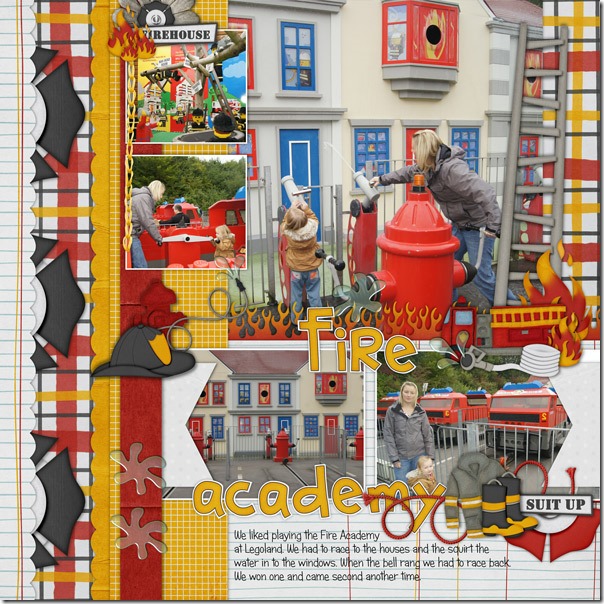
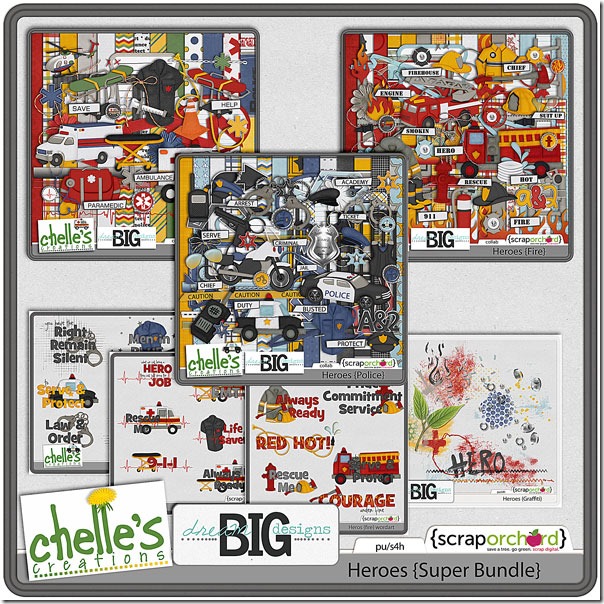
We’re looking back at a classic digital scrapbooking collab that Chelle and Cheri of Dream Big Designs created called Heroes {Super Bundle}. It’s HUGE, and it includes everything you would ever need to make a fabulous scrapbook page honoring those who serve to protect us. The greatest thing about this collab is that you can purchase it as a giant bundle or you can purchase the sets for specific Heroes separately. There is one each for Fire, Police, and EMT. Chelle’s Creative Team Members have been playing with it, and I have lots of pages to show you today. Rather than make you read my words, I think I’ll just let you drool over the images today. They are outstanding!

From Christine:  2mrxm4j

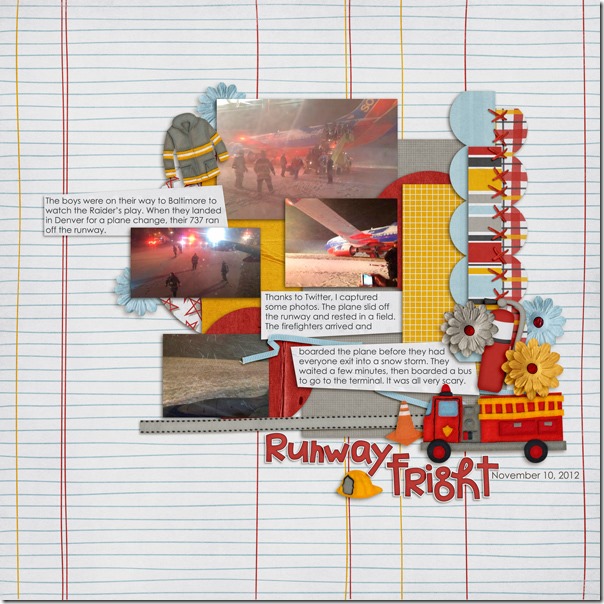
From Kimberly:  2012_11_10_SWA_LGFD-Jan14FB-PSD_zps4ef08ffa

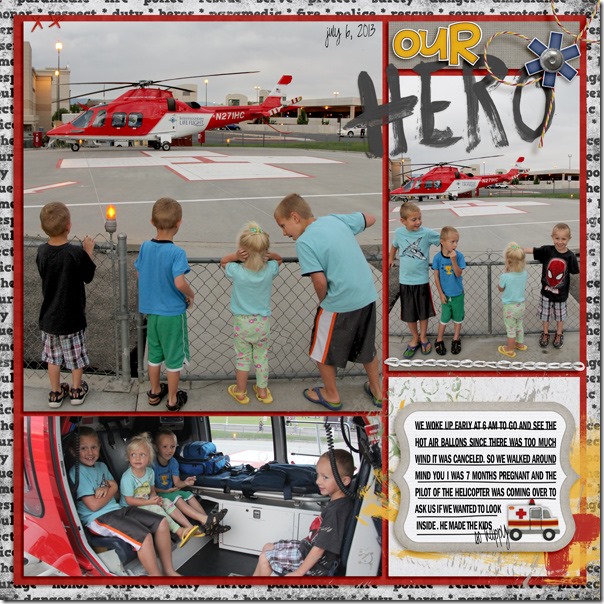
From Camijo:  2013_7-helicopter_zpsea2cdb38

From Krista (2 pages): 3601436005

From Helen: Helen-Hero-fire

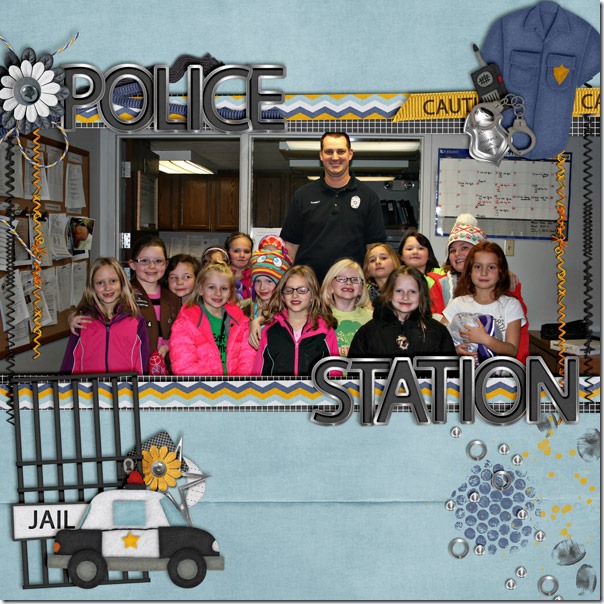
From Mel: PD-Visit

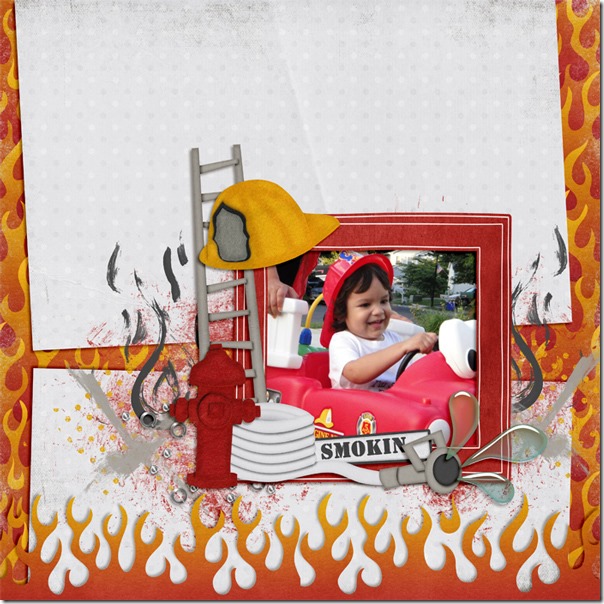
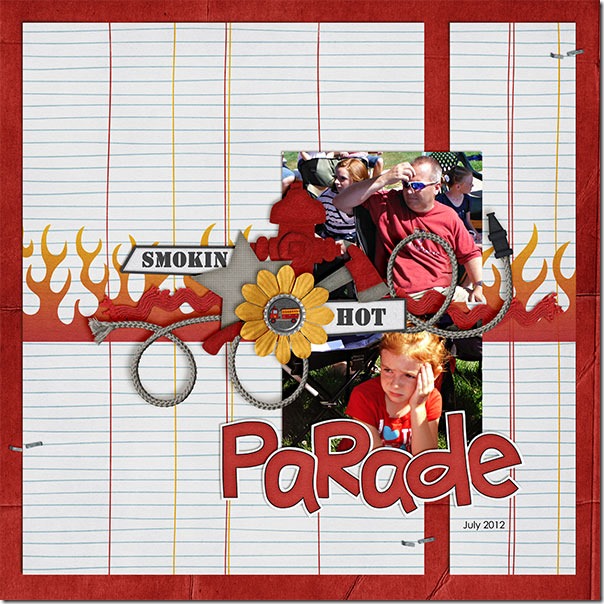
From Kayla: SmokinHotParade_July12_web_zps5556e75e

Aren’t they all simply amazing? If that’s not inspiration, I don’t know what is. Here’s one last look at the bundle in the market:

dbd_hero_bundle

by_Cheryl

Double Page Layouts

Several members of Chelle’s Creative Team love to make double pages for digital scrapbooking layouts. I asked them what they liked about it, and several of them, including Chelle, said they like to use lots of photos on the pages and have both sides of the spread be “matchy matchy.” Helen said, “I like that I can scrap lots of photos without having to make them smaller to fit on a single layout or have to ‘ditch’ some off the layout all together.” Besides being cohesive in theme, Melissa also said she prefers to use only a few photos on her pages, so having a double allows her to use more photos and not have a crowded look.

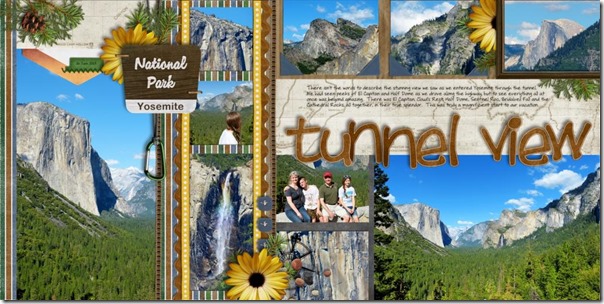
Personally, I like using double page spreads for vacation books when I have lots of great scenery photos that I want to print in large size. Jan must agree with me because she made a double page with some photos from her trip to Yosemite. The views of El Capitan and Half Dome certainly warrant large photo spaces. She used a template by Little Green Frog Designs and Chelle’s kits Let’s Camp S’more and On the Trail. tunnel
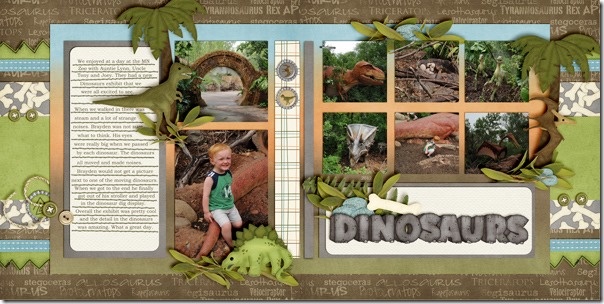
Next, Jenny made a double page from photos of a zoo trip. She also used a double template by Little Green Frog Designs, and she used Chelle’s Prehistoric with her Bedrock Alpha. Because she used 2 pages to tell her story, she was able to enlarge her son’s photo on the left side of the page and still have room for photos of the animals at the zoo. MN-Zoo-Dinosaurs-2012_web
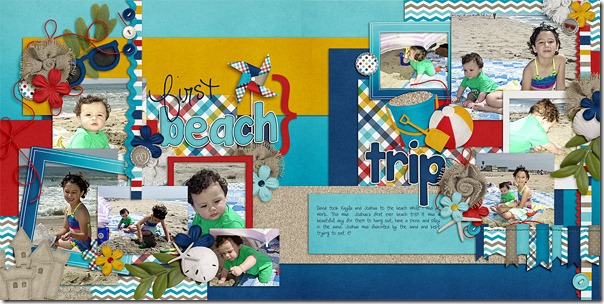
Tammy was able to use no less than 9 photos on her layout because she used a double spread, and she was able to show off her little cuties at the beach while still having lots of room for her story and cute elements from Chelle’s At the Beach kit. I love the sand castle in that kit, and it looks great as an anchor to the photos on the left side of the page.First-Beach-Trip_zps7e8ca073
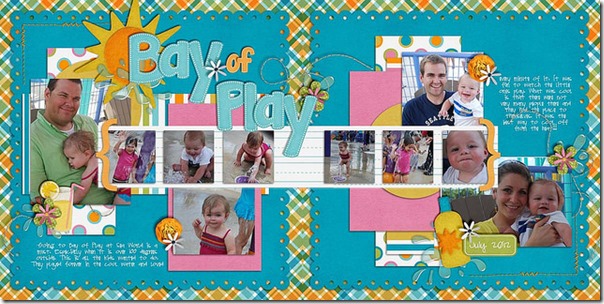
Heather also loves to show lots of photos on the page at time, and family play time at the bay was the perfect reason to do so. She chose to have the title extend across the middle of the page, which works well since several printing companies now offer lay-flat pages with no gutter. She used At the Pool and a template by Little Green Frog Designs. 11991558595_d68fa6caa6_z
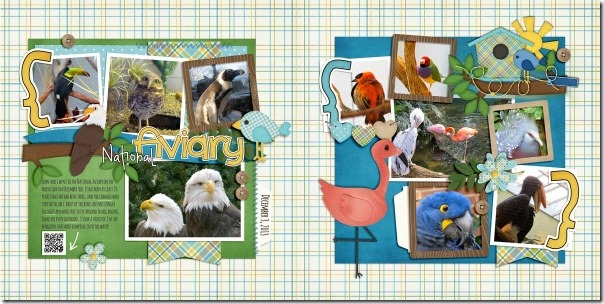
Like Jenny, Donna used a double page spread for her zoo pictures so she could include lots of animal photos. She has used a template by Scrapping with Liz and Chelle’s Bluebird on My Shoulder for the main kit and a few elements from Zoopendous and Forrest Friends. Donnas
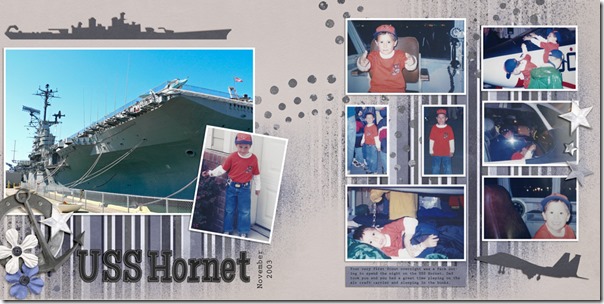
Finally, Kimberly has a great tip to share with us regarding the making of a double page spread. She started with a template from Fiddle-Dee-Dee Designs and used Chelle’s Anchors Aweigh kit. She also mixed  the use the styles on the template with Chelle’s  Me & My Shadow styles for added elements for a huge time saver. She doesn’t like to see seams on the background papers, and since the papers are generally only large enough for a single page, the combining of papers is necessary for a double. But, Kimberly uses three papers on the background layering the third paper on top in the middle of the spread. Then she blends the outside edges with the eraser tool into the 2 papers behind. That way, no seams show and the background appears to be one long 24 inch paper. 2003_USSHornetfdd_ffLM2_tp5amp6_zps757c3a9a
I hope you’re inspired to double a page now. I know I am!

by_Cheryl

Kraftabulous

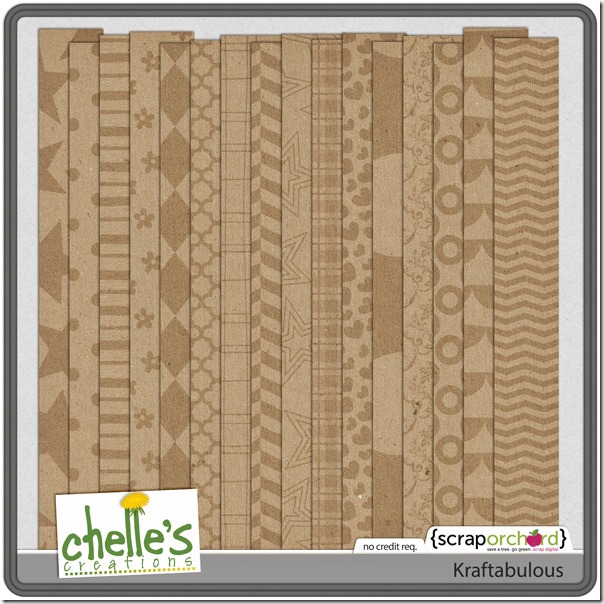
Chelle has a great kit in the market perfect for helping you to stretch your digital scrapbooking stash. It’s called Kraftabulous, and it is simply a kit of extremely versatile kraft papers with various patterns and textures. Her Creative Team has made some pages to show you how well these papers complement any of Chelle’s kits.

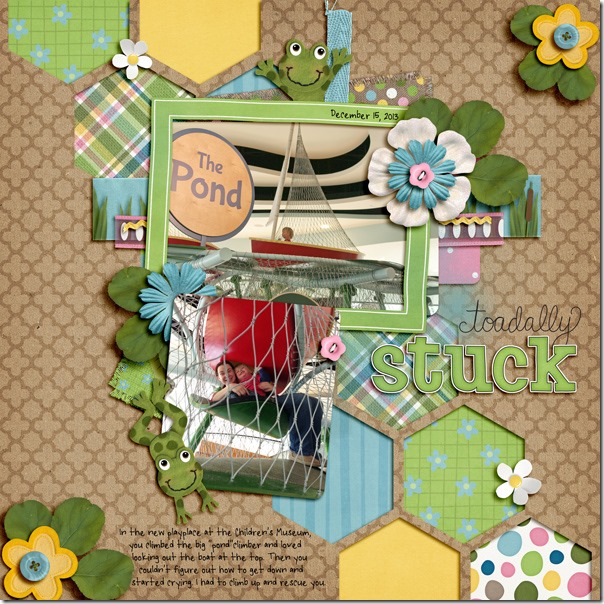
First, Jen used Toadally to make this adorable page about her children enjoying a children’s museum. The patterned kraft paper is a great neutral for the bright spring colors of the Toadally kit.  toadally-stuck_zps6dce3fc5

Next, Krista used a kraft paper with a chevron pattern for her background and combined it with the Play & Grow kit, Jump Zone alpha, a plaid paper from Street Smarts, and a template from Little Green Frog Designs. I love the movement across the page conveyed by the template design and the chevron pattern. 36461

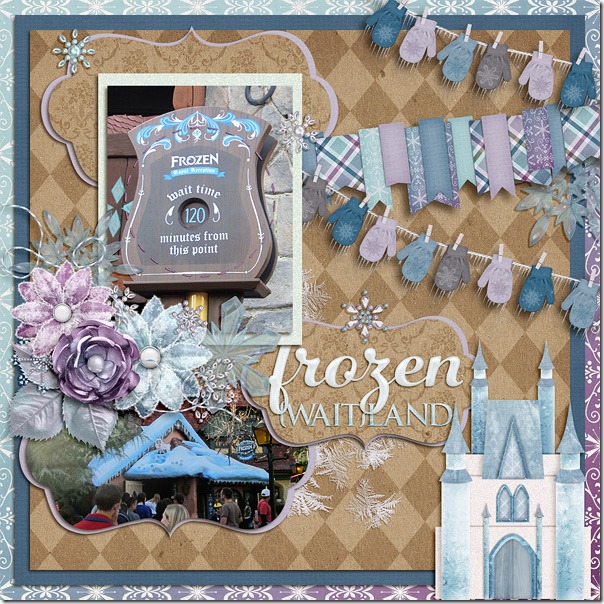
Next, Tammy used a freebie template from Fiddle Dee Dee Designs with Chelle’s Snowlandia kit and a diamond-patterned kraft paper for the perfect combination. I love the way the blues and purples look on the brown Kraftabulous paper.Frozen-WaitLand_zpsc7804ea9

Finally, Donna made a double page using a Scrapping with Liz template and Chelle’s Letters from Home with a plaid patterned Kraftabulous paper. Again, it’s another perfect combination. 36476

The team has shown you that all colors go well with the Kraftabulous papers. Here’s a closer look at the set in the market. I hope you’ll be inspired to create something new with it soon.

cc_kraftabulous

by_Cheryl

Using Glitter and Glitter Styles

Chelle recently released some new glitter styles and her creative team members have been playing with these and other glitter elements on their digital scrapbooking pages. Take a look!
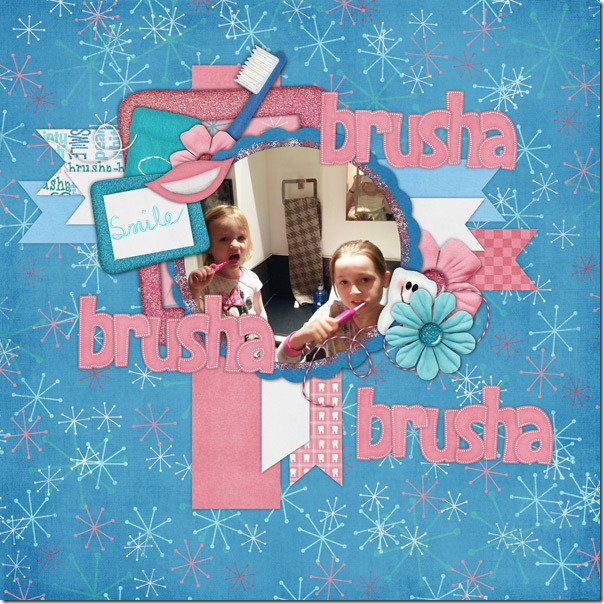
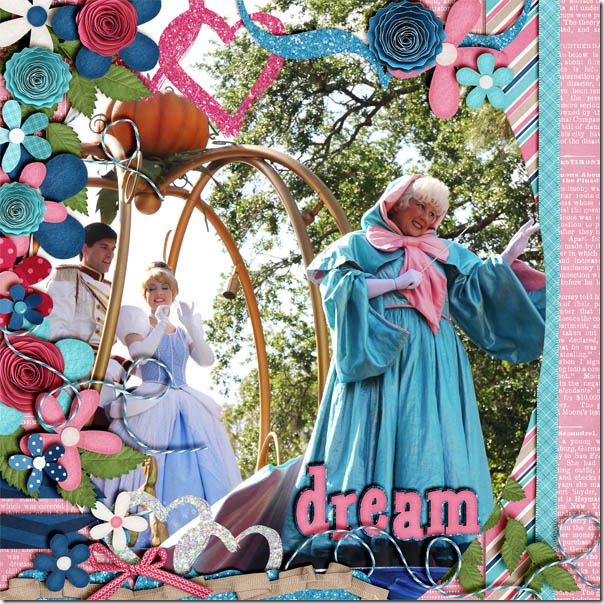
Jenn used a template by Fiddle Dee Dee Designs (Center of Attention) combined with Chelle’s kit Love Grows and her CU Iridescent Glitter Styles to create her page. She used the glitter styles to add sparkle to a bracket paper shape included in the template and to several hearts used for embellishment around the page. It’s the perfect touch for a page about a favorite princess. dream

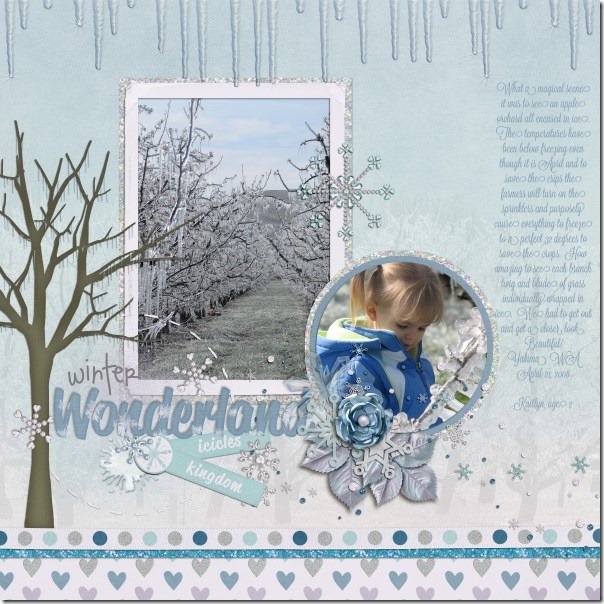
Next, Lisa shows us that the glitter styles look fantastic with a snowy page. She used glitter to embellish this magical snow scene she created using Chelle’s Snowlandia kit which is full of sparkly elements. I love the sparkling frames around the photos to draw attention to the focus of the page. She also has a small strip of glitter paper peeking out in the layers at the bottom of the page.1-2SnowlandiaGlitter600x600

If you don’t want to use the glitter styles, or if your program doesn’t allow use of them, you can still add the sparkle. Several of Chelle’s kits come with elements that are glittered for you already. Helen has used one of them for her page. She used Pearly Whites for her creation. This kit includes a glitter frame in three colors, so it makes it quite easy to add a touch of shine to your project. Helen-pearly-white

Finally, Kimberly show us how to add lots of shine and sparkle to a page. In addition to applying the CU Iridescent Glitter Styles to several of the paper mats, Kimberly used a gem from Girlfriend and utilized the same glitter style and CU Metal Style to create different looking centers to the flowers. She also added the purple glitter style to the white stitched border from the kit Mane Event. One great feature of the two styles is that they work nicely with the Me and My Shadow styles. It doesn’t matter which style you apply first. Now take a close look at the silver metal flower in the bottom left cluster on the page. Kimberly used a doodled flower from Girlfriend and added the CU Metal Style to it to totally change the look and add another element of sparkle to her page. 2013_01-evening-of-the-artsLGFD-WWood-SO-PSD_zpsec01f5bb

That’s a lot of bling, right? I’m inspired to dress up my next page as I’m sure you are.

by_Cheryl

Home for the Holidays and Build a Snowman

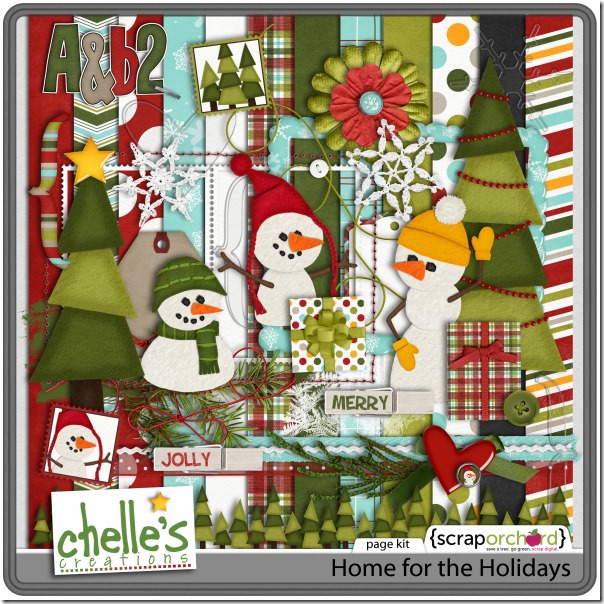
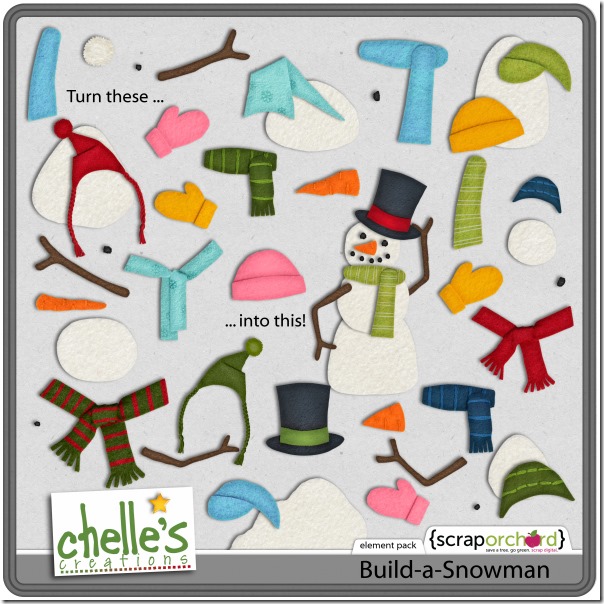
It’s Christmas Eve! Let’s look at a couple of Chelle’s digital scrapbooking kits that might remind you of Christmas and pair perfectly together: Home for the Holidays and Build a Snowman. There are 3 felt snowmen included in the Home for the Holidays kit, but adding the Build a Snowman product allows for infinitely many possibilities of snowmen creations. But, the parts and pieces can be used for any number of embellishments to pages as we will see. Let’s take a look at what Chelle’s Creative Team Members have done with this combination.

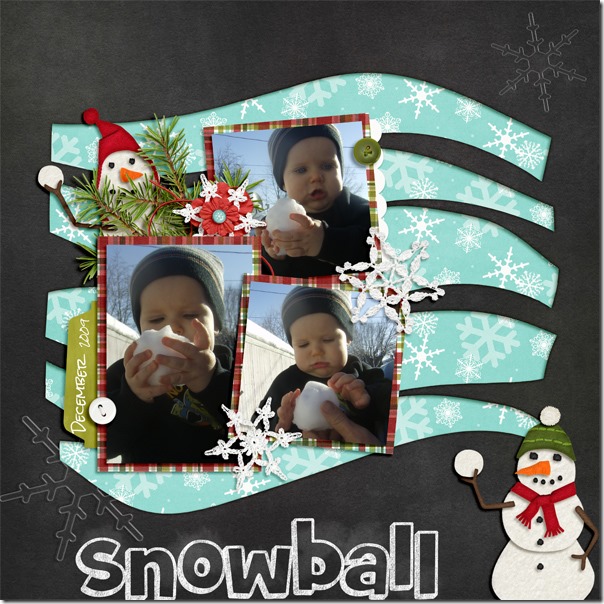
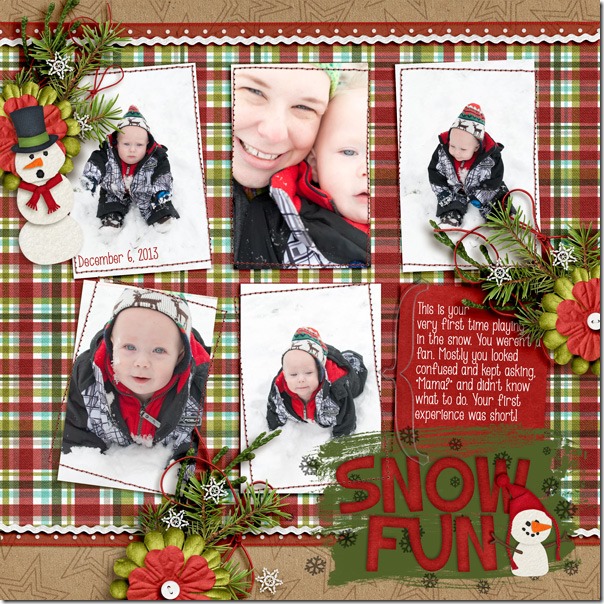
First, Christine had some adorable pictures of her little boy building a snowball for the first time. These two kits were the best choice for her scrapbook page, and I love how she has the snowballs in the hands of the felt snowmen. By the way, Christine used Chelle’s Chalked {outline} alpha for the title. Christines

Next, Jen used a paper from Kraftabulous as well as the two featured kits for her page about her baby’s first experience with snow. The stitched frames are a great accent to those adorable photos and help to give the page a 3-dimensional look. snowman_zpsJen

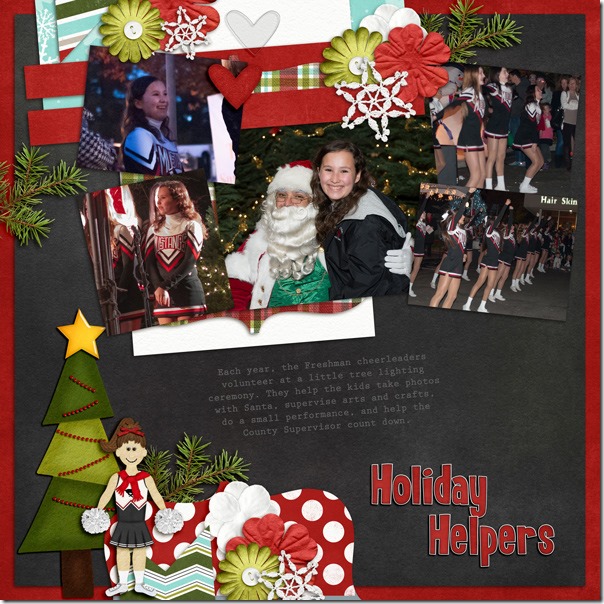
Finally, Kimberly has a bit of a different page. While her page has a Christmas theme, there is no use of snow here. Her photos tell a story of her daughter’s cheer team helping out in the community at a tree lighting ceremony. She used the pom poms and a scarf from Build a Snowman to embellish her cheerleader made from modifying parts of Little People, Back to School {little people}, and Go! Fight! Win!. It fits the theme of her page and matches her daughter’s cheer outfit perfectly. 2013_12-01_Tree-Lighting_LGFD-CuppaJoe-2KF

I hope you have a very  Merry Christmas this week, and if you have time to scrap, I hope these ladies have inspired you to create a page or two with the kits shown here. Just for a closer look, here they are in the market. The images are linked. cc_home4holidays_kit_previewcc_buildasnowman_preview

Merry Christmas!

by_Cheryl

Scrap Skills: Using Square Photos

Square photos makes me think of Instagram, the wildly popular social media app based on sharing photos with vintage filters. Chelle is even getting into the Instagram swing, and if you want to follow her, she’ll be adding photos there in 2014. Because of the site’s popularity, many digital scrapbooking fans are using more square photos on their pages, and many are using photo effects similar to the ones in Instagram. Chelle’s Creative Team Members have some layouts to show you how they do it. Some have used Instagram to generate their images, but several have not. Let’s take a look.

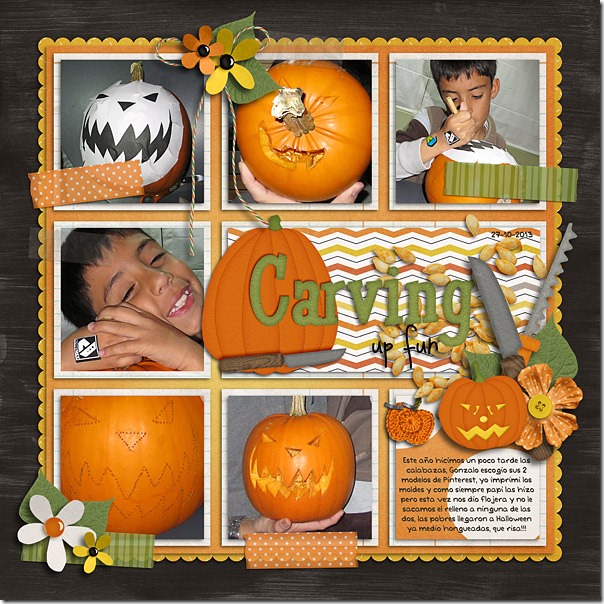
First, Roxana has made a page about her son carving a pumpkin at Halloween, and she has used Chelle’s Carve it Up and Eeeek Word Art. Because the square photos are the same aspect ratio of the page, the maximum space can be used. Look closely how she has filled the left bottom spot and the one above it with one photo. She did this by merging the two layers together first before clipping the photo to them. carvin10

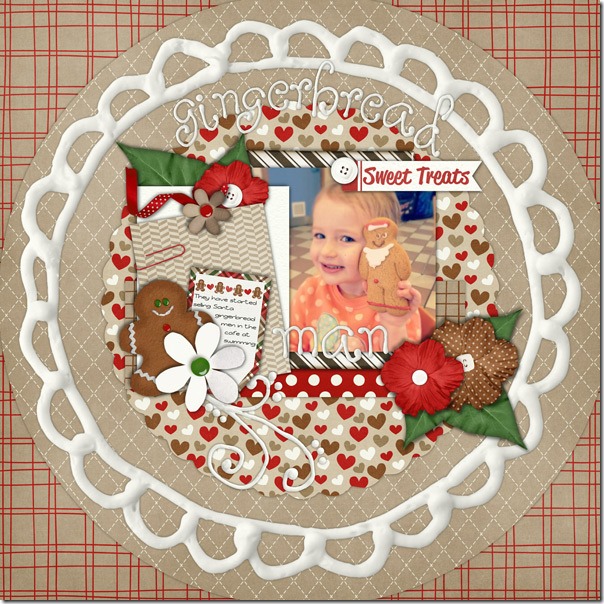
You don’t have to use lots of photos on a page when you use your Instagram pictures. Here’s a page from Helen who used an Instagram image, but it is the only photo on her page, and it is perfect. She used the Nashville filter in the phone app, and she has used Chelle’s Gingerbread kit to make her digital scrapbooking page. I love that frosting circle frame! Helen-gingerbread

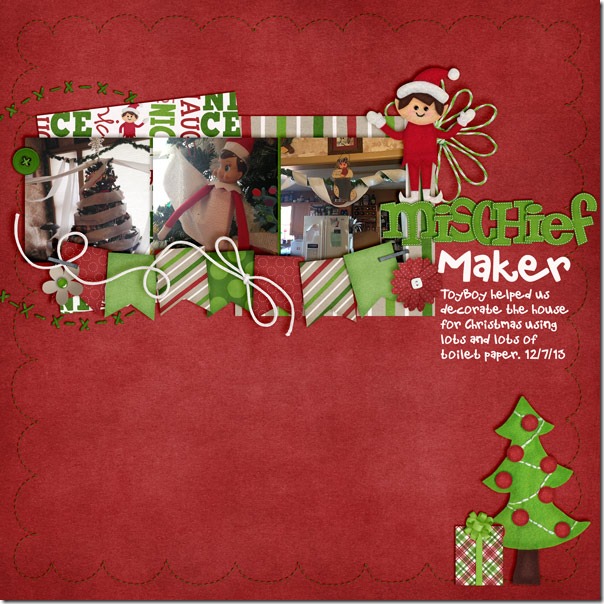
Mel has used her Instagram photos documenting her Elf on the Shelf mischief to make an adorable page. Looks like she is having a great time with this little guy. Appropriately, she used Naughty or Nice for her papers and elements. Mischief-Maker

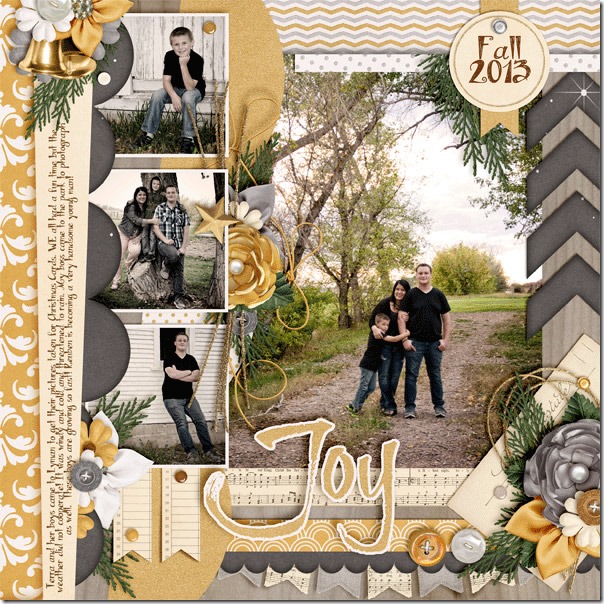
Leah used Chelle’s newest Christmas kit, O Holy Night, with some family photographs to make a page that is not a Christmas theme. The colors in the kit complement the colors in her photographs perfectly, and she has balanced the weight of a few square images with one large image to the right. leahs

Finally, Jennifer has used square photos on her page about a child’s birthday celebration. She used Chelle’s Play & Grow and One Year Older, and she has made a strong diagonal with the placement of the images. It suites the bold colors of the kit well, and the party looks like it was a lot of fun. 35095

Are you making digital scrapbooking pages with your Instagram photos and Chelle’s kits? Share them with us in her gallery and be sure to use the hashtag #chelle when you do.

by_Cheryl

Classics: Chalked {snowflakes}

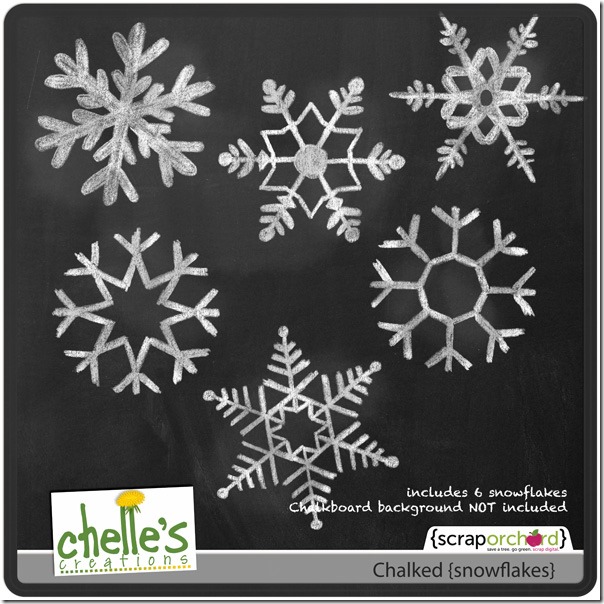
With the onset of winter in the Northern Hemisphere, designers are turning their creativity toward snow and various kits that have snow themes. Chelle’s Creations has a great set of chalked snowflakes that goes well with any of the kits you have already, I’m sure. Adding this product is a great way to stretch your stash. Check out the great ways the CTMs have used this.

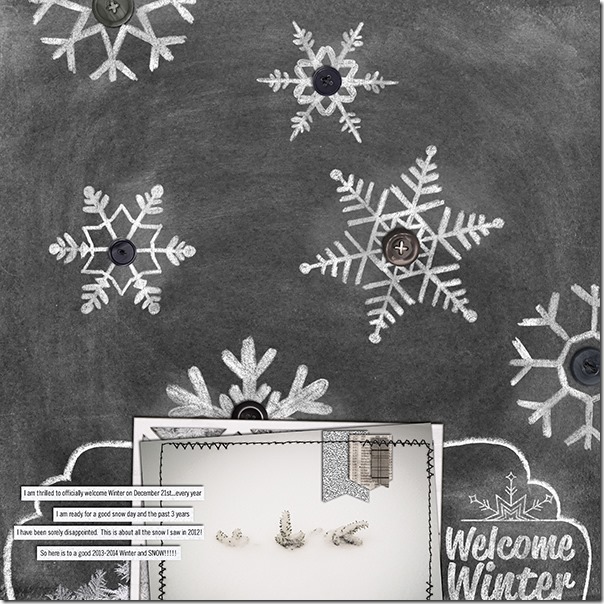
First, Jenn has used the snowflakes in large form on a chalkboard background, and it looks fantastic with her photo of the onset of winter. I love how she used buttons in the centers of the chalked snowflakes. 59_2013_WelcomeWinter_600_zpsa46ee887-1

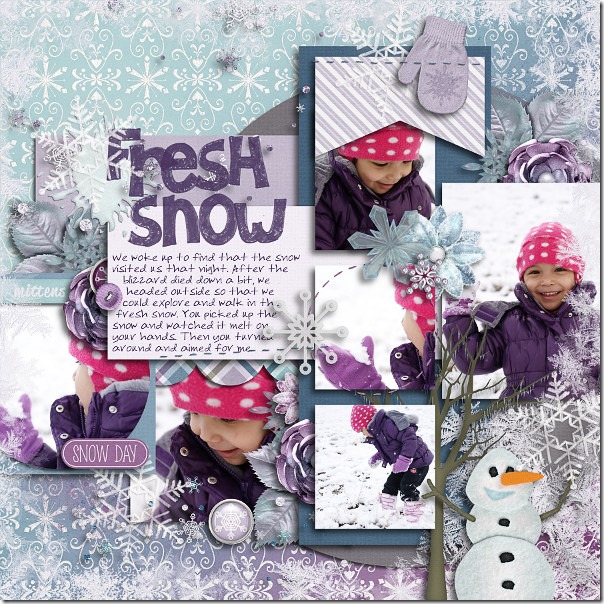
Next, Ophelia has used the chalked snowflakes as accents all around her page. I love all the purples and blues in her cheerful layout. 2013-03-08-freshsnow_sm

Next, Krista used the Chalked {snowflakes} with Snowlandia and the Snowlandia {alphas}– a perfect combination of kits – to document the photos she took of a winter storm in her area. 34252

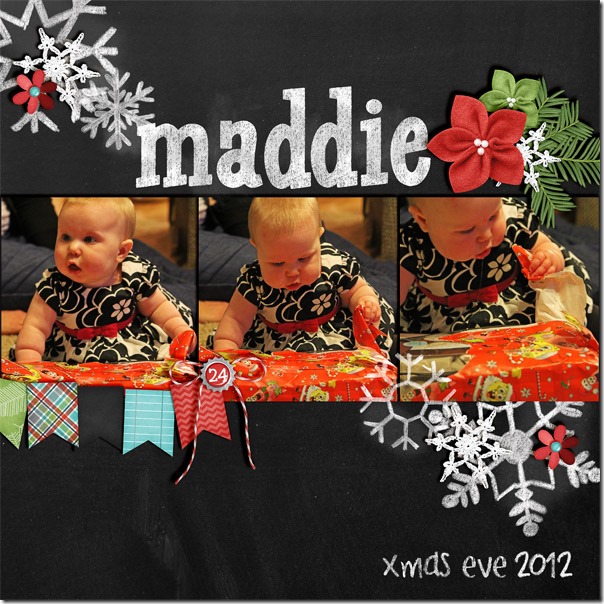
JennS used the snowflakes to make a Christmas page with Maddie’s adorable photos from Christmas 2012. She also used the Chalked {boards} and some elements from Capture Your December. maddiesfirstopening

Next, Carol used a smattering of Chelle’s kits including Snowlandia, Penalty Box, Anchors Aweigh, We Wish You a Merry Christmas, Graduation, Home for the Holidays, Tutu Cute, and Ho, Ho, Ho to make her most excellent page. seattle-itschristmastimeinthecity_zps624fb4b9

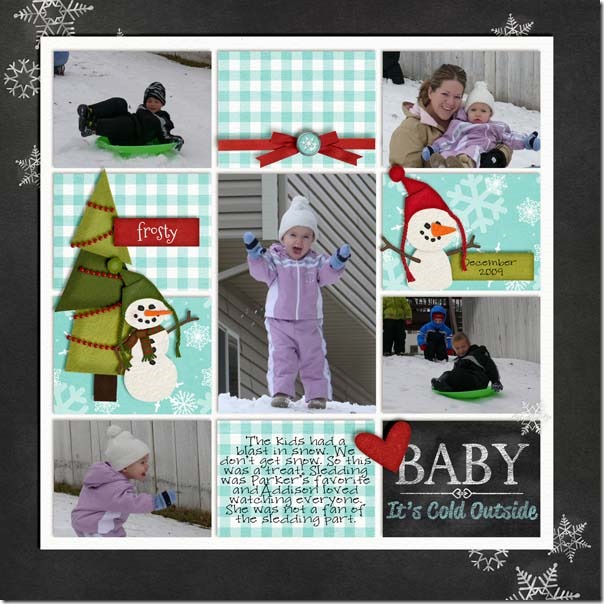
And finally, Heather used Home for the Holidays Bundle, Chalked Cards {Winter}, In the Pocket {Small} and the Chalked {Snowflakes} to make a perfect blocked page about her little one playing in the snow. home4holidays_CC_HDC-WEB

Are you inspired yet? Take a closer look at Chalked {snowflakes} in the market. It’s a fabulous find!cc_chalked_snowflakes

by_Cheryl

Scrap Skills: Weaving

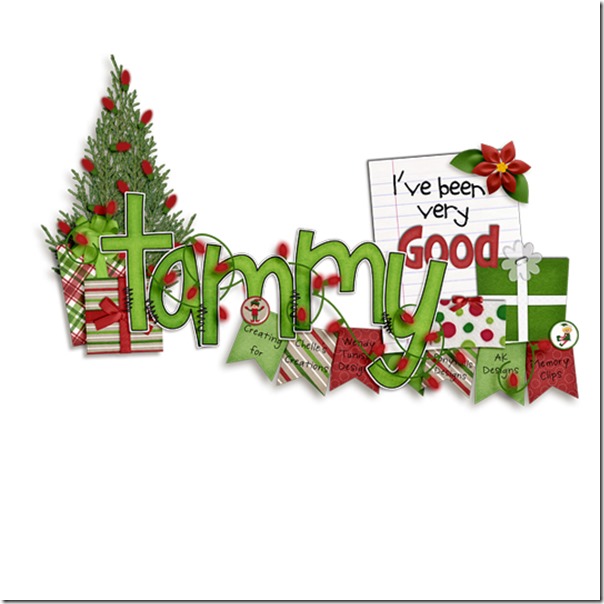
Have you noticed how great it looks when someone weaves a string around letters in her name in her forum signature? I think it really helps to hold the image together visually and keeps letters from hanging in space. Take a look at Tammy’s forum siggy here. She has the light string weaving in and out of the letters of her name – perfect for this month. Dec-Siggy2_zps62e42467JPEG

Weaving is easy to do, but making it look realistic can be a bit tricky with shadowing. Never fear! Chelle has a great video tutorial here on her YouTube channel that will walk you through the steps to create the most realistic look possible. It’s only a few minutes long, easy to watch on your next coffee break.

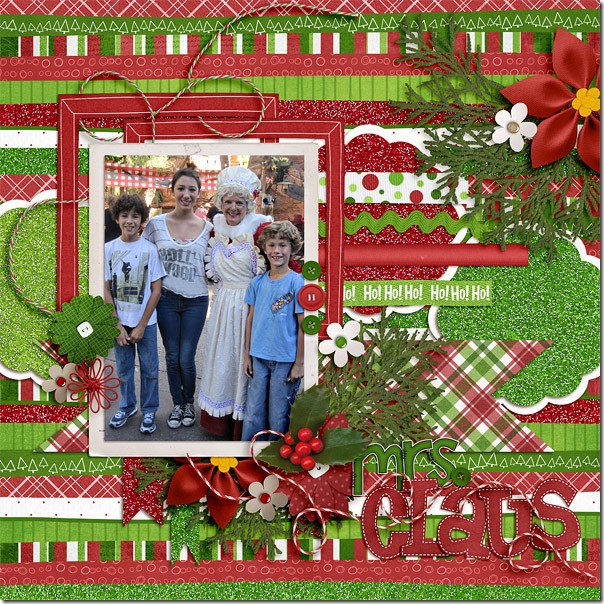
Our Creative Team has been making pages and using Chelle’s weaving techniques to give you some inspiration. First, Tammy made a page using Ho, Ho, Ho, Naughty or Nice, and We Wish You a Merry Christmas, and I think you will recognize some of the same items in her siggy above. Look how well she wrapped the string around the frame on her page. Mrs-Claus1_zps943407d1

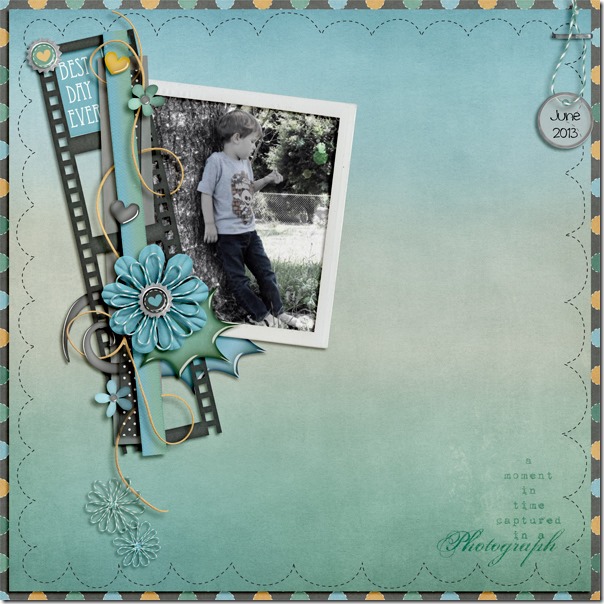
Next, Christine has made a gorgeous page with Chelle’s Oh Snap kit. Notice how well the string is woven around the film strip and ribbons on the left of the page. But, look closely at the upper right corner, and you will notice she used the same technique on the string for the date tag. AMomentInTime_zpsd0fcdeee

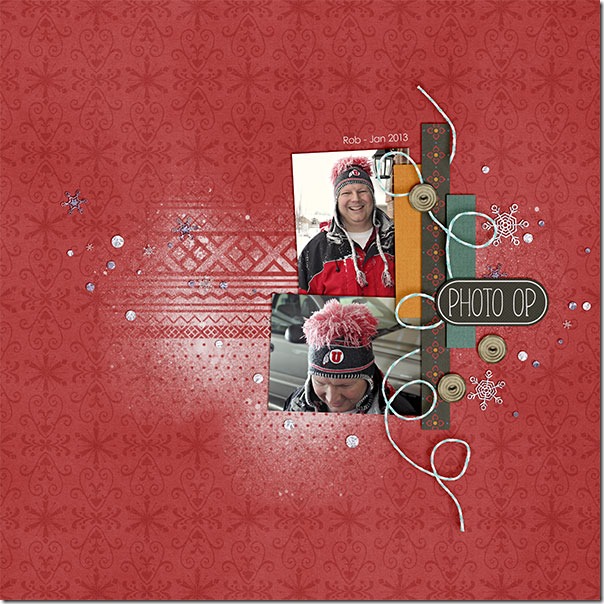
Kayla used Norlandia and a bonus paper freebie with elements from Snowlandia, too, to make her page, and of course she also used Chelle’s Shadow Styles, Me and My Shadow. She explained in detail exactly how she made the weaving work, “I wove the string around the paper strips and under the photo op tag using a layer mask. I simplified the string and layer mask after I had the parts of the string removed and everything where I wanted it. Then I added a shadow to the string. Next, I went back in on a layer above the string and added the little shadows that would be above the parts of the string where it went under the middle paper and photo op tag with a soft brush to make it look more realistic.”PhotoOp_Jan13_web_zps613893bc

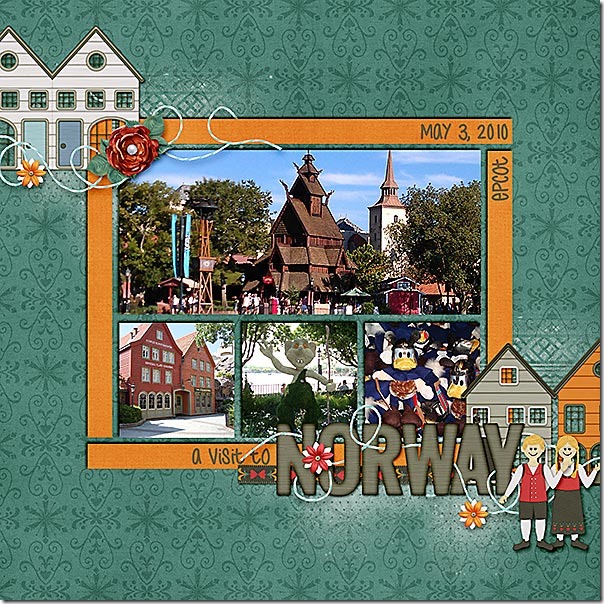
Finally, Karen made a page with the same kits as Kayla, and she wove her string around the title letters on her page. It turned out perfectly, don’t you think? norlandia2

I hope you are inspired to weave some digital string! If not, maybe trying to untangle your Christmas lights this week will motivate you to get back to the digital weaving. It’s much simpler!

by_Cheryl