11.04.15 Reason #673 Why I prefer Digital Scrapbooking Over Traditional Paper

OK, maybe the 673 is exaggerating, but there are definitely hundreds of reasons why I prefer digital scrapbooking to traditional. One big reason is that it’s super easy to use photos to fill the letters of a title on a scrapbooking page. Sometimes that’s a difficult thing to do on a traditional page, but digitally it’s easy peasy. Two of our CT members have made pages to show you how they used this easy eye-catcher on their pages.

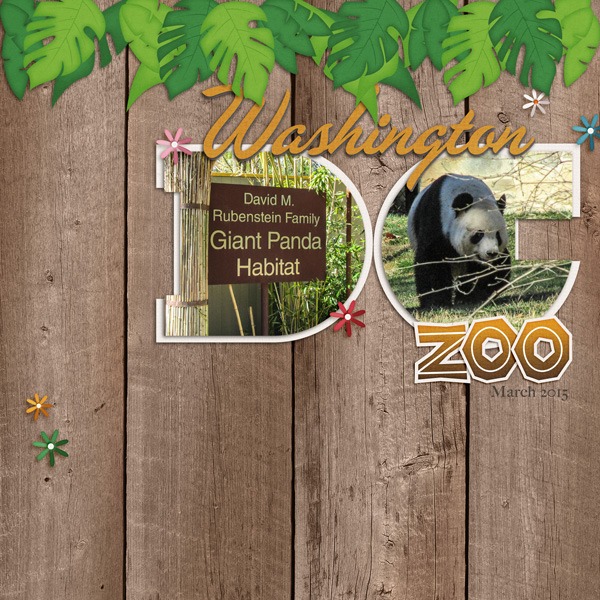
First, Donna used a template by WM[squared] Designs and Chelle’s Zoo Crew {jungle} to make this awesome page. Filling the large letters with photos allowed the page to have plenty of white space and made a very pleasing design. I love that border of leaves across the top.  web_djp332_cc-zoocrew_wm2_statetemp-dc_template2_zpsj7rq9x39

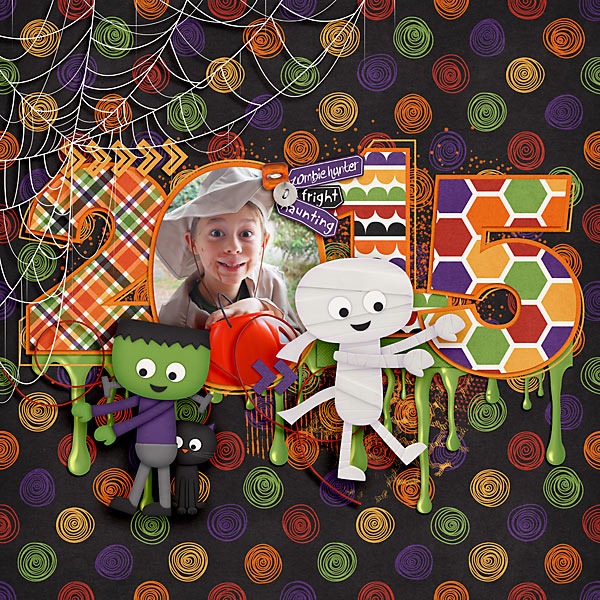
Carol also made a fantastic page with this technique. She started with a template from Fiddle-Dee-Dee Designs and Chelle’s Too Cute to Spook.  I’m a huge fan of having dates on pages, and this large 2015 leaves no doubt which year the photo was taken. Carol, that’s the cutest little zombie hunter I’ve ever seen! Zombie Hunter 2015 connor_zpsiyrrylie

Inspired? I hope so. Btw, this technique is great for making the title page to a book or a calendar topper, as well.

by_Cheryl

10.21.15 Using Sky Papers

Have you ever thought about how to use the sky patterned papers Chelle’s Creations has in some of her kits? I think they make great background papers for travel pages. They can give a page the perfect vacation feel, light, and airy, and ready to relax. Take a look at a couple of pages from Chelle’s CT.

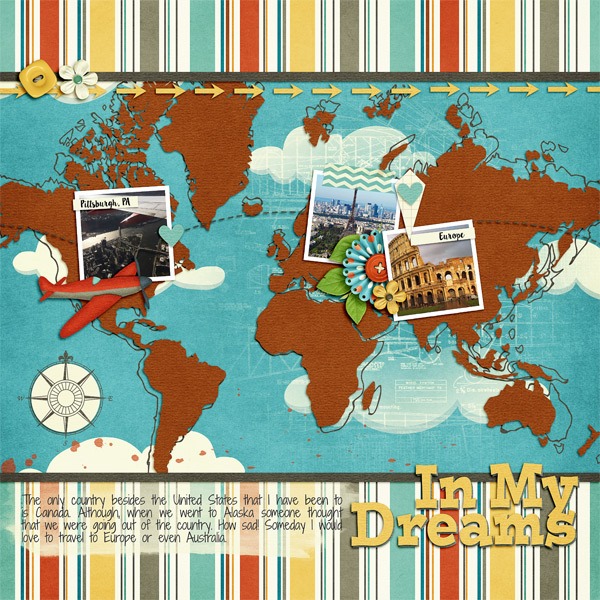
First, Donna made a gorgeous page about travelling across the world. She used Chelle’s Aviator kit to make a page about her dream of travelling to Europe. I love the way she layered shapes of the continents on top of sky paper when on a map we would normally see a blue ocean there. With that cute airplane taking off from Pittsburgh, it’s the perfect feeling of flight across the seas.  web_djp332_SwL_TravelingtheWorldTemplate4_zpsi59sermr

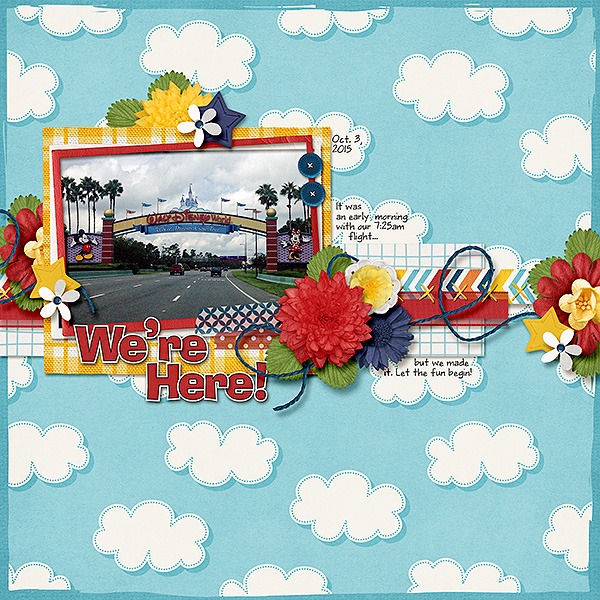
Karen also used a sky paper as a background. Her page is about a trip to Disney World and the sky paper gives the perfect light and happy feel. She used a combination of Chelle’s kits that worked perfectly together: Get Your Grill On & Good Night Teddy. Look how well her journaling fit on the clouds. That’s a perfect place to record memories from a magical day.  SwL_ArtsyJournalTemplate8_600_zpsfnq8ksri

When you’re thinking of using sky papers, don’t overlook the nighttime sky papers. Goodnight Teddy has a couple of those, of course. Are you inspired? I’m hoping you’re looking up now, finding your next great idea. The sky’s the limit!

by_Cheryl

Mad for Monochromatic

Pick a color, any color, and use it as the ONLY color on your next digital scrapbooking page. You might discover details in your photos you hadn’t noticed before, or that other colors in your photos pop instantly. Or, you might just notice that the monochromatic scheme you’ve chosen has a calming effect on you when you view your page. Chelle’s Creative Team Members have a couple of pages to show you how they used a basic brown color scheme to achieve two different feelings on their pages. Let’s take a look:

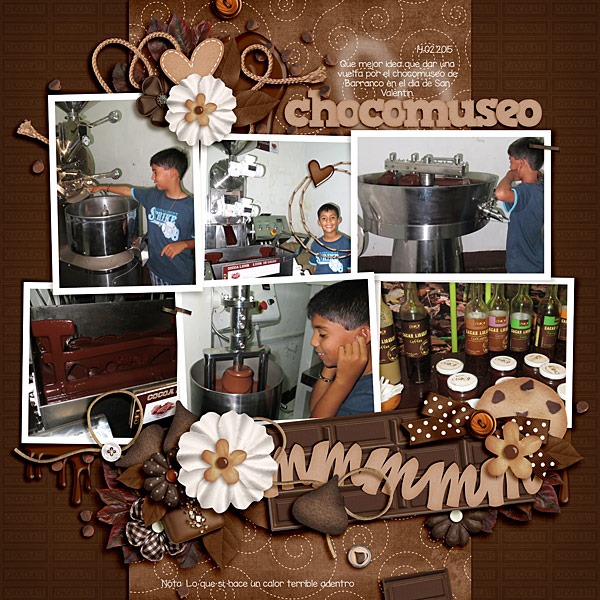
First, Roxana made her page from the brown elements in Give Thanks and Chocolate Lovers, the perfect choices for her trip to the Chocolate Museum. I can’t think of a better reason for a field trip than to visit that place of deliciousness, and Roxana’s page leaves me feeling satisfied and calm when I view it. I love the way she layered the flowers with the chocolate pieces in the Chocolate Lovers kit. ccsept11

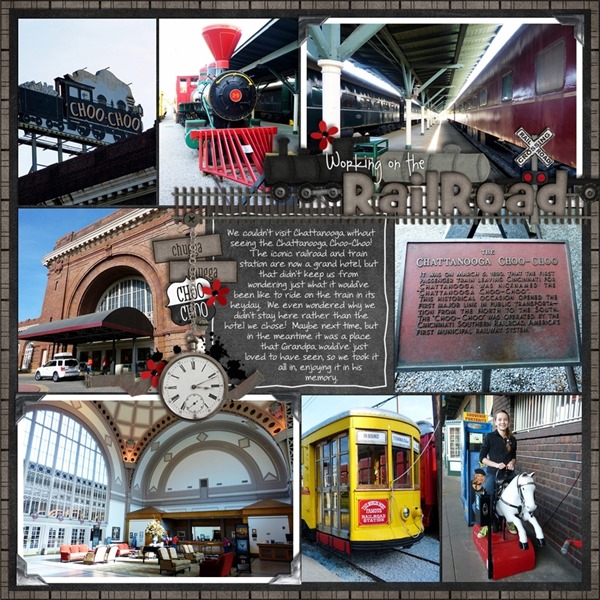
In contrast, Jan’s page is also made from brown and neutral-toned papers, this time from Choo! Choo!, but the purpose of her color scheme was to bring out the exciting pops of color in her photos. Her page is very dear to my heart since I spent many wonderful years in that fun city of Chattanooga. The Choo Choo is definitely a fun destination and her color scheme has served her well in conveying that feeling. choochoo

I hope you’ve been inspired to try this technique. It might seem awkward to stick to shades of one color on a page, but I think you’ll find the results well worth it.

by_Cheryl

9.9.2015 Using Panoramic and Landscape Photos

Now days, it seems most people have a cell phone with a panoramic option on the camera. It’s a great feature, but how does a really wide photo fit on a square digital scrapbooking page? Chelle’s Creations Creative Team have a few pages to show you how they use wide landscape photos. Let’s take a look!

First, Kimberly’s daughter texted her that there was a fire alarm at school, and when she asked her for more info she got no response. So of course this scared momma searched Twitter and found a picture of all her daughter’s high school friends standing outside their building when the false fire alarm was called. After being relieved that nothing was wrong, she made a great page about it. She cropped the photo somewhat but let it fill the entire width of the page and balanced the top and bottom spaces of the page with her title and journaling. She used Heroes {fire} and Techno Geek Mini kit to make her page. 2013_11-Fire-alarm-dbd_hero_fire_pp3_edited-1_zpszsoclvkp

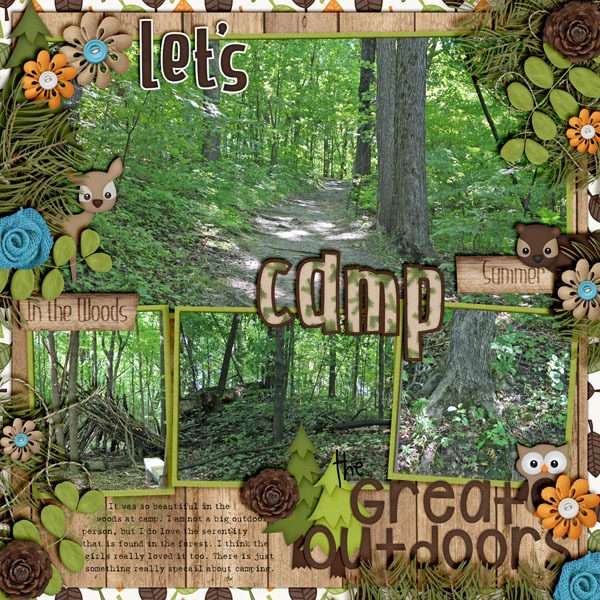
Next, Jenn did something similar with her large landscape photo of a hiking trail. She used The Great Outdoors along with a Lay it on There 7 & 8 template to make her page. Notice how she filled the width of the page with her wide photo, but she balanced the weight of it with three smaller photos below, and she anchored them all together with the title spread across them all. in the woods

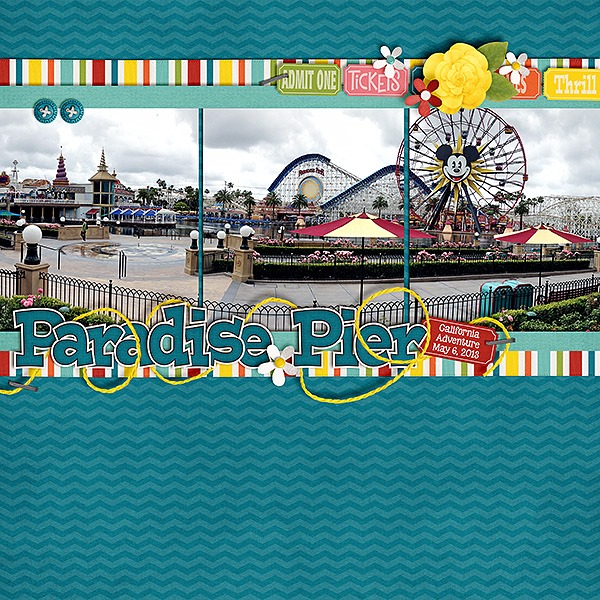
Finally, Karen did something totally different with her panoramic view of Paradise Pier. She used 3 photo spots to break up the width of her image without losing any of the detail, and she left lots of white space at the bottom of the page to let the eye rest. It’s a great way to showcase one very wide photo. She used Roller Coasters & Cotton Candy.paradisepier2013_600

Now that I’ve seen these three examples, I can think of lots of panoramic photos I want to take to use in my digital scrapbooks. Can you?

by_Cheryl

Shadowing 101

One of the most important features of a digital scrapbooking page must surely be the shadows. If done well, a digital scrapbooking page can be so realistic you find yourself touching the print to feel the edges of the photos layered on the page. Luckily, Chelle has a product in the market that helps with shadows. It’s called Me and My Shadow and it works with PSE, PS and programs that use .asl style files. But what if you don’t have those programs for your scrapping? Never fear: I’ll show you an example from Jan who uses Artisan 4 (same as SBC 4.0), but I’ll also show you an example from Kayla who can and does use Chelle’s shadow styles with PSE. They each have some great tips for us regarding shadowing.

First, here’s Jan’s page. She used from the In the Pocket bundle and Down on the Farm and In the Backyard. Take a look at how realistic her layers are. Here’s what she had to say about how she manipulates the shadow settings in Artisan 4 to get that look. “I usually start with the smaller shadow (Depth 0.9; Softness 0.7) for my papers and other lower-level/layer elements that I don’t want to focus on, for I want them to look like they are laying flat down on a surface, rather than ready to fly off the page. I use the higher-level shadow (Depth 2; Softness 2) for those elements I want to stand out a bit more, like photos, elements that are laying on top of photos, and the like. I will play with the settings a bit for fun, or to make things look a bit more realistic. For example, I set the shadow for the stitches at Depth 0.3; Softness 0.1, to make them look like they are actually stitched onto the page. And I wanted to draw more attention to the title and the framed photo, so I set them at Depth 2.5; Softness 2.5. The butterfly is set at Depth 3; Softness 3. I typically don’t use anything higher than that because I don’t want anything to look like its floating away on it’s own! And I didn’t shadow the text part of my title for I wanted it to look like I wrote it on the page.” cw sm

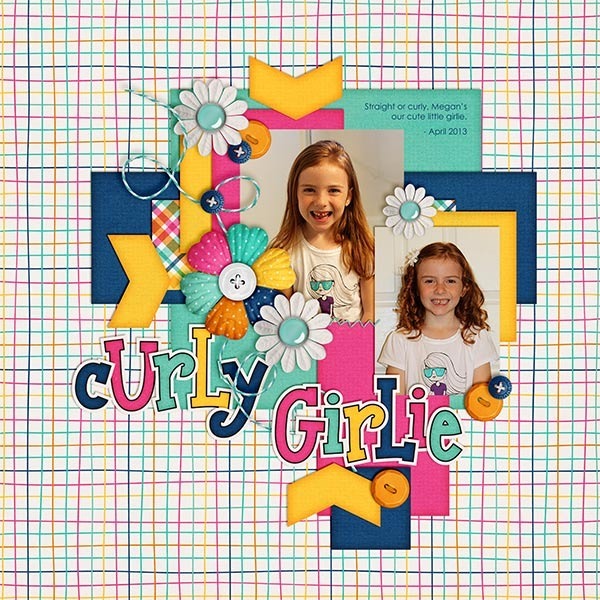
Next, Kayla used Chelle’s shadow styles along with Pajama Party Sampler 1 and Pajama Party Sampler 2. Her shadows definitely make the page look 3-dimensional, don’t they? In addition to using Chelle’s preset shadow styles, she has another great time-saving tip – copy and paste the shadow styles for similar layers. She explains, “For example I added the desired shadow style to one of the letters in my title and then right clicked on that letter in the layers panel and selected copy layer style. Then, I highlighted the rest of the letters and right clicked on the layers panel and selected paste layer style. That gave me instant shadowing for my title. I did the same for all my paper layers to quickly shadow my layout.”  CurlyGirlie_Apr13_web

Maybe you have a time-saving tip you could share. Leave us all a comment below.

by_Cheryl

Recoloring My World

Hi digital scrapbooking friends! I know you’ll agree with me that one of the greatest reasons to scrapbook digitally is because kit items that don’t quite match my pages can be recolored and match photos perfectly. Recoloring items in a kit can change the entire feeling of a page and stretch your stash infinitely. Chelle’s friends have a couple of examples to show you how they like to recolor. If you need some help with the specifics of recoloring, check out Chelle’s Creations YouTube video on recoloring her CU Mini FLowers here.

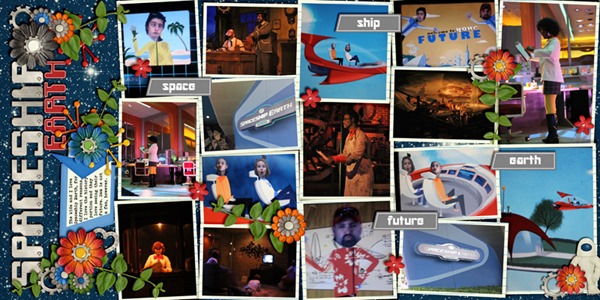
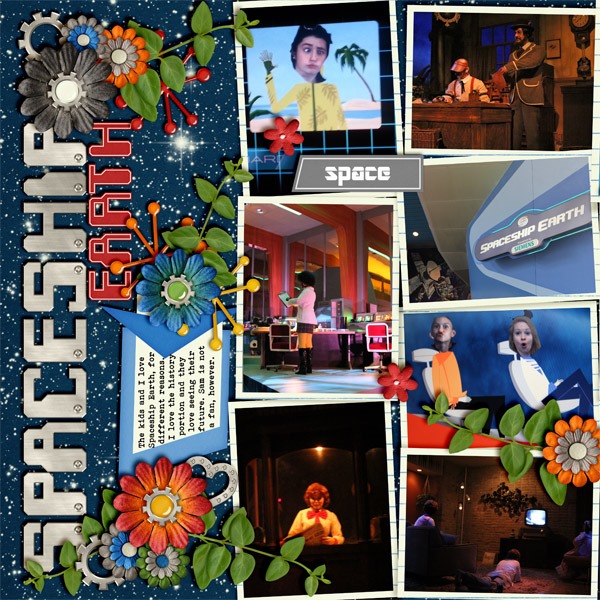
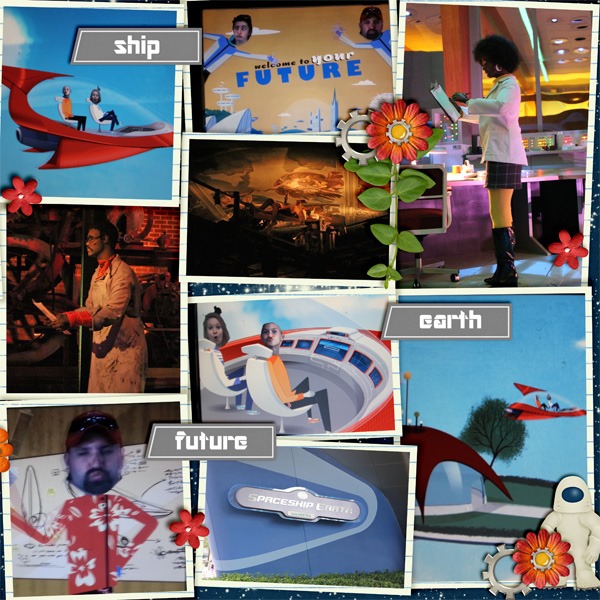
First, Jenn had some photos from a family vacation, and Chelle’s kit Out of This World was the obvious choice to match the theme. But she wanted word strips that would mimic the signs captured in her photos. The word strips in the kits were bright colors, but it was easy for her to recolor them to the gray she wanted. It was the perfect touch to make her pages unique and personal for her event. I’ll show you the double page first and then the single sides so you can see the word strips more easily. spaceship earth fullspaceship earth 1 copyspaceship earth 2 copy

Next, Helen needed some green paper and elements on her page to match her photo, so she recolored a patterned paper and a word bubble to give the desired look. She changed a red paper to green and a blue word bubble to green, all from the mini-kit I need a Hero. She points out that this is a great way to make a mini-kit feel much larger. Check it out: i-need-a-hero

Want to play? If you do some recoloring on your pages using Chelle’s Creations products, post your work in the Scrap Orchard Gallery and leave us a comment here.

by_Cheryl

Modifying Templates

It’s time to stretch ourselves and maybe think outside of the box for a bit. There are lots of great templates in the digital scrapbooking world including ones Chelle has in her store. But, maybe you’d like to use something you have already and make it all new, stretch your stash a little. Chelle’s very talented CT members have been playing with templates and their favorite Chelle’s Creations kits to show you how they like to modify templates.

Changing it up can be as easy as making just a few simple moves. Take Roxana’s page, for example. She used Lay It On There {Singles} 5&6 and One Year Older. Then, she modified the background papers and added a photo spot. Now, the template looks totally different, and the page is perfect for capturing her celebration memories.ccjuly10

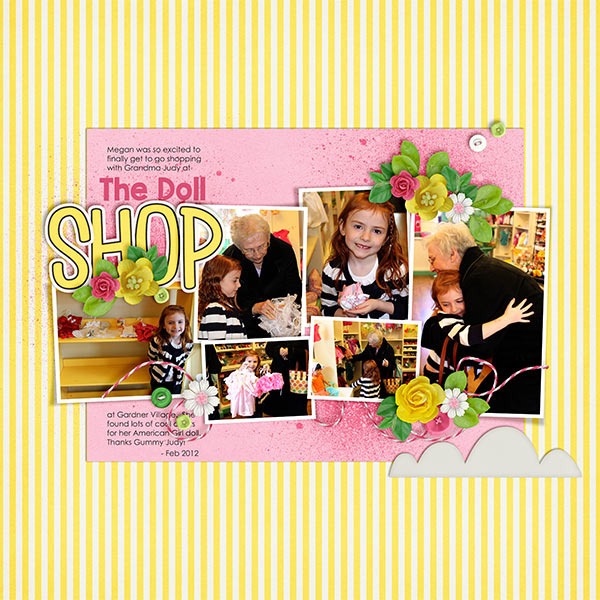
Kayla got really creative and resized a double page template to fit on one 12×12 page. She began with the Lay It On There {Doubles} 20 freebie. (Hurry: it’s still available for a few more days as the July Template Challenge at Scrap Orchard). She says this about her process: “I simply opened the double file selected all layers except the background layer and copied them to a 12×12 layout. Then shrunk it all down to fit on the page to my liking. I love that I still have a multi-photo layout with plenty of white space to give it a more roomy feel.” She used the Lemonade Stand kit and alpha. DollShop_Feb12_web

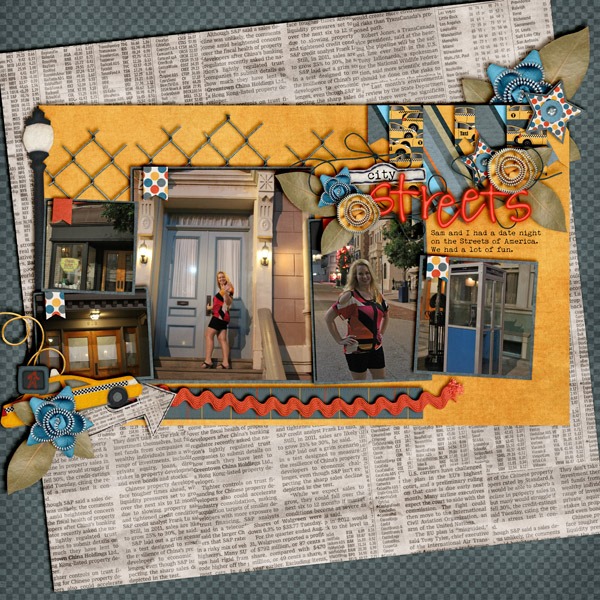
Jenn took inspiration from Kayla and did something similar. She began with the Lay It On There {Doubles} 3&4 and the Big City kit. I love the way it looks as the center of her single page. city streets

I hope you’re inspired to use those templates in new ways. If you have a creative way to re-cycle a template, leave us a comment below.

by_Cheryl

Using Pocket Cards

If you aren’t much of a pocket-style digital scrapbooking fan, you might not realize how easily Chelle’s Creations InstaLife and Journal Cards can speed your page making along. They can certainly be used to fill pocket spaces on templates, but they are also great as enhancements to any page. Chelle’s CT members have made a few pages as examples for us.

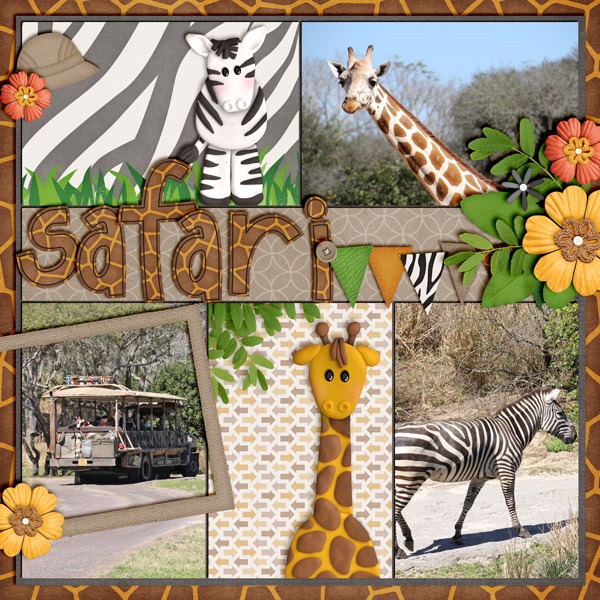
First, Jenn made a page in the pocket style, so the journal cards fit right into the spaces. She added some additional elements atop the pocket spaces, but the pre-made journal cards were dropped right into the spaces with no extra effort and are perfect for enhancing her photos and filling the spaces. She used Zoo Crew {Safari}, {Journal Cards}, and Animal Print Papers. safari

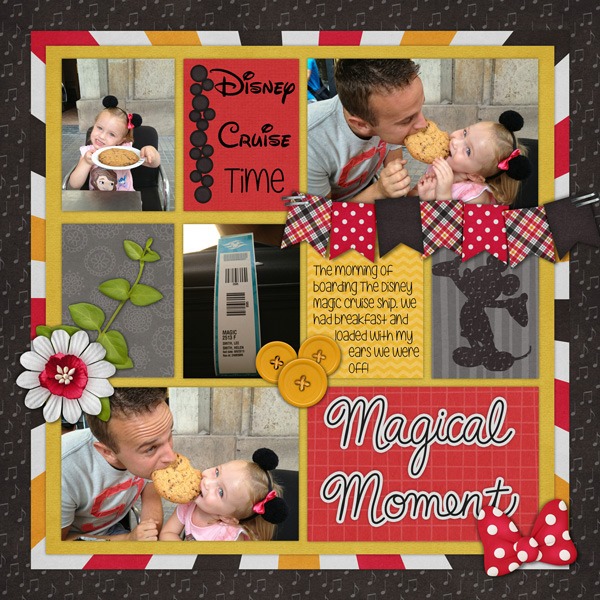
Next, Helen took a grid-style and used the Mickey Mouse Club March {Sampler} and matching cards to make a page that resembles the pocket scrapping style but has more layers added. She has stacked the papers in the background and added lots of fun embellishments on top of the page for accent. pocket-cards

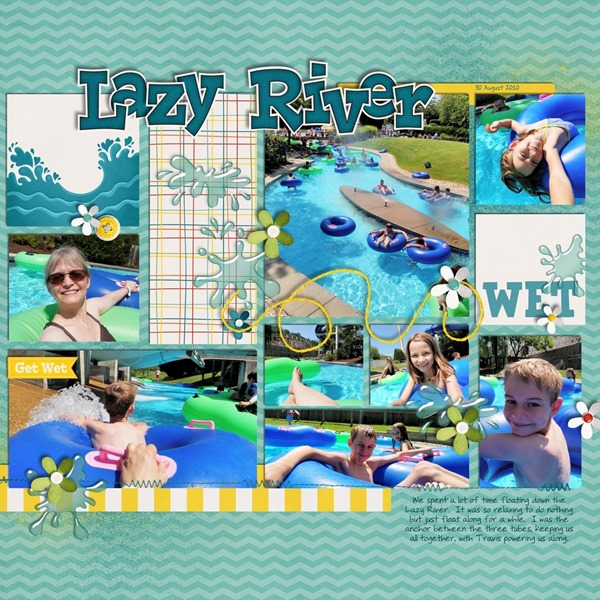
Finally, Jan has taken a template that was made for lots of photos of various sizes and she used the square InstaLife cards that matched her kit in the square photo spaces of her page. She used Roller Coasters & Cotton Candy {kit} and the coordinating InstaLife Cards. The pre-made cards have the perfect accents for her theme already placed and shadowed. lazyriver

Do you have an idea for using Chelle’s Creations InstaLife or Journal Cards in a unique way? Leave us a comment and a link to your page in the Scrap Orchard Gallery so all can see.

by_Cheryl

Using Bubble Wrap

OK, I admit it: the kid in me LOVES bubble wrap. I love to pop it in real life (and my son knows this and once played a trick on me by putting sheets of bubble wrap under all the area rugs – you should have seen me jump when I stepped on the first one). But I love it in my digital scrapbooking kits, too. It’s a most versatile element, and it adds the perfect texture to a flat paper. Chelle has CU bubble wrap brushes that can be used in any color to add texture to any paper or color, and they come in .png and .abr formats to use in many digital scrapbooking programs. But she also includes bubble wrap in some kits like her newest creation Green Thumb {elements} . Her CT members have been busy playing with these products to show you how they like to add the bubble wrap to add dimension to their pages.

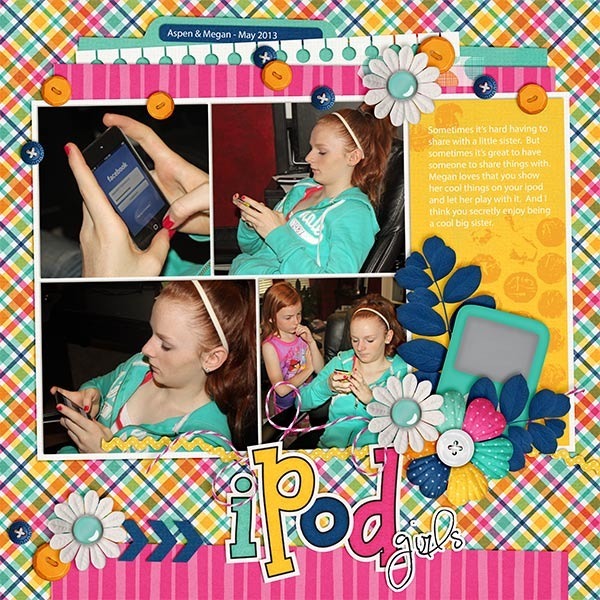
First, Kayla used the CU bubble wrap brushes behind the cluster to give the solid yellow paper some interest and texture. She also said, “I think the bubble wrap was just what the layout needed to tie the journaling spot and cluster together.” I think she’s exactly right. She also used Chelle’s Creations Pajama Party {Sampler 1} and {Sampler2} and a template from Scrapping with Liz. iPodGirls_May13_web

Next Krista used the Green Thumb bubble wrap in white to mimic the white flowers in her photos. It makes the perfect textured background to her photo mats. She used the Green Thumb papers, elements, and alpha for her page as well as Chelle’s template Lay It On There Doubles #15.

Source: via kc71595 on Scrap Orchard


Finally, Kimberly used Creme de la Peche, CU Bubble Wrap brushes, and Curled Frames. The starburst background is a Scrapping with Liz background template resized and placed on the wood paper. She used a gradient map adjustment layer in PSE to sample the browns and creams from the papers when she converted her photo to “black and white,” and I absolutely adore how well this works with the kit! For the bubble wrap, she selected a lighter shade green and pink papers and used a mixture of the different brushes with a low opacity. chelle10

Ready to try some of these techniques for yourself? I hope you’ve been inspired to use the digital bubble wrap. It’s sure a lot quieter than the real life kind. Smile

by_Cheryl

Adding Texture

Hi Chelle’s fans! We have a real treat for you today. Three of Chelle’s talented Creative Team members have created digital scrapbooking pages employing varying techniques for adding texture to a large background photo. This can be very useful when the photo you want to use for a background is lower resolution than ideal, or when you just want to add that tactile feeling to a page with lots of textures in the subject.

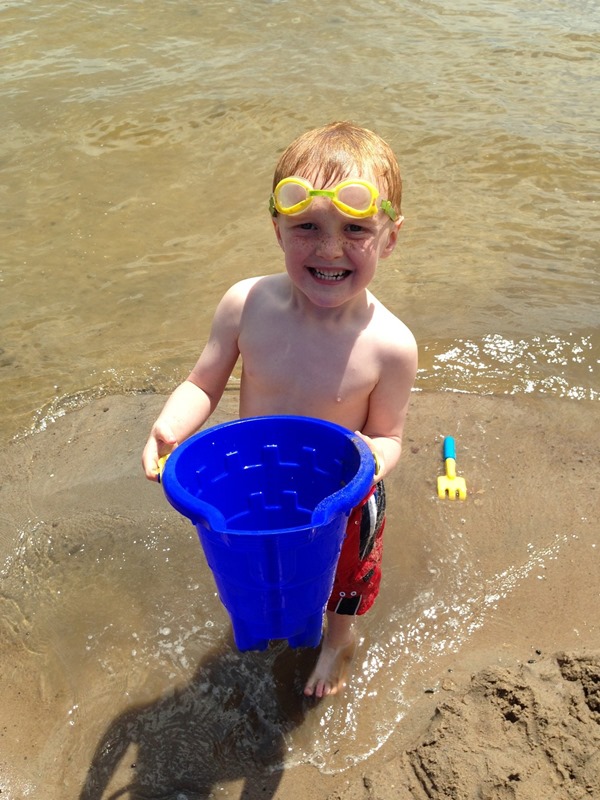
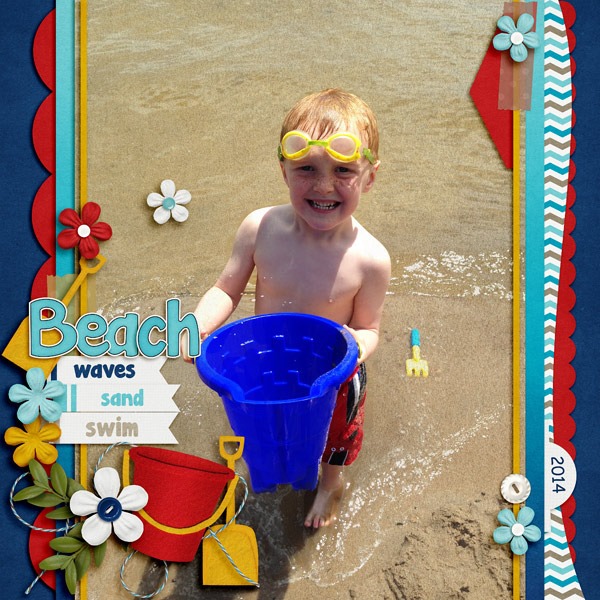
Jenny’s photo falls into the latter category: she had a photo of her son playing at the beach, and she wanted to add a little emphasis to the background. Here’s her original photo without any textures added. IMG_8656-s Now, here’s that same photo with a sand texture added but erased over his sweet face. Can you see the dimension it adds to the page? She used At the Beach for her page, and she used the sand paper in the kit for the texture.  BrayBeach2014SwLBigPho5_web
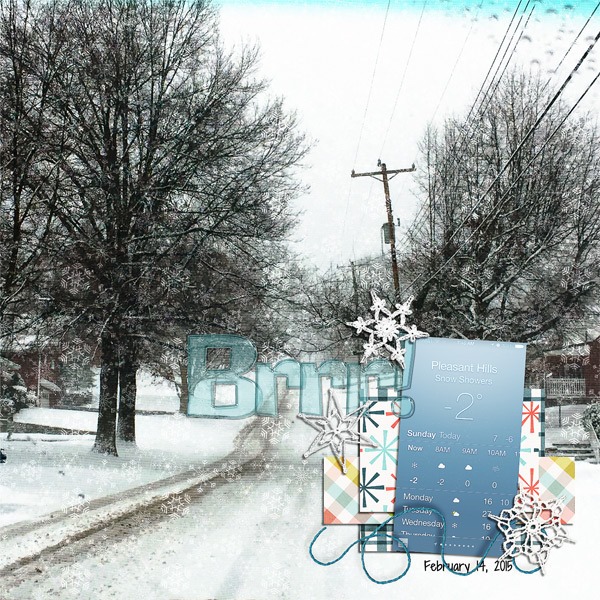
Next I have a page from Donna. I think she’s tired of the snow, but she made a gorgeous page with a texturized large photo in the background. Here’s what she said about her page. “The background photo was taken with my iPhone, and it was taken through the windshield of our car, so I knew that when enlarging to this size, the resolution would not be great. I used a snowflake paper from We Wish You a Merry Christmas, and changed the opacity to Overlay at 70%, then merged that to the photo layer. Still wanting more, I added Chelle’s CU Fabric Textures (linen) on top of the photo/snowflake layer and merged the two.”web_djp332_sbm_2ndtempchall_feb2015_a_zpsgg1qx3ug
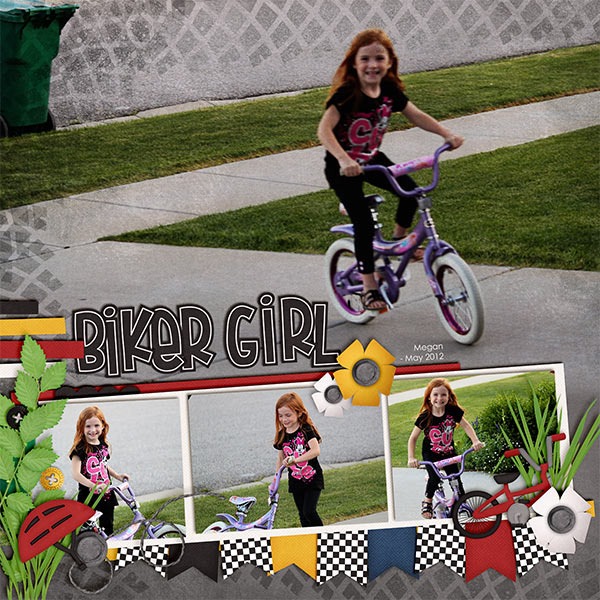
Finally, Kayla has used one Chelle’s latest kits Makin Tracks for her page. It was a perfect match for her photos. Here’s what she says: “ I wanted the tracks and grunge from the background paper to show on the photo. I placed the photo on top of the paper and scrolled through the blending modes with the photo layer selected.The overlay mode gave me the closest result to what I was looking for but it wasn’t quite enough. I needed the photo a little lighter, so I duplicated the photo layer again.That made it too light, so I adjusted the opacity down on the 2nd photo layer until it looked right. Then, I merged the 2 photo layers and used a layer mask with the linear gradient (foreground to transparent) tool to blend the bottom edge of the photo into the paper. I love how it looks like the photo and paper are all one layer.”
BikerGirl_May12_web


Personally, I LOVE it when friends tell me exactly how they achieved their artistic look on a page. A huge thanks to Donna, Jenny, and Kayla for sharing with us this week.

by_Cheryl