November 2012 Desktop Freebie! | Digital Scrapbooking Freebies

Hello All You Lovely Folks!

It’s that time again! I almost forgot – but I remembered at the last minute, and I just cannot believe November is right around the corner! Yikes!

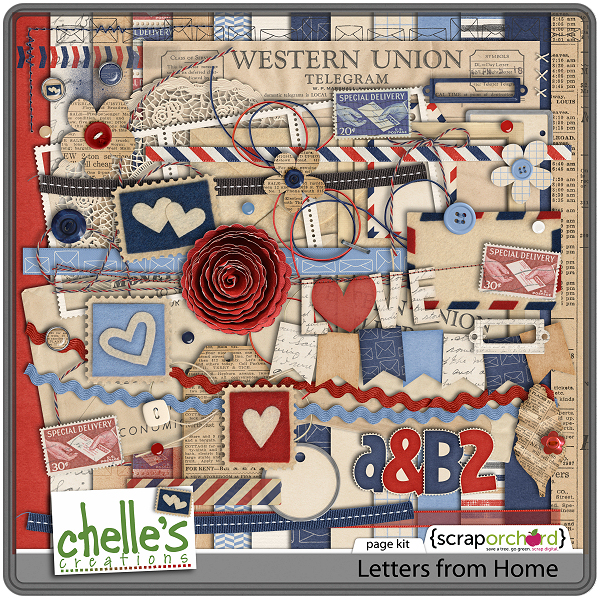
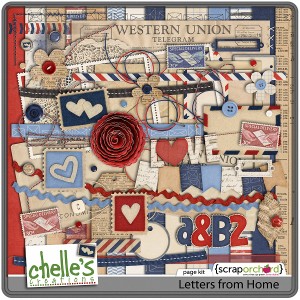
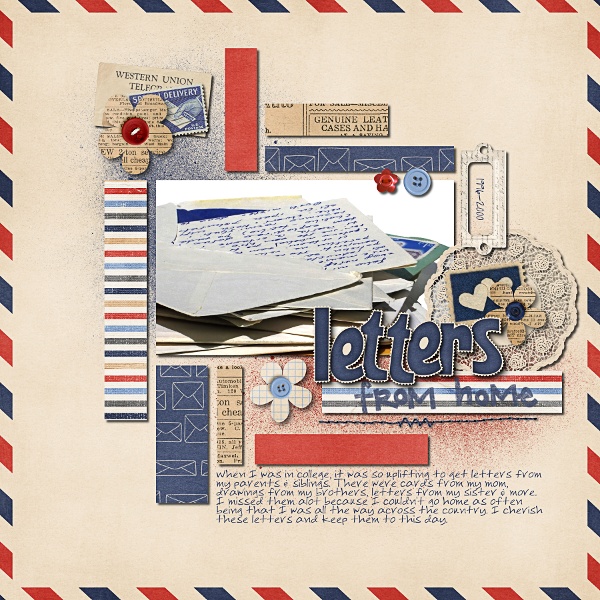
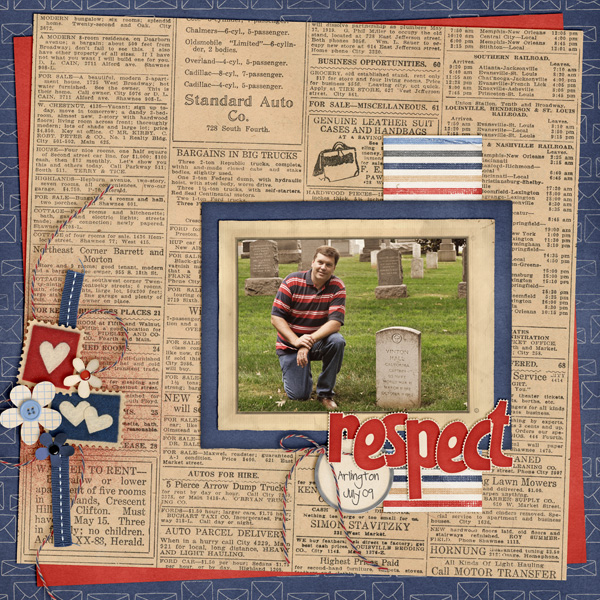
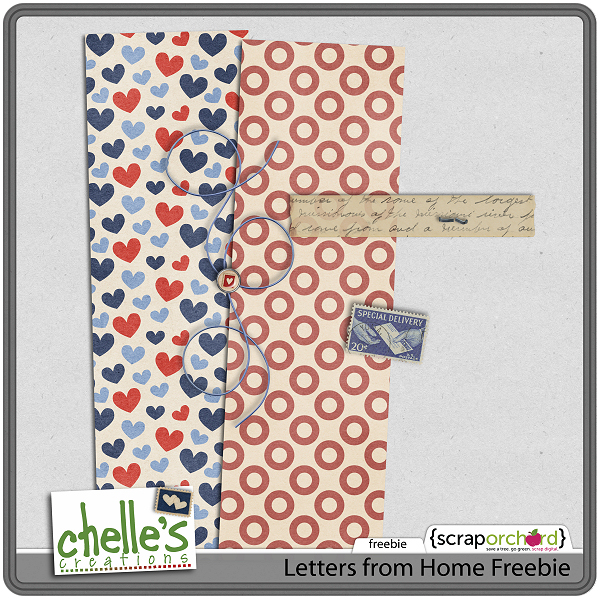
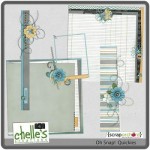
Have you been drooling over Chelle’s new kit Letters from Home? I have! I love the colors and of course, her papers are the best! You can grab Letters from Home at her ScrapOrchard Store! Take a peek:


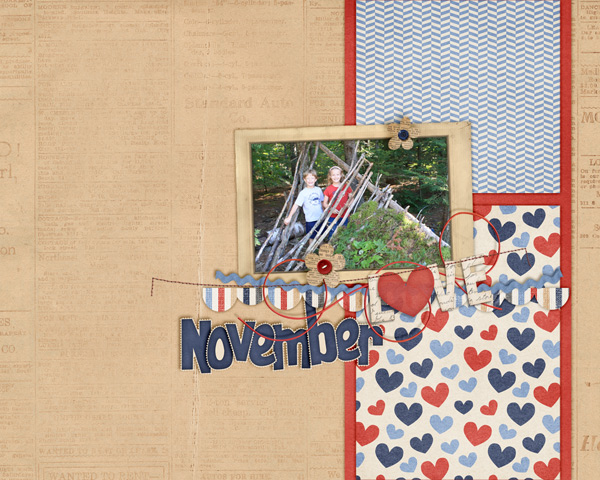
Okay… here’s your freebie! Hope you enjoy it!

Again, it comes in varied sizes: 1280×1024, 1280×800 and 1024×768 – hopefully one will work for you!

Download all of them in one zip file here!

Blessings! *Ü*

Retouching Photos | Digital Scrapbooking Tutorials

Retouching Photos | Digital Scrapbooking Tutorials

Hi Everyone!  It’s Jenn, aka jk703 Here for today’s post. Can you believe it’s almost November and DSD weekend!?  This year is going by so fast. We are going to chat about retouching photos and I will provide some quick and easy tips to retouch your photos – fast and easily. First and foremost, when you retouch photos or work with any images, you should re-save the image as a new file so that the original will remain intact. The Layers Palette in Photoshop and Photoshop Elements is very important because you can work with your edits on each layer, without damaging your original photo. Just to be safe, re-save with a new name.  Here are some great and easy tips.

1. Content Aware is an awesomely cool feature in CS6. It will allow you to remove unwanted items in your photos – which could be Wires, poles, other people, scratches, or other marks. This tool takes time to play with and you will end up with different results every time. Give it a try. It is found under Edit > Fill.

2.  Smooth skin using the High Pass Filter. This is a backwards retouching technique. Most times the High Pass Filter will make your images crisp, and add some definition. For retouching photos, we will use it to soften skin and make it appear smoother. Make a duplicate copy of your image, and change the blend mode to Overlay. Run the High Pass Filter by Clicking on Filter > Other > High Pass. Next, click on Image > Adjustments > Invert. Your image will appear to have a fuzzy cloud over it. Click on the Mask button (grey square with a white circle inside) and add a mask to your duplicate layer. With the Mask selected, take a soft round brush and brush black on the areas of your image that you want to be sharp. The other areas will remain soft and smooth. Play with the Opacity to change the softness. Quick and easy smooth skin! (This can also be used for Teeth Whitening, too!)

3. Fix spots and other marks, scratches, or items on faces and people by using the Spot Healing Tool. This looks like a BandAid with a dotted circle behind it or you can press the shortcut: J. When using this too, you will want to sample All Layers and I usually use the Content Aware as my Type. You can also change the blend modes for this feature – replace, lighten, Darken, etc. All you have to do is press the Option button, and sample the skin that you want to work with, and then click and brush the area that you want to heal. This is especially great for the Under the Eye Bags that we get from scrapping all night long!  For those pesky bags, make sure you have the Lighten blend option and play with the opacity.

4. Adjustment Layers and Curves can be used to tone down certain colors or add contrast to your photos. There is a small half black and half white circle on the bottom of your Layers Palette. This is the Adjustment Layer button. Click this and there are a HUGE amount of options for working with your photos. The Color Balance adjustment option allows you to change certain colors in your image, as well as Shadows, Midtones, and Highlights. You can also add a Curves Adjustment Layer to make changes to the contrast and processing. Be sure to click on the menu options you can try where it says Default.

5. Remove Red Eye with the Red Eye Tool lets you choose the darkness and size of the pupil. Get up and close to the eyes so you can be sure to cover the whole area that needs fixing. You can also

6. If all of your hard work is not working with your photo, and your editing and retouching hasn’t helped, try changing your photo from a color image to a black and white image. Black and white images are very forgiving and easy to do! First, make an Adjustment Layer, and choose Channel Mixer. Within that menu, click and check off Monotone. Your image will instantly become black and white. Next make another Adjustment Layer, and choose Brightness/Contrast. Play with the sliders until you are happy with the black and white conversion.

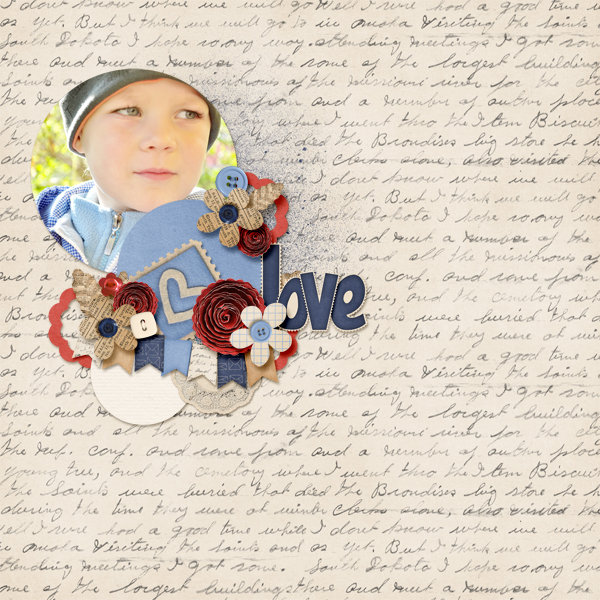
There are so many more ways to retouch your photos, but I think that working with these will get you off to a good start. Here are what the CT did with their photos and layouts. Dagi had a darker photo, and used an Adjustment Layer > Curves to lighten her image and improve the dark contrast. Here is her layout, and she used Letters From Home.
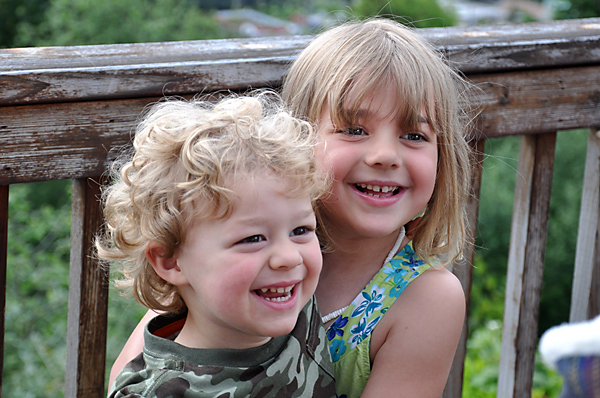
Carol sharpened the photo by using the unsharp mask, and then she used the clone tool to get rid of a scratch mark on his chin. She also  lightened the area around the little girl’s eyes, whitened the whites of the eyes, and added some catchlights.

Before:
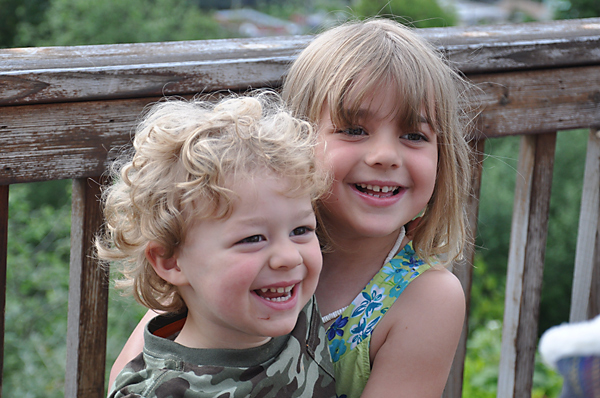
 After
And her layout, using Bugcatcher in combination with other items:
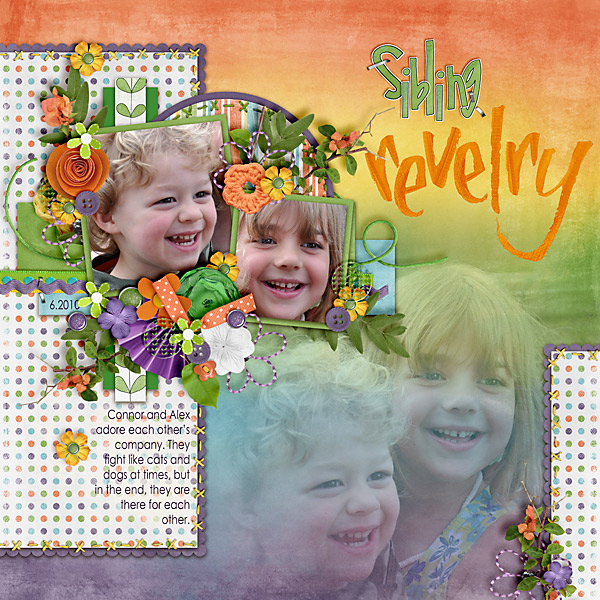
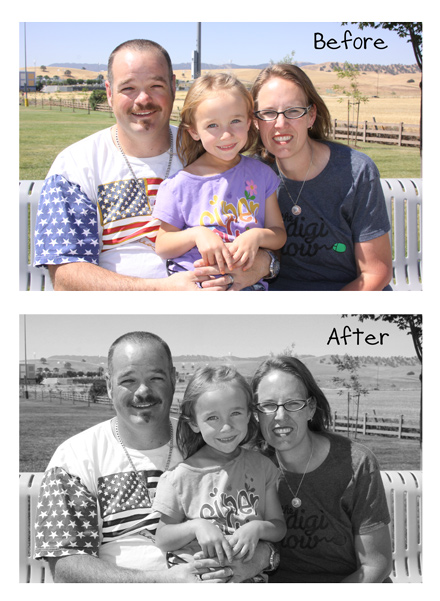
Lastly, Krisi worked with a photo by using content aware to remove the pole sticking out of Rachel’s head. She also used an Adjustment Layer – Black & White – Maximum Black to change the photo to Black and White. I love how it turned out. Here are her images:
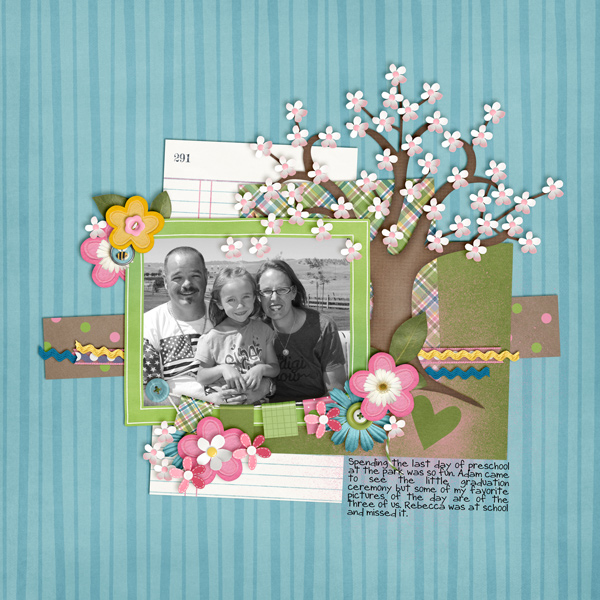
Here is her layout, using the Through The Years Quick Pages:
 I hopt that you’ve learned something useful for retouching your photos today!  Thank you for coming by the blog and visiting!  Hope to have you back again!

Sayings | Digital Scrapbooking Words on Wednesday

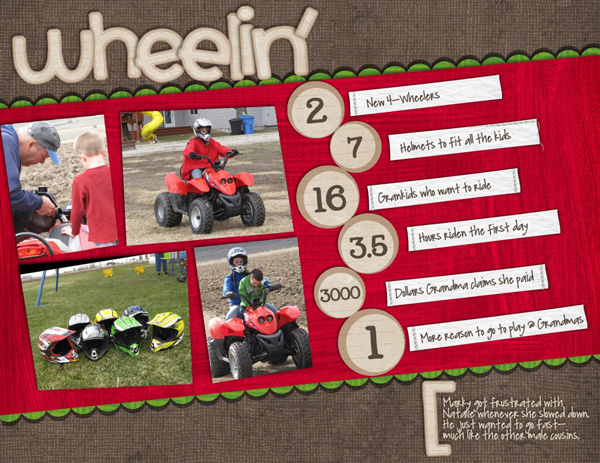
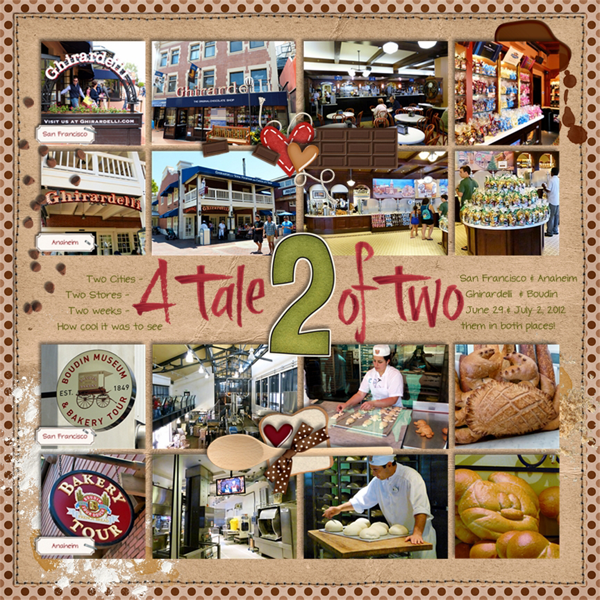
Hello Friends! Numbers, they’re around us. Everything has numbers, elevators, street signs, price tags. Why not use them in your digital scrapbooking? I was thinking about a family history book I typed back between 2002-2004. Here are some ideas I thought of. # of great grandparents (2) # of children (12) # of grandchildren (51) # of pictures scanned (479) # of weeks to type the history (104).
I have 4 GREAT LO’s to show you. I even talked Chelle into letting me show you one of hers.

Now for the larger images:
Chelle’s up first.

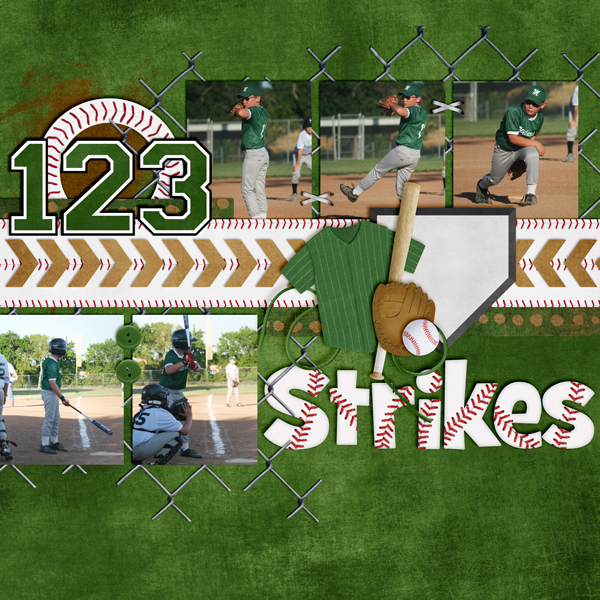
Mel N (KSCroppyChic) provides us with a baseball layout. She used Batter Up.

Jan (quiltymom) used “Apple Of My Eye” Love this idea.

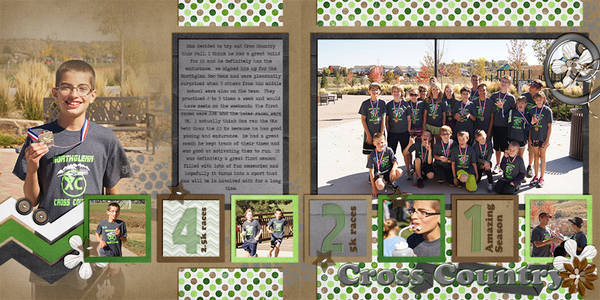
Karen (karen32) She used “Rainbow Collections: Greens.” It’s only available as part of the collection. 

Get creative. Use #’s to add and subtract the elements on your LO. Hugs!

Taste of Home | Digital Scrapbooking Classics

Hi Chelle’s fans! It’s Cheryl, again, and I have a confession to make: I love food and pictures of food. When I was a very little girl, I got in big trouble when I glued food pictures from a magazine onto my bedroom wall. I started making scrapbooks soon after that; now that I think about it, I’m pretty sure my mom bought me a scrapbook to keep me from ruining the walls. I think my history of getting in trouble with glue was one of the things that made me fall in love with digital scrapbooking, and with kits like Chelle’s Taste of Home, I can have the best of both worlds without the mess or the trouble! I love this kit! I’m sure you can see why. Just take a close look at those pie ellies! YUM!

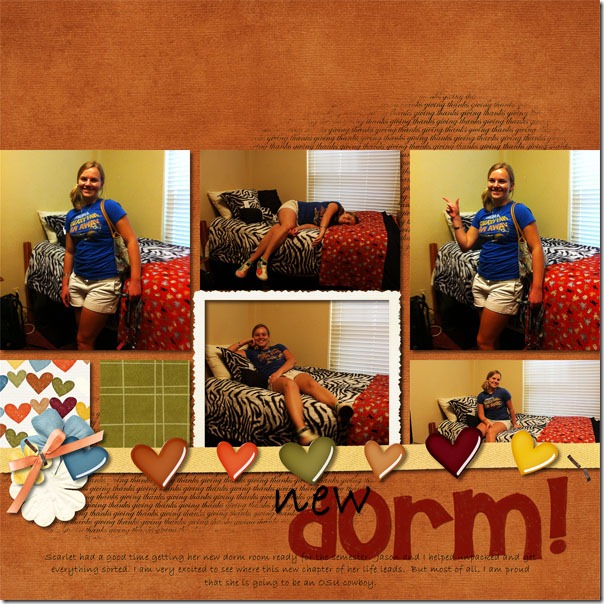
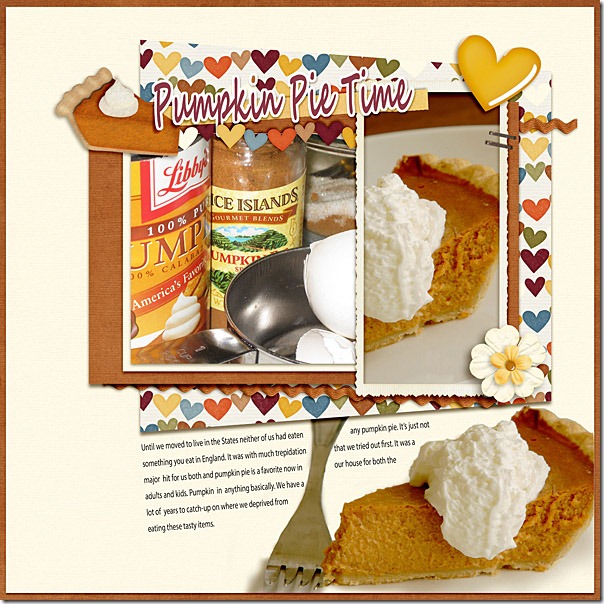
Chelle’s Creative Team members have been playing with this kit because it is perfect for scrapbooking everything from childhood pictures of family mealtimes to current Fall activities that don’t even center around food. Lynett has an example of the latter. She has a daughter who moved into a new dorm this year, and her page is about documenting that milestone event. The papers and hearts in the kit are perfect to coordinate with her photos and portray the sentiment of the occasion. newdormLynett Next, Ronnie tells a story on her page of her love of pumpkin since moving to the USA. Look how yummy that felt pie slice looks in the title of her page. Her photos are so good, I’m sure I would have glued them to my wall if I had seen them as a child. pumpkinpietime_600web-1Ronnie

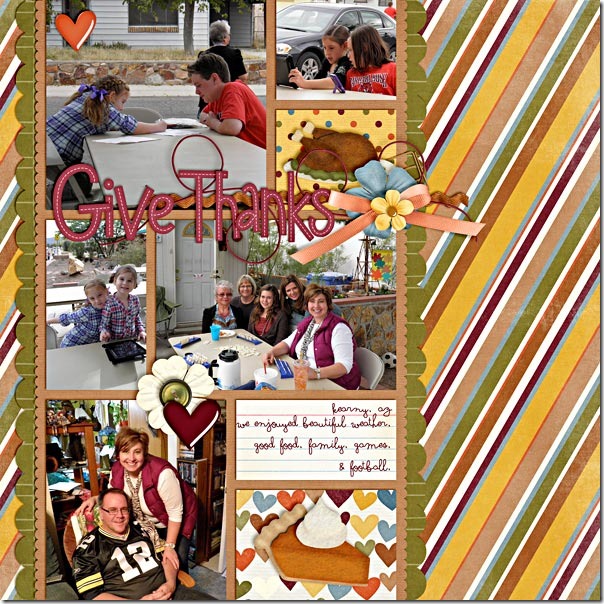
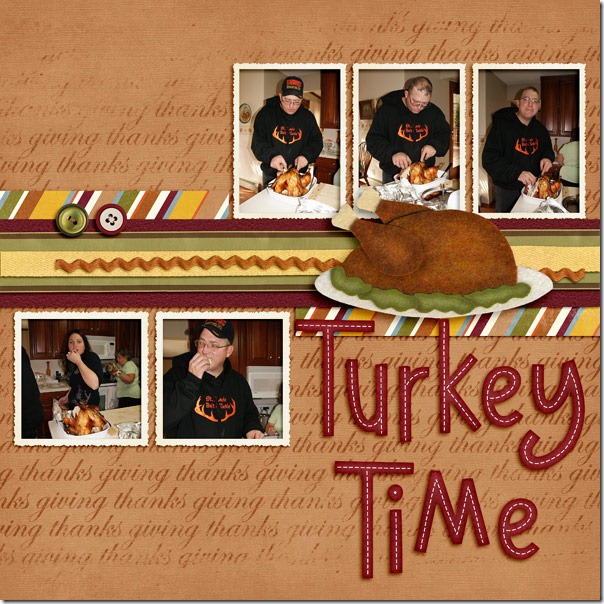
The next two layouts are Thanksgiving themed, and this mini-kit is perfect for these holiday pages. If you aren’t like me, and you don’t get your camera out during the meal and take pictures, you can still use this kit for your photos of the family gathering like Shanell did. She used the kit with her photos of various family activities on Thanksgiving instead of photos taken at the meal, and she used the turkey and pie elements to add the definite association with Thanksgiving. I think it’s a really smart way to scrap, and it probably kept her camera cleaner than mine is.  thanksgiving-20111Shanell Finally, Jennifer’s pictures are all about the turkey, so the kit was perfect for her photos. That large felt turkey in the center lets you know for certain that the bird is of primary importance to the holiday at her home. I love what she did with the “giving thanks” word element in the background. She changed the color of that element in the kit and made it larger to fill the same space as the paper in the background making it look like it’s part of the  paper itself. I think it’s very creative!web_turkey-timeJennifer

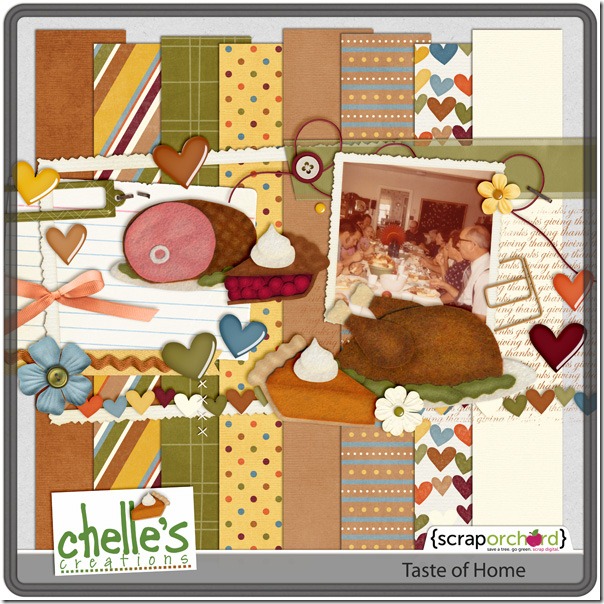
Here’s a closer look at this versatile mini-kit in the market. The image is linked. cc_tasteofhome_preview So, take a word of advice from me. Keep taking those food photos, but don’t use them for wallpaper. Add them to your digital scrapbooking layouts. Or, if you want to keep your camera safely away from the food, you can shop for the kits like Taste of Home that have the great looking food in them, all ready for you to use without the mess but great for adding the remembrance of  the comforts of home.

Gallery Standouts | Digital Scrapbooking Inspiration

Hello Scrappers! Monday is the day I get to show you some Amazing Digital Scrapbooking Layouts using Chelle’s Creations. Just look at these 5 LO’s I want to focus on today.


The first digital scrapbooking LO I want to share with you is called “Next Step College” by djp332. The opacity of the photo and the “dreaminess” it created made me think of wishing to attend college and the reality of it beginning. She used: Toadally, On The Trail, Half Moon Bay Alpha (retired), and Ladybug Hugs.

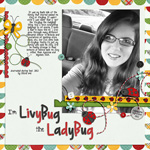
Next up is “I’m Livybug the Ladybug.” This LO caught my eye because of the compisition of the photo. I wanted to know where “Livybug” was going. There she is in her car talking about her family “nicknames.” I read that, but the photo still pulled me in. I stopped an looked to see if I could tell where the pciture was taken…a curvy road….? Livy used “Ladybug Hugs” of course.

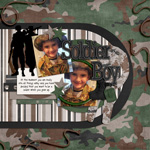
“Soldier Boy” by catschwartz uses Rolling Along. I just liked the overall LO. The young boy looks as if he loves the idea of soldiering. The cluster that is on the side of the boy’s face is absolutely perfect. The use of the string just gives it great dimension. She used “Rolling Along” part of Chelle’s Military Bundle.

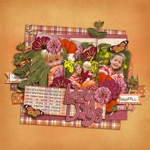
Next up is “Lazy Days” by scrapper@heart. I so LOVE the clusters and tags “BeautiFALL” & “Vibrant” which she clearly shows in her LO. What a joyful picture of the two children. Late Fall to early Winter is a great time to enjoy the outdoors. Love the grains & flowers. She used Indian Summer & Indian Summer Plaids.

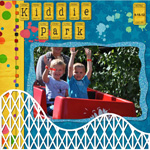
The last LO I chose is “Kiddie Park” by catschwartz. How very fun this LO is. The joy of childhood, the excitement of a roller coaster. I love the use of splats & the roller coaster across the bottom of it. This LO makes me want to find some little kids and go find a roller coaster. “Course that won’t be happening in Utah, we are supposed to get snow tomorrow. She used “Ticket To Ride.”

I hope you have enjoyed the LO’s I chose and that it gave you many ideas of what you can create. See you soon! Hugs!

Letters From Home Playdate | Digital Scrapbooking Inspiration

Letters From Home Playdate | Digital Scrapbooking Inspiration

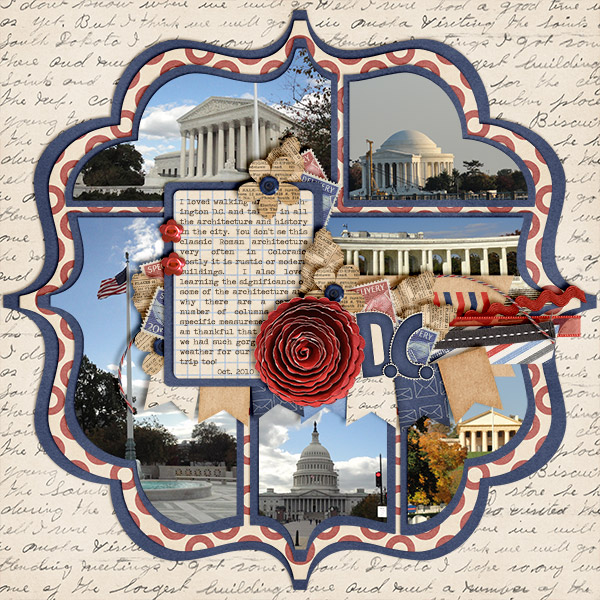
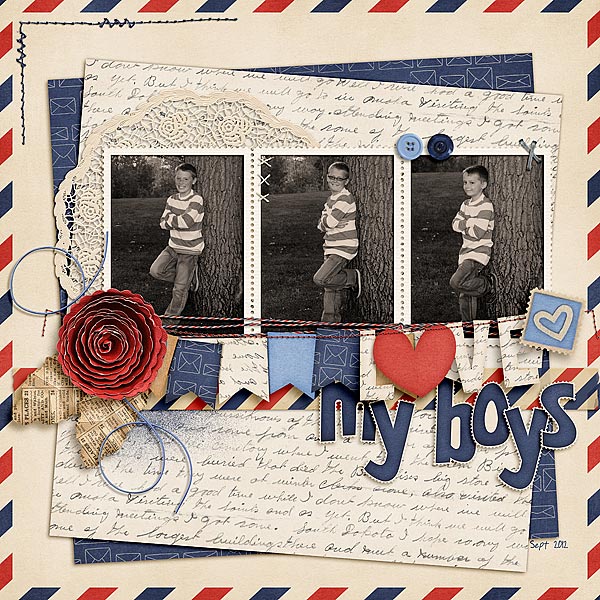
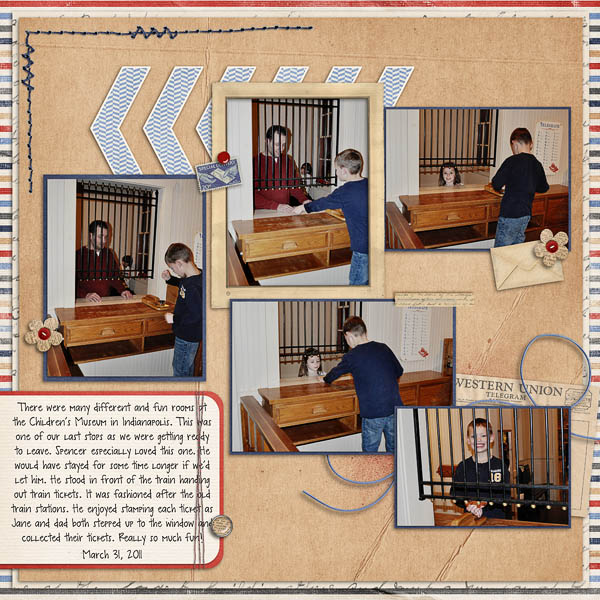
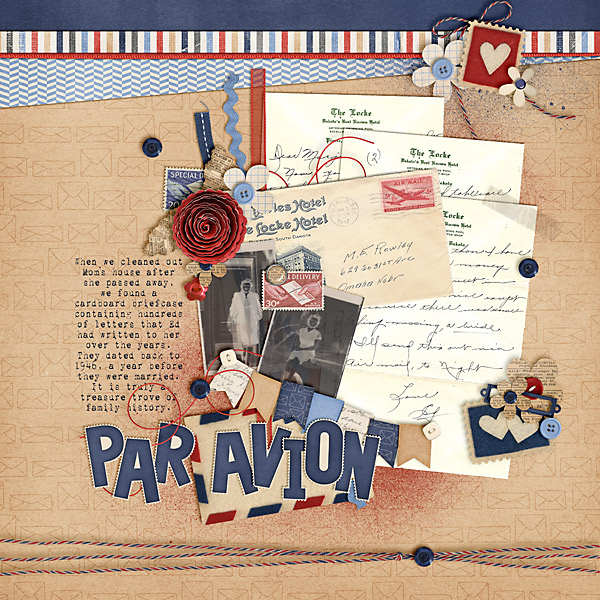
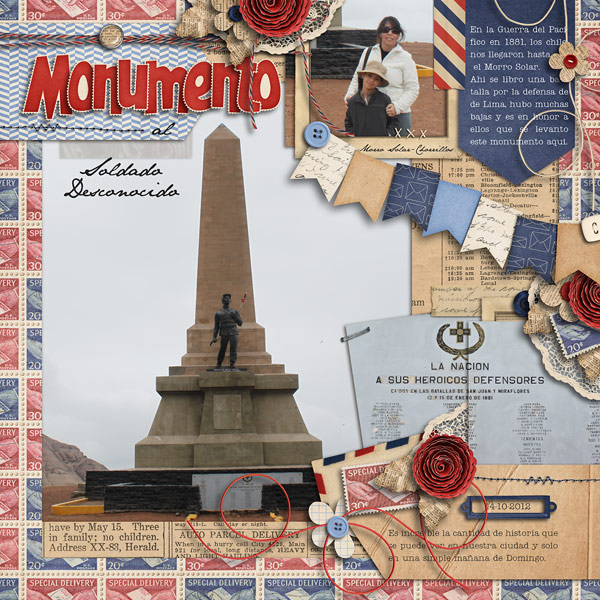
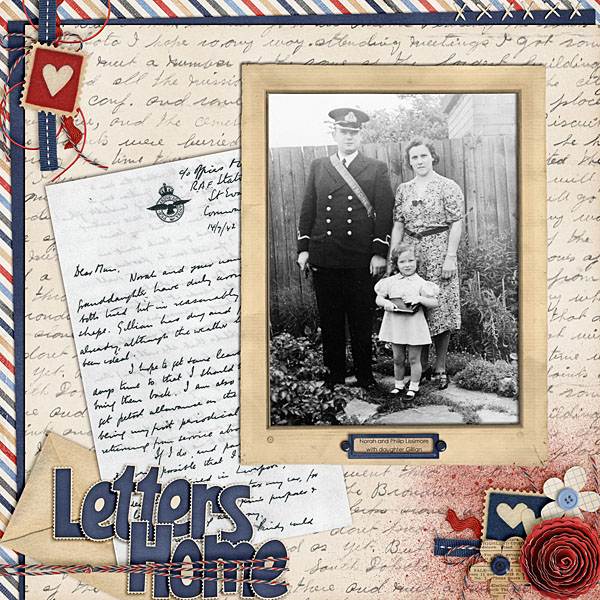
Hey scrappers!   Are you ready for some digital scrapbooking inspiration?  This week Chelle’s kit is all about that retro trend.  It’s filled with vintage letters, tags, newsprint, doilies, stamps, & telegrams.  It’s perfect for adding a vintage touch to your “new” memories or embellishing those family heirloom photos.  Take a closer look:

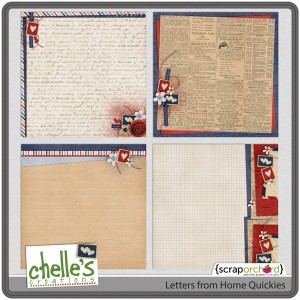
Want help scrapping faster?   Through 10.24, the Quickies are FREE with purchase of the kit.  Just add your photos, story and a few embellishments…

Don’t forget to scroll down for the freebie :)

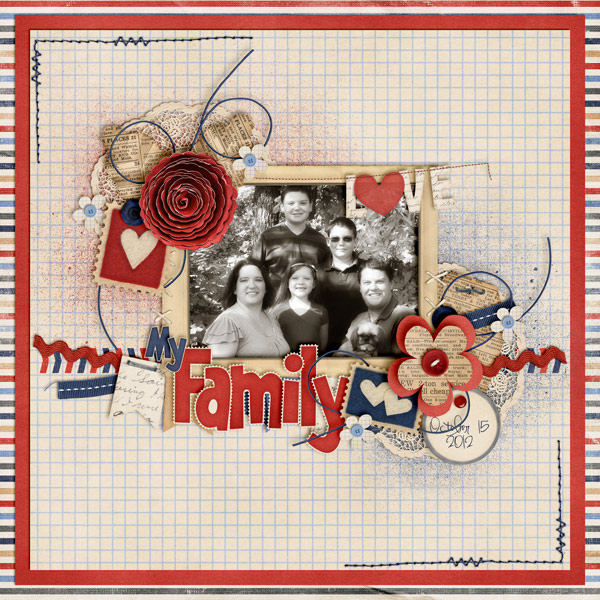
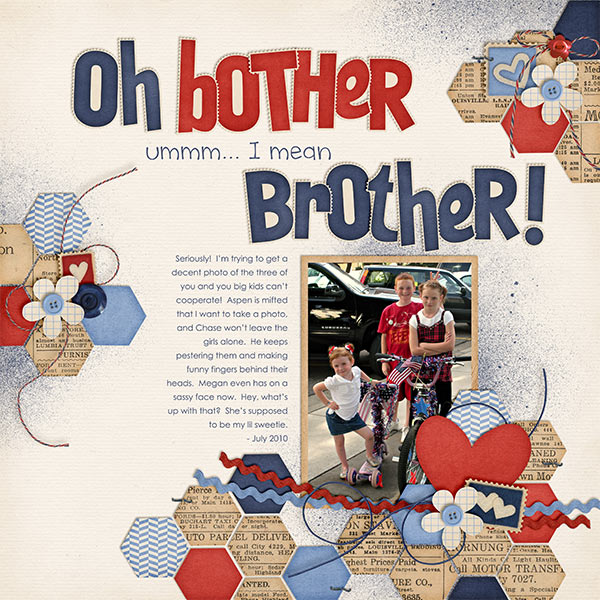
Check out the beautiful inspiration from the CT:

Mel

kayla

karen

Jenn

erica

Carol

roxana

Ronnie

Ophelia

Even Chelle scrapped this week:

Chelle

And here’s the freebie:

Hybrid Halloween Projects | Digital Scrapbooking Resources

Hello Scrappers! Ever wondered what else you can do with your digital scrapbooking Halloween stash? I’ve found some great ideas and resources for you.

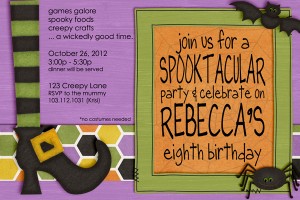
Krisi made an invitation to her daughter’s birthday party.

Krisi (krisi616)

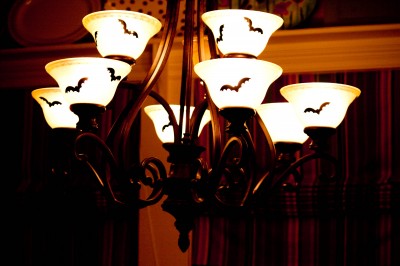
I found a couple of other ideas to show you. Love the bats added to this kitchen light. Project links/instructions are beneath the images.

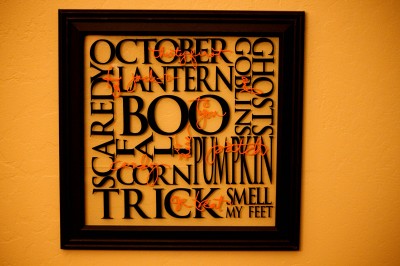
Wall or tile art that sits on your mantel using a frame and vinyl lettering.

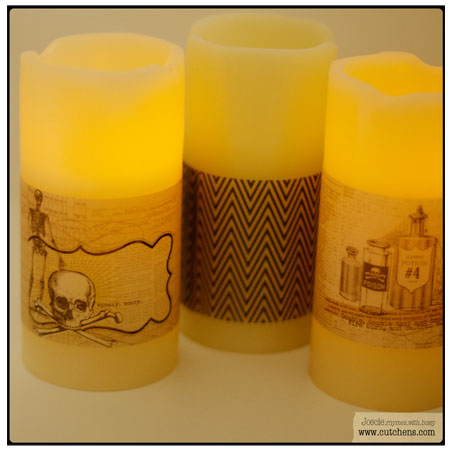
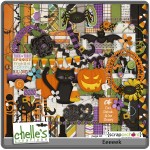
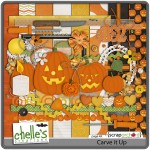
Candles are easy-peezy when you print out elements from Chelle’s Eeeek! & Carve it Up Kits in vellum. (The links are below. Buy some flameless candles, attach the vellum images, and “abracadabra” you have some great decorations for your windows or table centerpiece. Hint! Chelle’s release this week, has some great vintage additions that you might like to include.)

JCutchensHalloween6

Remember Chelle’s Hybrid Tag Frame using “family” as the subject. Why not change it up with Eeeeek & CarveItUp? Use some netting and make it a banner for your mantle. Use some flameless candles. You’ll have the spookiest fireplace in your neighborhood.

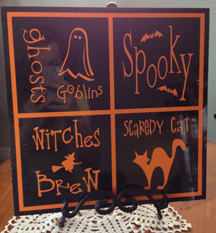
Here’s one from Chelle: A Kitchen Tile, some Vinyl and a few minutes later, instant decoration. (Hint! you could do these seasonally.) This tiles sits in her Mom’s house. I’ve loved this idea since I first saw it.

Here’s a quick rundown of Chelle’s Eeeek Bundle:


Have fun this Halloween with the spooky decorations you create. 

Shadows | Digital Scrapbooking Skills

Ever notice how some digital scrapbooking layouts in the  galleries look so real you have to study them to see if they were made from paper supplies or digital? One of the things that can make or break a layout is shadowing. Realistic shadowing is not too difficult, but there are a lot of details to get right. I like to use Chelle’s Creations shadow styles called Me and My Shadow, and her Creative Team likes her shadow styles, too. But, they are going to show us today how to take shadowing just one step further to enhance our layouts.

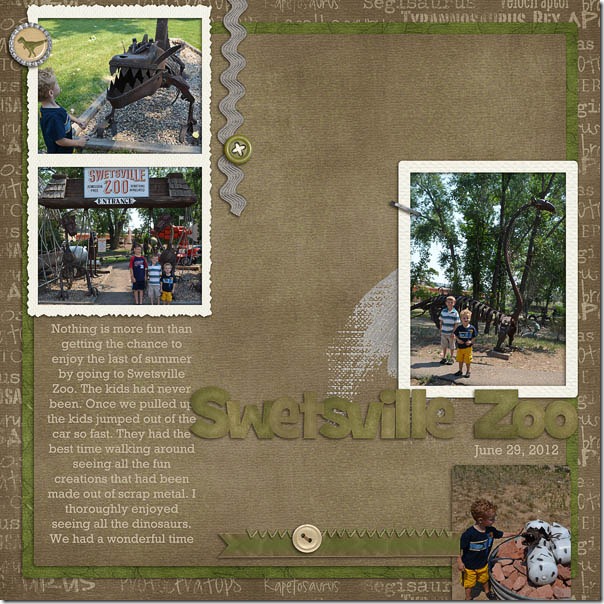
First, let’s look at Erica’s layout. She has a title on her page made from the alpha in the Prehistoric kit, and she merged the letters together before shadowing to make the title have a more solid look. Prehistoric- by Chelle's Creations<br /><br />
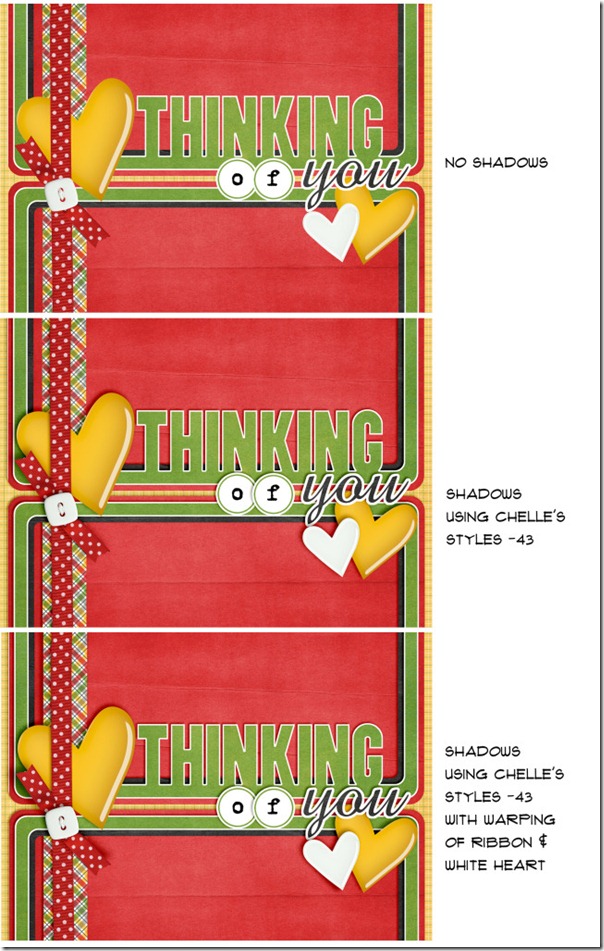
Template- by Britt-ish Designs Next, Ronnie made a card with examples of shadowing and an explanation off to the right of each card. Notice how tweaking the shadow on the ribbon helps the card to have a more realistic 3D look. shadows_Samples1 By the way, the angle she mentions (-43) corresponds to the Upper Left shadow style in Me and My Shadow.

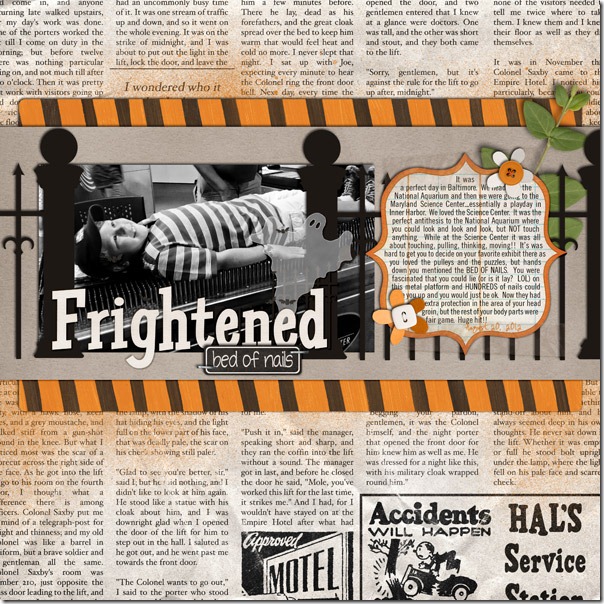
Next, Jenn has a layout and an explanation for what she does with shadows in general. She said, “I use Chelle’s -43 shadows for most of my shadowing needs. Depending on the layout, I sometimes adjust a layer’s shadow or add a shadow on the opposite side for extra definition. I do this by separating the shadow layer (in Photoshop go to Layer->Layer Style->Create Layer). I will then nudge the shadow layer just created up or down depending on how I want it to look.” In her layout below, she nudged the Upper Left (-43) shadow on the fence posts up a little – just so they would look like they were sticking out a bit more. Also on this layout, she added a slight definition shadow on the opposite edge (shadow angle of 120) of her two paper layers and the bed of nails journaling strip.17_2012_BedofNails_600w_zpse346880bJenn

Here’s a closer look at the shadow style in the market. The image is linked. cc_memyshadow_preview

Good luck tweaking your shadows!

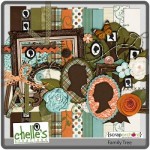
Perfect Pairs: Family Tree & Oh Snap! | Digital Scrapbooking Kit Combinations

Hi Ladies! Family Tree & Oh Snap! What a great combination! I was thinking about digi and how much easier it is to store & add names to pictures. Then I stared thinking about ancestors & pictures. When my Pitcher Grandparent’s (Chelle’s Great Grandparents) had their 50th wedding anniversary party, our family worked hard on the gift. A Family Tree quilt with each family member’s name hand-embroidered on it. It was a beautiful masterpiece and they loved it. My Mom’s brother had 5 children and Mom’s sister had 5 children. They used about 1/3 of the quilt. The other 2/3 went to Mom’s family. My parent’s had 9 children and 13 grandchildren at the time of the 50th party. To give some perspective, Grandma was 60 year’s old when I was born and 61 when Chelle was born.

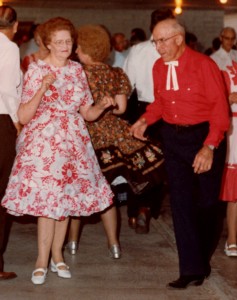
Grandma & Grandpa loved to dance. They met at a dance. Grandpa said he “fell in love at first sight.” Grandma said, “if he was gonna take her out, then he’d better learn to dance.” Grandma so graceful and she floated along as they danced ballroom. Later in their year’s they hooked up with a square dance club. At their anniversary party, they were sort of sad because none of their dancing friends had shown up. Just at the end of the party, in walked all the square-dance club members, fully decked out and ready to go. They left Grandma and Grandpa their traditional spot in their square of 4 as they promenaded in. Grandma & Grandpa jumped up and joined right in. The square-dance caller had even changed his lyrics to be all about “Mel & Mon.” Grandma was 72 & Grandpa 71 at the time. This picture was taken a couple of year’s later and is my favorite picture of them square-dancing together.

Now for some inspiration from the Creative Team.

Jenn J (jmljensen) used Beep Beep Boop Beep Template by SWL also. Jenn’s blocking is done so well. I love the string flower hidden behind her yellow flower.

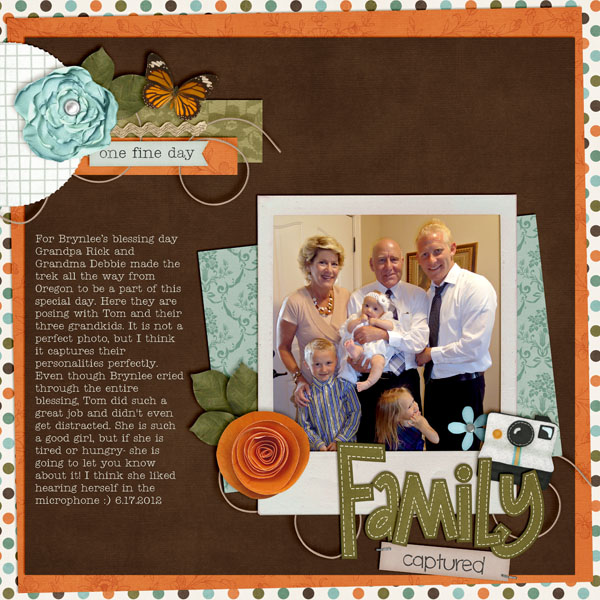
Kassie (kass_23) Look at how well Kassie has tied her background in with Grandma’s dress? Love the cluster’s and the journaling about her baby liking her own voice all mic’d up.

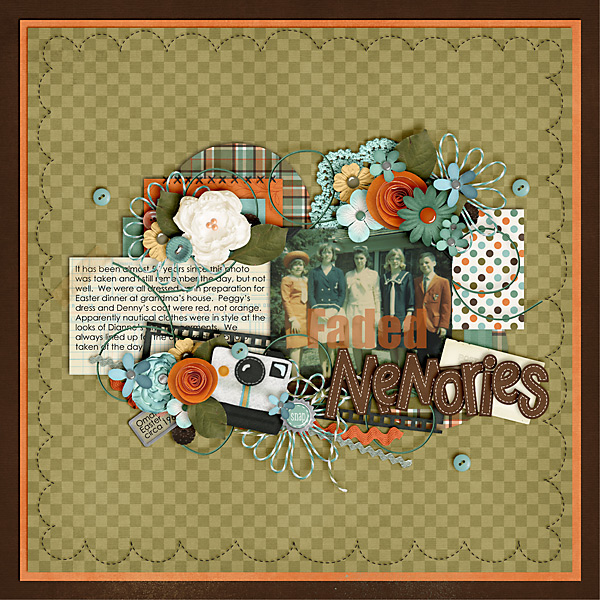
Carol (Iowan) Carol’s LO is just wonderful! I love all the cluster’s! What a great way to use “faded” as an indicator of the time that has passed.

Chelle’s Products in the Market are all linked up for you!


Hope I gave you some perspective on LO’s you could create using these 2 perfect pairs! Hugs!