Telegrams & Tags. This kit will have you peeking for pictures in the vintage “frame” of mind. Chelle has a FABULOUS collection coming this weekend. And you can win it…see details below:
Remember we have NEW RULES!!!
You can enter to win by sharing the sneak peek. You can…
1. share it on your blog
2. share it on Facebook
3. share it via twitter
4. share it on Pinterest
Remember, since the winner is chosen using a random number generator, be sure to come back and know in a new comment when you’ve done each way.
Deadline: 11:59 PM EST Wednesday.
Eeeek! | Digital Scrapbooking Inspiration
Trick or Treat! That greeting all of Fall adores. The pumpkins. The Carving! The home I grew up in had 4 pillars around a cement porch. I remember many years standing on the cement porch watching Dad carve the faces into our new jack-o-lanterns. We’d get a strand of Christmas lights and change out the bulbs to be yellow. Viola! The fun would now begin! I would be so excited I’d be jumping everywhere. Soon Chelle & her sisters and I would get together, hold hands as we walked down the road from house-to-house. We were about as noisy as 4 girls could be, and then later we got to have the boys with us. Chelle’s brother and my brother. We’d run and skip and scream like banshees because it was Halloween. Our sugar rush was very high. We knew which houses we wanted to go to because they had the ‘cool’ or ‘most desirable’ candy. I don’t do much with the decorating any more, but our neighbors across our breezeway and put up a spooky house banner, 3 skulls — in glitter colors, a green mummy with spider webs & spiders. Just this week, he added a lovely zombie that swings out from under the stairs. We are in Halloween heaven — and that’s before you ever get to our door. LOL
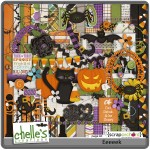
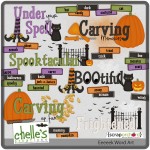
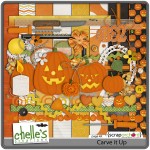
When I saw Chelle’s newest products, I was so excited. The fun side of Halloween. I couldn’t help but feel my day lighten up as I watched Let me show you all of the coordinating products: Eeeeek Bundle, Eeeeek Scatter (FWP) Eeeeek Kit, Eeeeek Painted Papers, Eeeeek Word Art, Carve It Up, & the Eeeeek freebie.
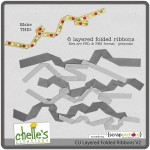
For our designer & CU friends, she released CU Layered Folded Ribbons V2. Last night was Creative Club Digi Designer Edition monthly tips & tut chat. Laura Coyle presented a demonstration on Adobe Illustrator CS6 pattern making. It was soooo interesting. I learned a ton. If you want to design your own stuff, CCDDE is THE way to go. Join today! Next week we have Q&A on 10/17.
Now the inspiration from the creative team:
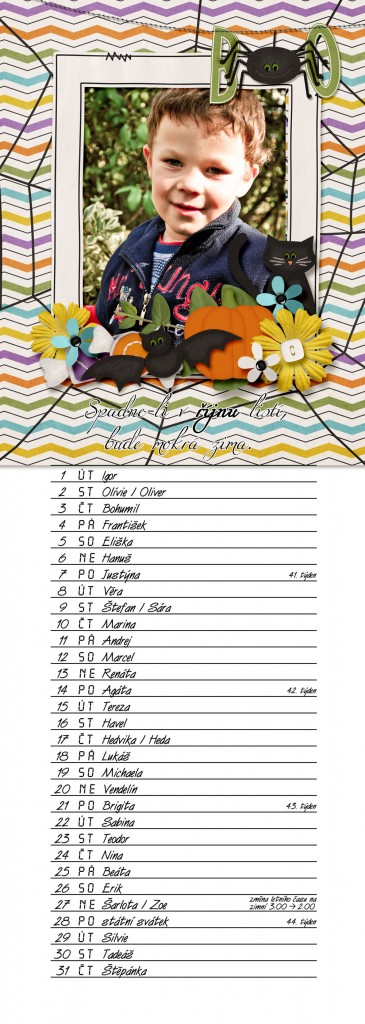
Out CT friend Dagi (Dagmar) is from Czechoslovakia where they don’t celebrate Halloween. She posted that she was working on her calendar for next year and provided this example.
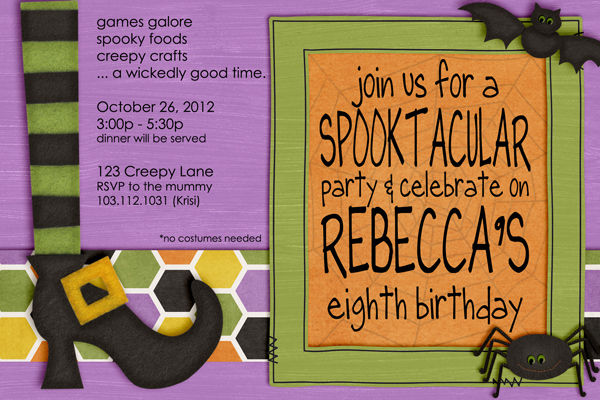
Krisi made us a hybrid birthday card invitation to share with you.
I can’t wait to see all the LO’s you post to the gallery. I know I’m going to LOVE them. See you soon.
Hugs!
Friday Freebie: Indian Summer| Digital Scrapbooking Freebies
Happy Friday! Jennifer (aka jmljensen) here to bring you this week’s Friday Freebie! With fall in the air, it just seems appropriate to give you another “fall” cluster. This week I used Chelle’s fabulous Indian Summer kit. It is so full of gorgeous elements and such beautiful rich colors. If you don’t have it yet, I highly recommend it! Head over to Chelle’s Creations’ Store to pick it up.
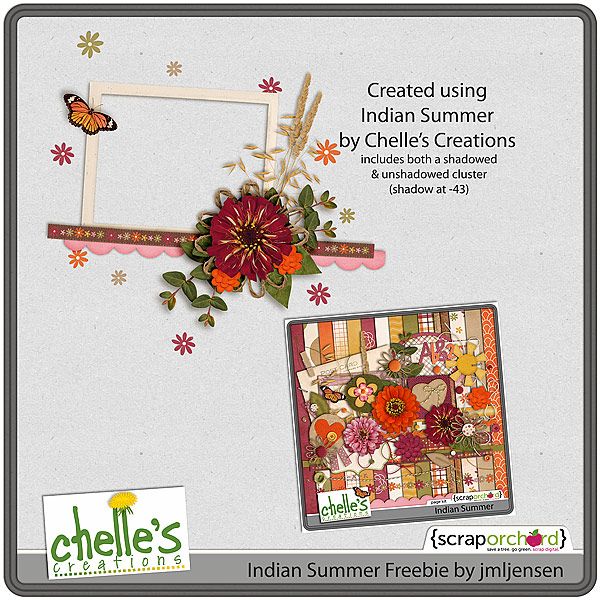 Click on the image above or click HERE to download it.
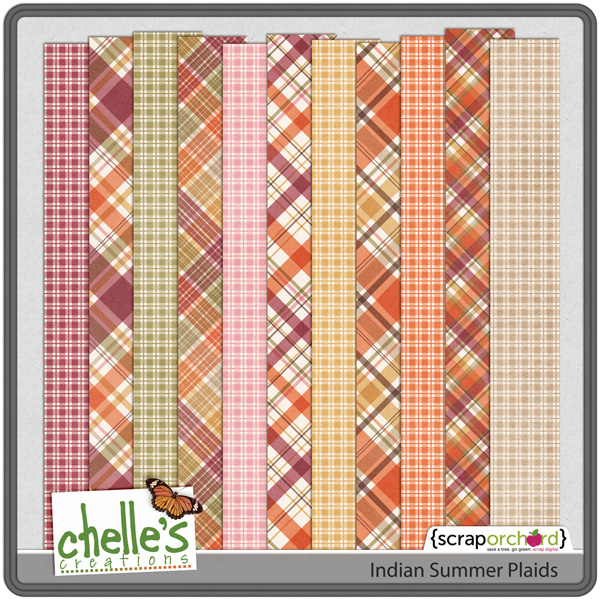
Here’s a closer look at the kit and the matching plaid papers.
Chelle also created these fabulous CU Grains to coordinate with the Indian Summer kit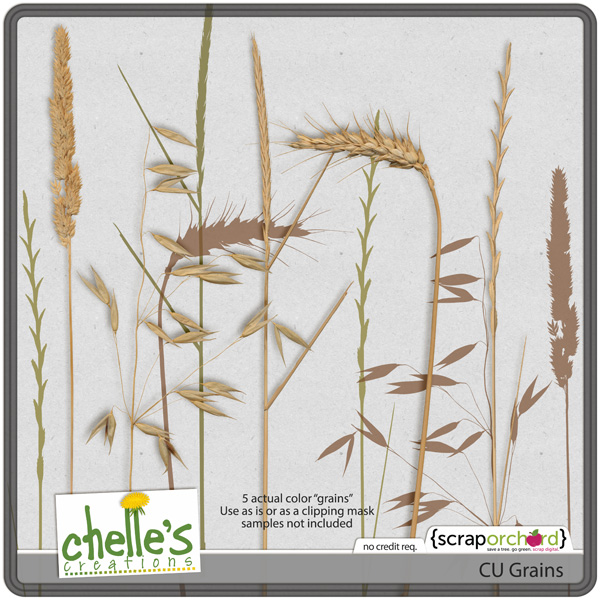
We would love to see what you do with this. Make sure you upload your layout to Chelle’s Creations Gallery. Thanks for stopping by!
Photoshop Tips & SBC Tricks | Digital Scrapbooking Tips
Hi Everyone! How are you all out there in digiland?! Hope your week is off to a great start! I’m Jenn, aka jk703, here to bring you today’s post. I decided to share a bunch of clever tips that you can use when scrapping, which in turn will help you scrap smart and quick! The wonderful CT also made layouts and shared some of their favorite tips too! Wait till you see this list! It is chock full of super tips! I
I’ve written about 21 tips and then Kayla (keepscrappin) and Kairyn (KairynLisa) both gave me a tip or two to share too! First, check out Kayla’s layout, where she used a whole bunch of products – Fill Me In Bundle, Fireworks, Ladybug Hugs, and Apple of My Eye.
Kayla shared a super easy tip to Defog Photos. In PSE, choose Enhance from the menu bar, then choose Unsharp Mask. From the Pop Up Menu, the amount slider can be changed to 20%, the radius 60 pixels or so. Click ok. Ta Da! She also shared how to clip a paper to an alpha to easily expand your stash by re-coloring. In PSE, merge all of the letter layers in your title into to one layer. Next, insert a paper above that title or alpha layer in your Layers Palette. Clip the paper to the Alpha by pressing Control + G while the paper layer is selected! So easy!
Here is Kairyn’s layout, and she uses a mixture of goodies too – Yeehaw Bundle, In the Pockets Small, and the Fill Me In Marker Alpha. For the tag in the upper right corner, she clipped a mask to it and then used the blending mode “Overlay” at 33% opacity – this is herfavorite way to take something from plain to perfect!
She likes to make her pages full of elements and photos, and many times she wants a certain element on the page to stand out. On this page she wanted to add a strok around the water spray. She thought if she didn’t it would’ve been completely lost on the page.
She has always wanted to have the stroking feature on SBC+, but it has never been put into any of the updates or upgrades. But after talking with other SBC+ users Jan came up with her own way of doing it using the glow feature of the program. There may be another way to do it, but here’s what she figured out.
1. Select element and resize to desired size. Go to > format > glow > select a custom glow.
2. The setting you choose will decide the width of the stroking/outline. Set > Softness at 0 (zero) and Expansion anywhere up to 1. I find that settings beyond 1 are too large, but it all depends upon what you are looking for. Select color of outline.
Now, since this is technically a shadow you will need to make it more dense. Once she has the stroking as she wants it, she copies and pastes three additional copies of the stroked element (you will now have four of them on the page), lines them up on top of each other, then flattens. This will make the stroking completely opaque. (The fourth one I keep as a reference in case I choose to make changes or layer the element, shadowed, on top of the stroked one.)
You can also clip a paper to the flattened element if you’d like. Just layer the original element back on top of it when you’re done. Here is her page with the stroked water spray.
Here are the rest of the Tips and Tricks for Photoshop! I’d love to know your favorites! There are so many things in Photoshop that I love, but I find I always play with Blend Modes, the D, and so many more!
1. Hold down the Command + Alt key and drag any layer to make an on-the-spot copy!
2. Press I (as in Igloo) to activate the Eyedropper Tool. Click on a color and it will become the foreground color. Press the Alt Key and then click on any color in your image. This color will now be the background color.
3. When using brushes, you can change the size of the brush by pressing the right bracket ( [ ) to increase the size or the left bracket ( ] ) to decrease the size.
4. When the move Tool is selected, you can use your arrow keys to nudge 1 pixel. By pressing the Shift and then the arrow, your image will now nudge 10 pixels. Super Nudge!
5. When the Move Tool is selected, click on the “Auto-Select” option. Make sure that option drop down is set to Layer. This will allow you to click on your image, and the layer will automatically be selected in the Layers Palette.
6. If you hold down the Command (Control) key, and then click on the thumbnail of a layer, you will create a selection (see the marching ants) based on the layer that you clicked.
7. Pressing “D” resets your foreground colors to black and white. Pressing the “X” will make them switch back and forth.
8. When you have a selection made or a layer chosen, you can fill the layer by pressing the Option + Delete. The fill color is the foreground color.
9. When looking at Blend Modes, use the Shift key plus the + or – keys to “scroll” through the different looks.
10. When using Type you can add a Faux Bold, press Command + Shift + B, or a Faux Italic Command + Shift + I. If your font has a bold or italic weight, it will use the font’s bold weight. Otherwise, it will add a faux weight style to your font.
11. Command + Enter = Commit is a great tip for when you don’t want to click on that little check mark in the top. This works for the Type Tool, as well as when you move or transform items.
12. With the Type layer selected, you can scroll through the fonts by clicking within the Font Name setting, and using the arrow keys up and down. You will see that layer’s font change as you scroll through different fonts.
13. Merge lots of layers up by selecting the layers in the Layers Palette, and then press Command + E. This is useful because the layers do not have to be next to each other.
14. Command + 0 will fit your image to your screen. Command + 1 will zoom to view the actual pixels.
15. In the Layers Palette, if you press the Option key and then click and drag a layer style to another layer. This will duplicate your layer style from layer to layer. If you only want to copy one particular style (like Drop Shadow or Outer Glow) from one layer to another, click the name of the effect and Option + drag that effect over to the layer.
16. Press the Shift Key when re-sizing items. It will constrain the proportions, and you will never have skewed or distorted images.
17. When working and you need a little more space, press the Tab key. Your Tools and Palettes will disappear. When you need them again, press the Tab key one more time.
18. When zoomed in and you don’t want to zoom out, press the space bar, and the Hand Tool will appear. You can move the screen and pan around. When you are done, let go of the space bar.
19. When you have the Marquee Tool selected, and you have made a selection on your layer – but in the wrong location! Don’t let go of your mouse, press the space bar, and them move your selection to the correct location.
20. To help you align things, you can create guides. With the rulers showing in your workspace, you simply, click and drag from teh top or left side ruler to where you would like a guide to be.
21. Double click the Background Layer to convert it to an editable layer.
Hope you learned something new with all this info! Have a great week! Thanks for stopping by!
Sneaky Peek Winner | Digital Scrapbooking Freebies
Hey Everyone. I get to announce the winner of this FABO Halloween items. Drum roll please……
… and the winner is: Corrin Kosifou! Congratulations! Please e-mail Chelle to get a coupon code. chelles.creations1@gmail.com Wait until you see all the goodies!
Hugs!

Words on Wednesday: Sayings | Digital Scrapbooking Tips
Hi Fellow Scrappers! Does your family have a favorite saying…maybe it’s a movie quote…or a phrase from an inside joke. Those sayings make great words for your scrapbooks. Sayings… boy, my family has a bunch of them. I can only think of a few of them, but I know we have/had a zillion of ’em.”
- “Were you born in a barn?” (question asked when someone didn’t shut the entrance door to the house. Usually on Sunday night’s as my Mom & Dad’s. Culprits were usually the grandkids racing out the door to play.)
- “You make a better door than a window!” (asked when someone crossed in front of the TV and blocked their vision.)
- “Live or Die. It’s up to you.” (said by Grandma Pitcher when she transplanted something)
- “Those potatoes are so creamy!” (said to change the subject. Quote from the movie While You Were Sleeping)
- “That must have happened while I was in the mission field!” (of my father’s 9 children, 5 daughters and 2 son’s have served mission’s for our church! ) Said whenever someone brought up a memory you had no idea what they were talking about. It didn’t have to happen during the actual mission, it could be yesterday, but we would always that. It eventually morphed in “Mission Memory! Also funny because they were actually non-mission memories! LOL
- Too many accessories clutter an outfit!” (said when commenting about someone’s outfit or jewelry. Quote from the movie Troop Beverly Hills”)
- “Green means go in Utah!” (said to any driver who doesn’t drive as fast through the intersection as we might have liked.)
- Stupid Announcer Comment! (said when watching sports and the play by play guys makes an absolutely ridiculously statement!)
- Chelle’s Dad says, “Because it’s colder in the mountains than in the spring!” I find this one funny because I’ve never heard him say it.
- Another I remember him saying was “Act, Not React!”
More recently I will say:
- Dude! Really?
- Seriously? That’s what your going with!”
Think about the phrases that you and your family use. Then scrap about it! Let me show you what the CT Members created (links to the products are in the caption under the photo):
Melissa N. (KSCroppyChic) shared what she found out after polling her friends and family.”I polled my family on what I say most. Come to find out, it was unanimous among the 4 of them. It’s not so much a saying as a word, so I asked my sister, my mom and 2 best friends and again unanimous. I was struggling with this topic for some reason so I decided to go with a word more than a saying, hope it works. On the other hand, I think I need to find something else to say! Seriously! LOL” Here’s her LO.
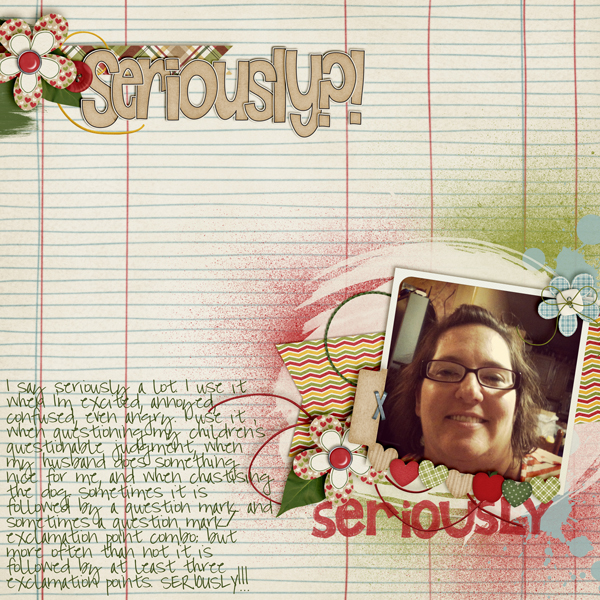
Mel N (KSCroppyChic) Mel used Apple of my Eye and Fill-Me-In-Bundle
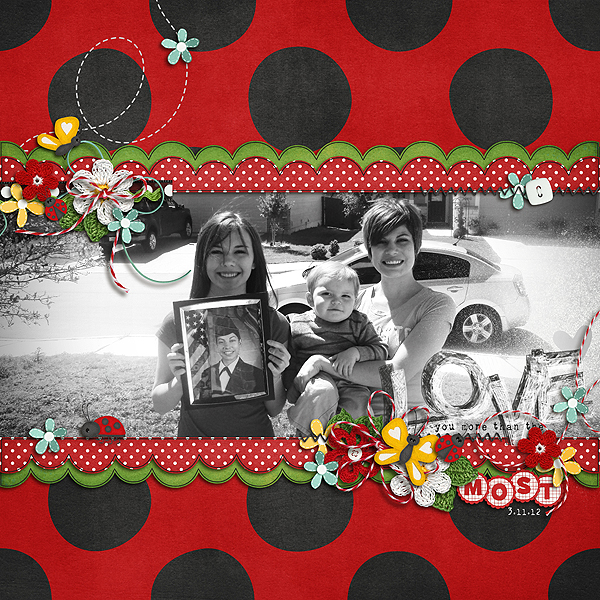
Nee Nee (neenee) She used Ladybug Hugs!
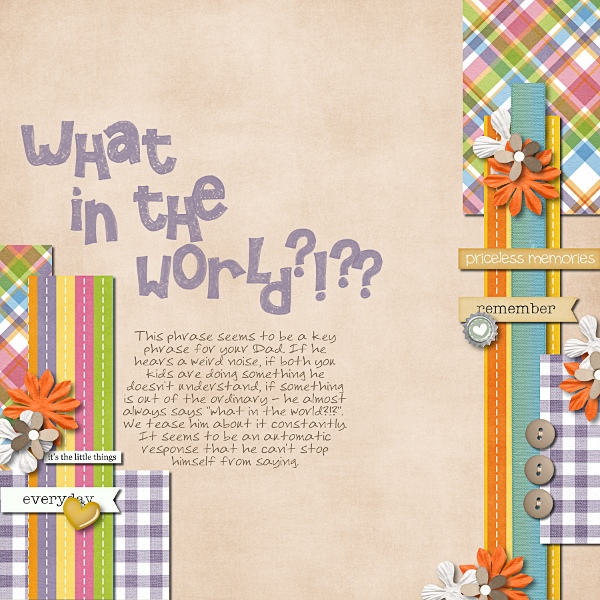
Ophelia (navaja77) She used Rainbow Collection, Oh Snap! & Fill Me In {Marker}
Hope this post gives you lots of great ideas.
Hugs!

All Hallows Eve | Digital Scrapbooking Classics
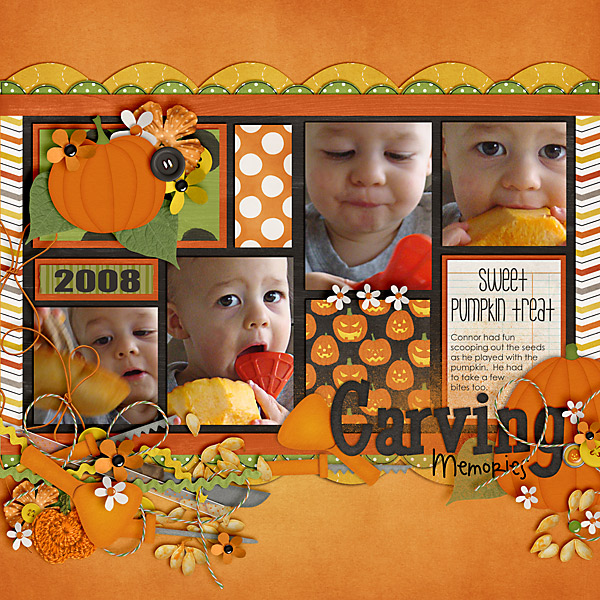
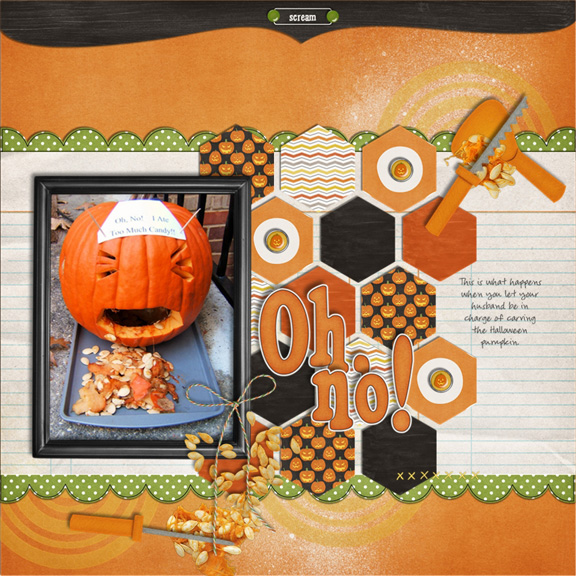
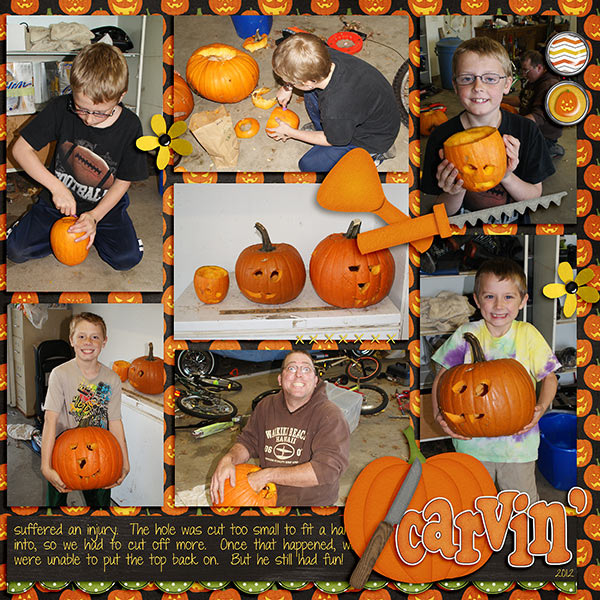
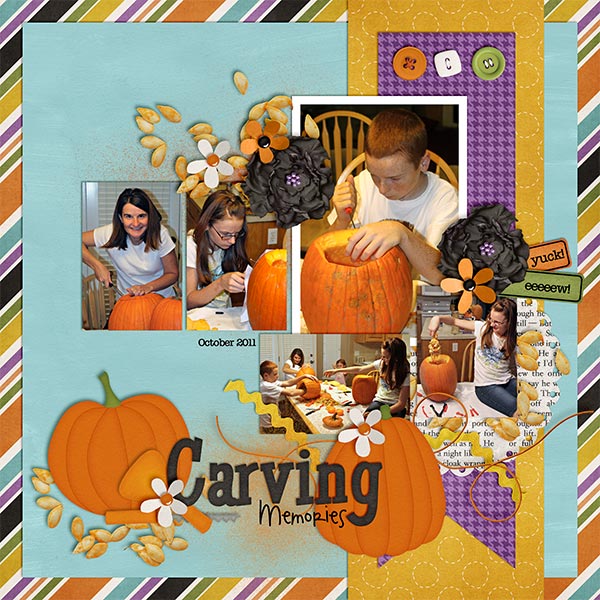
It’s October, and all over America store shelves are full of decorations for Halloween. In just a few short weeks, children will be dressing as characters and asking for treats while their proud parents snap photos of their cute little guys and girls. Chelle’s Creations has the perfect kit for those photos. It’s a Halloween kit with a trendy, vintage feel called All Hallows Eve, and her team of creative layout artists have made some digital scrapbooking pages to show you the range of layouts that can be made with her kit.
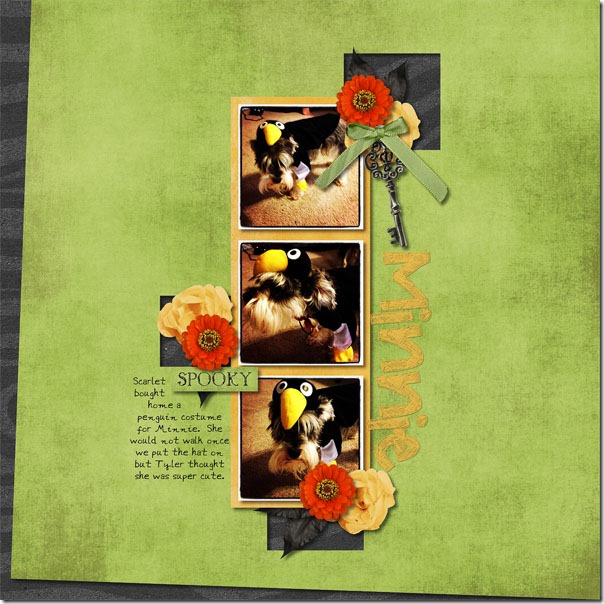
First, Karen had a photograph of her boys proudly showing off their pumpkins they had carved. She used a multitude of the colors and papers in the kit, and the tree she used as an accent is one of my favorite pieces. Look at that crepe paper that is gathered and stitched – Karen’s shadowing of it is perfect. It literally pops off the page.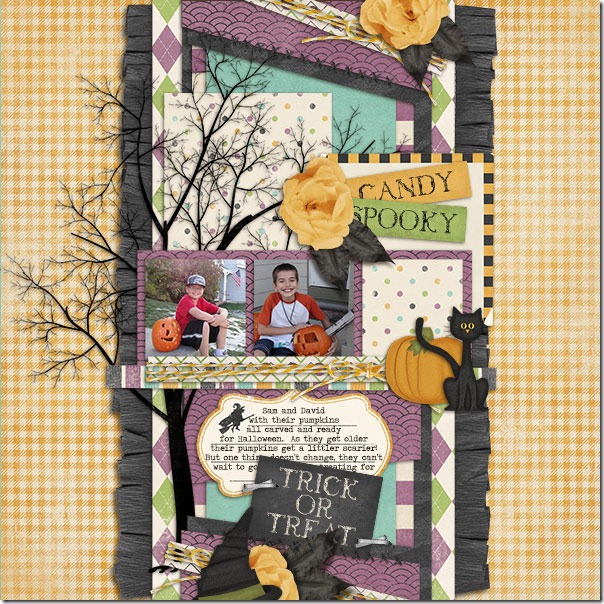 Next, Lynett had some pictures of her dog Minnie dressed as a penguin that she scrapped. Since her dog refused to walk with the penguin hat on, it was an easy task to get the dog to pose, and she used the green and black papers in the kit to make the perfect page. I love the square holes cut in the green paper that allow the black to show through, and that key is another one of my favorite elements in this kit. Lynett also used Chelle’s newest alpha to make the title.
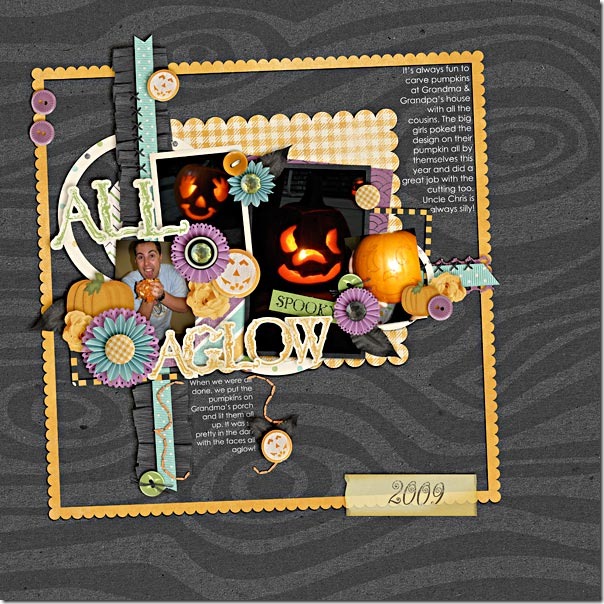
 Finally, Shanell used multiple colors of the kit on her page about the pumpkin carving traditions in her family. The title is made from two of the three colors of alphas included in the kit. I love how the angles of all the elements on the page give it a whimsical feeling overall. And, I like how she used the buttons in various colors to fasten the pumpkin, flower, and ribbon elements to her page.
This is a classic kit you can find in Chelle’s store at Scrap Orchard, and here’s a closer look. The image is linked.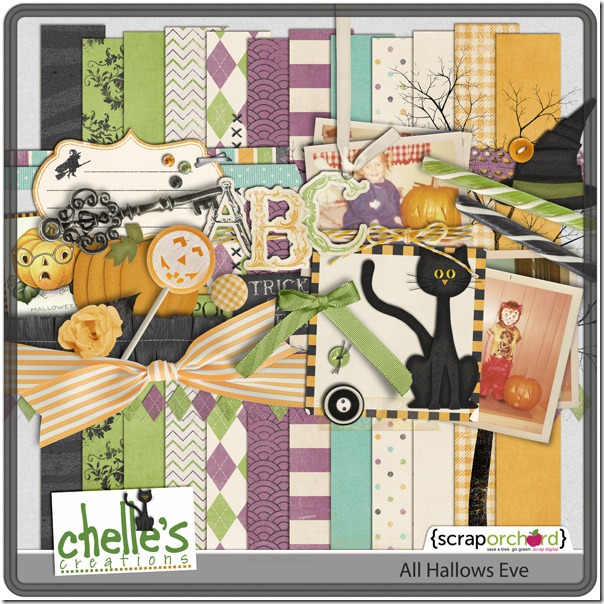
Sneaky Peek & Chance to Win! | Digital Scrapbooking Freebies
Ghosts & Goblins? Carving Jack-o-Lanterns? Chelle has a FABULOUS collection coming this weekend. And you can win it…see details below:
Remember we have NEW RULES!!!
You can enter to win by sharing the sneak peek. You can…
1. share it on your blog
2. share it on Facebook
3. share it via twitter
4. share it on Pinterest
Remember, since the winner is chosen using a random number generator, be sure to come back and know in a new comment when you’ve done each way.
Deadline: 11:59 PM EST Wednesday.

Fill Me In Playdate | Digital Scrapbooking Inspiration
Hey! I love to read! Let me just start out with that. I’ve had eye-glasses since I was 16 years old. Almost 30 years. As I’ve gotten older, I’ve had a hard time reading because I wasn’t able to see as clearly and my tri-focals had to be in just the right spot to read. Yesterday I was reading a 2-book series by Carla Kelly (Borrowed Light & Enduring Light) They take place in SE Wyoming and I had read about 1/3 of book one. I usually read in the bathtub, but I had an illuminating thought last night. If I could hold the book right in front of my nose in the tub and see without the eye-glasses, I could do that in my bed. LOL! It’s only taken me years to discover this obvious piece of wisdom. I’ve always had to use my glasses to read street signs, etc, and it just didn’t occur to me….duh! So I’m guessing you’re laughing at me and you should be be…. Long story short, I read all night. I finished book 2 this morning at 6:30 A.M. I had truly missed reading. I love “holding” the book”. I’d been considering a e-Reader, but didn’t want to lose that “piece” of myself. So here’s my thought for the week….sometimes the idea for a LO has been in front of your nose all along…. and my advice? Well, don’t wait 30 years to figure it out!
Wait, I have to tell another funny on myself. As a telephone agent (survey taker), I type what I hear all day long. I’ve got LDS General Conference on and I am listening as I write this post. So if suddenly I sound very profound…. I hope it’s me typing and that I don’t start plagiarizing a talk. LOL
Chelle’s been busy doing 2 new alphas for us this week. Fill Me In {Bundle}, {Marker} and {Pencil}. You can get them as a bundle or individually. I’ve linked up the images for you below.
Drips! Splats! For our CU Friends, Chelle offers CU Splats!
Chelle provided not 1 but 2 Digital Scrapbook Tutorial: They too are linked below.

As a reminder, Chelle provides this you-tube tutorial on what to do when doodles cross over the edge of a paper.

If your mail client doesn’t play friendly with the videos, you’ll find all Chelle’s videos on her You-Tube Channel.
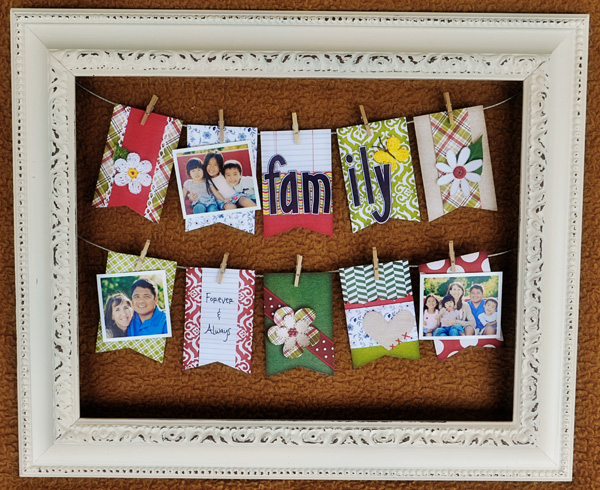
In our newsletter’s this week, Chelle hooked us up with a link to make the “Family Banner” hybrid project. It has so many applications, but I see it with a Christmas or Thanksgiving application. I”m sure you have ideas a plenty.
Now let me show up some great inspiration from our creative team!
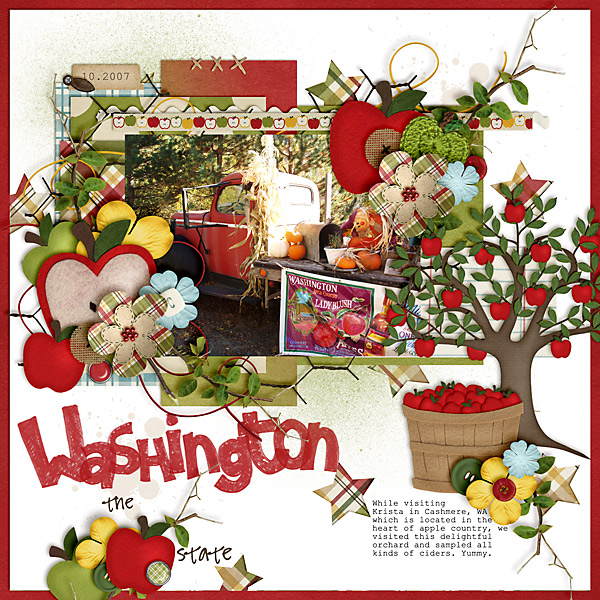
Carol (Iowan) used Apple Of My Eye
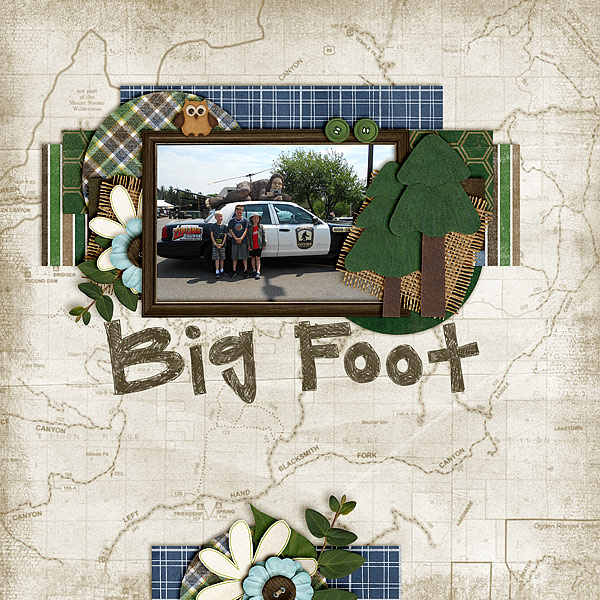
Jenn J (jmljensen) On The Trail & Apple Of My Eye
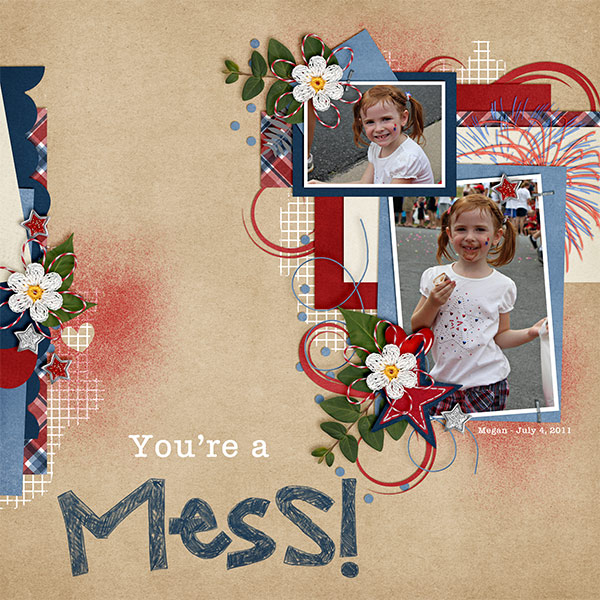
Kayla (keepscrappin) She used Fill Me In Pencil, Fireworks, Ladybug Hugs, and Apple of my Eye
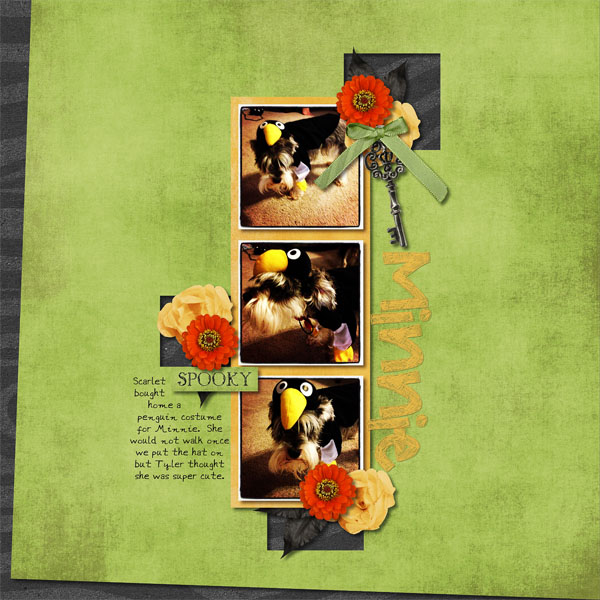
Lynette (lynett_rock) She used the Fill Me In Bundle.
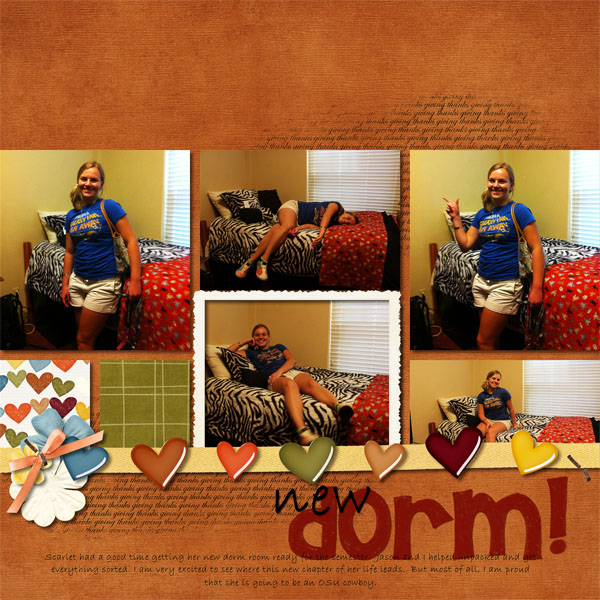
Lynette LO #2 (lynett_rock) She used the Fill Me In Bundle.
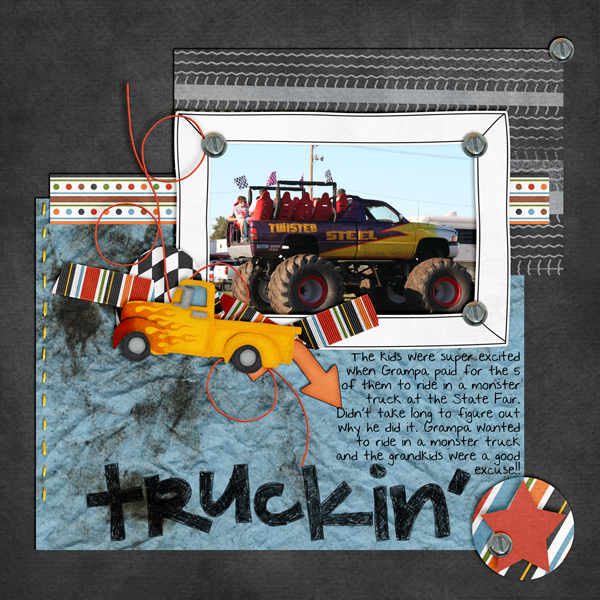
Mel (KSCroppyChick) She used Vrooom! & Fill Me In Bundle.
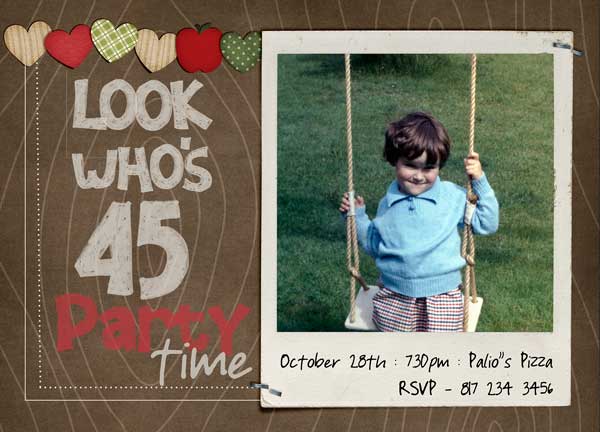
Ronnie (Ronnie_Texas) She used Fill Me In Bundle & Apple Of My Eye
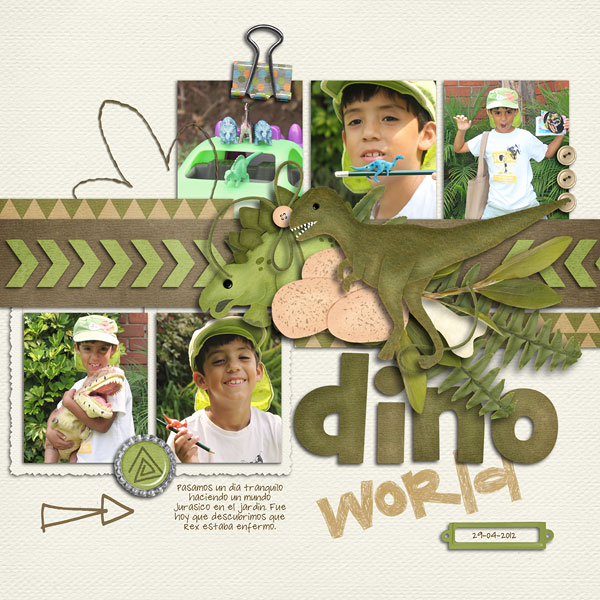
Roxana Right (roxanamdm) She used Prehistoric, Mark My Words, & Fill Me In Bundle
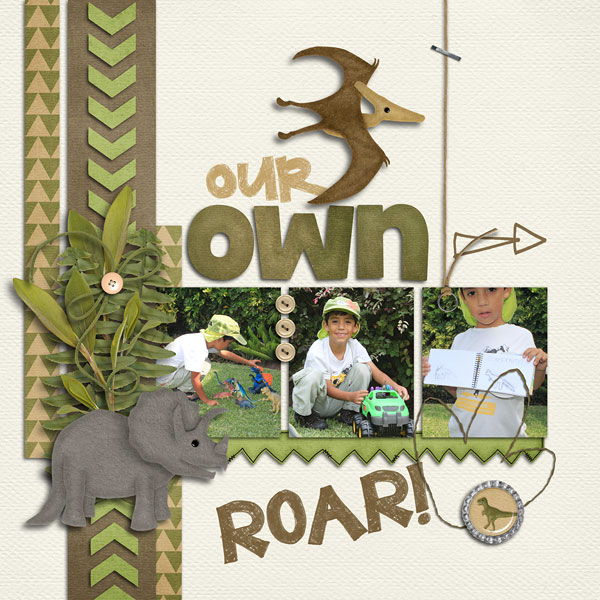
Roxana Right (roxanamdm) She used Prehistoric, Mark My Words, & Fill Me In Bundle
Hope you have a great week. See you in the Chelle’s Creation Gallery. I love to see what you create.
Hugs!

Friday Freebie: Shades of Autumn | Digital Scrapbooking Freebies
Hello digi scrappers,
It’s Kayla aka keepscrappin here with today’s freebie. The leaves have been turning colors in my neck of the woods and I’m in the mood for Fall. I love the cooler weather, changing colors, and all the fun holidays the Fall brings. Today’s cluster freebie is all about fall and was made with Chelle’s Shade of Autumn kit.
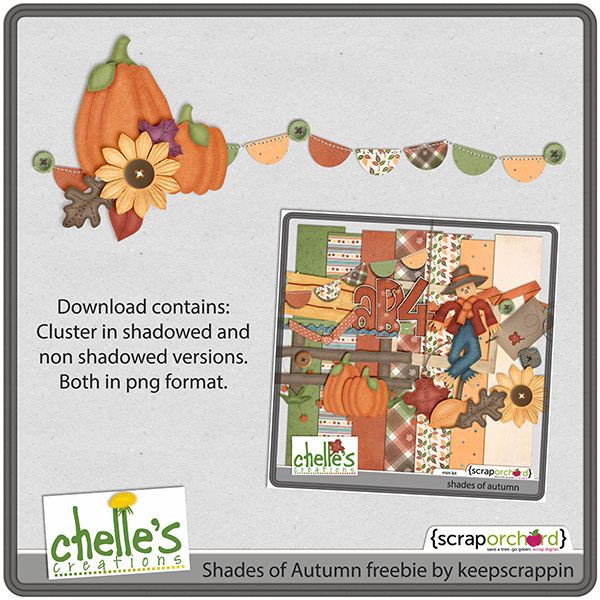 download here
I hope you have a fabulous Friday and enjoy the freebie.
keepscrappin until next time,










 Hi! I'm Chelle: a 40 something mom of 7. My husband & I live in a rural community in the rocky mountains with our 4 children still at home. In the winters we enjoy sledding & snuggling by the fire. I the cool fall evenings we love relaxing around the campfire & meeting friends at the county fair. Admiring the stars


