12.15 Tutorial:Templates in SBC+

Hi, I’m Leslie and I’m a guest Creative Team member for Chelle’s Creations this month.  I can’t tell you how exciting it’s been to be a part of such a great group of women, getting to know them and Chelle, and getting lots of pages done for my digital scrapbook in the process using great Chelle’s Creations kits!  And for her readers, I have a little freebie cluster at the bottom.
I use Creative Memories’ Storybook Creator Plus (SBC+) for my scrapbooking in addition to Photoshop Elements (PSE).  For those of you with PSE, you have lots and lots of templates out there that you can use that are already in Photoshop format.  SBC+ uses a propitiatory file type, and we have to do a little bit of work to get png and jpg files into our program to use as templates*.
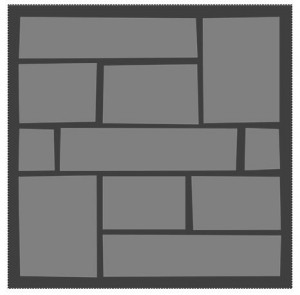
I work behind the scenes making page files for another designer on Scrap Orchard, and as such have made many many page files from pngs.  I hope that my work flow can help others who use SBC+ make their own pages.  These directions will be shown on SBC3.0, but the same workflow works in 4.0, with a few steps made easier, which I’ll explain.  I’ll be using Chelle’s Askew Templates which can be found here Chelle’s Askew Templates
First, I open a project that’s the same size as the Photoshop template, which is usually 12×12.  Whether you do this as part of a Storybook or as a Page Print doesn’t matter.
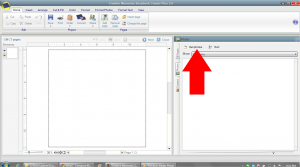
Then, I go to the right hand side and select “Photos” and then “Get Photos”.
I navigate to where the PNG folder is and get all the photos.
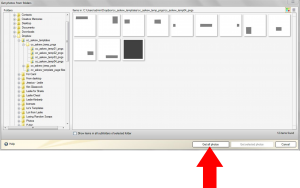
So now, they’re all in the program stored under photos.  Then, I start at the bottom of the stack and work up inserting things into the page. Go to the last photo in the list and double click on it.  That will bring in that photo to the bottom layer.  Then go to Arrange–>Flatten and flatten the image (if the layer is, as shown, filling up the whole screen, you don’t have to flatten it and then you can fill it like you would a photo holder).
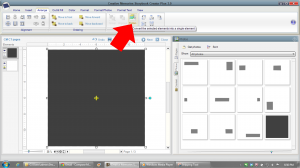
Work your way up the layer stack, inserting images into your project and flattening them.
When you’re done bringing in all the photos and flattening them, you can remove those photos from the photos list.

Now, this is where you can feel free to stop, because you have a working template right now.   But I often take it a few steps further in the templates I make.  I prefer to have as many shapes as possible allow me to drop photos or papers right into them and then easily resize the photos and papers.  If the template shapes are rectangles, that’s easy–insert a photo holder, and use the resizing elements to make it in the same place and the same size as the PNG files you’ve brought in.  To get it in the same place in the layer stack, select the photo holder you made and then select the PNG file you inserted earlier.  Now group those two things together (Arrange–>Group) That will bring the photo holder down to the same place as the PNG file.  Then Arrange–>Ungroup.  Now you can delete the PNG file (it will be the bottom of the two and will also be the one that doesn’t have the yellow arrows in it when you select it.  I like to fill my photo holders with colors so they’re not all gray, especially if the intention is to fill them with paper.  SBC4.0 makes this a bit simpler than 3.0–you can just fill it with color right away.  But with SBC3.0, you have to first fill that photo holder with a photo or paper and THEN you can fill that same photo holder with a color.
For wonky shapes, like the ones in Chelle’s template I used as an example, it’s a bit more advanced than the scope of this tutorial can get into.  But what I do do is make custom shapes for each of the askew shapes and before inserting the shapes into my project, I say, “Save this shape as content”.  I now can insert a photo holder and use the Mat function to shape the photo holder like my custom shape.  I do this for all the shapes on the page, and voila, a template you can use again and again!
I hope you’ve learned a little something here and if you have questions, make comments on the blog.  But in the meantime, enjoy this little Christmas freebie I made for you! A little return address label sized for Avery labels 5155. Just add the text as needed for your family in your favorite scrapbooking program and save it to a JPG and then use it in your favorite word processing program formatted for Avery Labels 5155. Just right click on the image and save to your computer. It’s full size right here!


12.13 Perfect Pairs: Family Tree & In Harmony | Digital Scrapbooking Kit Combinations

Today I have two great digital scrapbooking kits to show you.  In Harmony and Family Tree coordinate very well to create fabulous pages.  The colors and elements blend together beautifully.  The creative team has some amazing pages to share with you today.

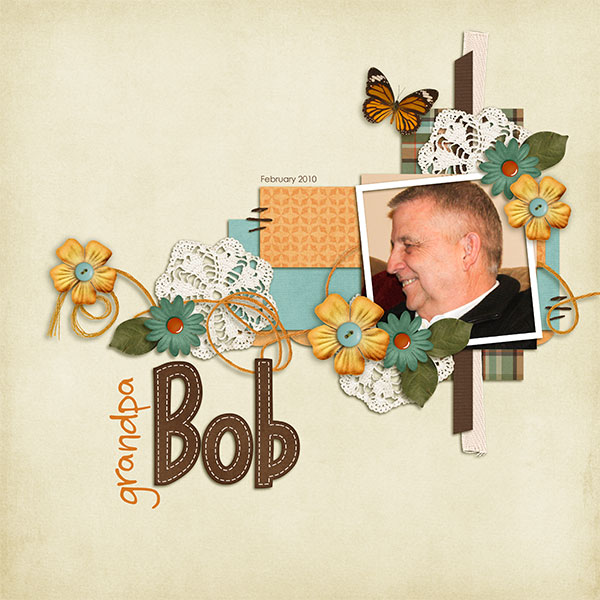
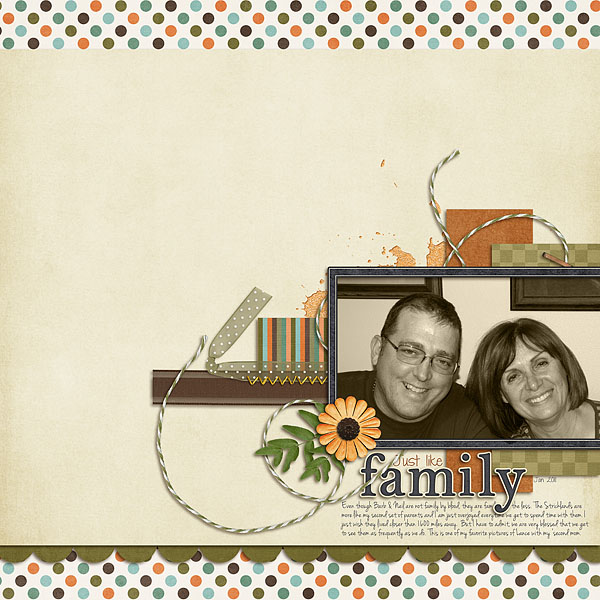
Jennifer has this amazing page of Grandpa Bob.


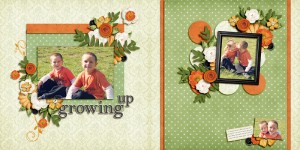
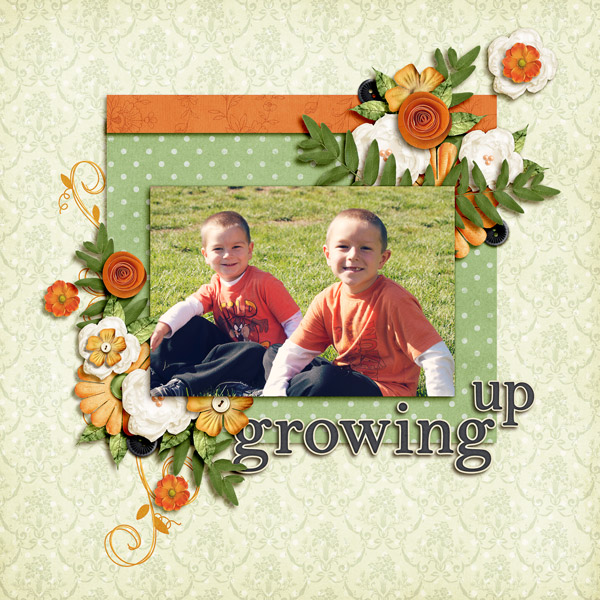
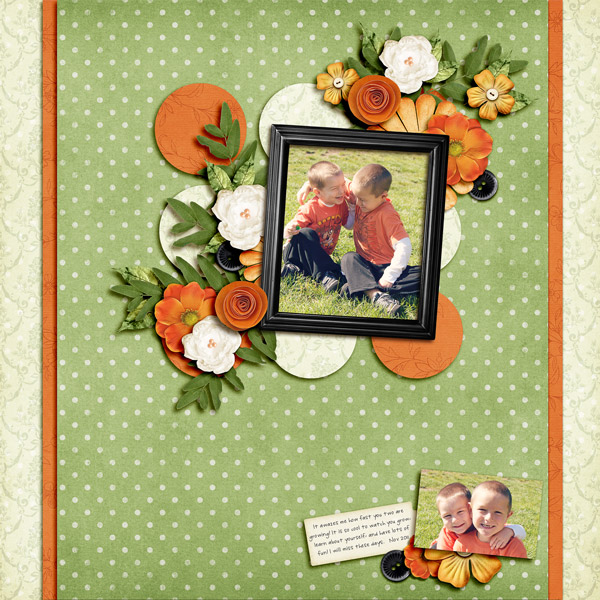
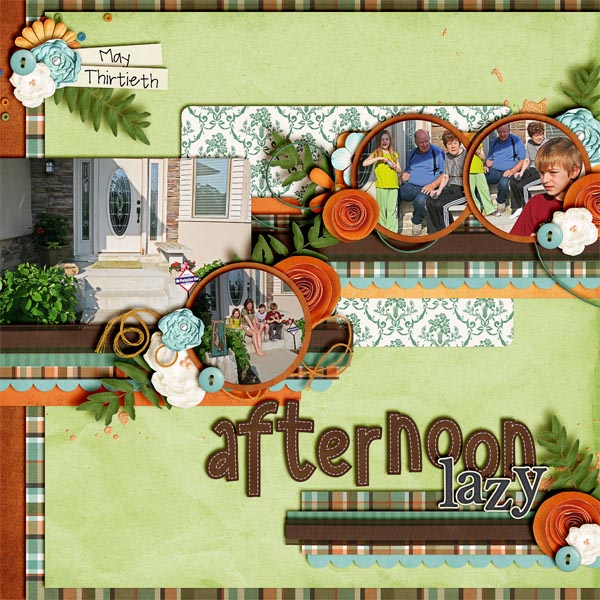
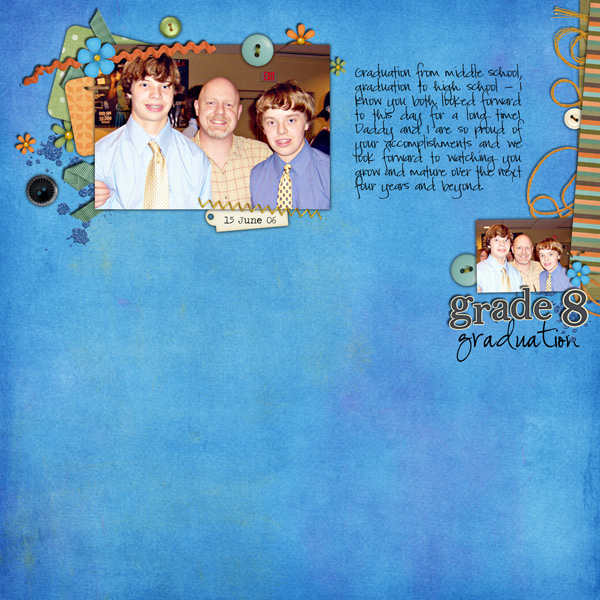
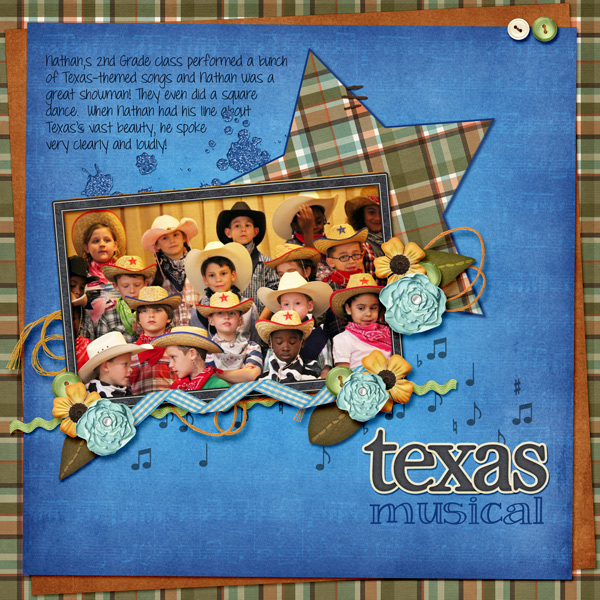
Next up is a double page spread from Jenn.  Aren’t those two boys handsome?Jennifer has this amazing family pageJenn S has a beautiful page: Afternoon LazyKairyn has grade 8 graduationLeslie created this adorable page!  Check out those cute kiddos.  Here is a closer look at the two kits this ladies got to work with this week. In Harmony

Family Tree

I do not own either one of these kits but after seeing these pages I will be heading over to the store to grab them….you should too.  Remember to post your pages in Chelle’s Gallery so we can leave you some love and admire your awesome work.


Gallery Standouts | DIgital Scrapbooking Inspiration

It’s Monday and hoping you all had a great weekend!  It’s cold and gray here and looking like snow again.  I’m hoping it snows but after I’m back home and not driving!

my little snowman by dagi
This gorgeous photo is what caught my eye in the gallery.  What a cute photo!

Letter to Santa by Lenushenka
So cute! I love the cute photos with the funny story behind it.  What a great layout to scrap about a letter to santa.

Manicure by jocelinsmommy
What a perfect kit to use for these photos!  Love that she left lots of white space and the paper blocking.

Angry Birds by SunshineTK
I totally understand why Angry Birds is such an obsession.  This awesome page tells it all!  What a great page and the perfect kit to use!

Stop by Chelle’s gallery to browse all the inspiring pages!  All images are linked so please stop by and leave them some love!

Home for the Holidays Playdate

Other great week of playing with Chelle’s Fresh Fruit.  Check it out!

Untitled-1And here are the awesome products the team got to work with this week:

image All these products are also available separately.

image The quckies are available as a Free with Purchase this week only when you purchase the bundle.

And a little coordinating freebie:image 

And that is all for this week, catch you next week!

by-Liz-300x150

12.07.11 – Winner!

Sorry for the delay! I was totally going to post this the other day.. but my laptop had a hiccup and needed to be re-stored.. so needless to say the last few days have been downloading and installing all my programs!

Thank you everyone for your wonderful comments for a chance to win Chelle’s New Home for the Holidays Bundle!!!! Without further ado….DRUM ROLL PLEASE….The Winner is…..

COMMENT #84
simon says: December 7, 2011 at 10:18 am
so lovely! thanks for the chance!
CONGRATS simon!!!! Please email Chelle’s at chelles.creations1@gmail.com for your prize code.

50% off Chelle’s Creations — ONE DAY ONLY

We’ve opened the Dec 9th door of the ScrapOrchard Advent Calendar and IT’S ME! WooHoo!

Chelle’s store is 50% off!
50% off New Releases
50% off Commercial Use
50% off Collabs
50% off everything except classes
Sale is valid only on December 9, 2011, from 12:00 am to 11:59 pm EST.
Note: All sales, specials and promotions are based on Eastern Time Zone. Coupons, Plum Perks and sales cannot be combined.
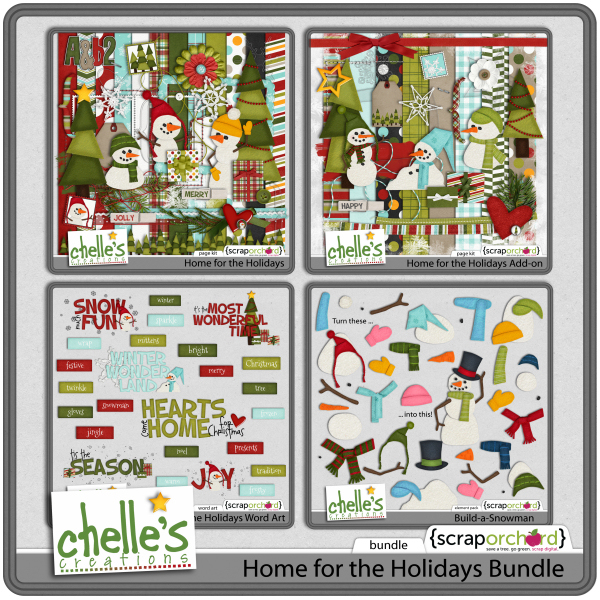
And I have a few new releases to celebrate: Home for the Holidays Bundle

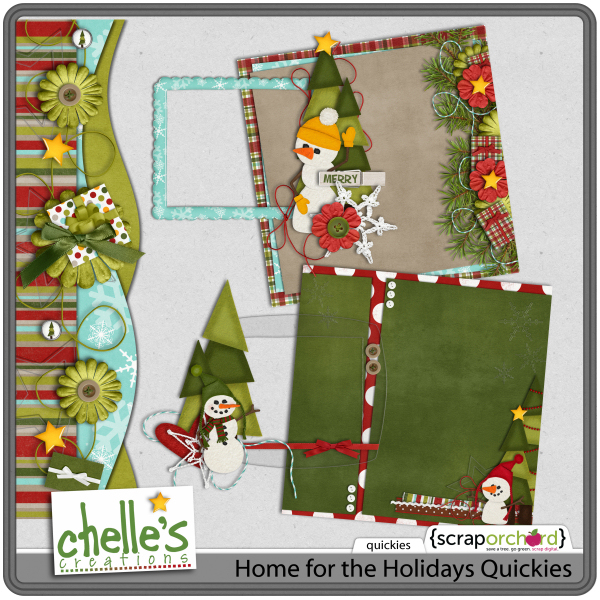
Buy the Bundle, get the Quickies FREE:

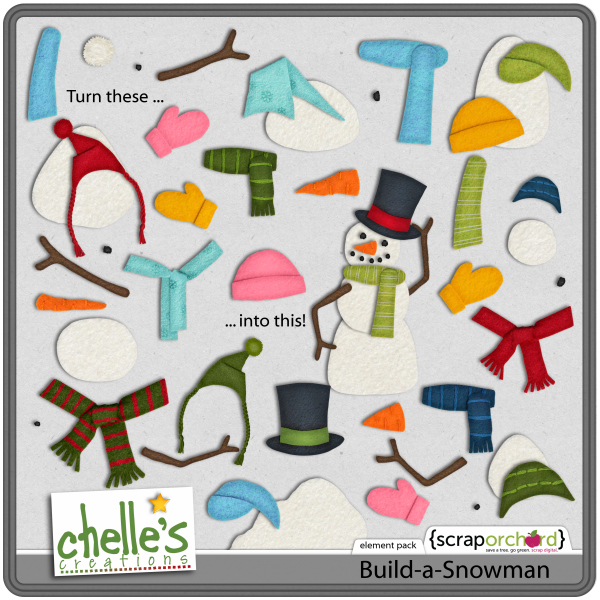
Build a Snowman is available separately…with elements to match any winter kit:

And don’t forget the freebies…
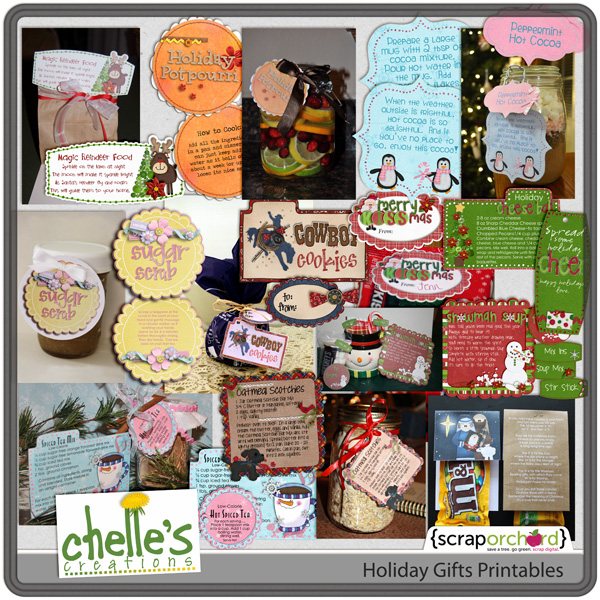
Need a gift for co-workers, neighbors, or teachers? Here’s the solution: Holiday Gift Printables. Eleven super ideas ranging from simple: print and attach to a bag of kisses or M&Ms; to fun and crafty. And the best part? It’s FREE with any $10 purchase TODAY only!

Here’s my portion of the Advent Mega Kit. Make sure you are subscribed to the ScrapOrchard Newsletter to receive links each day to that day’s freebie.

And finally a freebie to coordinate with my Home for the Holidays collection:

On-a-mat-a-WHAT? | Digital Scrapbooking Words on Wednesday

My little guy has a new favorite bedtime story: The Noisy Counting Book.  The young boy in this story tries to fish over the sounds of nearby frogs, ducks, birds, fish, crickets, & mosquitoes.  But the thing that makes the story fun, is onomatopoeia.  I know…you are thinking, “On-a-mat-a-WHAT?”
Onomatopoeia.  A word that is onomatopoeic makes a sound, when you say it, like the thing it is describing: swish, clatter, rattle, bang, boom, flush, ratchet, kiss, buzz, click, whoosh, squeak, quack, tinkle, pitter-patter, plop, babble, whack, gush, chomp, chirp, snap, fizzle, clang, thump, puff, clank, moo, hiss, roar, pop…
Adding onomatopoeic words to your journaling makes it more interesting to read:
*Joe’s hammering nearly drown out our voices. vs The BAM! BAM! BAM! of Joe’s hammering nearly drown out our voices.
*1 big frog croaked vs 1 big frog said GA-DUNK!  (my teenage daughters argue that frogs don’t say GA-DUNK, but to a nearly 2 year old, that word is hysterically funny)
Try it! The next time you are working on the journaling or title of your layout, think about how the memory sounded.  Can you find a way to convey that sound using an onomatopoeic word?  Make the sound out loud.  THAT’s the word you are looking for.  (It might be a real word…like the ones above.  Or it might be a made-up word…like GA-DUNK!)
I used onomatopoeia in the title of this layout:

I’d love to see how you use onomatopoeia in your scrapbooking!

EIEIO | Digital Scrapbooking Classics

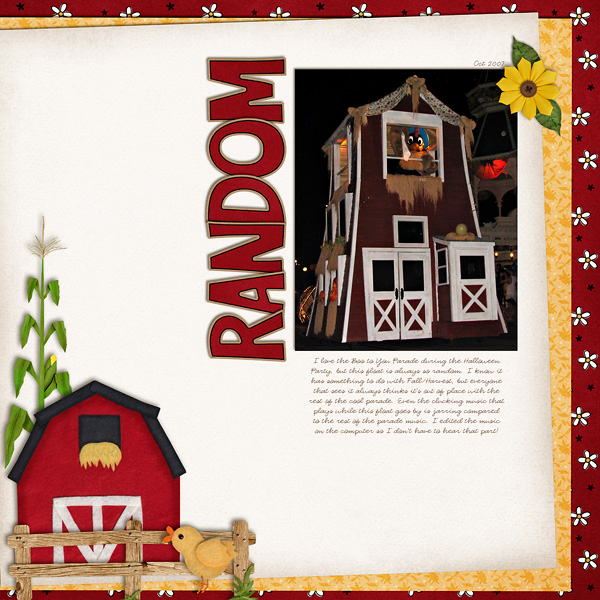
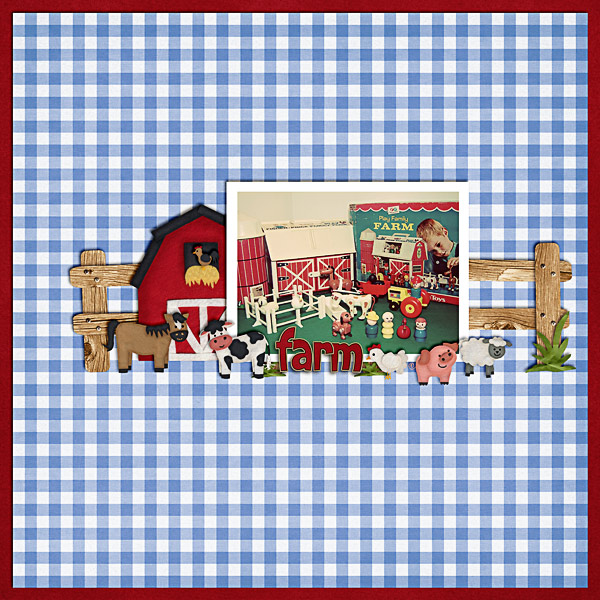
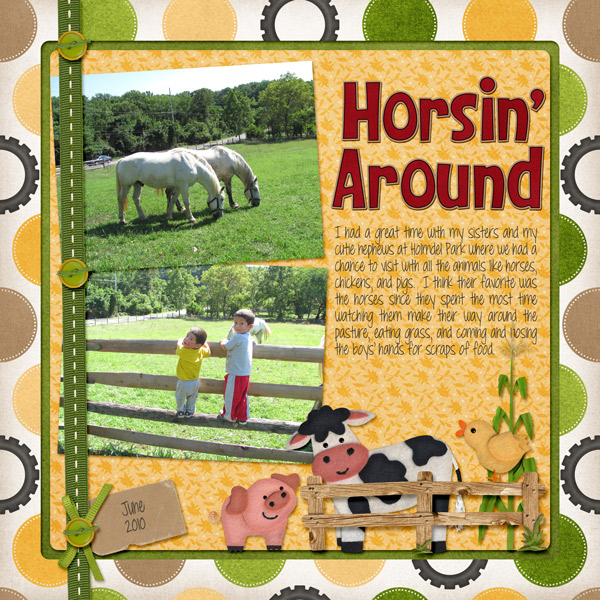
Today I have some amazing layouts to show you featuring Chelle’s digital scrapbooking kit: EIEIO.  Do you have any fun pictures from a farm, petting zoo, outside, Disney World or play time with the kiddos?  The possibilities are endless with this fun kit.  You can get the kit or a bundle which includes more felt animals and a barn.

EIEIO

More felties

The Bundle

There are also some great quickies to help get you started with your pages

Now on to the good stuff, the layouts!  I have some layouts that are themed and some that are not.

This first one is a non themed one done by Shari

Next up is Heather

Here is one by Jami: Love that old fisher price farm!

This final layout is from JanHere is one from Leslie, love those sweet faces!

Head on over to the store and grab this kit.  Remember to link your layouts to Chelle’s gallery so we can leave you some love!

Sneak Peek & Enter to Win

Time for another sneak peek of what Chelle has coming this week! I’m sooo excited about this one :) So you should be too!

Now…about that contest. There are 4 ways you can enter:
1. Comment on this blog post.
2. Comment on this facebook post to help spread the word about the giveaway, then come back to this blog and leave another comment confirming your facebook post.
3. Tweet about the giveaway (with a link to this post) then come back to this blog and leave another comment confirming your tweet.

Contest ends midnight EST Wednesday night 12.07.11.

Chelle Scraps 12.4.11

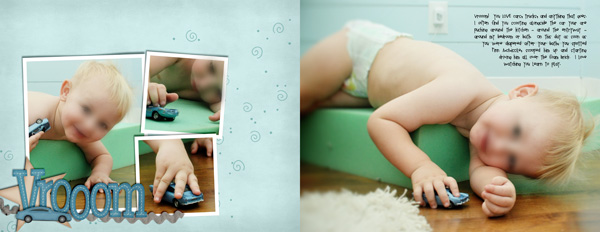
I debated not posting this layout.  I hate layouts with messed up faces…but DH doesn’t want our little guy’s face all over the internet, so it is what it is.  And he’s in nearly every layout I make anymore.

I used the FREE Autumn Potpourri Alpha (recolored) & Vrooom!  (I my new RADLAB plugin.  It makes ALL my photos look FABULOUS.)

What did you scrap this week?