Journal & instaLife Cards Playdate | Digital Scrapbooking Week in Reivew

Hello Friends!
We’ve had a busy week here at Chelle’s Creations and the digital scrapbooking products have been amazing. I have tons of new products to show you. We’ve jumped aboard the pocket scrapbooking train and have cards that coordinate with some of Chelle’s favorite kits. Let me show you. I also linked up the coordinate products from the store to make things easier for you.

Additional coordinating products: Fleur de Violette {Kit} or Fluer de Violette {Bundle}.

Additional coordinating products: Lovin’ from the Oven {Kit} and Lovin’ from the Oven {Bundle}

Additional coordinating products: Pizza & Pasta {Bundle}, Pizza & Pasta {Word Art}, Pizza Amore {Kit}, & Pasta la Feasta {Kit}.

These cards coordinate with the Techno Geek Scrap Orchard Olympics Mega (May of 2013, retired)

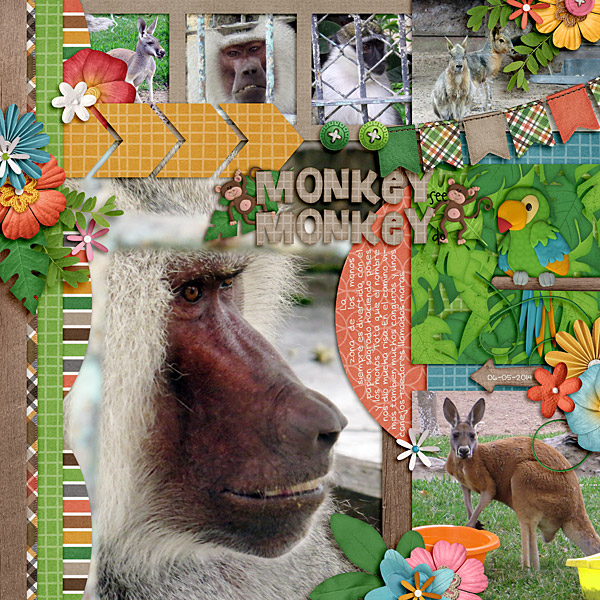
Additional coordinating products: Zoo Crew Jungle {Bundle}, Zoo Crew {Jungle} Kit, {Jungle Word Art}, {Jungle Alpha}, {Animal Prints}.

Additional coordinating products: Zoo Crew Safari {Bundle}, {Safari} Kit, {Safari Word Art}, {Safari Alpha}, {Animal Prints}.

Additional coordinating products: Zoo Crew {Arctic} Kit and {Arctic Alpha}
I have a few layouts to share with you from our Creative Team:
Kayla used Zoo Crew {Arctic} instaLifeand Roller Coasters Journal Cards.
kayla.arctic.rollercoaster
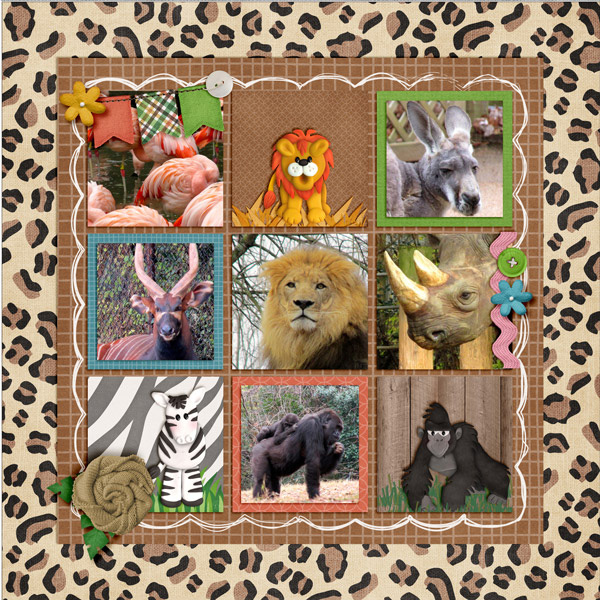
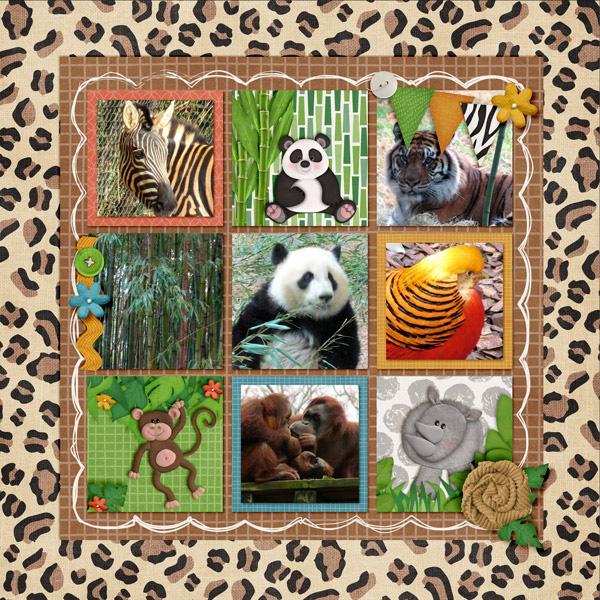
Donna made the next 3 layouts. She used Zoo Crew  {Jungle} instaLife & Zoo Crew {Jungle} Journal Cards, Zoo Crew {Safari} instaLife Cards & Zoo Crew {Safari} Journal CardsCU Fabric Textures & CU Sweater Flowers.
donna.safari,fabrictextures.sweaterflowers.left
donna.jungle.fabrictextures.sweaterflowers
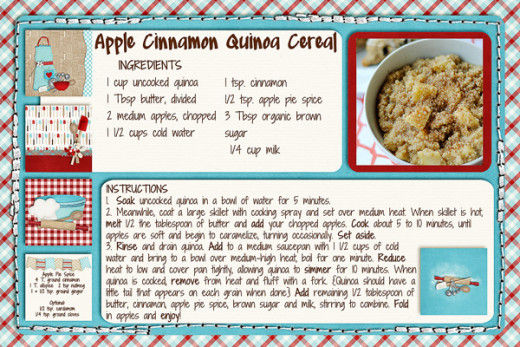
Donna used Lovin’ from the Oven Journal Cards to make this recipe card.
donna.lovinoven
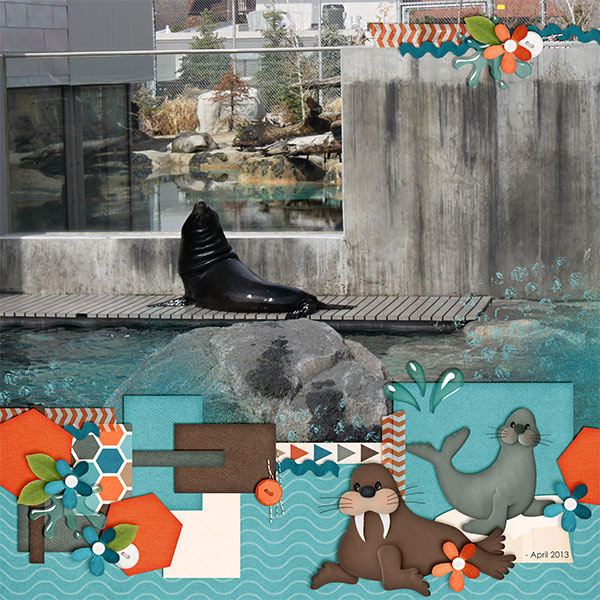
Roxana used  Zoo Crew Safari {Bundle} and Zoo Crew Safari {instaLife} Cards.
roxana.zoocrewsafaribundle.zocrew safariIL

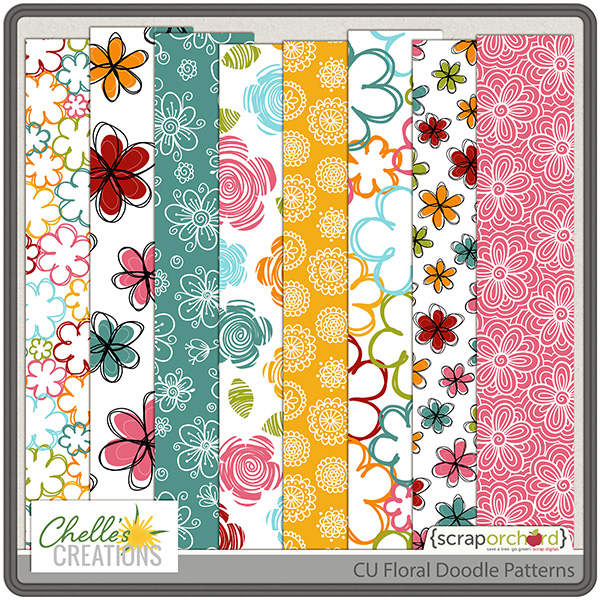
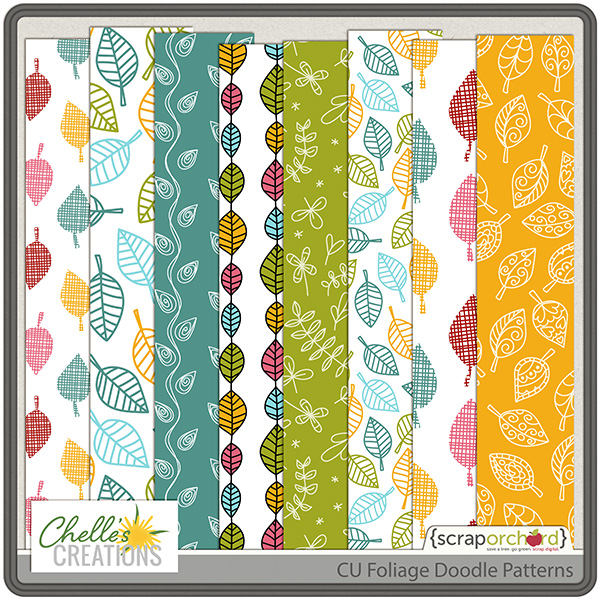
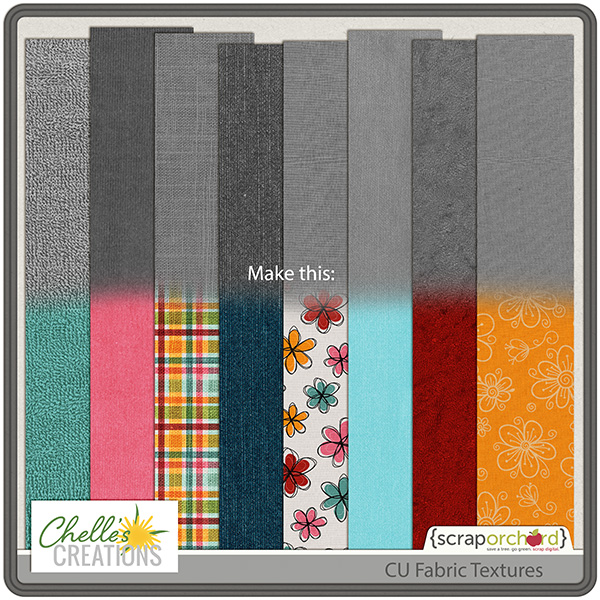
Chelle has released a couple of CU Products over the last 2 weeks. CU Floral Doodle Patterns, CU Foliage Doodle Patterns, & CU Fabric Textures.
CU Floral Doodle Patterns
cc_CU_foliagedoodlepatterns
cc_CU_fabrictextures-81bbdef8f2

Chelle’s spent the past couple of weeks talking about iPhone Scrapbooking. She has released 3 new Digital Scrapbook Tutorials.: Scrap on your Phone, Scrap on your Phone: Picstitch & Dropbox, Scrap on your Phone: Adding Digital Kit Elements.


If your mail client doesn’t play well with You-tube, you can find all of Chelle’s video tutorials on her you-tube channel.
I have a FREEBIE from you. It was created by our Creative Team member, Kayla. Just click on the image for more details.
folder
I’ll be back tomorrow with some of Chelle’s new layouts!
by-Sari
nbsp;

Scrap On Your Phone Part 2 + 3DCards | Digital Scrapbook Tutorial

Hey Friends,

I LOVE seeing my layouts in print.   And so does my family.  Photo books make the perfect gift.  And the perfect bedtime story.  Right now Adoramapix has a GREAT Groupon deal.  (Seriously…this is GREAT pricing)  A 10 page 8×8 album for $11 (or $8 if 3 or more people do it with you) plus shipping.  Give them a try!  For this price, just pick your favorite (or most recent 10 layouts and get them into your hands!)

So here’s how you get this deal:

FIRST:  Check the Chelle’s Creations Fan Club on Facebook.  See if there are any active deals.  (once someone has purchased, Groupon will give you a link to “share” …if 3 or more people share, the price drops to $8 a book…up to about 20 people and then you have to start over again.  3 more people pay the $11 and once the 3rd person pays…you all get a refund back to $8 a book)

If there are no available deals to join, CLICK HERE TO START ONE.  ($11 per book)

So if you are one of the first few, PLEASE post your share link in our Facebook group so others can join you!

DO IT!  You won’t be sorry!

I am pleasantly surprised at how fast the world of “phone booking” is adapting and progressing.  Did you know that now you can add your favorite elements from your favorite kits to your photos and your “scrap on your phone” layouts???  It won’t be long before we can scrap regular layouts on our phones.  But pocket scrapping is super fast.  And with these adorable 3Ds cards, you’ll love your layouts.  Check out the details in my you-tube tutorials below, but first.

We’ve been SUPER busy this week @ Chelle’s Creations.  Myself and my Creative Team have been working up a storm creating more pocket scrapping cards, because I am LOVING how quick and easy it is to scrap on my phone!!!   Android or iPhone…doesn’t matter.  In 10 minutes you can crank out adorable layouts like these:


The “How” is in the videos below, but first, let me show you our fantastic new pocket scrapping products. They coordinate with more of my favorite kits. I have instaLife Cards and Journal Cards. (If you prefer to print your cards, these sets all come with and without bleed for professional printing)

Additional coordinating products: Fleur de Violette {Kit} or Fluer de Violette {Bundle}.

Additional coordinating products: Lovin’ from the Oven {Kit} and Lovin’ from the Oven {Bundle}

Additional coordinating products: Pizza & Pasta {Bundle}, Pizza & Pasta {Word Art}, Pizza Amore {Kit}, & Pasta la Feasta {Kit}.

These cards coordinate with the Techno Geek Scrap Orchard Olympics Mega (May of 2013, retired)

Additional coordinating products: Zoo Crew Jungle {Bundle}, Zoo Crew {Jungle} Kit, {Jungle Word Art}, {Jungle Alpha}, {Animal Prints}.

Additional coordinating products: Zoo Crew Safari {Bundle}, {Safari} Kit, {Safari Word Art}, {Safari Alpha}, {Animal Prints}.

Additional coordinating products: Zoo Crew {Arctic} Kit and {Arctic Alpha}

MORE Scrap on Your Phone.

TWO tutorials this week using different apps.  The first one works best if you don’t have much space on your phone.  It utilizes dropbox as a storage spot for your cards.

The second one is my favorite.  I like that it exports in a larger size (the closest one to true 12×12 300 dpi).  And I really like that I can import several photos at once.  And THIS is the one where you can add ANY .png file to your layout.  Check it out:

If your mail client doesn’t play well with You-tube, you can find all of Chelle’s video tutorials on her you-tube channel.

PS.  I’d LOVE to see your layouts on instagram.  Be sure to tag me @chellescreations in your comments.  Don’t forget to use our favorite hashtags:  #chellescreations #phonebooking2015 #mobilememorykeeping #scrapeveryday

01.15 Video Tutorial: Text on a Busy Background

Welcome to the new year and another video tutorial by Chelle of Chelle’s Creations. Today she is going to give you a few pointers to ensure that you journaling doesn’t get lost on busy background papers or photos.

A couple of Chelle’s talented creative team members provided layouts using the techniques they learned while watching the video.

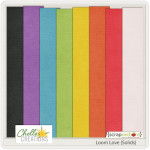
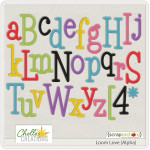
Lisa (kelseyll) used the outer glow method by casting a blue hue around all the text. Since the date was on a really busy part of her layout she also added a slight shadow to help it to be seen. For this cute layout Lisa used the parts of Loom Love (Sampler, Solids, and Alpha).

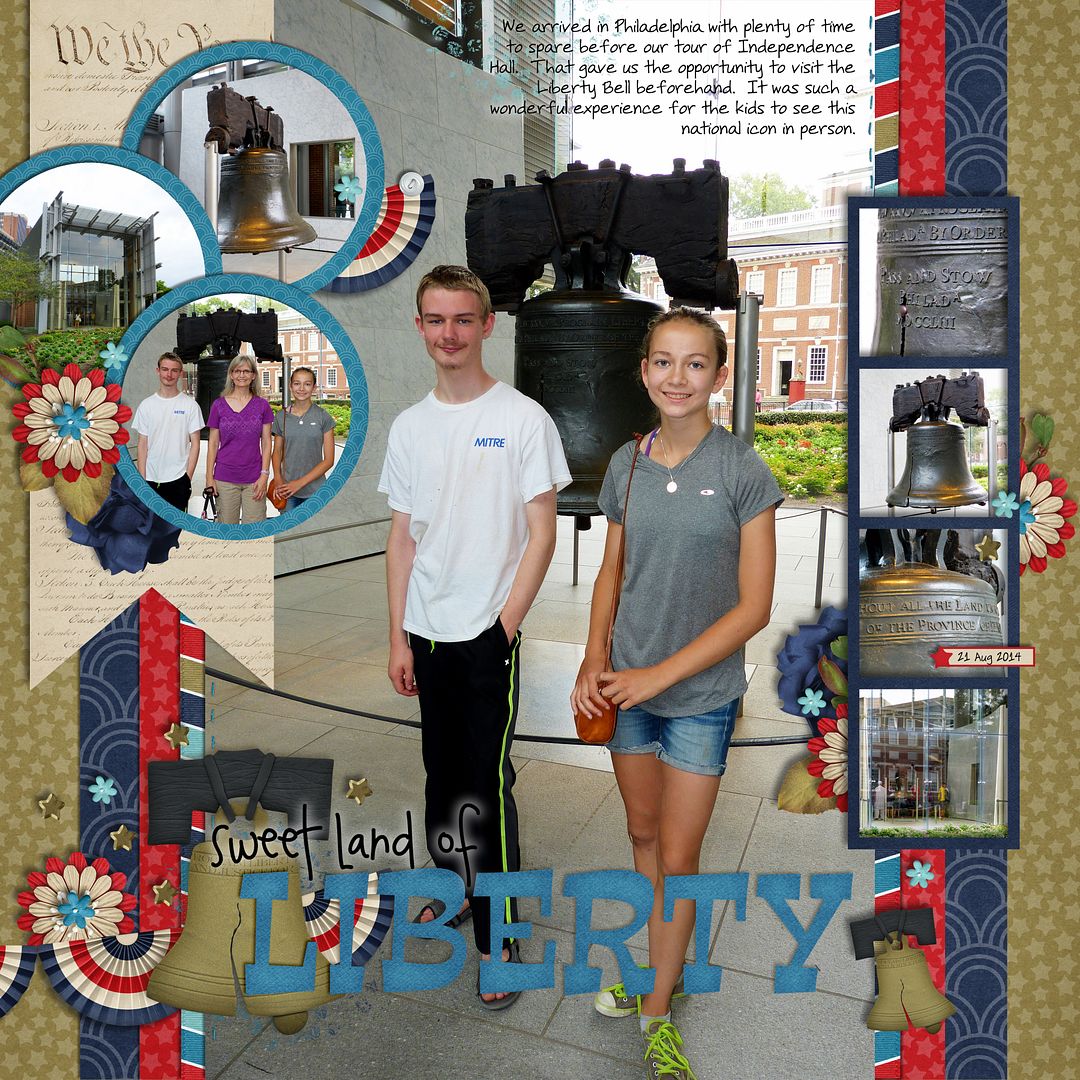
The outer glow method doesn’t work just on text, but it also works on word art as Jan (QuiltyMom) demonstrates with her layout. To make the black letters stand out and not fade into the black of the Liberty bell the outer glow creates the perfect contrast. She also used the outer glow method on her journaling to ensure the words didn’t blend in with the photo. For this fabulous layout Jan combined Liberty and Liberty (word art) with a template by Cluster Queen Creations.

This video features Chelle’s Creations Falling 4 U kit. Visit Chelle’s Creations store here to see this kit and her other fabulous creations.

You don’t want your journaling to get lost on the page. You placed it there to remind yourself and tell others about the experiences you had. The next time you are finding it hard to read what you wrote try one of Chelle’s tricks.

Using Definitions! | Digital Scrapbooking Words on Wednesday

Hello Friends!

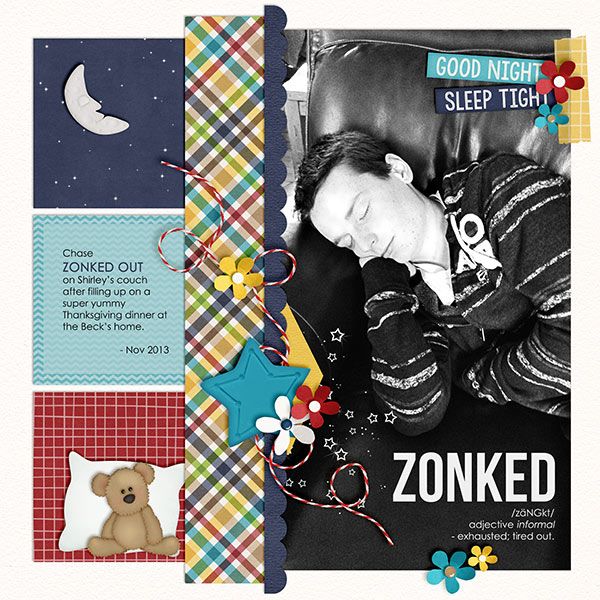
Do you use definitions in your digital scrapbooking? A fun word you emphasize as a title or a way to provide dimension in your layouts. Using a word that adds depth to your layout as well as being an action word that describes the action in the layout can be really fun! Let me show you some ideas from our creative team. {I linked up the active products for you below the layouts!}

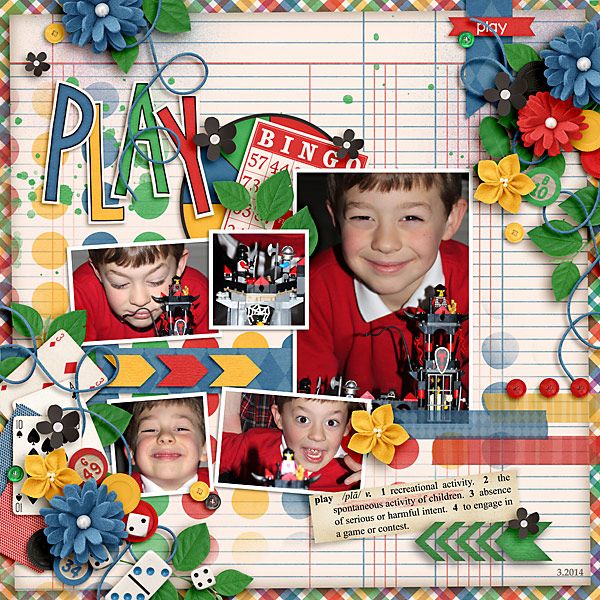
Carol used Game On & Mark My Words (check your stash, this product has been retired.)  I love all the pictures Carol used in her layout. They really pull you into the layout.

cc_gameon     cc_markmywords

Kayla used Good Night Teddy & Good Night Teddy InstaLife Cards. Doesn’t ‘zonked’ fit perfectly? Absolutely perfect!

cc_goodnightteddy_bundle     cc_goodnightteddy_IL

Kimberly used Loom Love. I would never have guessed this layout was from the Loom Love collection Chelle created. Love all the brightness and fun this layout portrays.

cc_loomlove     cc_loomlove_spp      cc_loomlove_ap

Why not look over your pictures and come up with your very own “word” to describe your layout. I hope you’ll post them in the Scrap Orchard pin gallery so that I can see them.

by-Sari

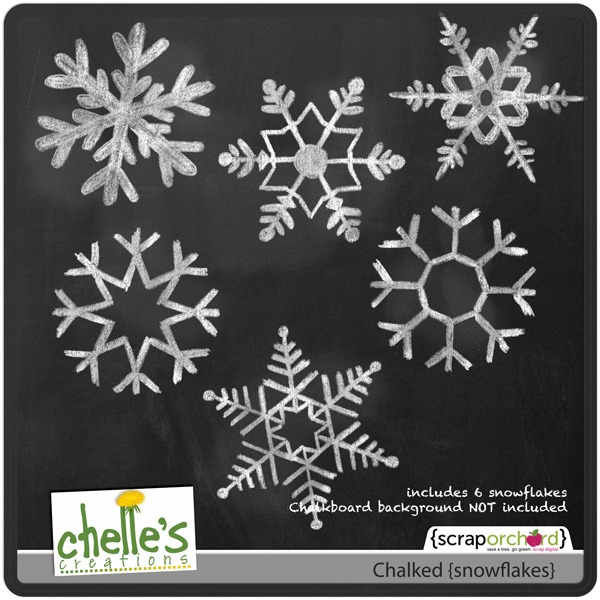
Chalked: {Snowflakes}

I love chalk and and I love snowflakes, and Chelle has a classic set of digital scrapbooking snowflakes that are chalked. That combination makes them perfect for every winter wonderland scrapbook page I can make. But they’re also perfect for menu boards and subway art style titles on any project. Complete with smudges and smears, they are as realistic as if you had drawn them with chalk yourself, right onto your project. Want to see them in use? Chelle’s CT members have been playing with them and have a couple of pages to share with us.

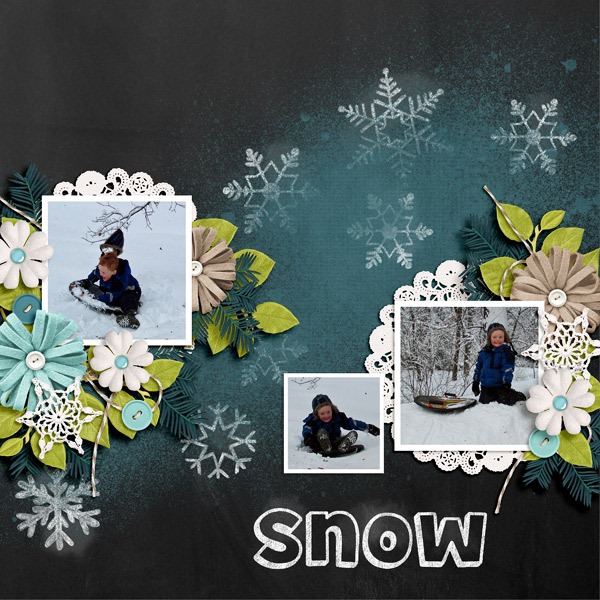
First Jenny has a page she created with Chalked {snowflakes}, Cozy Christmas, and Chelle’s Chalked {bundle}. The snowflakes are the perfect accent on the chalkboard background paper. I love the way she has combined the flowers and leaves from Cozy Christmas with the chalked elements for her Snow page.snow-2014-3-fffmystified_web

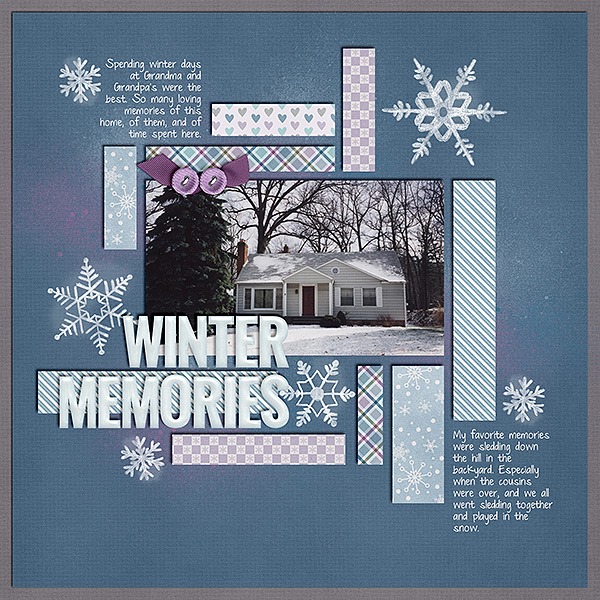
Karen used a more textured background paper for her scrapbook page about winter memories, and the chalked snowflake elements look fantastic on it. The smudges give a realistic effect that would enhance any paper choice. And her placement of the snowflakes in the corners is perfect for this wintery scene. By the way, she used Chalked {snowflakes} with the Snowlandia kit and alphaSwL_SOOctoberBlogTemplate_600

Here’s a closer look at the chalked snowflakes in the market. The image is linked. cc_chalked_snowflakes

by_Cheryl

Tuesday Templates! Lay It On There {Doubles} 9 | Digital Scrapbooking FREE Templates

Hello Ladies!

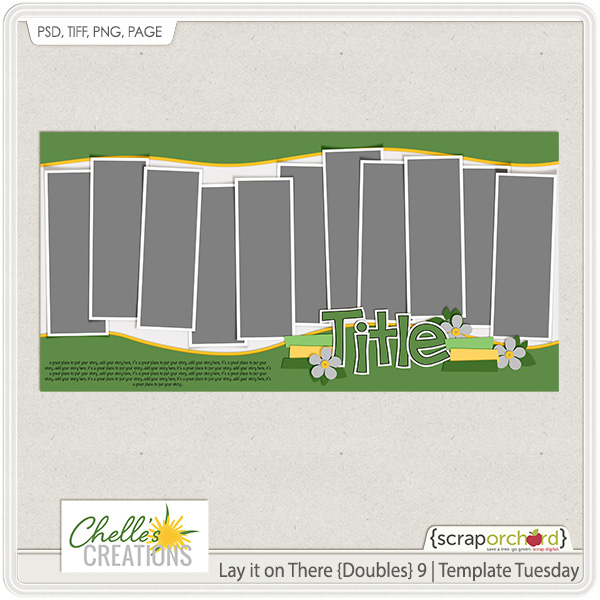
Have you seen the FREE Digital Scrapbooking Tuesday Template Chelle designed. It was posted on Jan. 6th. Click here for a link. This is #9 of her LAY IT ON THERE Doubles series.

cc_LayItOnThereTemplates_Doubles_9

Want the other Lay It On There {Doubles} Templates?
Lay It On There {Doubles} 1&2
Lay It On There {Doubles} 3&4 are available on the Scrap Orchard Blog. (Hint! scroll down the page)
Lay It On There {Doubles) 5&6
Lay It OnThere {Doubles} 7&8

Here are a couple of layouts Chelle made.
q2xzd2ln

Chelle used Curled Frames and At the Beach

cc_curledframes.jpg     cc_atthebeach.jpg

s4205v7w

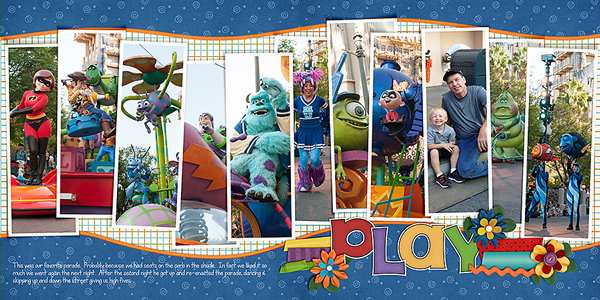
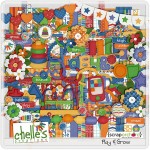
Chelle used Curled Frames and Play & Grow.

cc_curledframes.jpg     cc_playngrow_pvw

Here are some layouts by our CT.

10336619_10204651045608649_979576269847524977_n

Donna used CU Sneaky Alpha Doodles & Zoo Crew {Jungle}.

cc_CU_sneaky_ad_pvw     cc_zoocrew_jungle_bundle

Chelle Scraps | Digital Scrapbooking Ideas & Inspiration

Hello Friends! Take a look at what Chelle’s been scrapping this week.

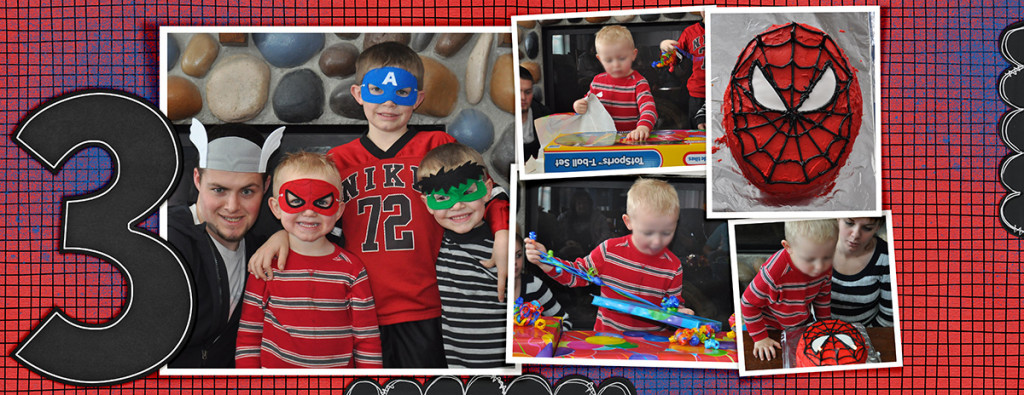
13_01_20_Jbirthday_2post_blurred

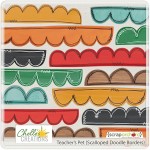
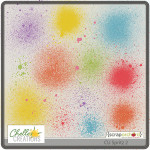
Chelle used Curled Frames, Teachers Pet Scalloped Doodle Borders, &  CU Spritz 2

cc_curledframes.jpg     cc_teacherspet_scallopborders     cc_CU_spritz2

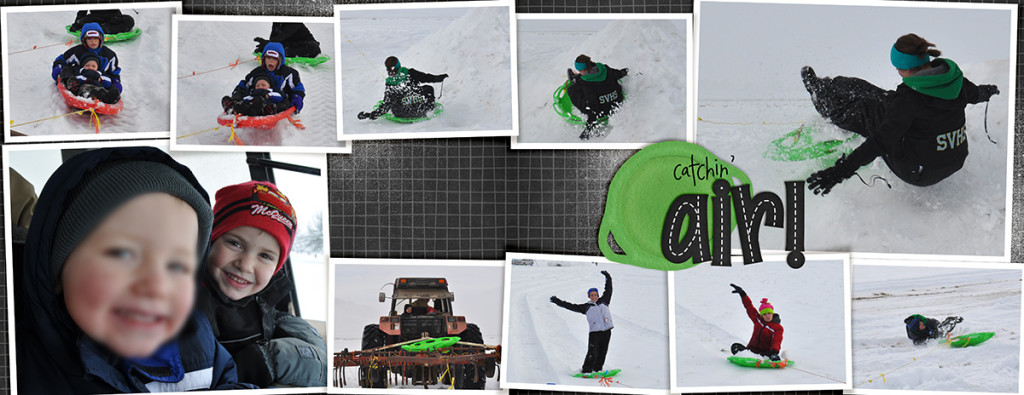
13_01_26_catching_air_2post_blurred

Chelle used Curled Frames, Winter Thrills Felties (retired), Teachers Pet (Background Paper)  and Basic Black Stitched Alpha.

cc_curledframes.jpg    cc_winterthrills_felties    cc_goodnightteddy_bundle     cc_basicblackstitched copy

14_09_15_soccer_2post_blurred

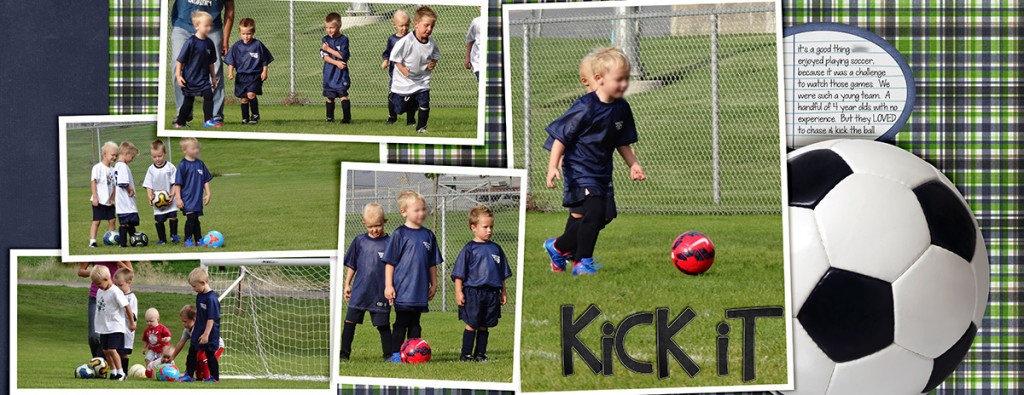
Chelle used Curled Frames and Kick It & Just 4 Kicks Alpha (retired).

cc_curledframes.jpg     cc_kickit_preview_2post.jpg     cc_CU_just4kicks_ad

Have a wonderful day!

by-Sari

Flower Layering and Tips

Flower Layering and Tips

Hi everyone! Happy New Year! I’m excited to show you my post today. This is Jenn, jk703, here today to share some fun ideas and some awesome pages using Chelle’s Creations supplies. This is so easy, and I had so much fun. And I’m sure you can relate – I made my layout for the post, and it became my newest most favorite layout. Actually, many of my favorite layouts are using Chelle’s supplies. They make me and my pages happy!

Today, we are going to play with flowers – specifically Flower Layering and Tips. For my example images, I’ve used Chelle’s At the Beach kit, and the At the Park Kit. So versatile, and they work well together!

Let’s get to it! Flowers are *usually* included in kits, and there are always so many and in so many colors. I want to use them all sometimes, but that doesn’t always look right for me or my style. So, this is an alternative. Layer them up, change, twist and flip them to make them work for you.

Here is the start of my flower. A pretty bright red, with a shadow style and it looks nice!
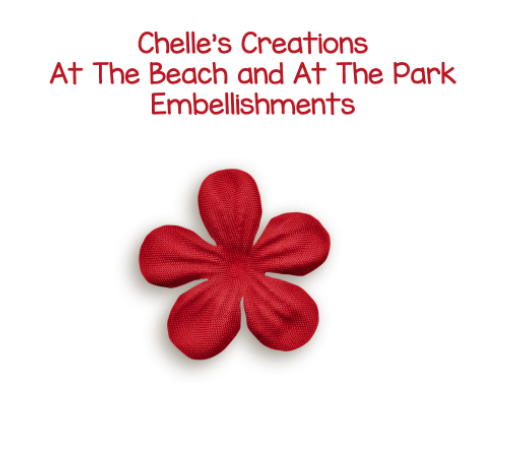
Flowers1


Next, I’ve added the same flower but one that has a pattern on it, right on top. Then I used my Move Tool and twisted it a little bit. Still looks a bit unfinished, right?
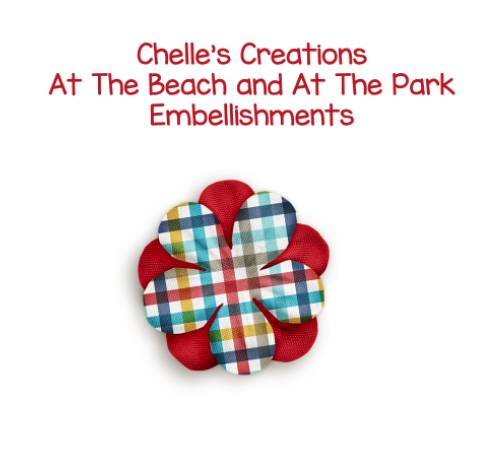
Flowers2


Next, I added one of Chelle’s super awesome little paper flowers to the middle, and your shadow styles – and you get this little gem. Viola! A perfectly pretty layered flower. Isn’t it pretty? I just love it! (Yes, I’m a bit dorky, lol – sorry!).
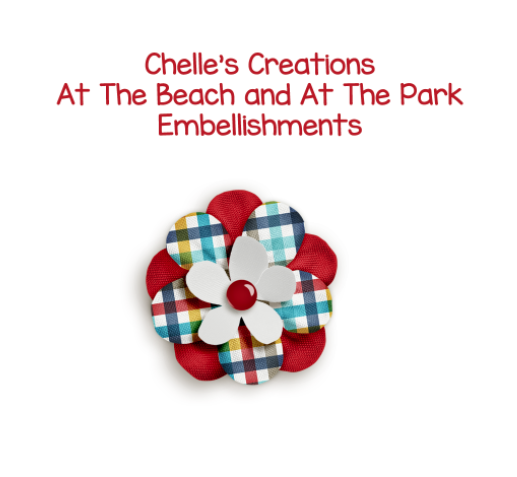
 

Flowers3


What about other kinds of flowers that you see in her kits? They all work with this method. Here is a burlap flower with a buttoning the center. It looks nice, and that blue looks great on the white. How can we add to it? We layer it up!
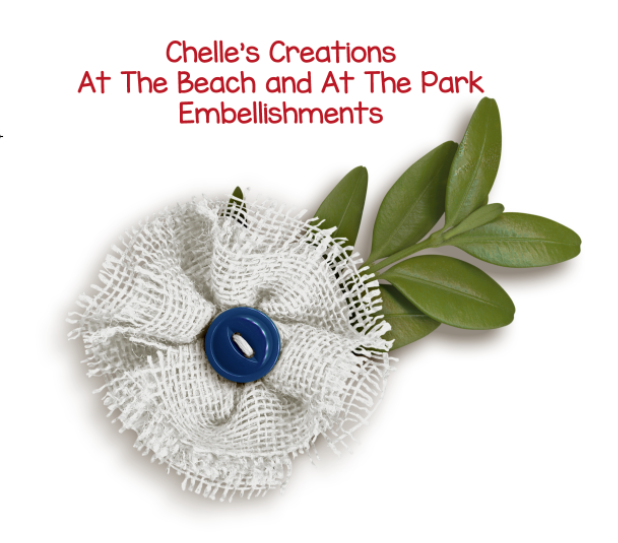
 

Flowers4


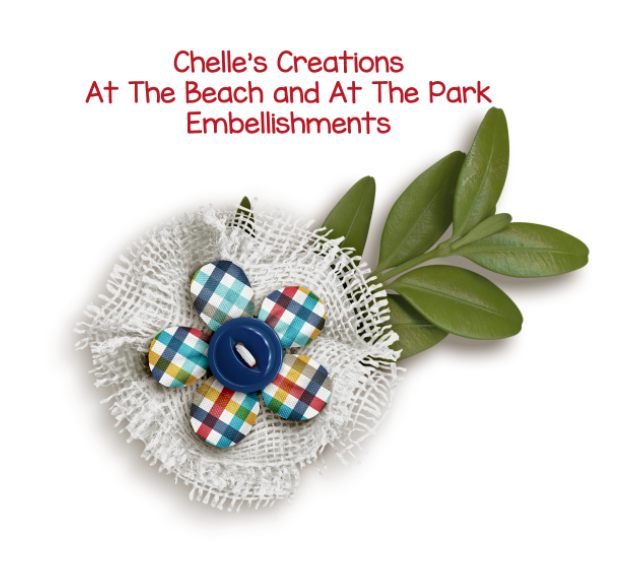
Adding that same plaid flower layer from above, just squeeze it in between the white burlap and the button. Just give it a little oomph, more than just a button.
Flowers5


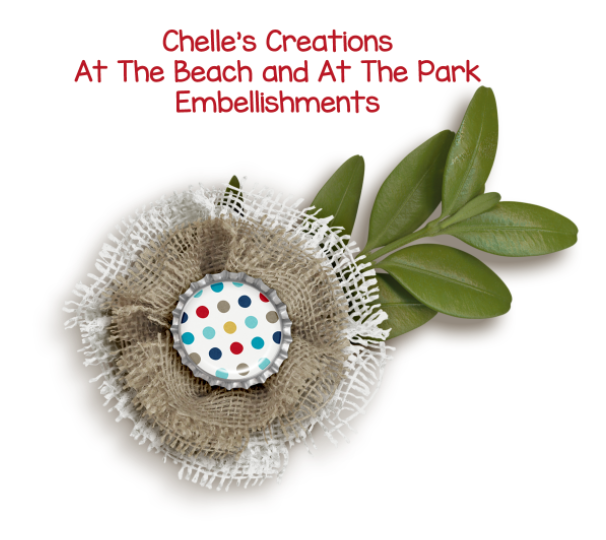
You could even layer up burlap flowers of different colors, and change out the button to a decorated bottle cap. Just remember to make the 2nd flower a bit smaller than the one in back, and add a shadow style.
 

Flowers6


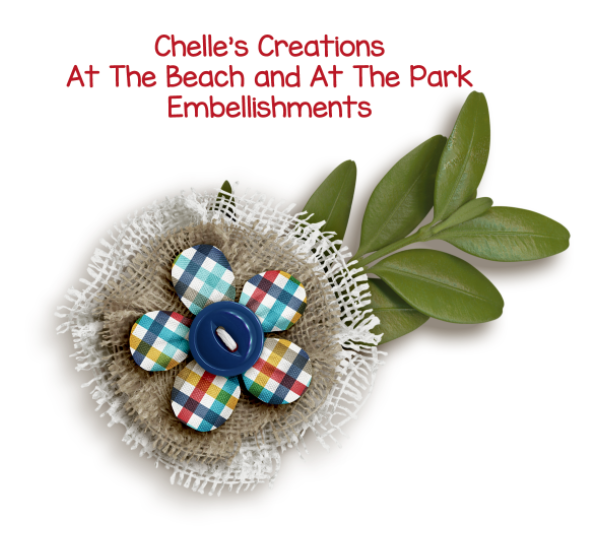
Or, mix it up by adding the 2 burlap flower layers, the fabric flower layer and the button. Making layered flowers like this has infinite possibilities. You can stretch your stash another 100 flowers.
Flowers7


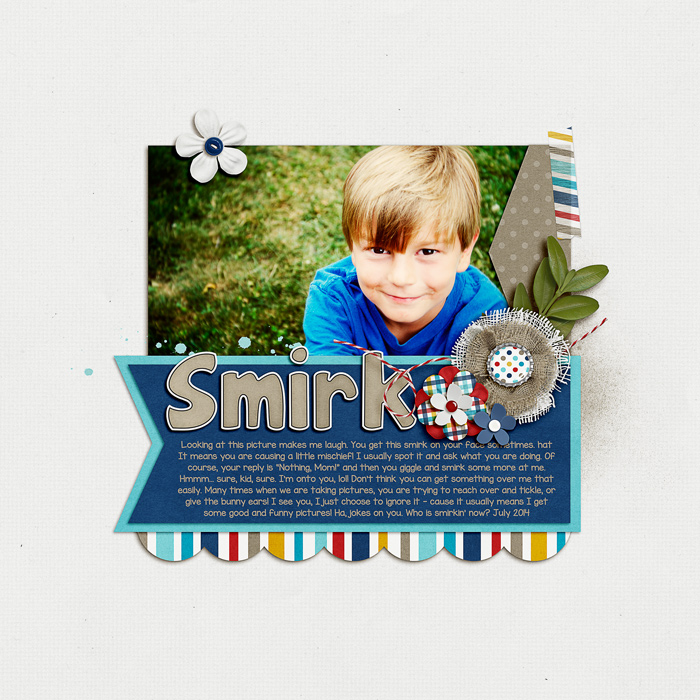
After I was done layering up and trying out all kinds of flowers, the ones above were my favorite mix. I made a layout and I LOVE it! For this layout, I also used one of Scrapping with Liz’s templates – New Year’s Templates. – which I modified a lot. Here’s my page:
SO_CC_AtBeachPark_SwlNewYrsTemps_MissKinder_SmirkJul2014_WEB


Flower Layering and Tips: 

Play and try out flowers you don’t think will work together. It might surprise you. I didn’t think the two burlap flowers above would look good, but with a little shrinkage and a twist, it came out pretty sharp looking.

Try bold patterns or shapes with classic colors. You might like the combination.

Give each layer a shadow style so that each layer of flower has some depth and definition. Shadow Styles make it look a bit more realistic. If you had flowers on your table and put them on top of one another, you would not have flat flowers. Neither should your layouts. :)

Try clustering your layered flowers. My layout above combines the flowers I made and then adds another little paper flower. It’s a boy page, but the colors and types of flowers means that it doesn’t come off as a girly page. The burlap flowers give a sturdy solid feeling.

For flowers, I work in groups of odd numbers – 1, 3, 5. Above, my layout uses 3 in a cluster, and then 1 above the photo. With you eye, you may go from the white top flower, down over the photo to the flower cluster, and then over to read the title. (At least, that is how my “eye” flows over the page, lol!)

The layered flowers adds visual interest to the layout, as well as depth and different texture. You that toward your advantage and allow those flowers to convey feelings. My page above is bright, fun, on the boyish side, and solid. I think my flowers convey that – they aren’t soft, dainty or pastel.

Try different centers for your flowers – Brads, Buttons, Beads, Coins, or any other embellishments that might fit. Even a metal asterisk from an alpha might work.


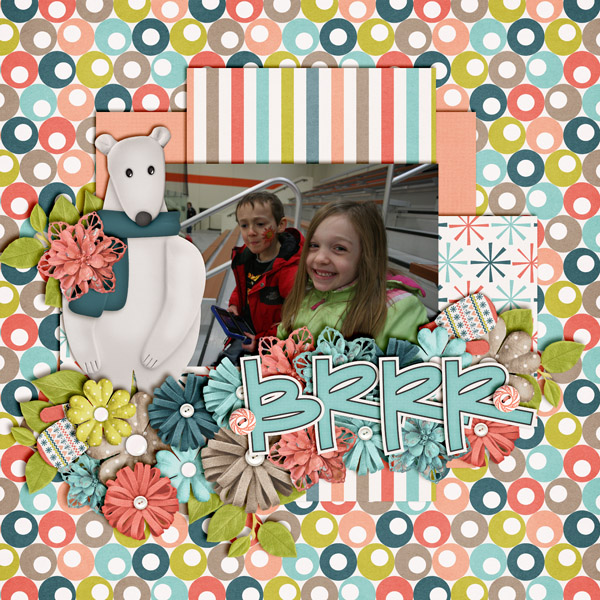
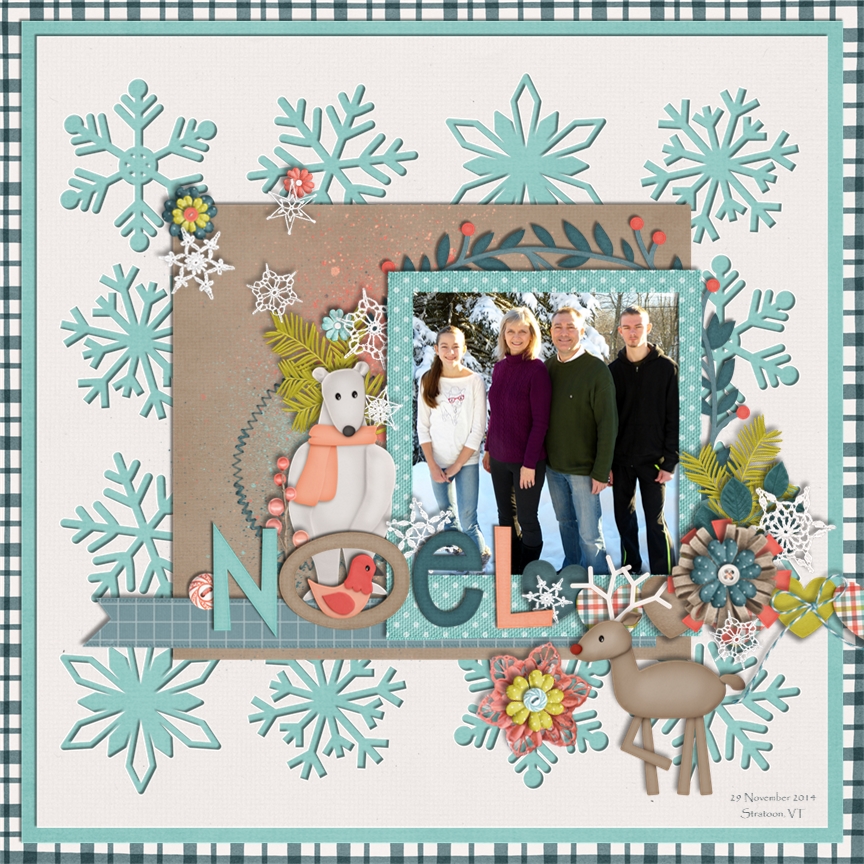
I had some lovely layouts submitted for Flower Layering and Tips post from my co-CT members. Here are their pages. What is funny is that they both picked Cozy Christmas for their pages! It must be because it’s so cold out, and everyone would love to be cozy and warm.

Jenn (jennshultz) created this  layout. She mixes up her flower layers with different types of flowers and lots of great colors – as well as adding shadow styles to give each flower it’s own depth. She also used the Cozy Christmas alpha that matches the kit. brrr-1
 

Jan (QuiltyMom) made the next chilly layouts with lots of snowflakes and flowers. Jan worked with the template by Down This Road Designs and worked the ideas into her flowers. She layered some flowers on snowflakes, and then layered more flowers on top – very clever. She alternated colors and added shadow styles. She also used CU Snowflakes for her layout. noel
There you go. Flower Layering and Tips to start off your layouts. Give it a try and I’d totally love to see what you create! Thanks for stopping by today and have fun scrapping!

by_Jenn