Hi Everyone…. it’s been a hectic week for me, and I noted the wrong date for my post this week! My apologies that I’m late! This is Jenn, jk703, chattering away, lol! We are going to take a look at some Tips: Dress Up That Font! By that, I mean to show you a few ways how you can change the font and add some texture, color or ideas which you can use on your layouts. There are oodles of things you can do, so these are just a few tips for you to try!
For my posts and images I’ve used the font called KG The Last Time, which is the chunky one, and KG Miss Kindergarten, which is the thin font noting information. The papers are from Chelle’s kit – At The Beach.
Note: Most of these Tips: Dress Up That Font! can be used with Alphas also. Make your stash go further!
Let’s start easy, and go from there. 
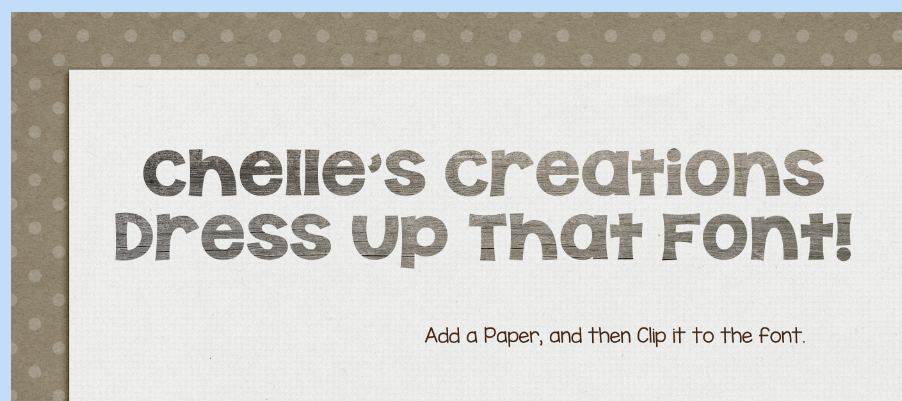
Clip a Paper.
Just put a paper above your font in the Layers Pallette. Then right click and choose Create Clipping Mask… and Viola! For this example, I clipped a wood grained paper.
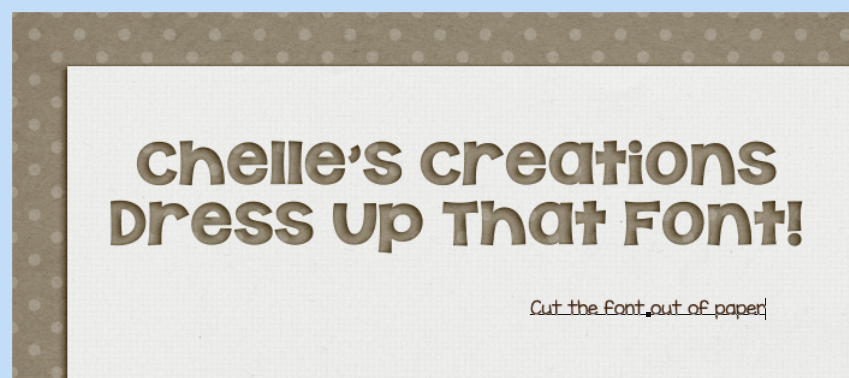
Cut It Out
For this one, Rasterize your font first. Then press the Command key, and click on the thumbnail in the Layers Palette for the words. You will get marching ants. Choose the paper in the Layers Palette that you want to cut the font out of, and then press Delete. Easy Peasy!
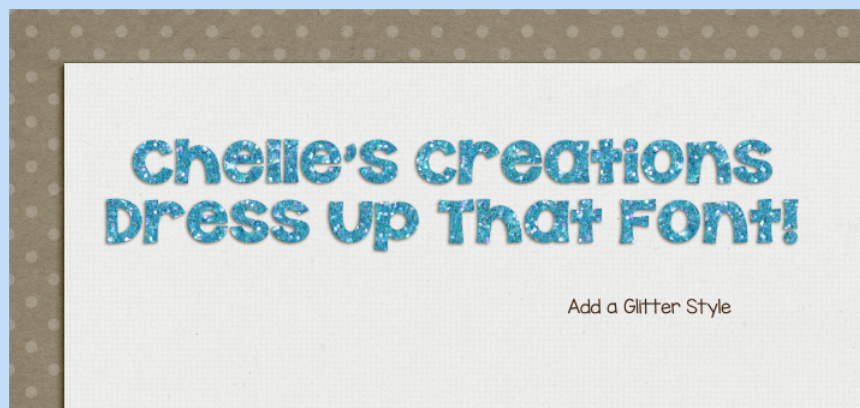
Add Some Glitter
Chelle has these cool glitter styles in the store…. CU Iridescent Glitter Styles. They are awesome, and can be added to a font just like adding a shadow or any other style. Cool, right?!
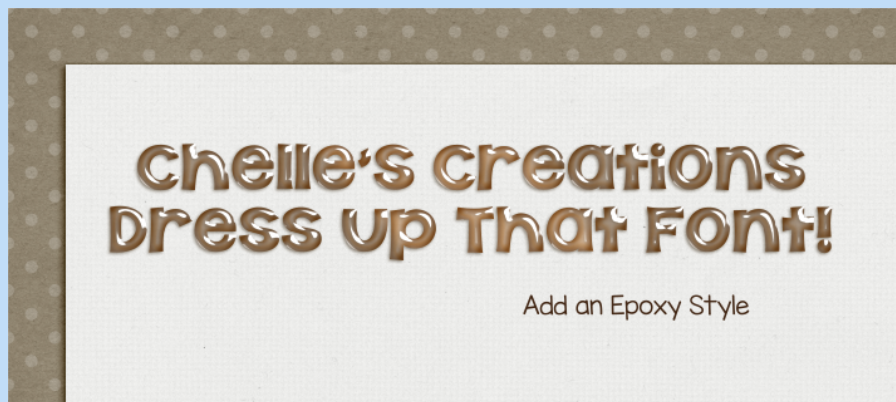
Epoxy Style
Chelle has another style that can be used with fonts.. CU Transparent Epoxy Styles {primary}. Another quick click and you’ve added some fun to that font!
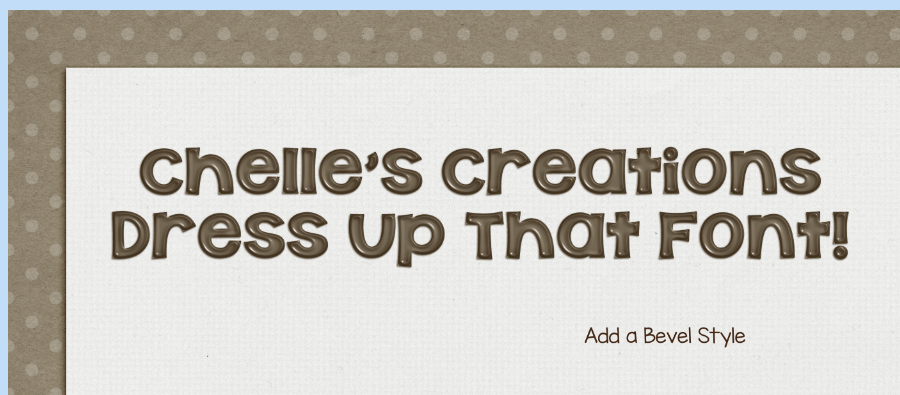
Add a Bevel Style
Bevels can be fun, and you just have to play with the Structure and Shading options to find the look that you are going for. Adding a Contour can change the shape, and how bumpy the font may look. This option can be found by double clicking on the font layer, and clicking on the Bevel and Emboss options, with a sub category of Contour and Texture. There is so much that you can play with here!
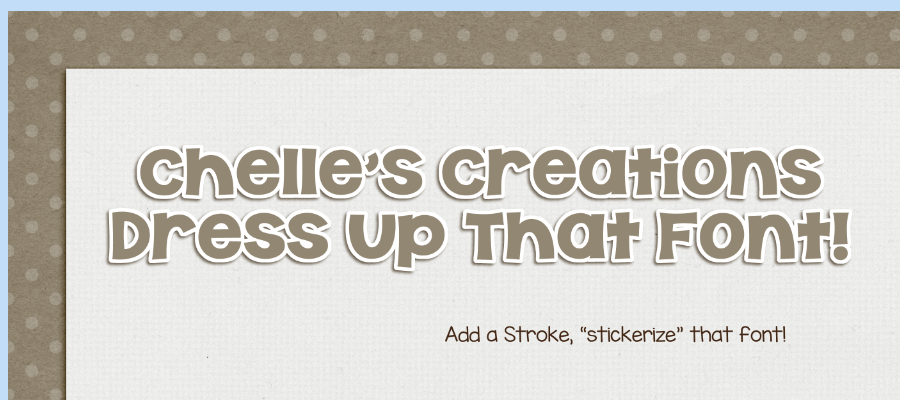
Add a Stroke, “Stickerize”
This is a simple and fun idea to add some oomph to your fonts. Press D to have your foreground and background colors revert to the default. Just have your font selected in the Layers Palette, and then rasterize it. Then press the Command key, and click on the thumbnail in the Layers Palette for the words to get the marching ants. In the Menu Bar, choose Select > Modify > Expand, and choose a thickness for the white part of your “sticker.” Create a layer below the font, and the press Command and Delete. Your new layer should have a white filled in copy of the word… and the colored part on top, so it now looks like a sticker.
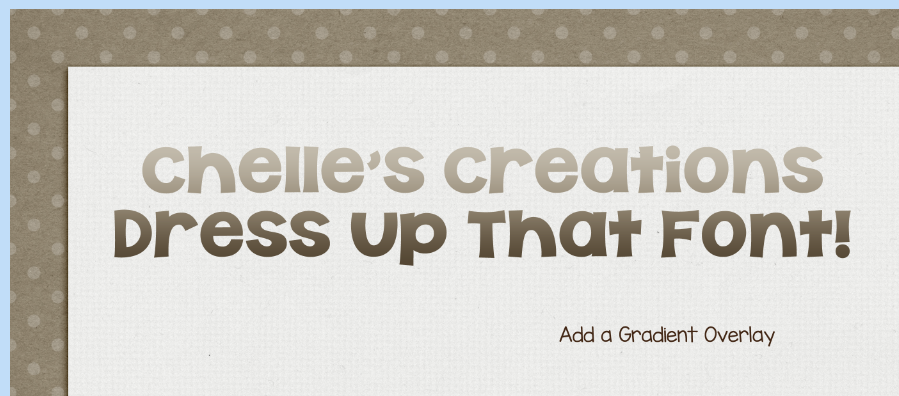
Add a Gradient Overlay
Another easy one… but with a must do step! First, rasterize your text. Then double click on the layer in the Layers Palette. Click on Gradient Overlay… and then you must try out and find a Blend Mode that looks right with your font/color. This step is important or your gradient will be the stock color that you chose first, most lily black and white.
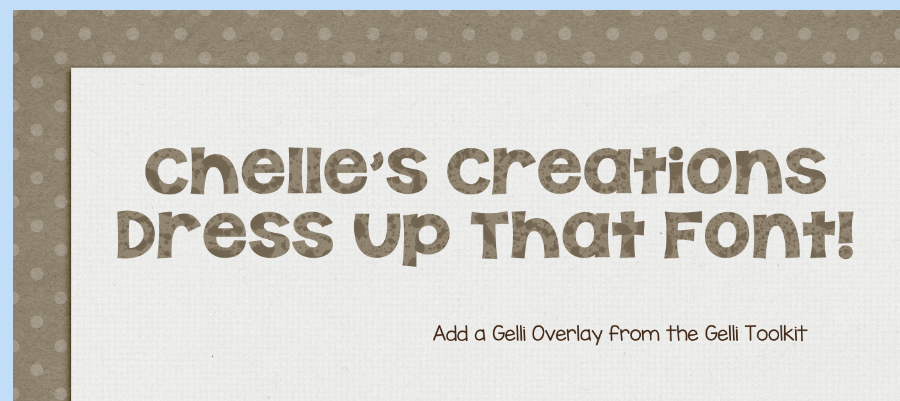
Use the Gelli Tool Kit
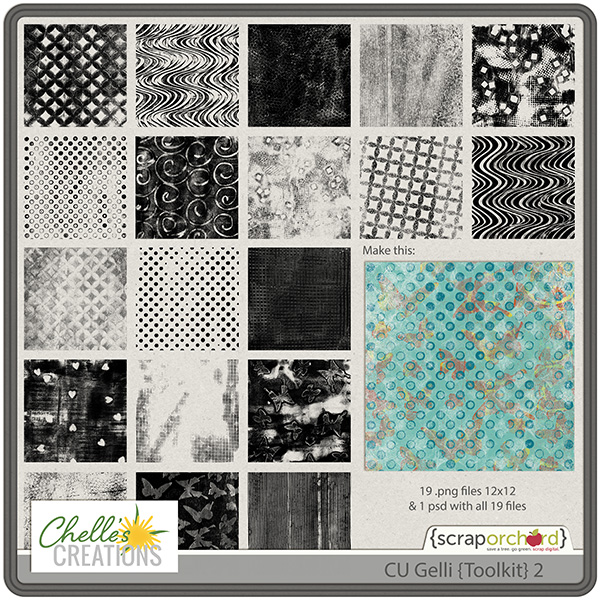
Chelle has these amazing and versatile tooklits in the shop – CU Gelli Toolkit! For this, I used one of the overlays and clipped it to the font. After clipping, I changed the Blend Mode of the overlay. This one looks speckled. The toolkit has so many different patterns and you can mix and match them. So many possibilities!
How about that for Dress Up? I love fonts, and this just gives me more reason to use them and add some fun to them for my layouts! Hope you’ve gotten some ideas for your favorite font! We’d love to see them in the ScrapPin gallery too! Here is what the CT made:
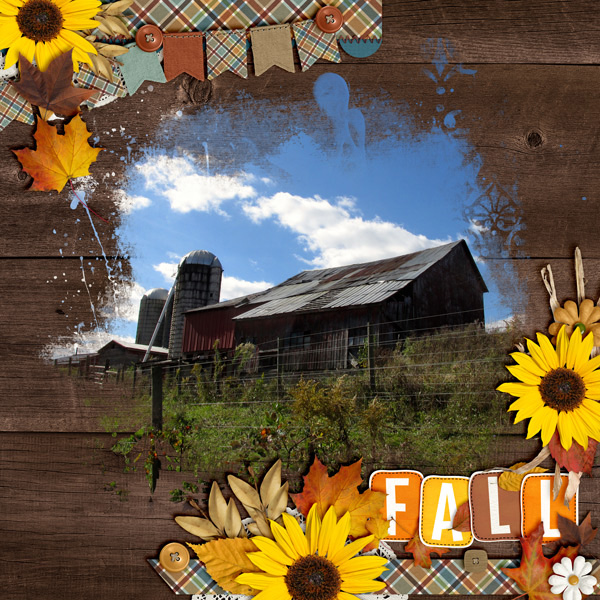
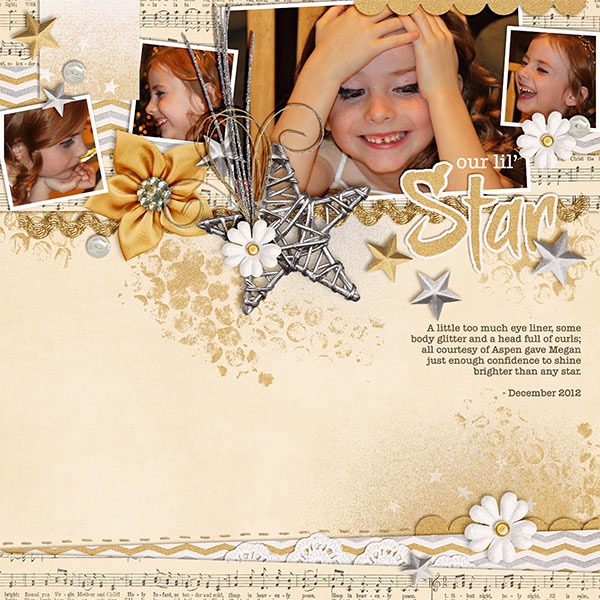
Karen, (zippoh), created this wonderful layout. She gave me directions as to how she dressed up her font in PSE 11! She said she added the title with the text tool, using WM[squared] font Wendy Fancy. She set the color of the text to brown to match the brown in the kit. After she typed the word, she right-clicked on the text layer in the layer palette and selected “simplify layer.” After that, she then went to Edit > stroke (outline) selection and my settings were as follows:
Width: 6px
Color: She picked a cream color
Location: outside
Blend Mode: normal
Opacity: 100%
Leave “preserve transparency” box unchecked.
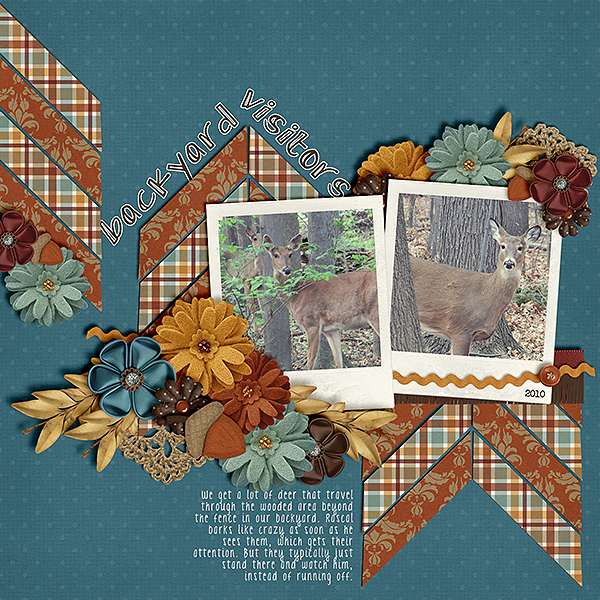
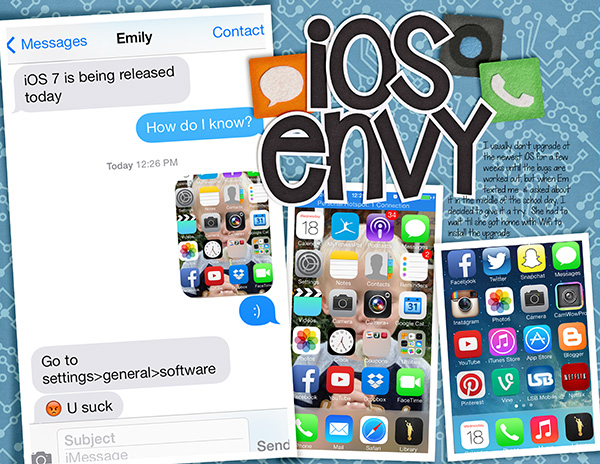
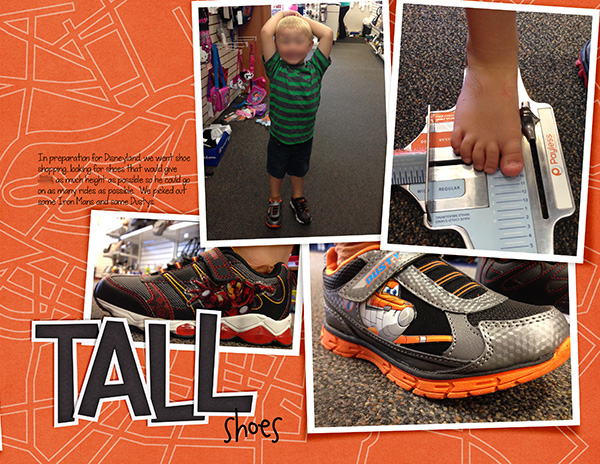
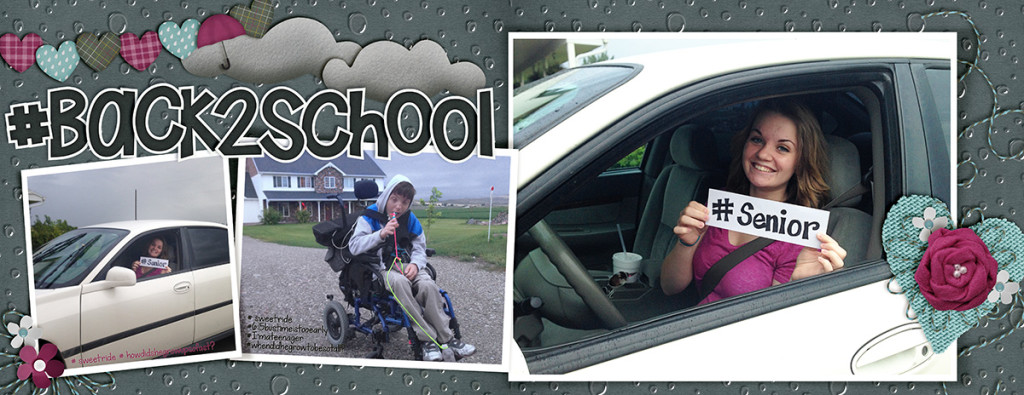
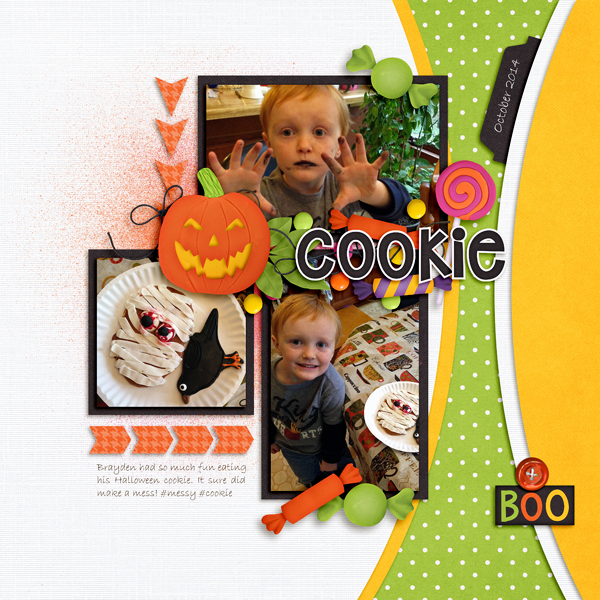
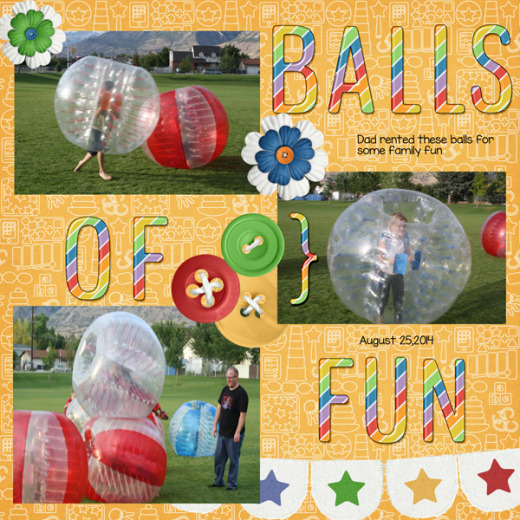
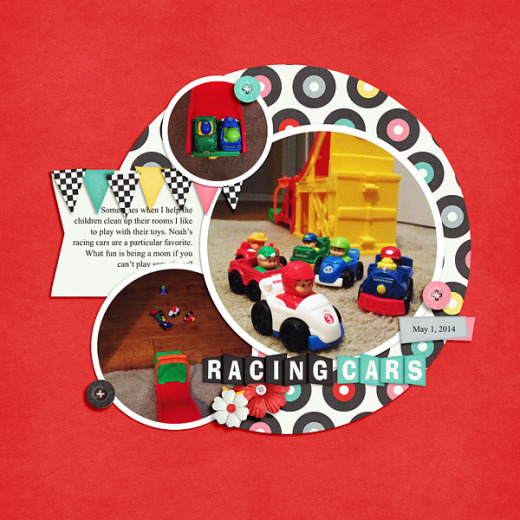
Jennifer, jmljensen, created her layouts and has a super fun title, and dressed up her font! She used Batter Up, Chunk Five font, clipped a paper to it and applied a chipboard style. Then she added the baseball to replace to letter O.

Super easy, and fun ways to dress up your font! Hope you enjoyed the post! Have a great week and thanks for visiting.









 Hi! I'm Chelle: a 40 something mom of 7. My husband & I live in a rural community in the rocky mountains with our 4 children still at home. In the winters we enjoy sledding & snuggling by the fire. I the cool fall evenings we love relaxing around the campfire & meeting friends at the county fair. Admiring the stars


