4.24 Tutorial: Using Curves

Hi Everyone! It’s Jenn, jk703, here again for our bi-monthly date! :) Today, we are going to have a little  fun with my Tutorial: Using Curves! Curves are a great way to transform your photos and do it non-destructively. Each adjustment is on it’s own layer and doesn’t affect the original photo. Curves allow you to control tones, colors, contrast, and so much more. Here are some detailed images that will help with understanding what curves can do for you. :) All you have to do it copy the curves that you see in my layer/adjustment box, and you should have a similar effect. Some of the pictures don’t look great with the adjustments, but I’m trying to get across more of what each can do. Hope that helps!

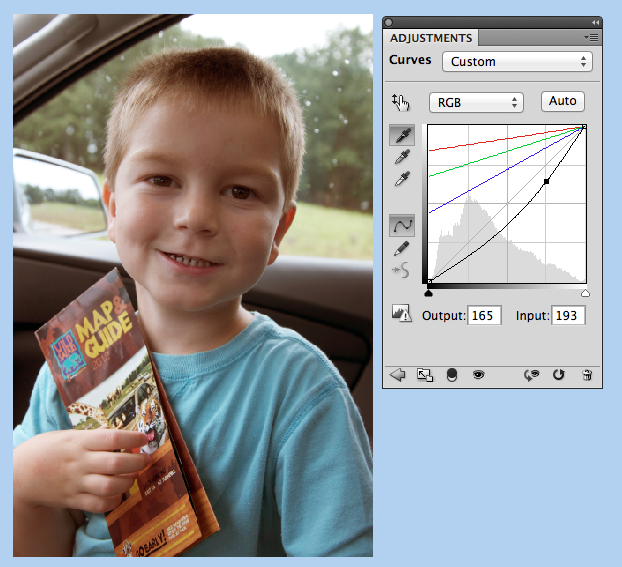
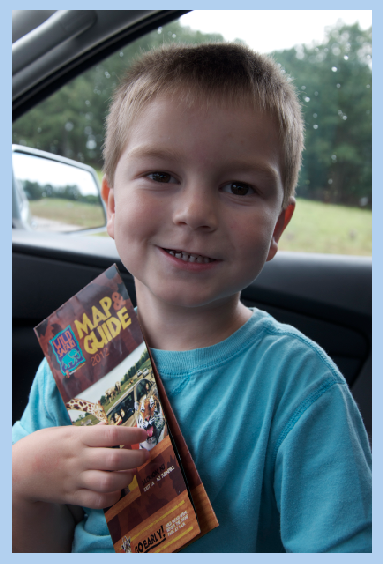
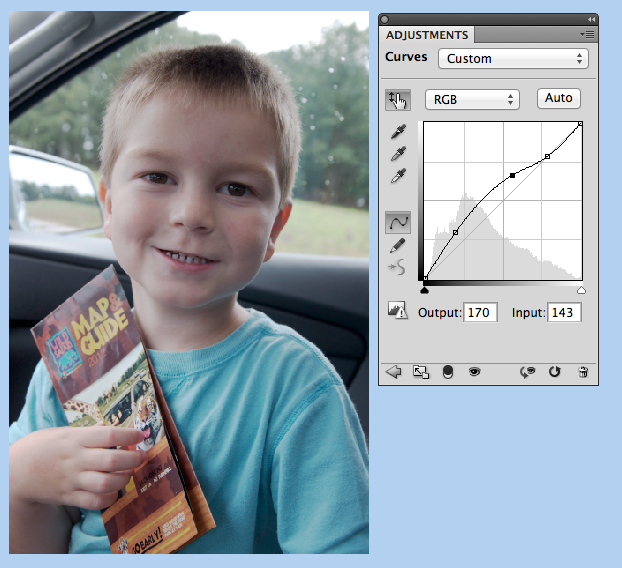
First, here is my original picture.
Curves

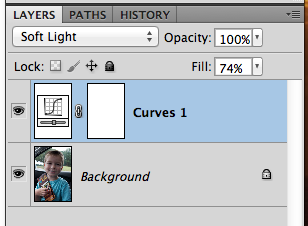
Now, before you actually start. After each and every one of these adjustments, you can tweak everything, and even change the blend modes so they work for your photo. All you have to do is click over to the Layers Palette, choose the adjustment layer and change the opacity and the blend mode. 

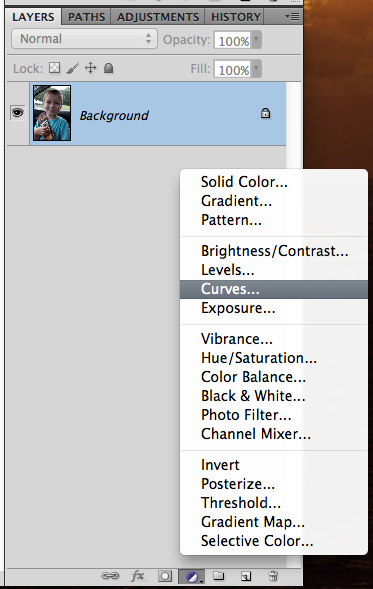
Next, to easily add an adjustment layer, click on the Black and White Cookie on the bottom of the Layers Palette. It’s the small circle that is half black and grey. Choose Curves.

I use Photoshop CS5, and know it works in that software. Melissa (prettypeaches) said that for Photoshop Elements, you have to follow a different route.

PSE Users: For PSE people to adjust curves: Go to Enhance → Adjust Color → Adjust Color Curves.

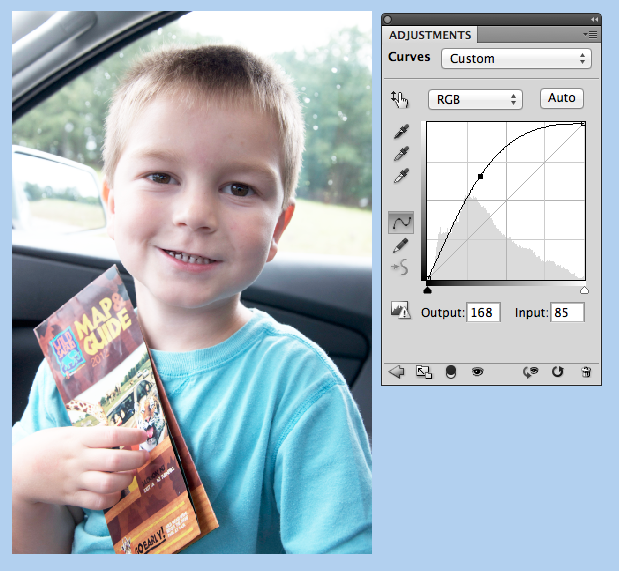
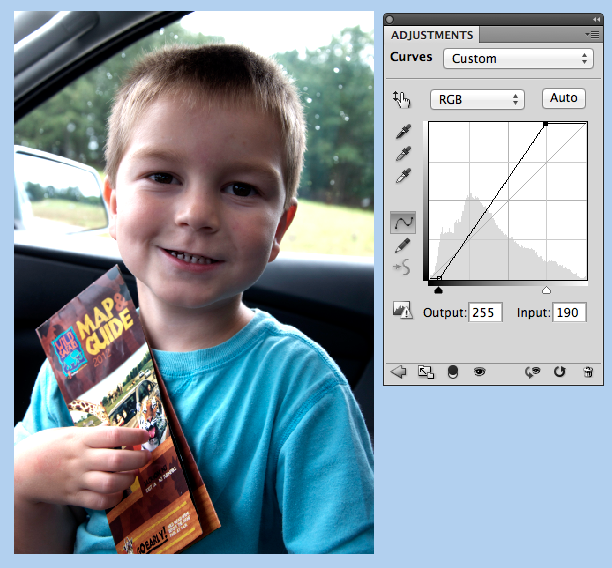
Curves1

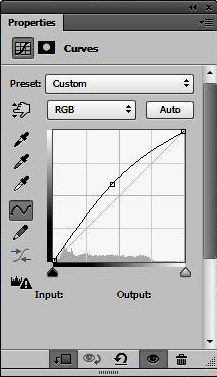
Click and drag the curve upwards to lighten the photo.

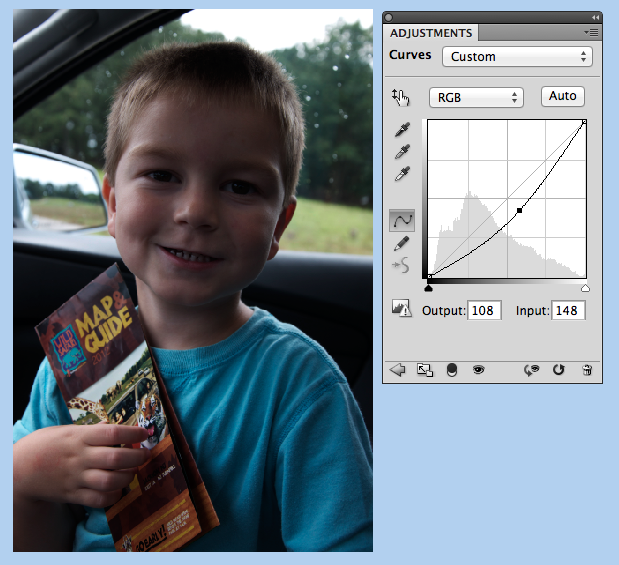
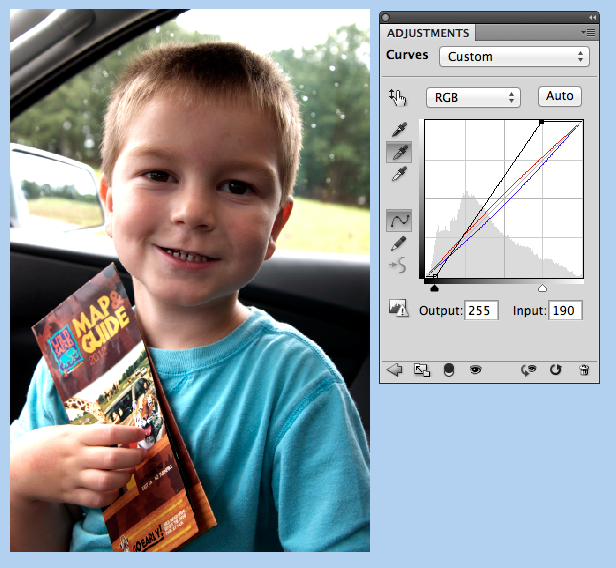
Curves2


Click and drag the curve down to darken the photo.


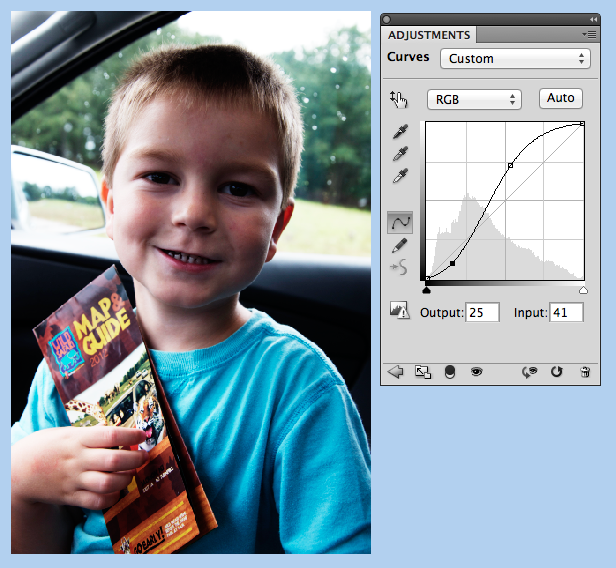
Curves3

Click and drag the curve to make an S shape and you will be adjusting the contrast of the photo.

Curves4

You can change the black and white points on the image, just by sliding the little triangles on the bottom of the graph.

Curves6

By clicking on the middle eyedropper, and clicking on a spot that should be grey in the photo, you can change the color cast. I clicked on part of the door, and it warmed my image up nicely. (When proofing this, I didn’t realize that I had created a second layer adjustment – see the black and white points? – they are the settings from the previous example.)

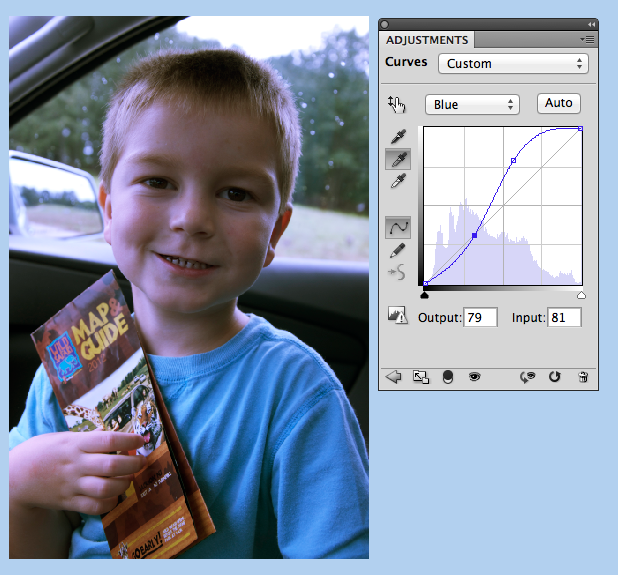
Curves7

You can also use Curves to change a specific color. Click on RGB, and choose one of the colors: Red, Green, Blue. Then just adjust to your liking.

Curves8

You can make changes by using the image as well. Click on the hand icon, and then click on your picture to change the curves.

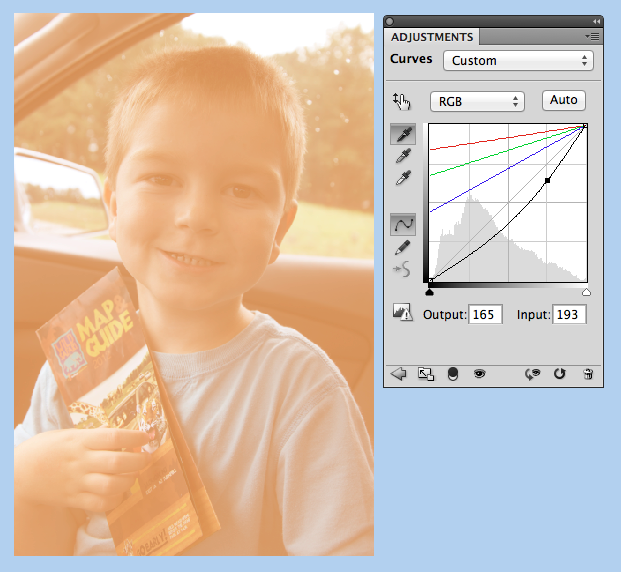
Curves9

You can also add color casts by using the eyedroppers. I used the top one, and chose an orangish color. It turned my image bright orange, lol! But, don’t worry – remember you can fix the adjustment layer!

Curves9b

Here’s how. I have an orange picture! Now what!?

Curves9c

All you have to do is click to the Adjustment Layer, and use the Opacity and Blend Modes. This step can be done for each and every example above, but this specific one shows just how much this step can change the curves adjustment.

Curves9d

The final look for the color cast adjustment.

Curves9e


Here are some tips when using curves:

  • Use Curves because they are non-destructive to the original photo.
  • If you click on the finger, you can make your adjustments right on/in the photo and not use the chart.
  • Once you finish an adjustment, you can double click on it and make additional adjustments.
  • Curves can be found in two other ways – Image > Adjustments > Curves, or Layer > New Adjustment Layer > Curves.
  • Once you click on a spot in the chart, you can use your arrow keys (up, down, left, right) for specific and very precise adjustments.
  • You can have as many adjustment layers as you want. Create a layer for each change that you made.

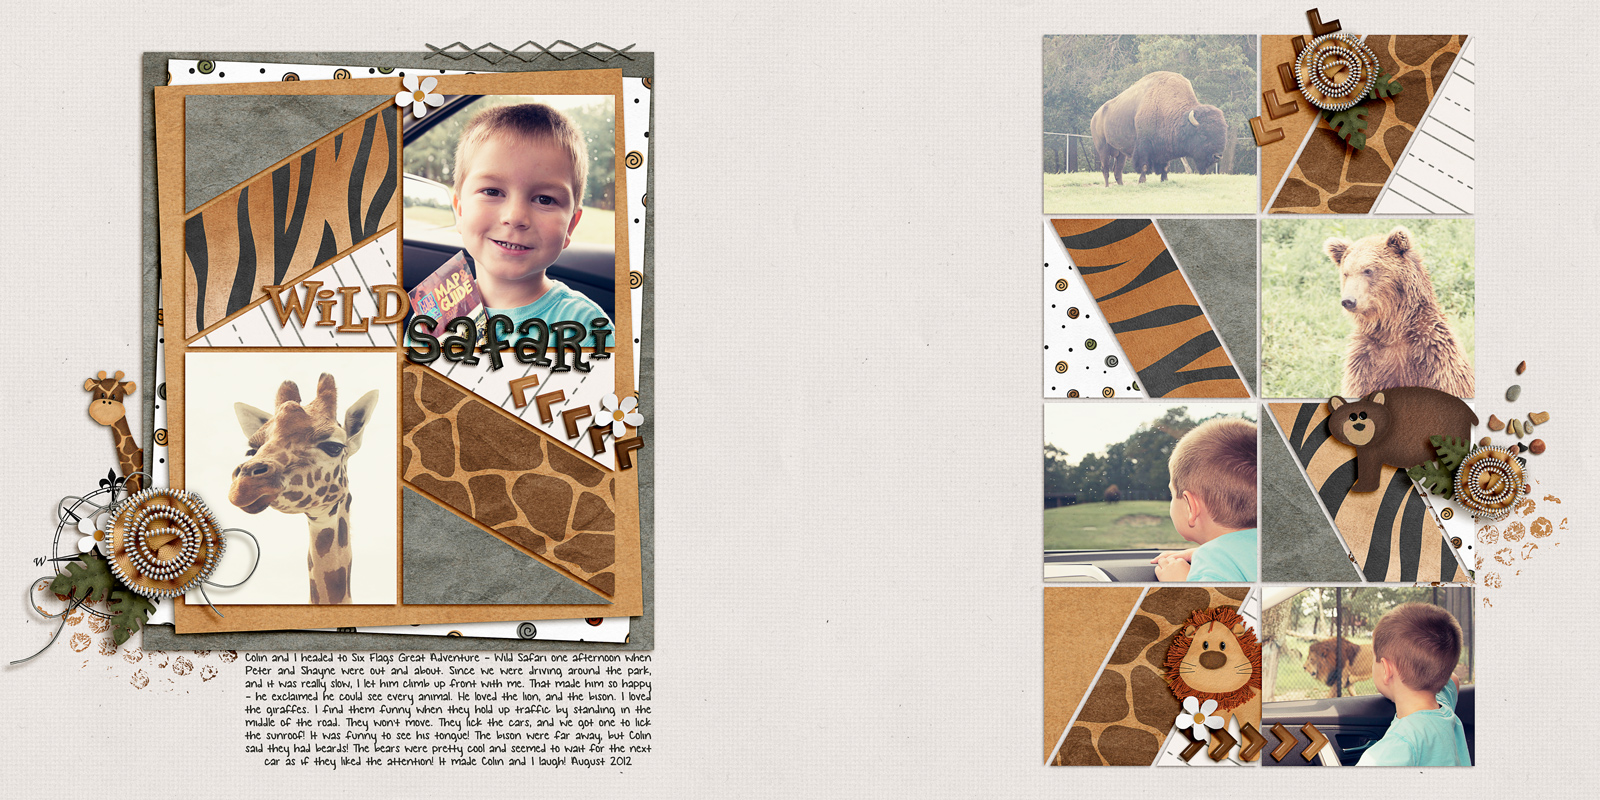
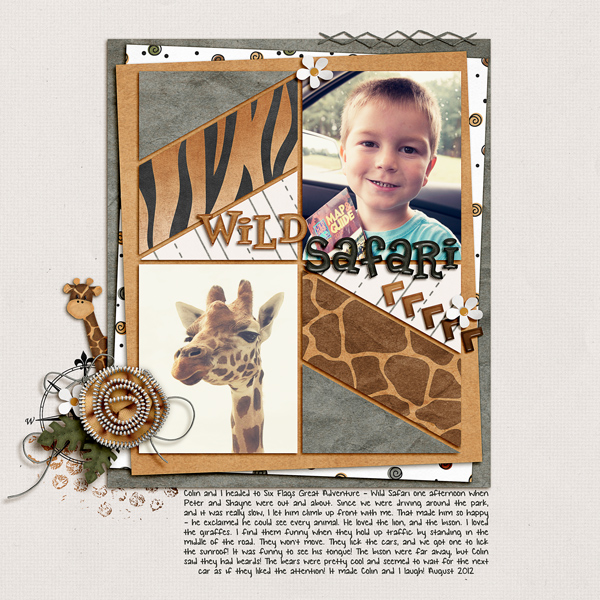
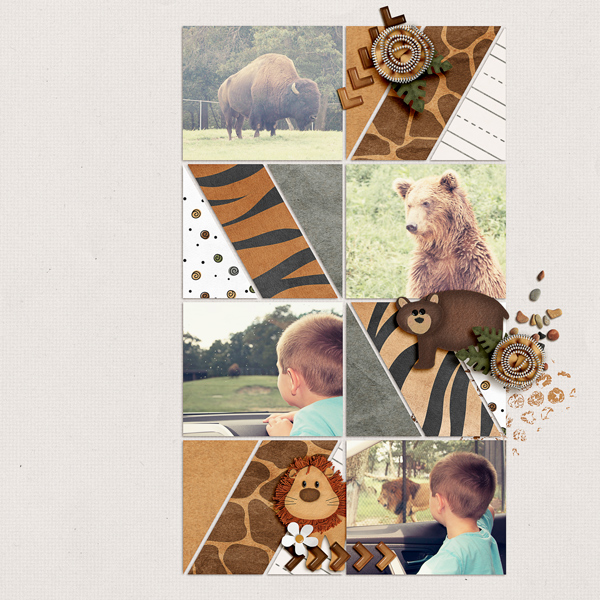
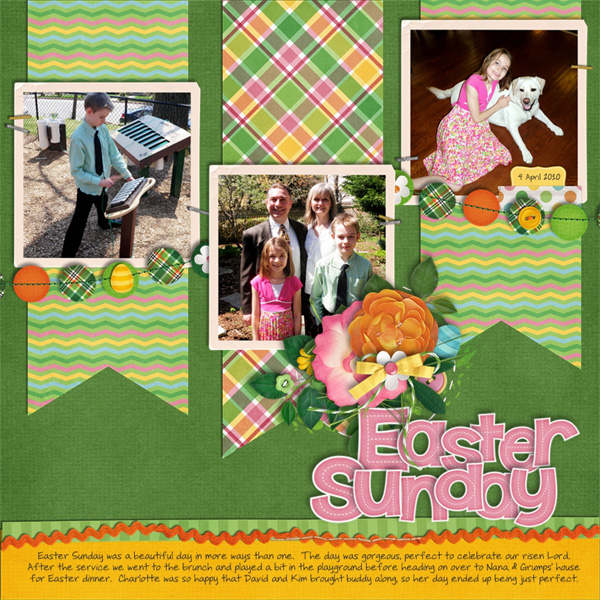
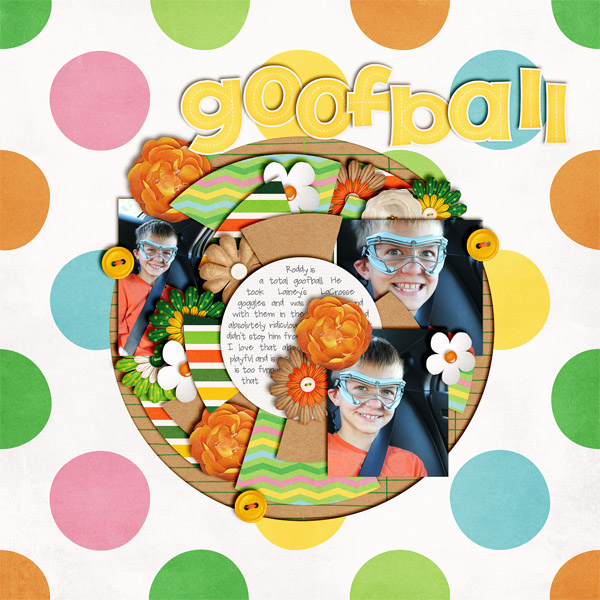
Here are my layouts. I used the same picture, just had multiple adjustment layers. (Lighter, Contrast, Color). Kits used: Toil and Trouble, Zoopendous, and On The Trail.

SO_CC_ToilTrb_OnTrl_Zoopnd_Swl_Triangle_KGSmTwnSthnGrl_ColinSafariAug2012_WEBDbl

SO_CC_ToilTrb_OnTrl_Zoopnd_Swl_Triangle_KGSmTwnSthnGrl_ColinSafariAug2012_WEBLft

SO_CC_ToilTrb_OnTrl_Zoopnd_Swl_Triangle_KGSmTwnSthnGrl_ColinSafariAug2012_WEBRght


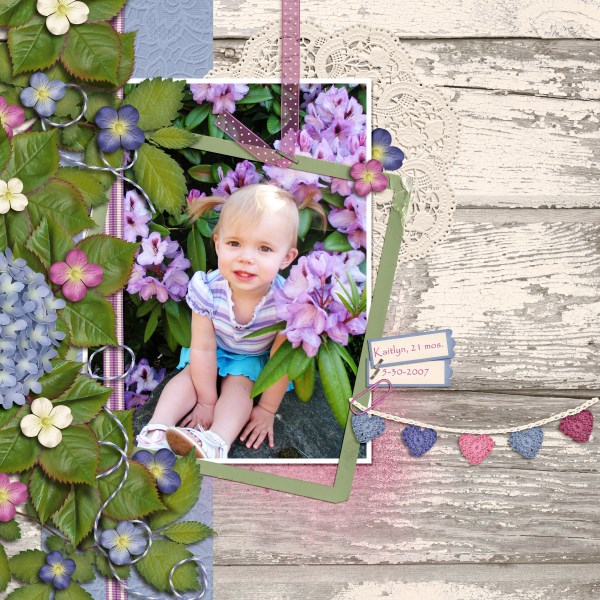
Lisa (kelseyll) gave this wonderful example, and had this to say:

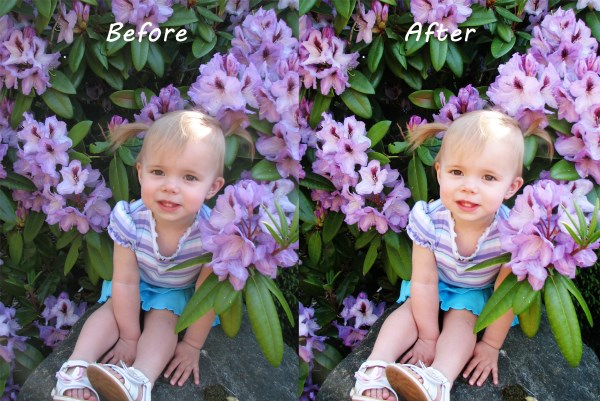
“I added 2 curves layers. For the first layer I clicked on the eye dropper that adjusts white and clicked on her sandal and changed the blending mode to soft light. That helped brighten up the colors in my picture. Then I added another curves layer and dragged the curve up a bit to lighten the photo. This one I left on “normal” for blending mode. The original picture had a muted tone and was a bit dark for the kit colors so using curves was a quick and simple fix to warm up her skin color and to get my tones to be more in line with the kit I chose which was Fleur de Violette.”  Lisa uses Photoshop CS5.
4-15CurvesAssignmentexample600x401
Here’s my final layout:

4-15FleurdeViolette600x600


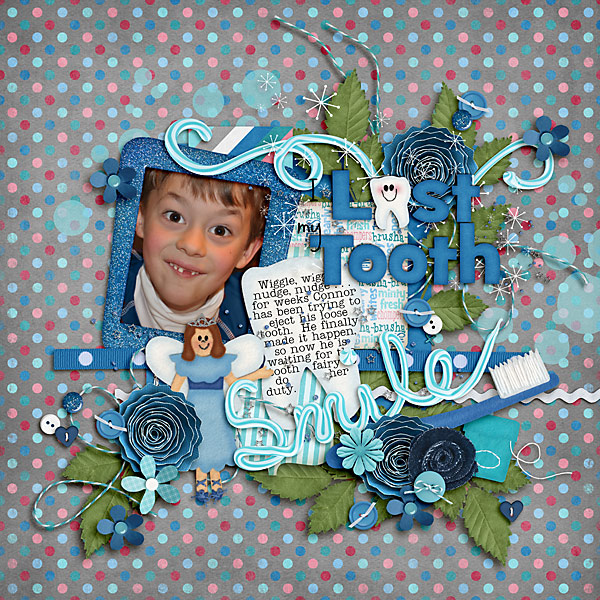
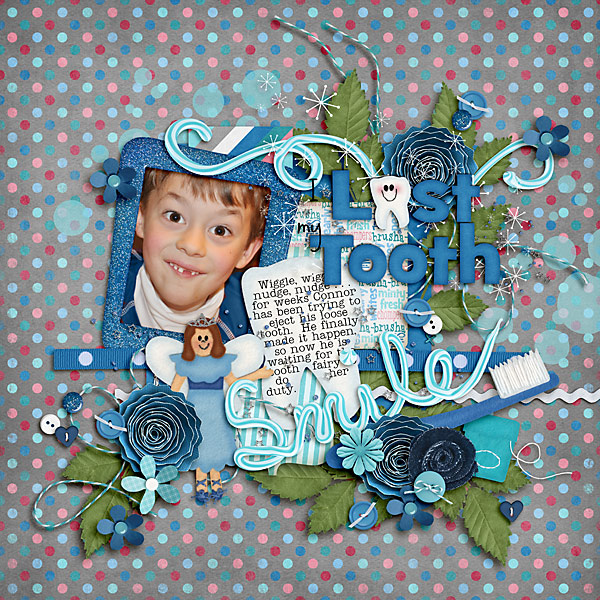
Carol (iowan) made this lovely layout, and here is the before and after.  She used Pearly Whites and Love Grows.

No Curve

Lost-tooth-Connor-2014-no-curve_zps7caee651


Actual Curve Setting

curves_zpsfac4d3c2

Curve

Lost-tooth-Connor-2014-withcurve_zps79ec9325


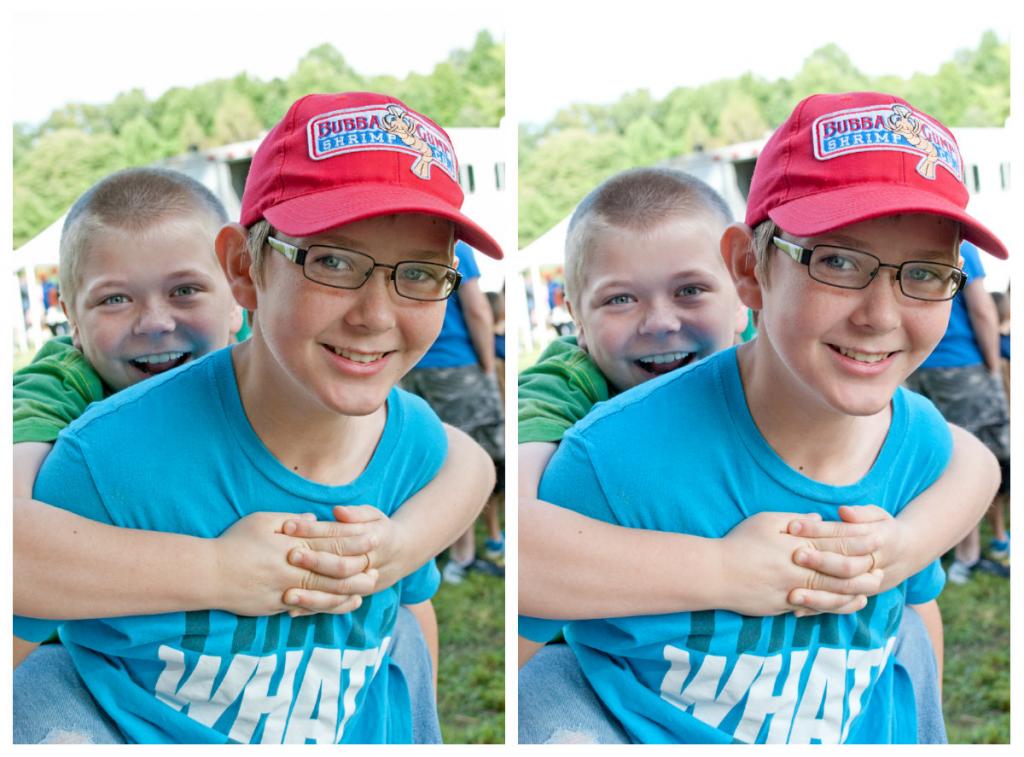
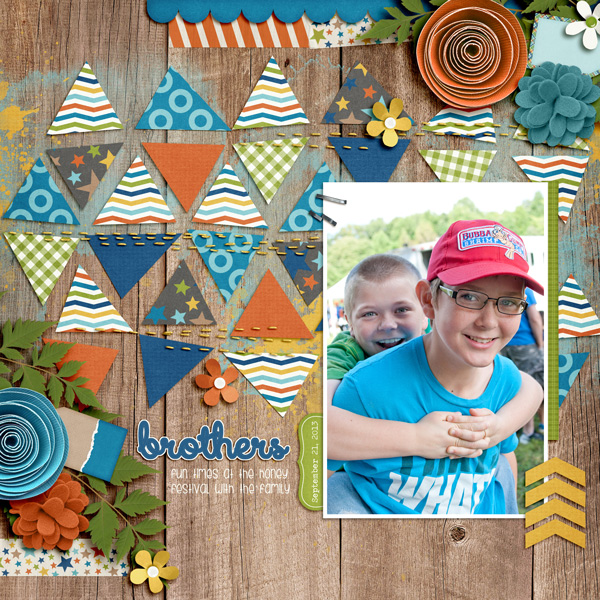
Jen (supergirljennie) used used About a Boy, CU Felt Flowers 2, and Fiddle Dee Dee’s What’s Your Angle 2 to make her page. Looks fantastic!

collage_zps3cfcd630

brothers_zps59ddcab1

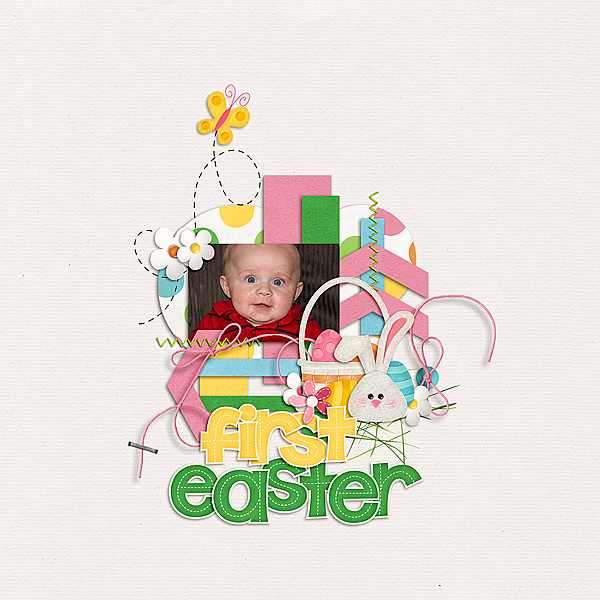
Melissa (prettypeaches) created a before and after set. She said ” I went to enhance, adjusted colour, then adjusted colour curves. I used the default settings, and I first increased the contrast and saved. I then darken the highlights and saved. I liked the effect the contrast gave to the background, but it made my lil guy bright, so by darken the highlights it made his face more natural looking again.” She used Hippity Hop Hop & Leafy Treetop.

Before photo and layout:

Before

Before cc_hippityhophop_ppr_white_zps2a48a173

After photo and layout:

After

After cc_hippityhophop_ppr_whitee_zps1b6126ee

Give it a whirl! I hope this tutorial about using curves was a little helpful. You might be surprised how easy playing with curves is to make your picture pop! Have fun and thanks for visiting!

by_Jenn


4.24 Tutorial: Using Curves
Words on Wednesday: TV Shows | Digital Scrapbooking Words

Hi Everyone!

One of the things I love the most about digital scrapbooking is the ability to add images from anywhere. Do you digi scrap your favorite TV Shows? I think it’s a really fun idea. My favorite’s are Dancing With The Stars, Law & Order: SVU, The Big Bank Theory, & Chicago Fire. How would you scrap your favs? In a list? Using the show’s logo? Maybe a photo of your favorite actor? Favorite episode(s)? Maybe by genre? Tell me what you think. Post a comment and let me know. Here are some ideas from our Creative Team. (The product images are linked up for you.)

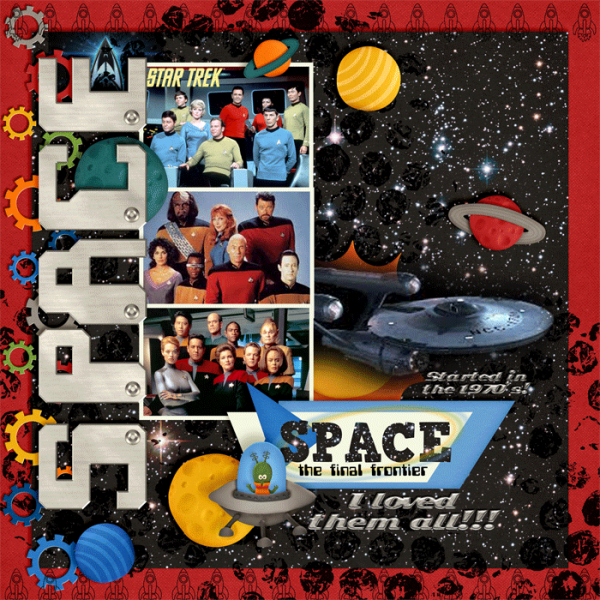
Leah used Out of this World as a backdrop for her favorite, Star Trek.

Leah

cc_outofthisworld_bundle

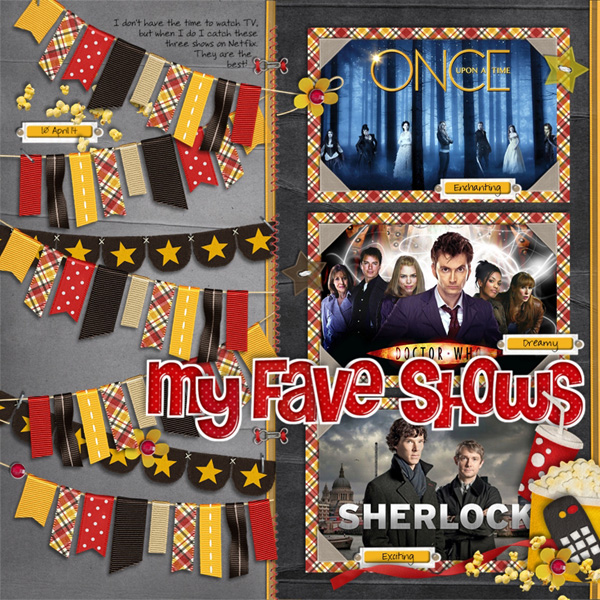
Jan jumped across the pond to the UK to pick up Sherlock Holmes, Doctor Who, & back to the U.S. for Once Upon A Time.

Jan600

She used Now Showing Banners & Felties, Rainbow Collection & Batter Up.

cc_nowshowing_banners      cc_nowshowing_felties     cc_rainbowcollection_bundle      cc_batterup_bundle

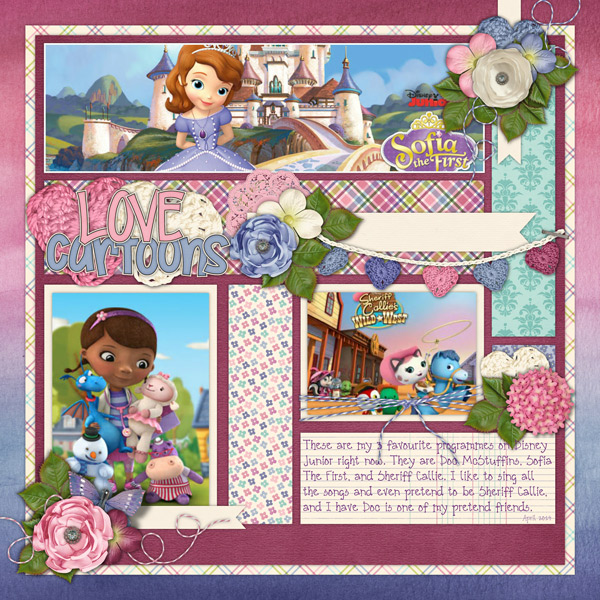
Our third layout comes to us from Helen. She tells us what her daughter’s favorite tv shows are on Disney Jr. Doc McStuffins, Sophia the First, & Sheriff Callie.

Helen

She used Fleur De Violette.

cc_fleurdeviolette_bundle-01

I’ll be watching in the SO Forum to see what your Fav’s are!

Classics: Toadally

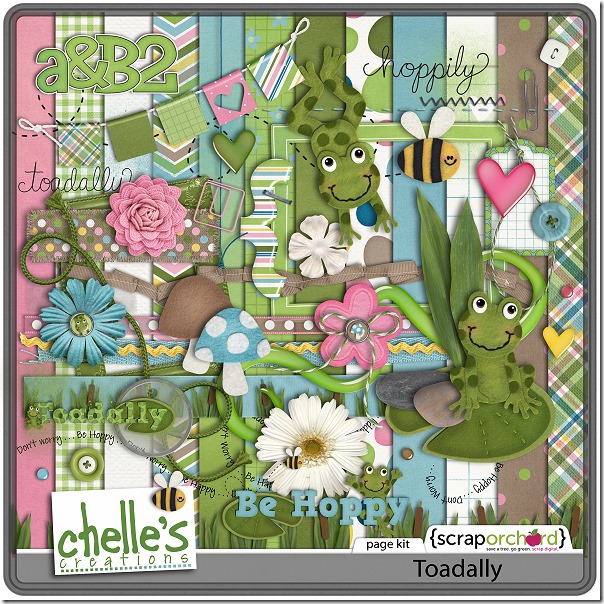
I’m toadally into spring weather right now, and Chelle’s Creations has the perfect digital scrapbooking kit for my pictures! It’s called Toadally, of course. But, it’s a great kit for anything and everything – hobbies, friends, family – you’re toadally into. Winking smile  Chelle’s talented friends have been playing with Toadally and the coordinating Add-on (which are combined with the doodles in the Bundle – don’t miss that bargain!). Let’s see what they’ve made for us.

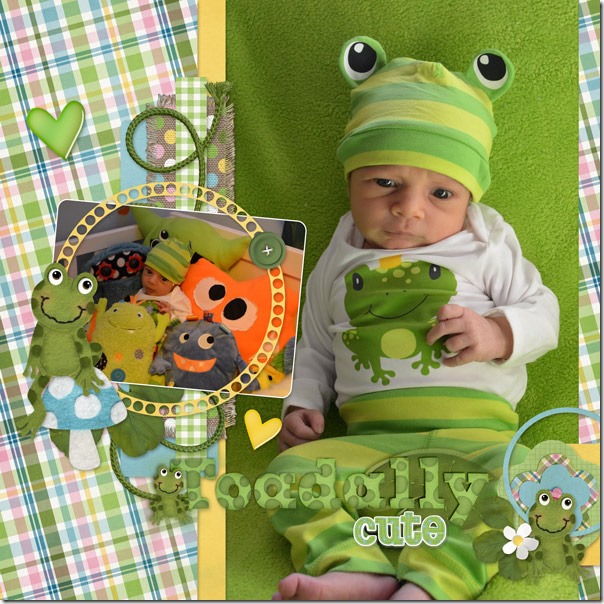
First, Donna has a nephew who is toadally cute in his little frog outfit that toadally matches Chelle’s kit! Look at the frog eyes on that little hat – so cute! I love the little frog on the toadstool accenting her smaller photo, too.DonnaToadally

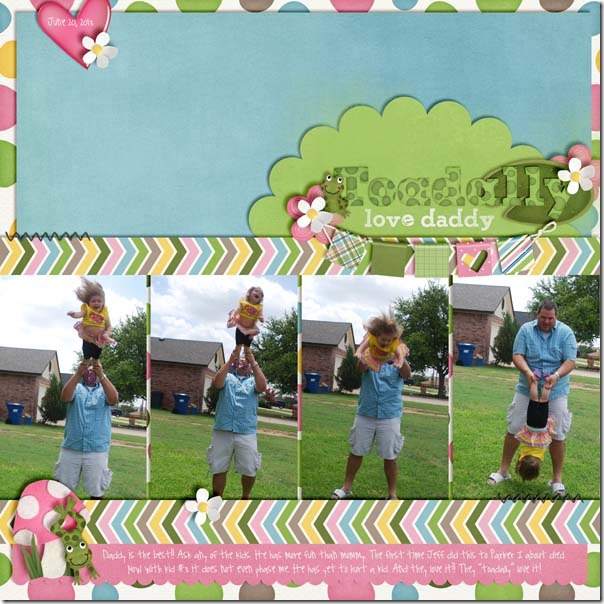
Next, Heather had a sequence of photos of her little girl being tossed about playfully by her daddy and loving it.  I love the way she used the banner to mark the title, and the little frog jumping off the pink toadstool is a perfect match for the theme of her photos. HeatherToadally

Finally, Krista had more calm pictures for her page. Her title says it all, and the cute grins on the little felt frogs are an adorable pairing for her perfectly peaceful baby photos. Toadally_Krista

Take a closer look at the kits in the store. They will be a wonderful addition to your stash if you don’t have them already. cc_toadally_kitcc_toadally_ao_kitcc_toadally_ddlcc_toadally_bundle_preview

by_Cheryl

Chelle Scraps | Digital Scrapbooking Ideas & Inspiration

Here are some of Chelle’s latest digital scrapbooking layouts. Take a look.

11_10_04_jakeinroom_2post_blurred

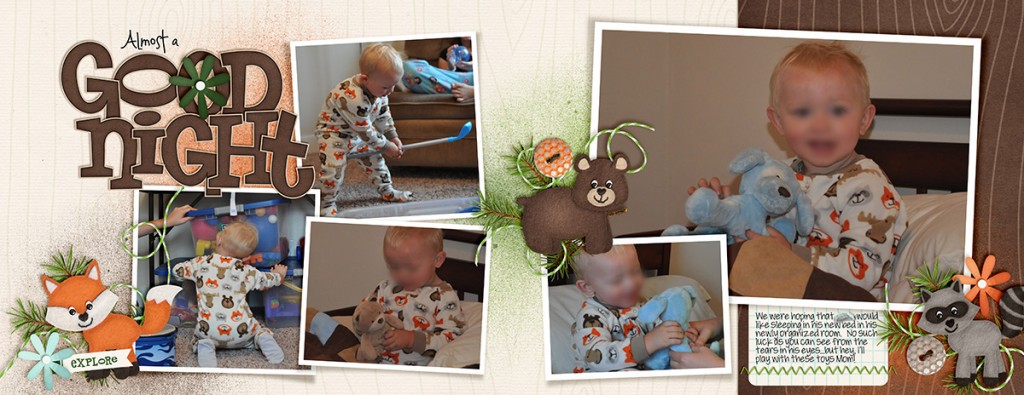
Chelle used Curled Frames, In the Forest & In the Forest Alpha. Click on the image for more details.

cc_curledframes      In the Forest      In the Forest Alpha

11_12_18_giggle_2post_blurred

Chelle used Curled Frames & Techno Love

cc_curledframes     cc_technolove_bundle.jpg

12_06_19_waterfight1_2post_blurred

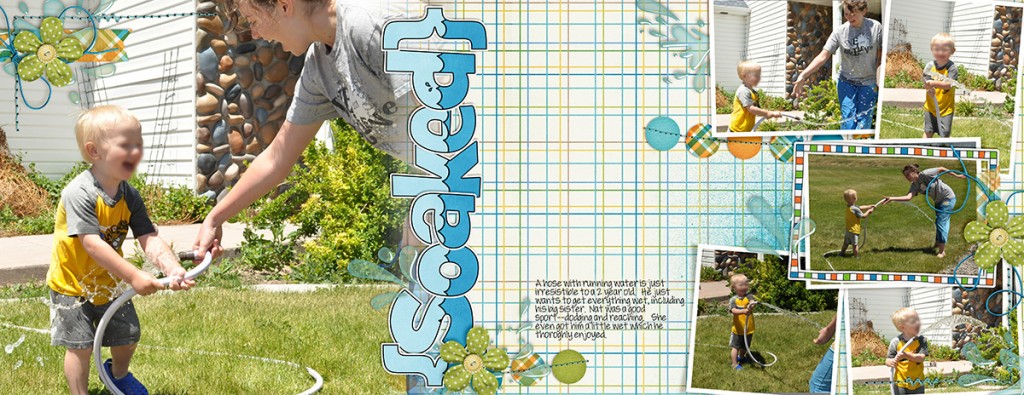
This layout was from Scrap Twister. She used Curled Frames, Soaked Alpha, In the Pool & Bluebird on my Shoulder

cc_curledframes     cc_soaked      In the Pool      cc_bluebird

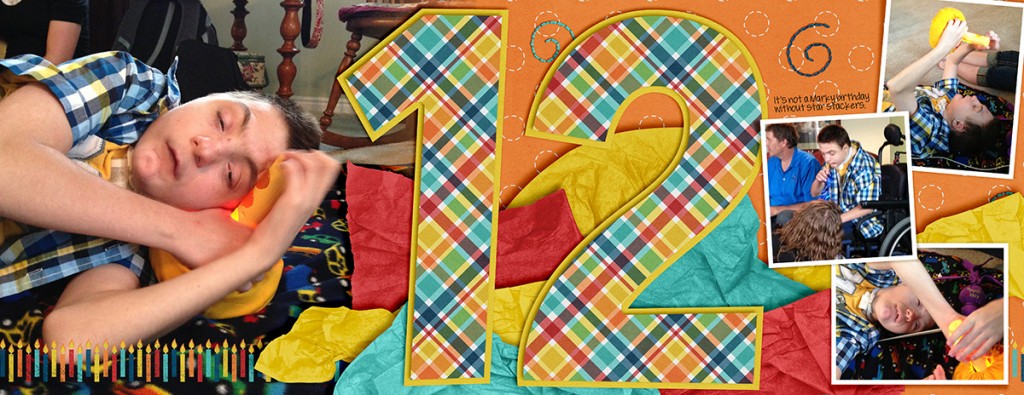
13_07_04_marky_bday_2post

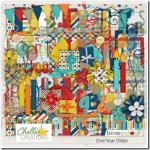
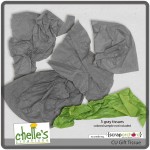
Chelle used Curled Frames, One Year Older & CU Gift Tissue

cc_curledframes     cc_oneyearolder.jpg     cc_CU_gifttissue

See you next time!

CU Watercolor Florals {Roses} & Fleur De Violette Bundle | Digital Scrapbooking Week In Review

Hello Ladies!

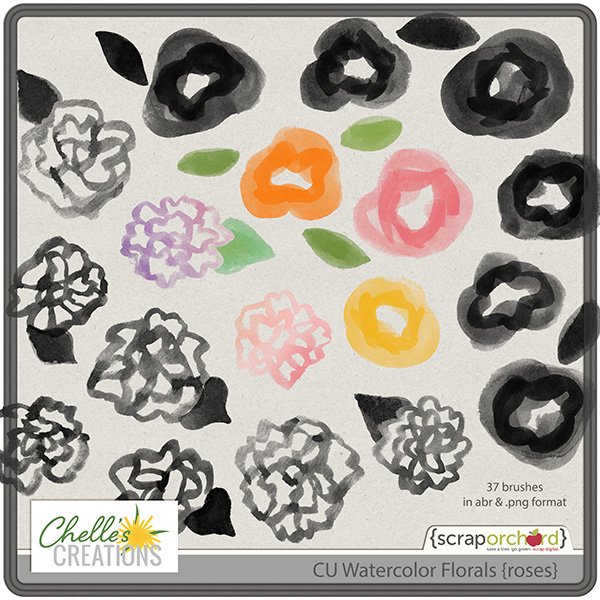
Hope you had a great week! Chelle released CU Watercolor Florals {Roses} the last piece in her digital scrapbooking CU Waterccolor Florals Series.

CU Watercolor Flowers {roses}

Miss some? CU Watercolor Florals {Daisies}, CU Watercolor Florals {Poppies}, CU Watercolor Florals & CU Watercolor Florals {Patterns}  I linked the images below to the store. Just lick on the images.

cc_CU_watercolorflorals_daisies     cc_CU_watercolorflorals_poppies     cc_CU_watercolorflorals     cc_CU_watercolorflorals_patterns-01

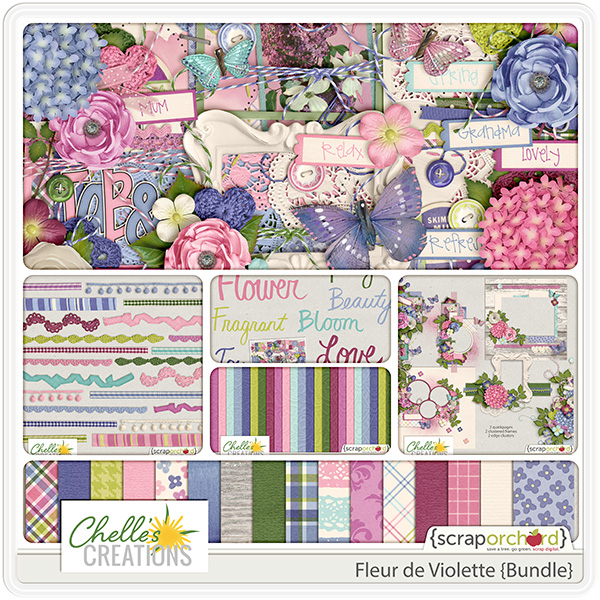
We also released Fleur De Violette Bundle including the new addition of Scripted, the last piece in the bundle.

cc_fleurdeviolette_bundle-01

Scripted was the participation prize for Scrap Twister this last week. Come play with us. Spend an hour with friends while you scrap a new layout.

fleurdeviolettete_scripted

Our CT, Kayla, created this FREEBIE for you to use.

cc_april18_ctfree_kayla

Have a wonderful day!

Friday FREEBIE Hippity Hop Hop! | Digital Scrapbooking Freebies

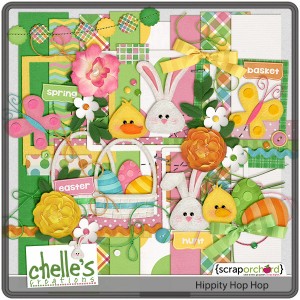
Happy Easter! This is a fantastic time of the year! Spring & Easter. Ready to shed my winter clothes and hang out in the sun. Kayla made this digital scrapbooking FREEBIE for us to share with you. She used Hippity Hop Hop. Just click on the image to download it.

cc_april18_ctfree_kayla

Here are the other yummy treats Chelle made to coordinate with this FREEBIE!

cc_hippityhophop

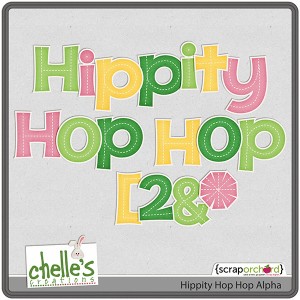
cc_hippityhophop_alpha

I’ll be hopping by to see you tomorrow!

Easter Layouts | Digital Scrapbooking Layouts

Hello Friends!

All ready for Easter? It seems like It was just Valentine’s Day, but here it is. Have I got some digital scrapbooking resources for you. 3 ideas for layouts and Chelle’s goodies for Easter. Our ladies have made some great layouts to get you in the mood. Let me show you.

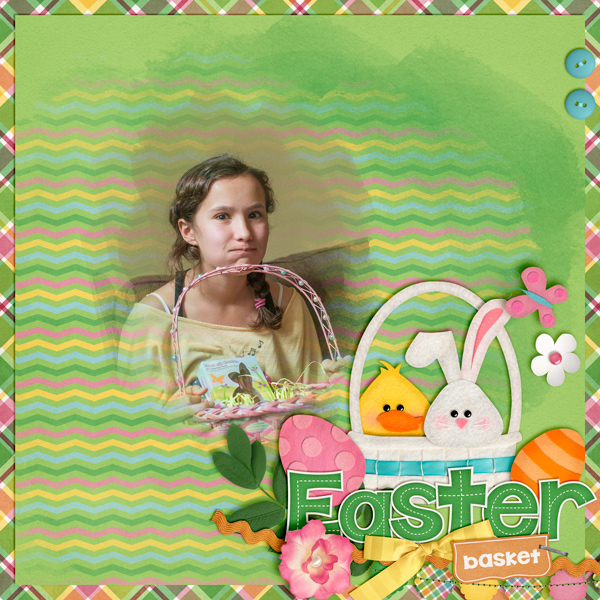
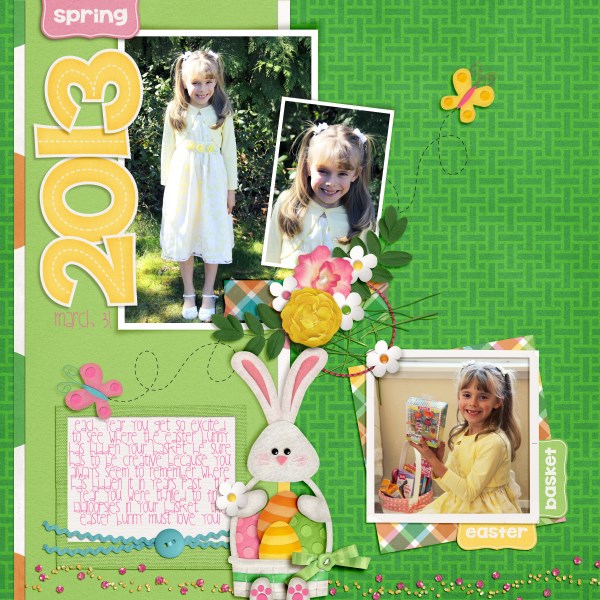
Kimberly used Hippy Hop Hop and the coordinating Alpha to make her page. She also used Chelle’s CU Watercolor Brushes to make clipping masks for her photo and the two different papers she blended into to the solid background. She also used Me and My Shadows styles for super fast and easy shadows. Did you know there is a style for felt? It’s perfect for a page like this.

cc_hippityhophop  cc_hippityhophop_alpha  cc_CU_watercolorbrushes  cc_memyshadow_preview

& her layout….

Kimberly

Lisa used Hippity Hop Hop, Curled Frames, CU Basketweave Patterns (Blended into a paper from Hippity Hop Hop)
CU Iridescent Styles (Used the brush in the kit and styles to create the pink and yellow glitter at the bottom)

cc_hippityhophop   cc_curledframes  cc_CU_basketweave  cc_CU_iridscent_glitter_styles-01

& her layout… {byw, I LOVE that basketweave pattern on her paper.)

Lisa

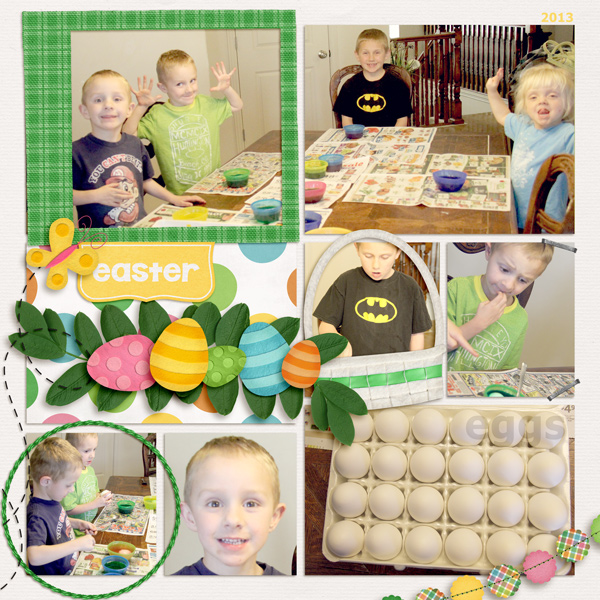
Cami used Hippity Hop Hop & Me & My Shadows. Children’s faces certainly express their joy in simple egg dyes.

cc_hippityhophop     Me & My Shadow

Here is her layout.

camijo_hippity_2013

Using Banners

It’s a banner day at Chelle’s Creations! The Creative Team members have been using Chelle’s kits to make digital scrapbooking pages with banners on them. Banners can be any shape or size and are the perfect digital embellishment to add to any page. Let’s see what they have to show us.

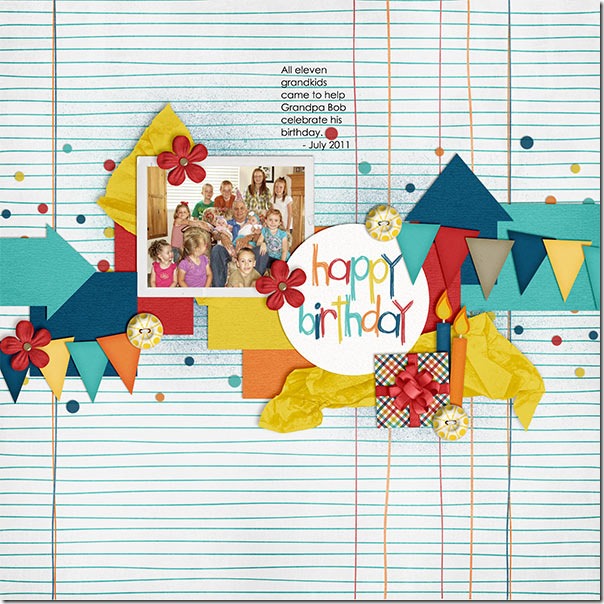
First, Kayla used One Year Older to make a page about Grandpa Bob’s birthday. She used the banners to create movement from left to right and give a festive feel to her page. HappyBday_July11_web_zps5756c6f4

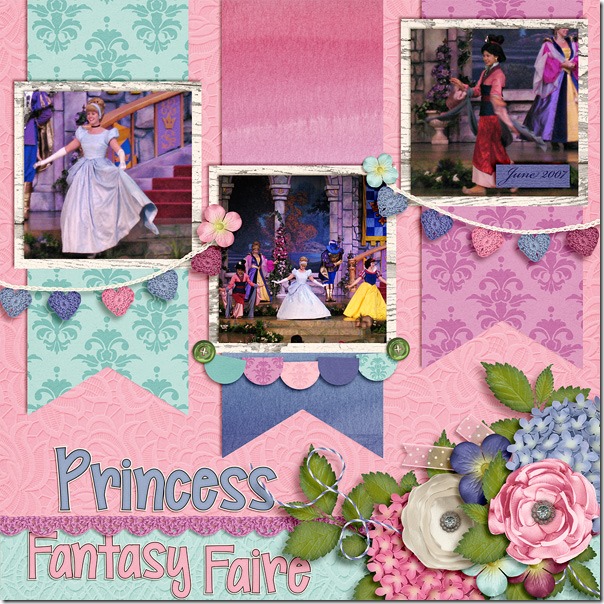
Next, Tammy used the crocheted heart banners from  Fleur de Violette to create this gorgeous page about the Princess Fantasy Faire. She also has large banner ribbons as mats behind her photos, which are perfect accents. Princess-Fantasy-Faire1_zpsdd0d7722

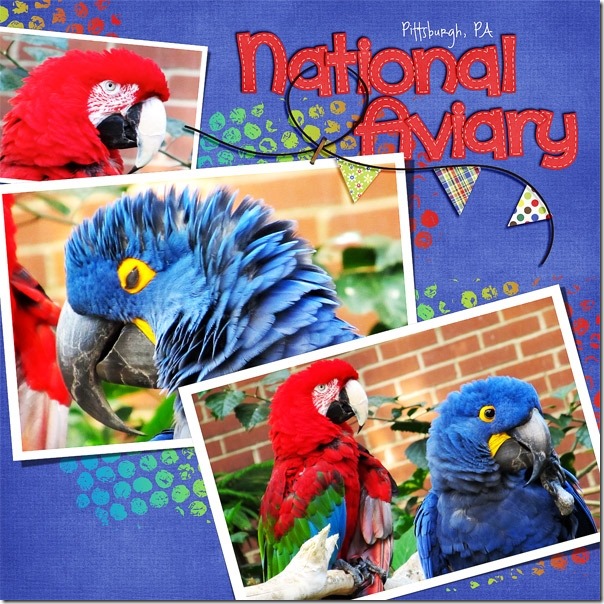
Donna used Beat the Heat and Gnome Sweet Gnome to create her bright page about the gorgeous birds at the National Aviary in Pittsburgh. She used a banner from a Scrapping with Liz calendar template and filled the pennants on the string with papers from Chelle’s kits. Donna

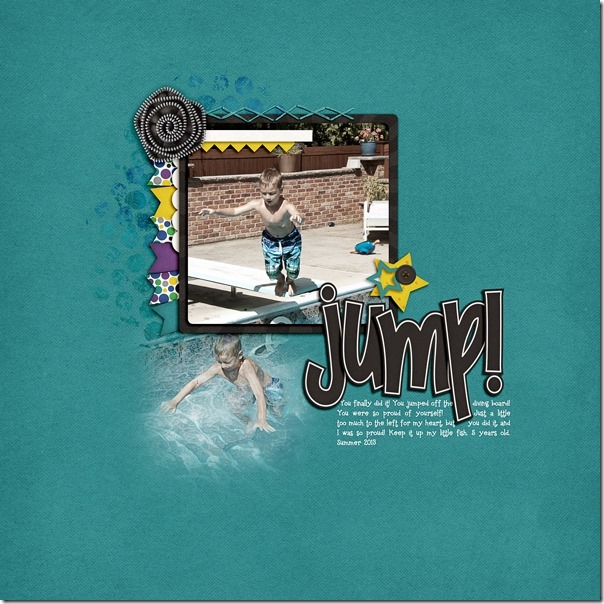
Next, Jenn used a banner a bit differently. She tucked the banner under the matted photo on her page to accentuate the photo and give more texture and depth to the page. The colors in the banner pieces coordinate perfectly with her little guy’s swimsuit in the photo.  jenn

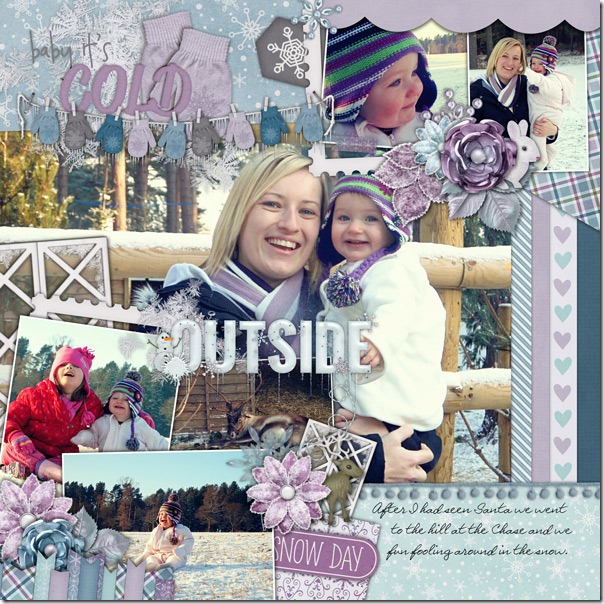
Helen used Snowlandia to  make this gorgeous page. I love the mitten banner she used as part of the title work at the top. It’s the perfect treatment for it.Helen-snowlandia

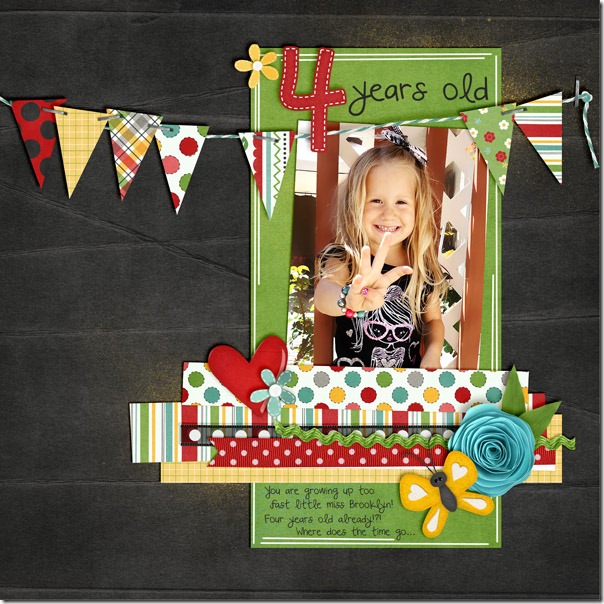
Finally, Kassie has used Lady Bug Hugs to make this sweet page about her daughter proudly turning four. Isn’t she precious? The banner really ties the page together and gives a fun feel to it. 4yearsold_zps3e3acd4a
I hope you’re inspired to use banners on your next page, maybe in ways you hadn’t before.

by_Cheryl

Unlikely Pairs! Hippity Hop Hop & Lucky Me | Digital Scrapbooking Kit Combinations

Hello Friends! This month we combined two of our favorite digital scrapbooking kits for spring. Hippity Hop Hop & Lucky Me. Our ladies had some fun creating these layouts. These bight colors are sure to make your layouts. Let me show you the products first.
cc_hippityhophop     cc_hippityhophop_alpha

cc_luckyme_bundle

Here are the Ladies’ layouts. Check ’em out. I think there are some great scraplift opportunities here.

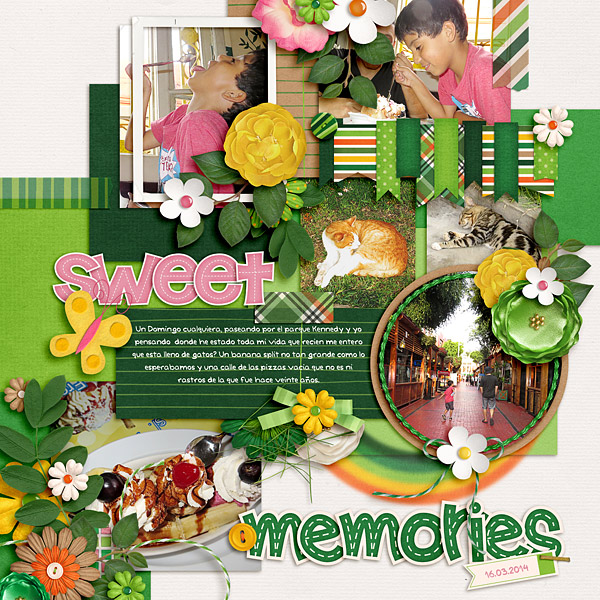
Roxana  created a sweet memories layout.

Roxana

Jan used fun ribbons to create columns about her layout.

Jan600

Jenn S. created this fun layout. Love her use of “circles.”

Jenn S

What layout could you create using Lucky Me & Hippity Hop Hop?