4.14 Video Tutorial: Using Alpha Stamps

Do you love learning new things? Of course we all do! Did you know that Chelle has a growing library of video tutorials on YouTube? If not, have no fear! Each month we will pick a couple to share and show you how Chelle’s talented group of ladies uses what they learned in their very own layouts.

This video demonstrates how to create your own titles with the adorable hand-doodled alpha, Scribbles 2.
Digital Scrapbook Tutorial – Using Alpha Stamps – Scribbles 2

Here is some inspiration on how to use this super cute alpha.

I love the way Helen (winipeg1) used various colors to create her title. She used Carrot Patch to create this darling layout.

Jenny (jenn18) left the alpha black on her layout. Just look at that cutie! She used Capture Your December and a template by Little Green Frog Designs.

This bright sunny layout by Krista (kc71595) just screams spring. She did a fantastic job of mixing the Scribbles aplha with a font to create her title. For this layout she used Bluebird on My Shoulder and a template by Fiddle Dee Dee.

The video features the Scribbles 2 Alpha and Letters from Home Quickies.

Next time your stuck on how to title your page try this simple solution using the Scribbles 2 alpha.

See you next time!

Chelle Scraps! | Digital Scrapbooking Ideas and Inspiration

See Chelle Scrap! (Well, not really, but…) you can see what she’s been scrappin! Let me show you.

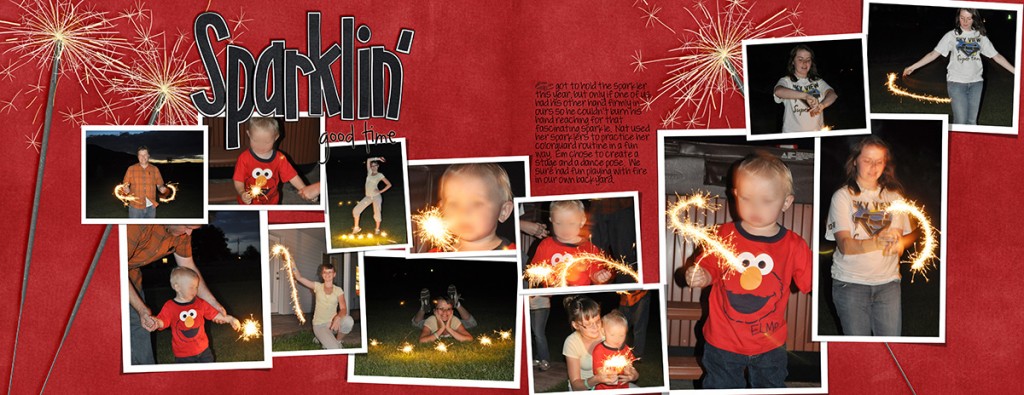
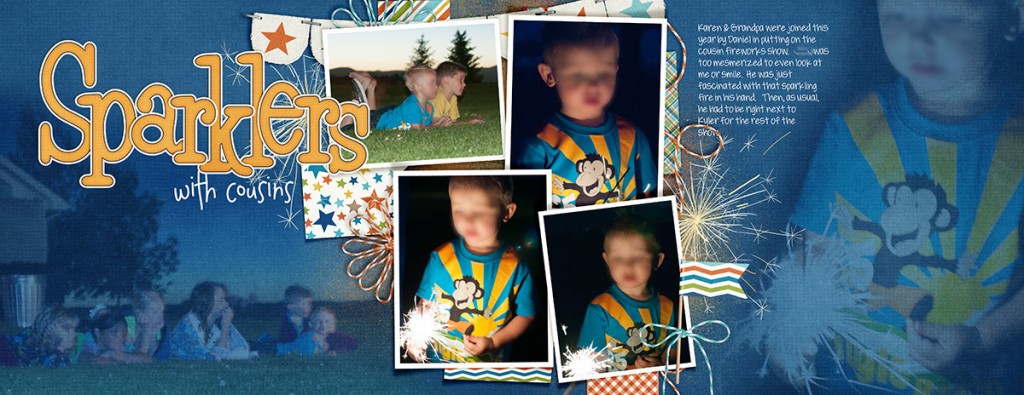
11_07_11_sparklers_2post_blurred

Chelle used Curled Frames, Fireworks & Basic Black Alpha. (Click on the image for more details.)

cc_curledframes      cc_fireworks_kit     cc_basicblack_preview_2post

11_07_22_mrsilly_2post_blurred

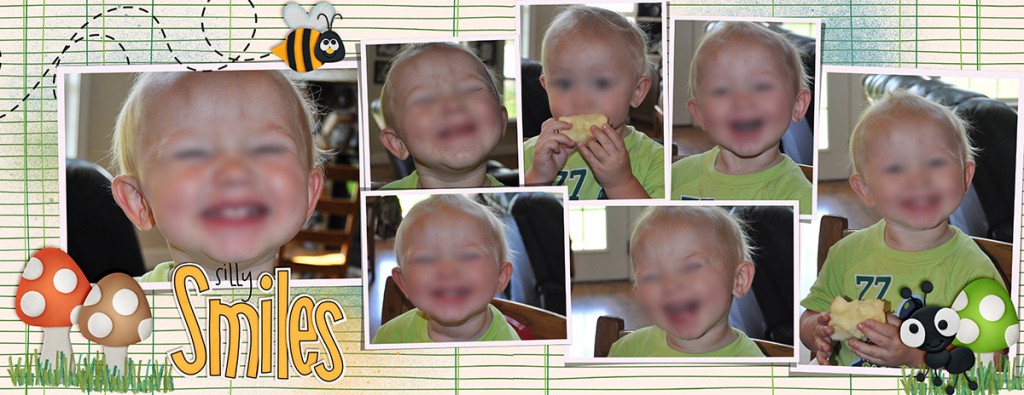
Chelle used Curled Frames, Lucky Me  & Bugs {Coming Soon} (Click on the images for more detail.)

cc_curledframes      cc_luckyme_bundle

11_10_10_drivewaygrandpa_2post_blurred

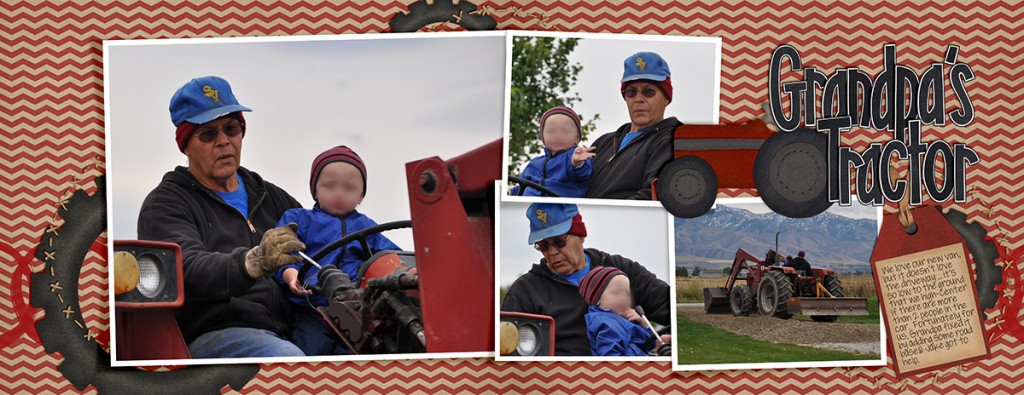
Chelle used Curled Frames, E-I-E-I-O Bundle, & Basic Black Alpha. (Click on the images for more details.)

cc_curledframes     cc_eieio_bundle_2_post     cc_basicblack_preview_2post

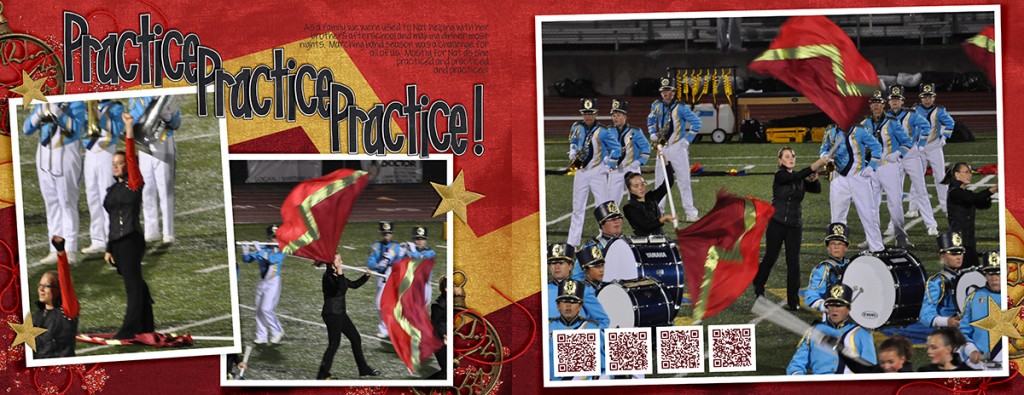
11_10_05_practicepracticepractice_2post

Chelle used Curled Frames, O Holy Night, Basic Black Alpha, & the YouTube Video, “Adding Video with QR Codes.” {Click on the image for more details.)

cc_curledframes     cc_oholynight    cc_basicblack_preview_2post     vidimg_qrcode

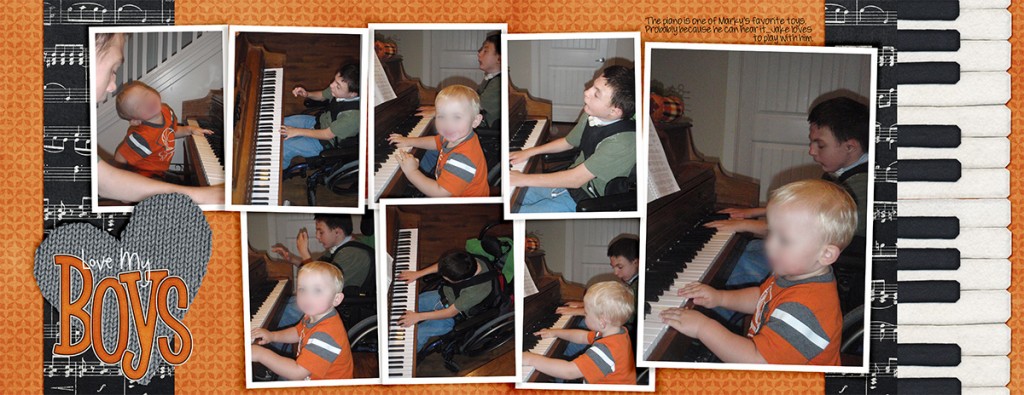
11_10_12_boys_on_piano_2post_blurred

Chelle used Curled Frames, In Harmony (Retired) Hole In On Alpha & CU Sweater Bits. (Click on the images for more details.

cc_curledframes     cc_holeinone_bundle.jpg     cc_CU_sweaterbits_preview-01

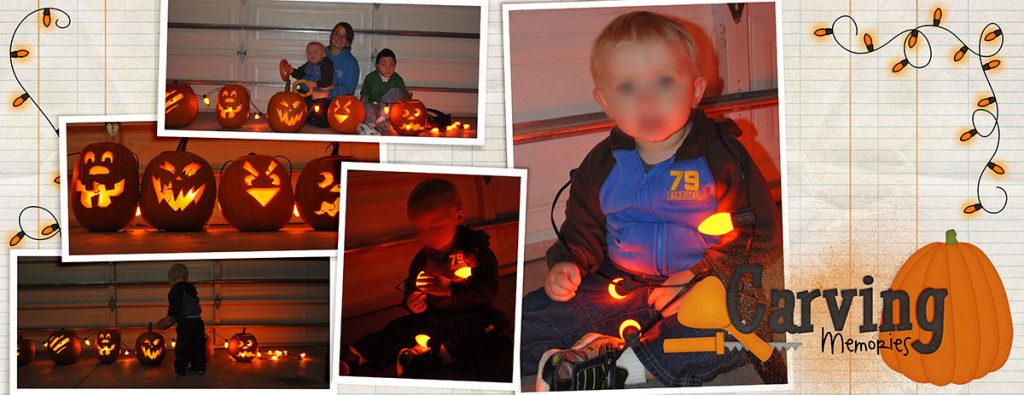
11_10_24_carving_2post_blurred

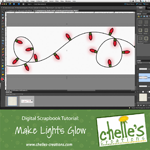
Chelle used Curled Frames, Eeeeek! Bundle, Holiday Lights Strings Doodle, & her YouTube video, “Making Lights Glow.” {Click on the images for more details.)

cc_curledframes     cc_eeeeek_bundle     cc_holidaylightstring_doodles     make lights glow

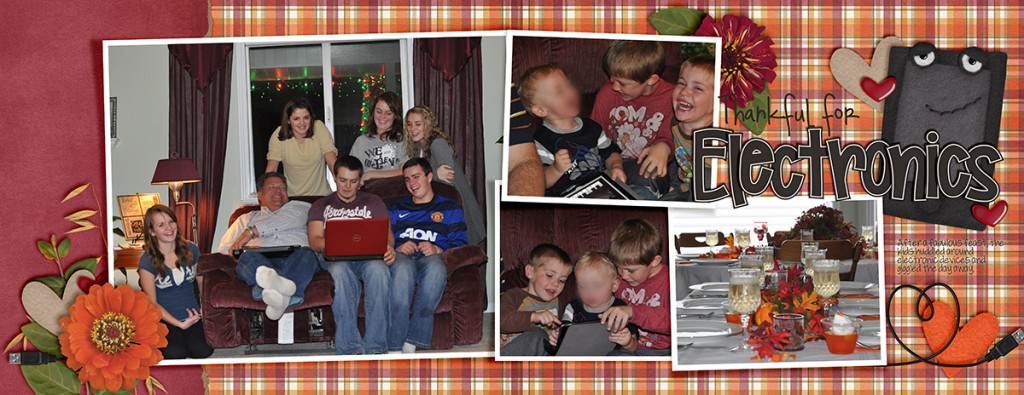
11_11_24_thanksgiving_2post_blurred

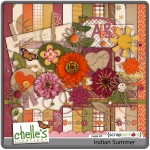
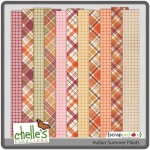
Chelle used Curled Frames, Indian Summer & Plaids, Techno Love& Jump Zone Alpha. Click on the images for more details.)

cc_curledframes   cc_indiansummer_kit    cc_indiansmr_plaids    cc_technolove_bundle.jpg    cc_jumpzone_ap

Chelle’s layouts always amaze, don’t they? Have a great week!

4.10 Tutorial: Adding Depth of Field

4.10 Tutorial: Adding Depth of Field

Hi Everyone! I’m Jenn, or jk703 in the forums. I’m a self taught Photoshop girl, and like to share what I’ve learned with easy tutorials! Hope you enjoy this one!

We are going to manually blur the background of an image to bring the focus onto one subject/object in your photo. Many times when we take pictures, we use the “Auto” settings, and nowadays, many of our photos are taken using cell phones. These pictures are great, and keep taking them! At times though, you might have a busy but crisp background, and that is because when taking the photo you opted or couldn’t change the aperture. To give a bit of depth, and to be able to choose your image’s focus, follow along with the Tutorial: Adding Depth of Field for the simple workaround!

Here is my original image, using my cell phone.

Depth1

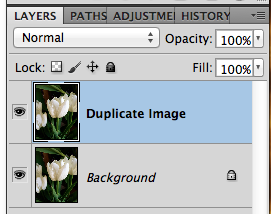
First, duplicate your image.

Depth2

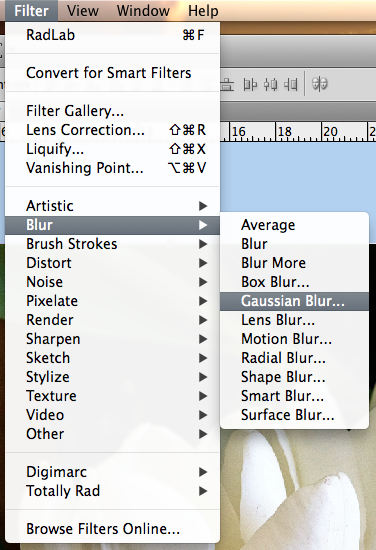
Next, with the duplicate layer selected in the Layers Palette, you will go to Filter > Blur > Gaussian.
Depth3

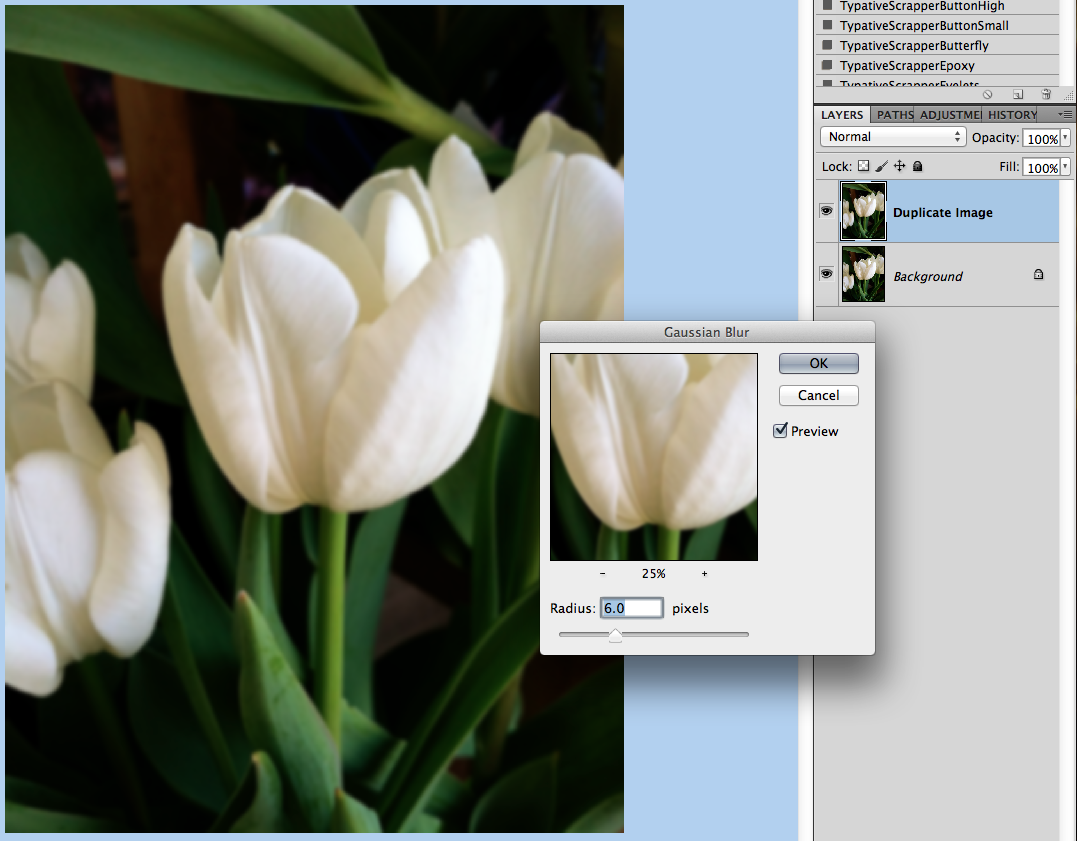
Look at the area that you want to blur, and move the slider until it is blurry enough that you like the look. Don’t worry about the part that you want to stay in focus at this point. Mine is at 6 pixels for now.
Depth4

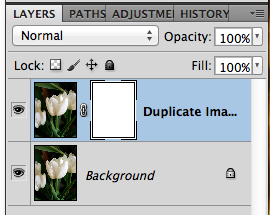
Next, still with the duplicate layer selected, you will click the square with a circle in it on the bottom of the Layers Palette. This is what I call the Mask Maker. :)

Depth5

Your layer will get a white box next to your image. Click on this white box so you see the corners with double lines. This means the mask is selected.
Depth6

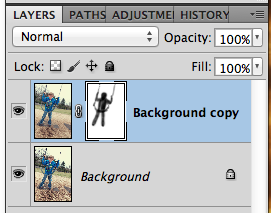
You want to have black in the Foreground Color for painting on the mask. Next, click on the Brush Tool. Use a soft black brush. Mine is set at around 300 pixels, soft, and 40% opacity.
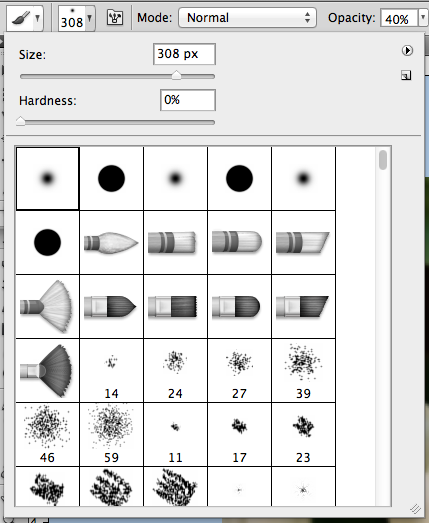
Depth7

Using the brush, paint over the area that you want to bring into focus. You can see my mask here, painted black and almost in the shape of the single tulip.
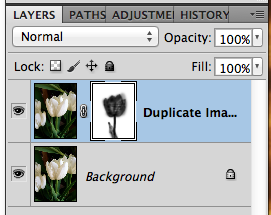
Depth8

Here is the tulip image. This one is at a 6 pixel blur. Just a little blur for the background and other flower parts.
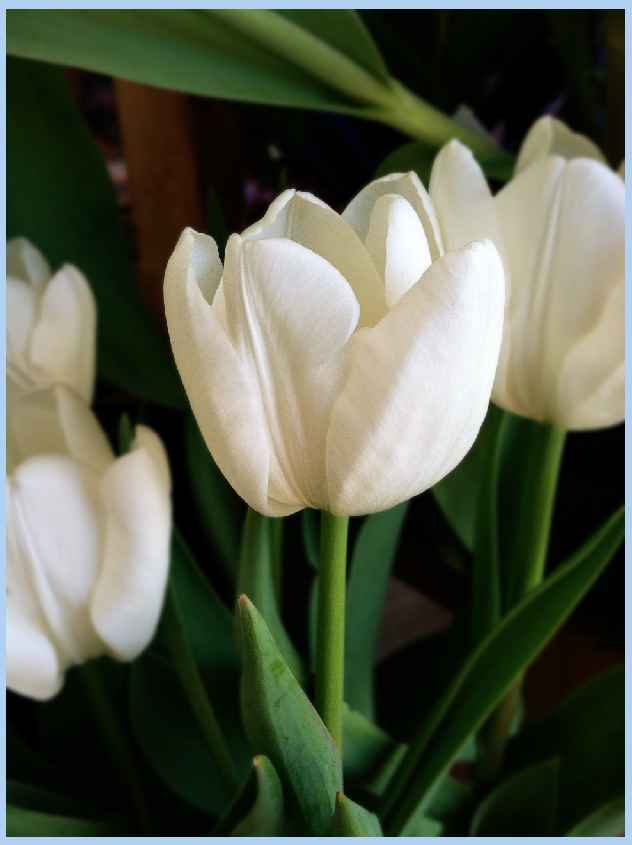
Depth9

Jumping to an 8.8 pixel blur and the same tulip in focus would make it look extra soft. Almost like the retro photos that had the softness on people’s faces.
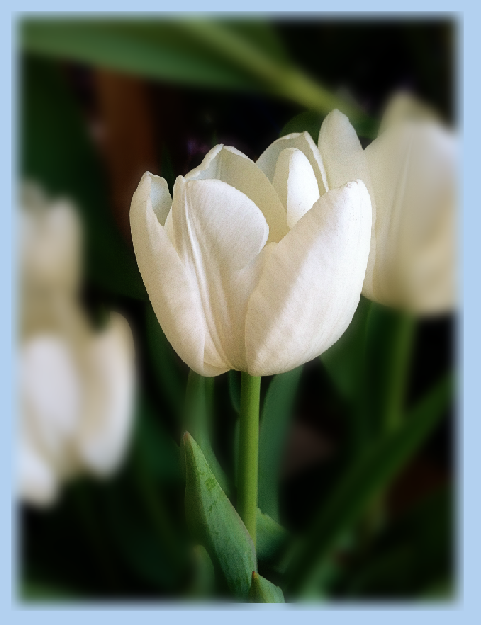
Depth9aa

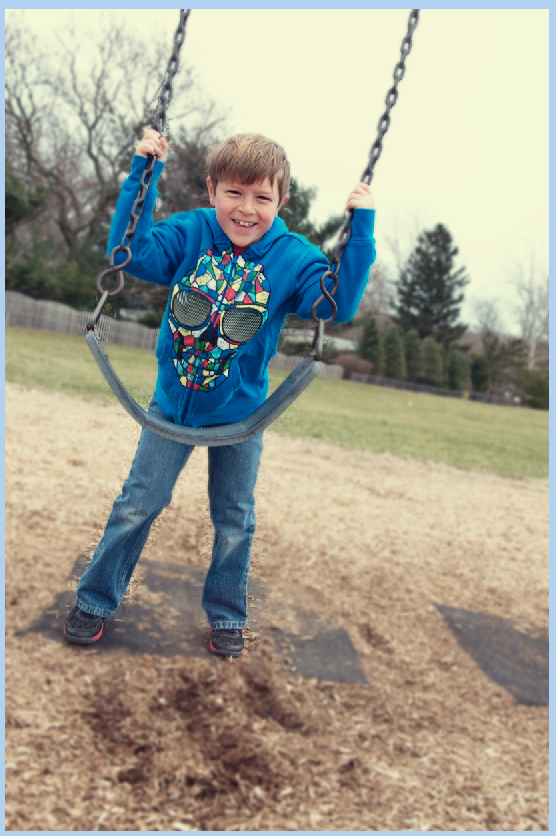
Here is another image of my son, at the park. I wanted to focus on just him, and a bit more blur on the trees and surroundings.
Depth9b

Depth9a

Here is what the CT came up with for this tutorial! :)

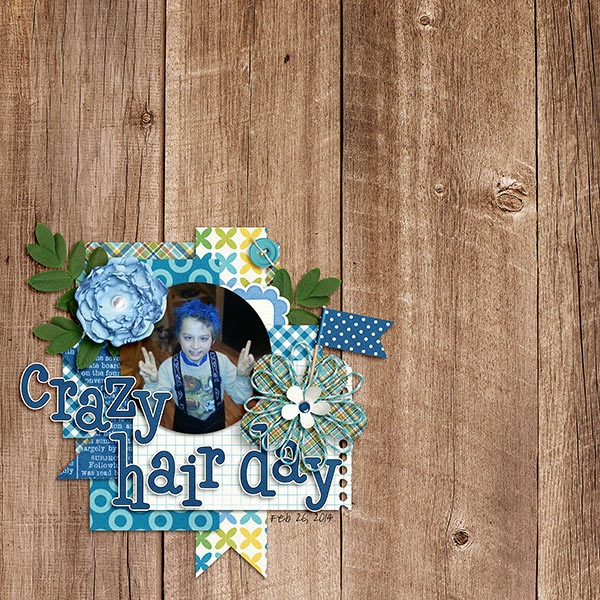
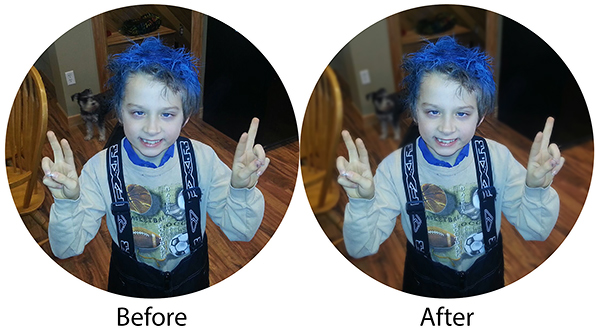
Jennifer (jmljensen) created this fun layout of her son – she used Chelle’s Bluebird on My Shoulder and About a Boy (template – Watering Hole freebie template by LGFD).  She already knew what I was going to post, so she was able to give me a before and after of the photo itself!
40769

web_beforeafter_zps8c533405

Jen (supergirljennie) created her layout using Fleur de Violette. She shoots in manual mode, and had the settings at f/2.5, 1/2500sec, 200 ISO. kelseyagain_zps581b5871
Super simple, and a fun technique. It will work great on photos that you have a lot going on in the background. You can easily provide focus on what you would like to stand out. Can’t wait to see what you create using this tutorial. Now, go add some depth of field, lol.

Thanks for visiting!

by_Jenn


Lists | Digital Scrapbooking Words on Wednesday

Hello Everyone!

Do you scrap with lists? I thought of a few that you might want to use for emphasis in your digital scrapbooking layouts.

  • #s
  • ABCs
  • Stars
  • Dates
  • Symbols

What about alignment?

  • Which alignment do you like the best? right, left, or center alignment?
  • Are you more of an abstract person?

What list ideas make you excited to scrap?  If it’s not exciting, your layouts will reflect it. So go for it. Create your own list and see what you end up with. To get you more excited, here a 3 layouts from our creative team to help you get a jump start. {btw, I love how different each of these layouts are.)

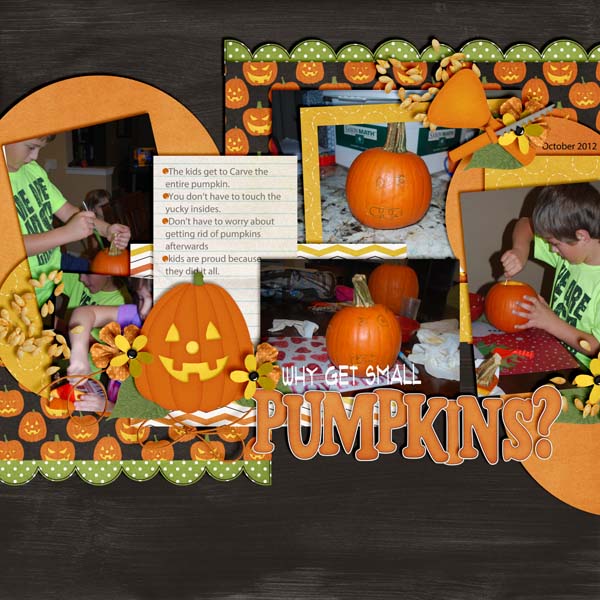
First Heather used Eeeeek! in her Halloween layout. She lists the reasons to get small pumpkins.

Heather

cc_eeeeek_bundle

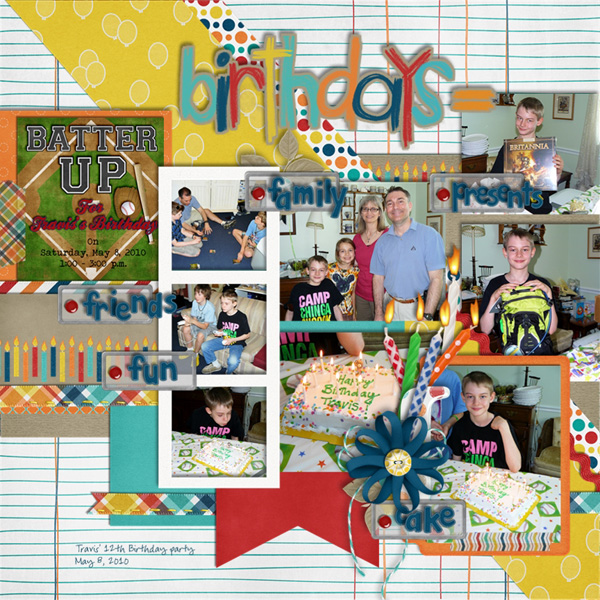
Jan used One Year Older and little word bits to highlight her son’s birthday.

Jan600

cc_oneyearolder.jpg

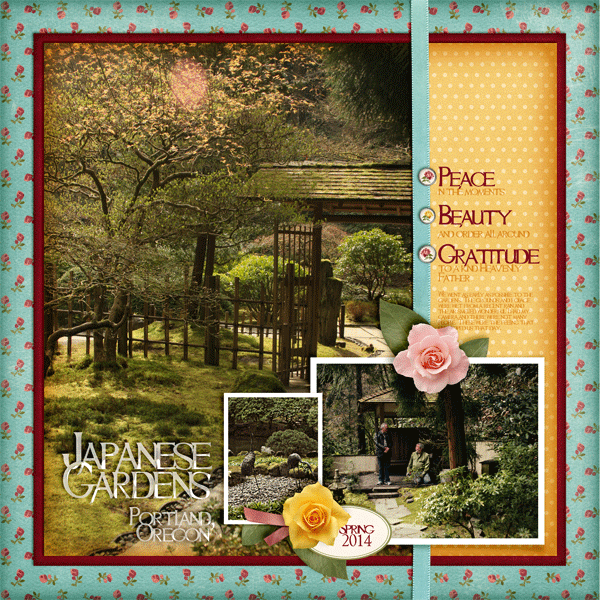
Last Leah used Grandma’s Garden to make this lovely layout. It just pulls me in, makes me take a deep breath and releax.

Leah

cc_grandmas_bundle_preview_2_post

What can you scrap with lists?

Classics: Leafy Treetops

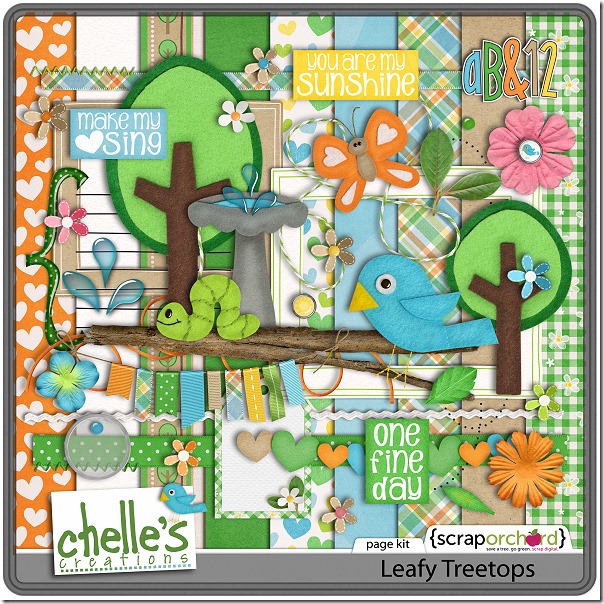
Let’s take a look back at a classic digital scrapbooking kit from Chelle’s Creations called Leafy Treetops. It’s perfect for spring photos you’re taking right now. With its trees, fountains, birds, butterflies, & flowers, this kit is a great match for lots of outdoor photos this time of year. The CT members have been playing with this kit and have some outstanding layouts to show us.

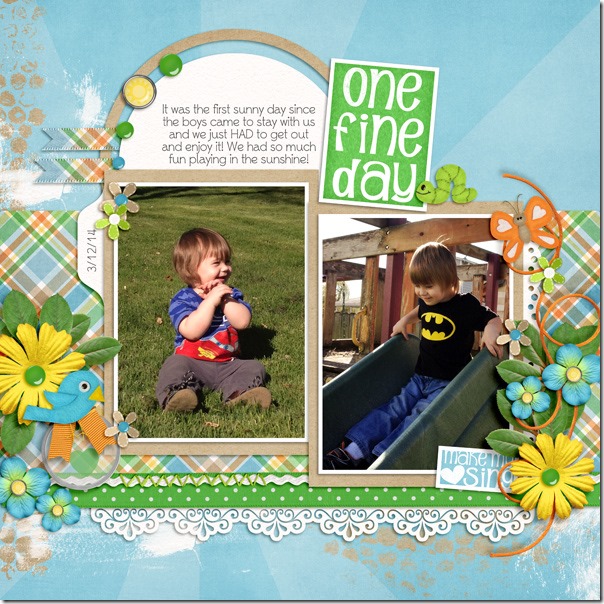
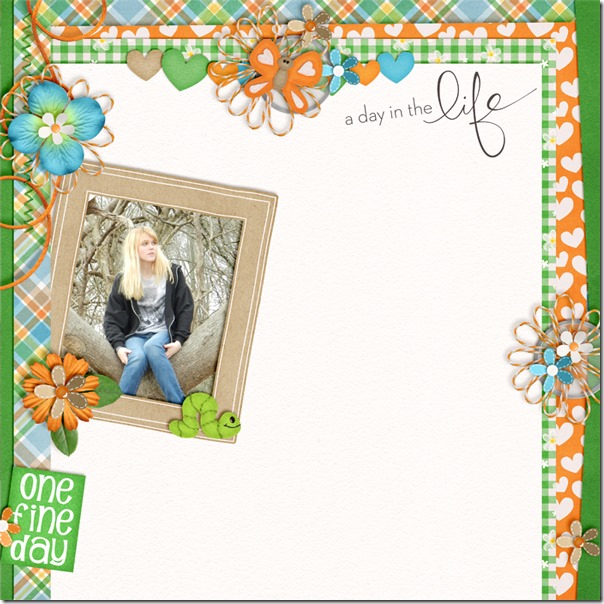
First, Krista has made a page with the theme of One Fine Day in celebration of the first sunny day, and I love that word art from the kit. I also love the shadowing she has on her fabulous clusters of flowers. OneFineDay_Krista

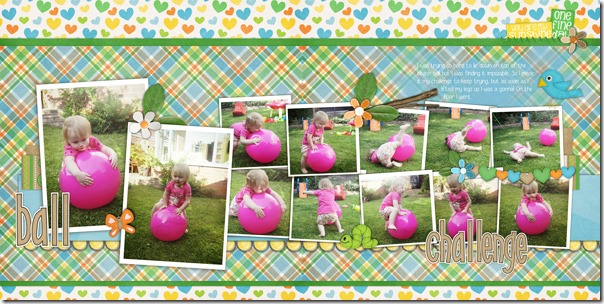
Next, Helen has made a double page spread using Leafy Treetops and Chelle’s Curled Frames. I love the sequence of photos she shows – what a cutie!Helen-leafy-treetops

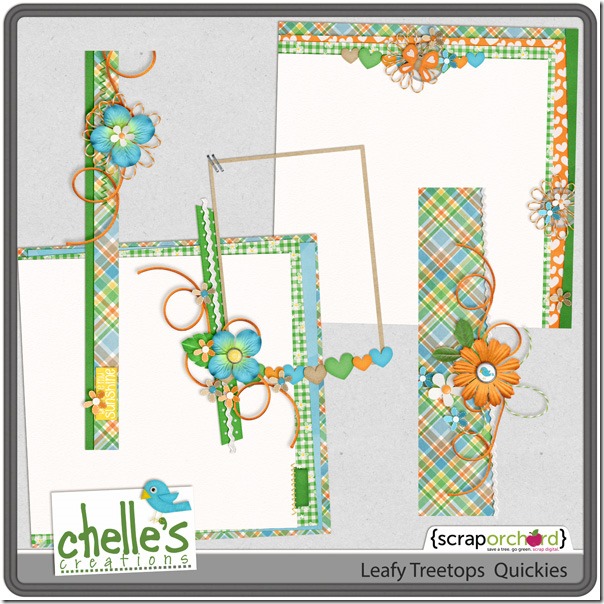
Finally, Christine has made a page using the Leafy Treetops Quickies along with elements from the kit. The quickies are a huge time-saver and can really be useful in jumpstarting your scrapbook layout process. Can you see which quickies she chose? Take a look in the market to see a closer look of the product. eupk3k

Want a closer look? Here ya go! cc_leafytreetops_kitcc_leafytreetops_quickies

by_Cheryl

Chelle Scraps! | Digital Scrapbooking Ideas and Inspiration

Want to see some of Chelle’s latest layouts? Here you go!

12_05_03_SillyMcSillyPants_2post_blurred

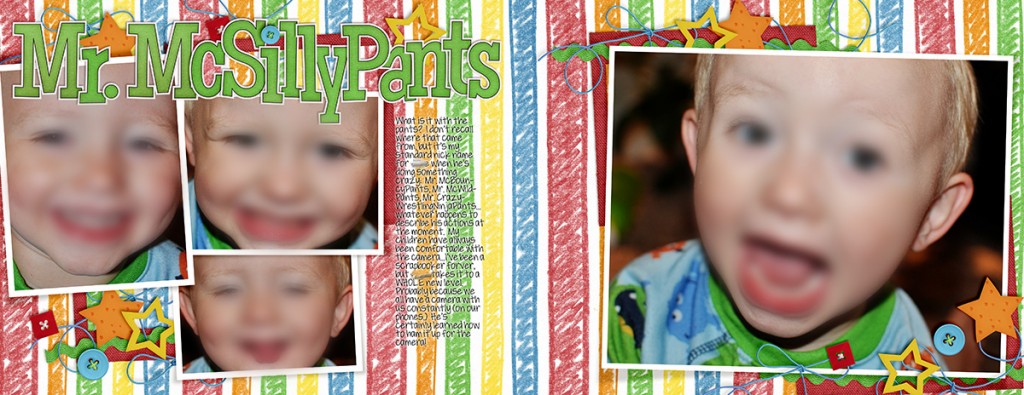
Chelle used Curled Frames & Street Smarts Bundle!

cc_curledframes     cc_streetsmarts_bundle.jpg


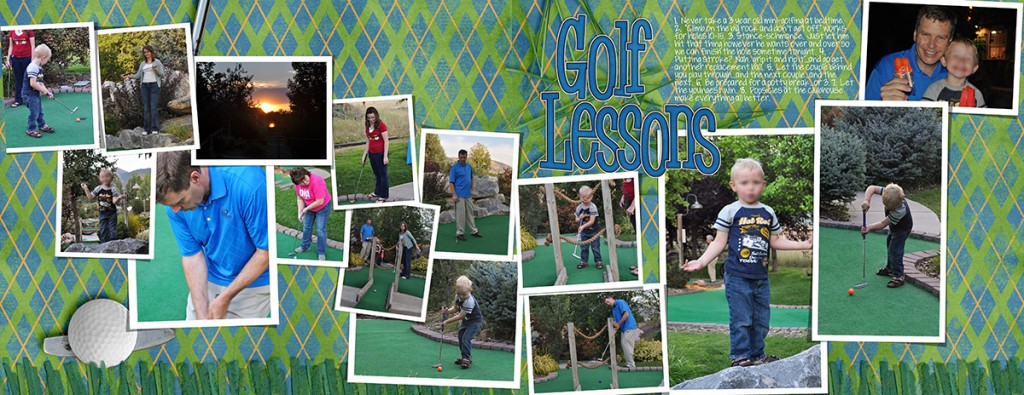
13_08_06_minigolf_patience_2post_blurred

Chelle used Curled Frames & Hole In One Bundle for this fun layout.

cc_curledframes     cc_holeinone_bundle.jpg     cc_holeinone_wa.jpg


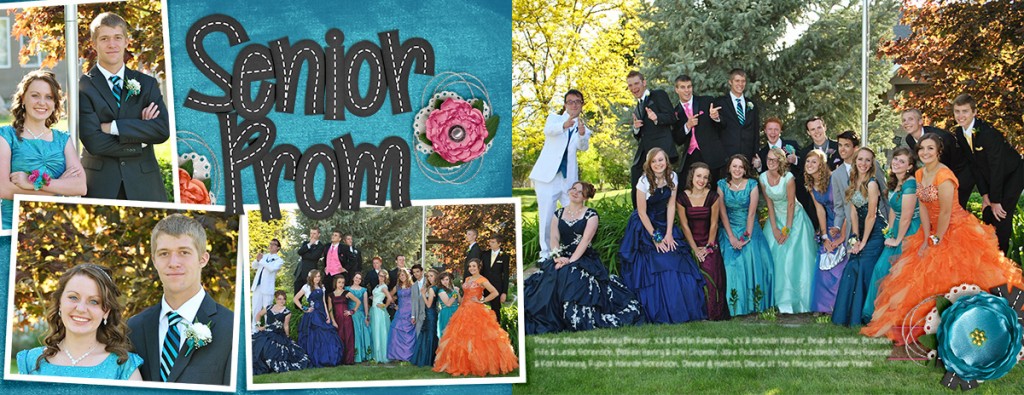
13_05_25_Sr_Prom_2post

Flowers are from multiple kits, the background paper was made on-the-spot to match the dress. The alpha is Basic Black Stitched Alpha and she used Curled Frames.

cc_curledframes     cc_basicblackstitched copy


12_07_04_Sparklers_2post_blurred

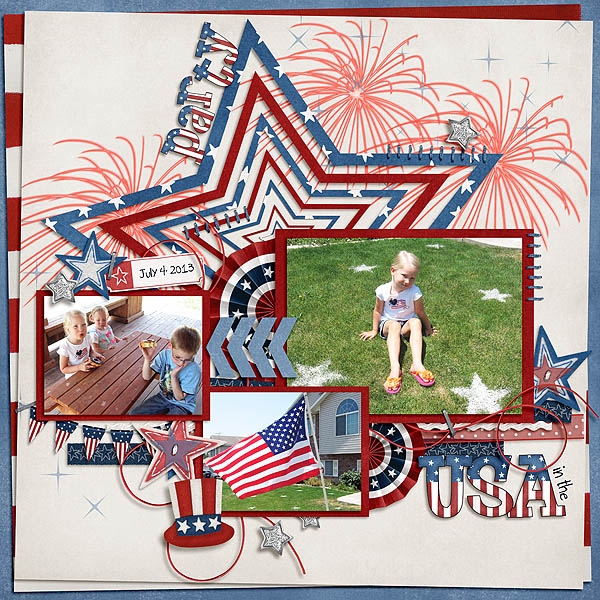
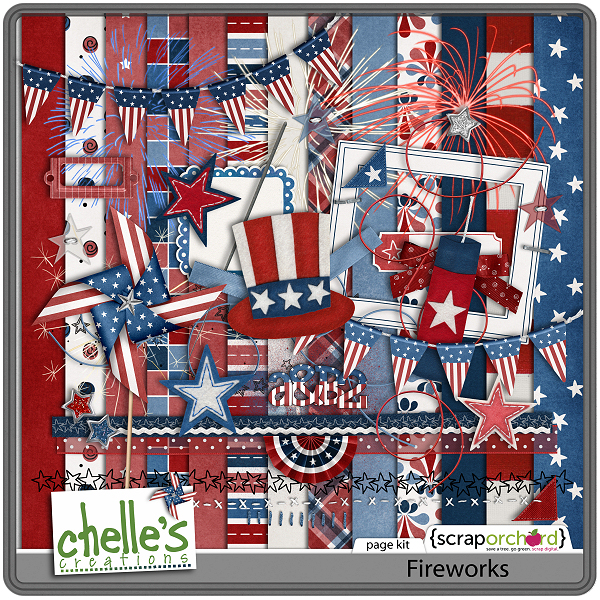
Chelle’s Fireworks Kit was used in this layout along with Curled Frames.

cc_curledframes     cc_fireworks_kit

Enjoy Life!