2.27: Selective Recoloring Techniques

2.27: Selective Recoloring Techniques

Hi Everyone- it’s Jenn (jk703) here today! I’m back with another tutorial, and this one will be about recoloring. Have you every wanted to match a flower to a different color? An Alpha? Well, using the techniques that I show you today, you will be able to! Here we go – Selective Recoloring Techniques!

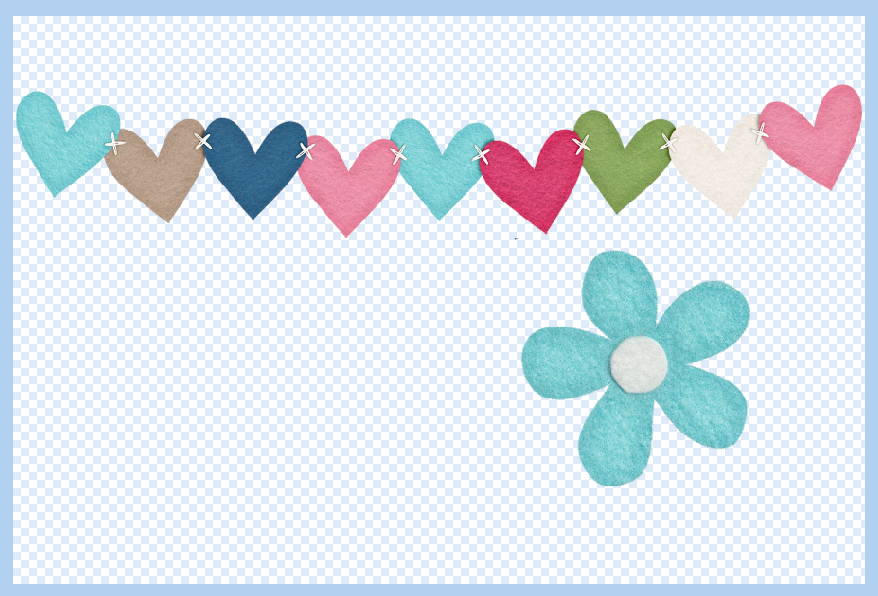
I’m working with the Love Grows Kit, and I’ve selected the Banner and a felt flower to work. with specifically.  I’m going to show two methods to recolor the elements to matching colors. There are always many ways to do something in Photoshop, so you may already know these ways, or another way. Any way you recolor and it works for your layout and memories will work! :)

Recolor1

Method 1

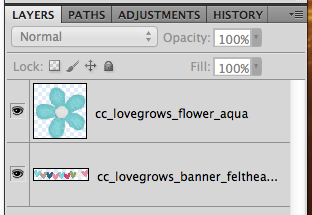
Here is what my Layers Palette looks like for reference. To start, I will recolor the flower.
Recolor2

Double click on the flower thumbnail in the Layers Palette, and you should get marching ants around the edges.
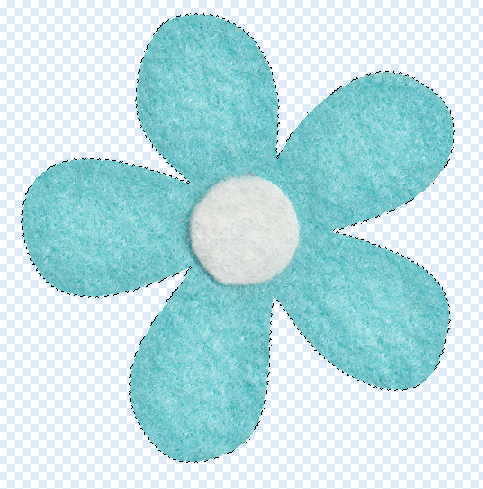
Recolor3

Now, we will choose Magic Wand Tool, and choose the Subtract From Selection Preset. You will click on the white in the flower.
Recolor4

When you click on it, it subtracts this section from the selected outline.
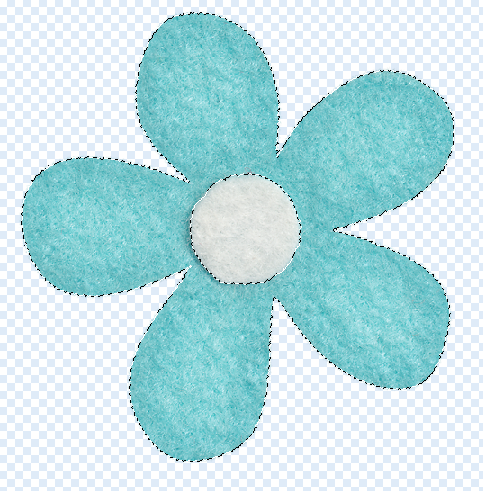
Recolor5

Next, on the bottom of the Layers Palette, click on the little black and white circle, choose Hue/Saturation:Recolor6
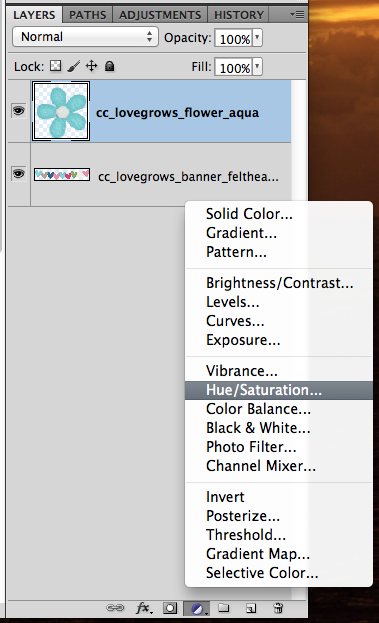
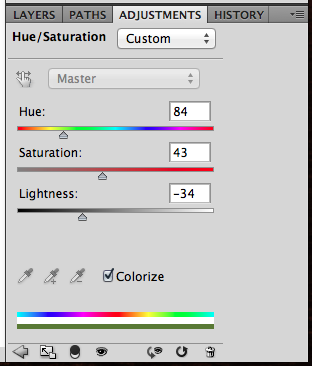
A screen will pop up, or it may show as a tab in near the Layers Palette. (Mine is a tab.) I’m going to click on the “Colorize” box, and I want to change my flower to green to get a closer match to the heart. Just play with the sliders. If you find other colors are changing also, use the eye dropper with the – sign and click on that area. It should take that specific color out of the equation. Here is what my setting are at after playing with them.

Recolor8

Here is what I ended up with for my flower. If you find that the color is close, but not as you wanted, try changing the Blend Mode on the Adjustment Layer. You might be pleasantly surprised.
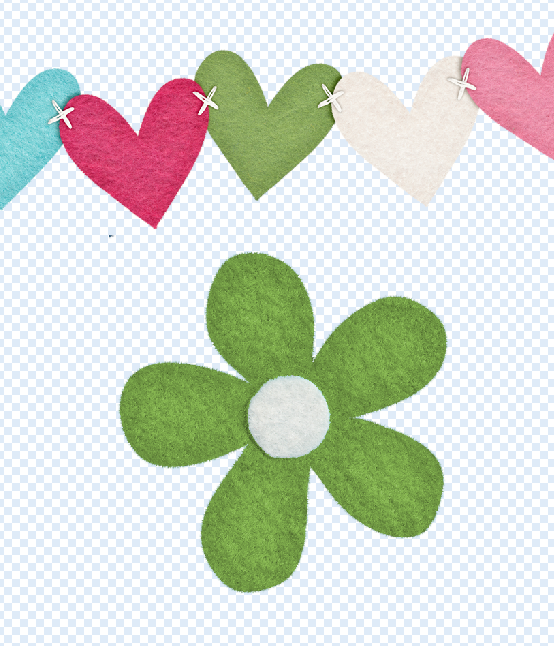
Recolor9

Now, I’ve gone and played with those sliders again…. this time I’ll try to match the magenta color.
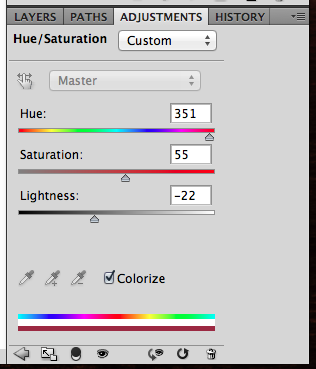
Recolor10

Here is what I ended up with for my flower. Not too bad, and again, try out changing of the Blend Modes. I find that reds and pinks are harder to recolor than most other colors. Those are trickier to me. If the recolor is not working as well as you like, you could also try to combine methods.
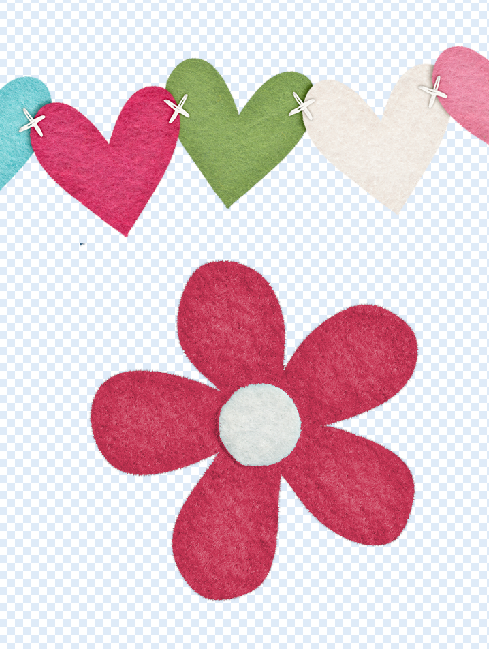
Recolor11

Method 2

For this recolor method, I’m going to change the color of one of the hearts. Specifically, the tan one. In the Menu Bar, click on Image > Adjustments > Replace Color.
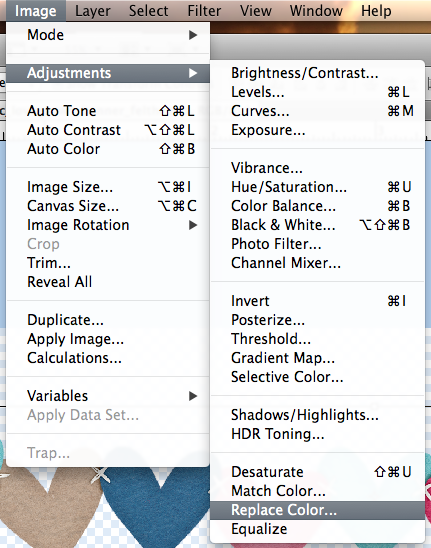
Recolor12

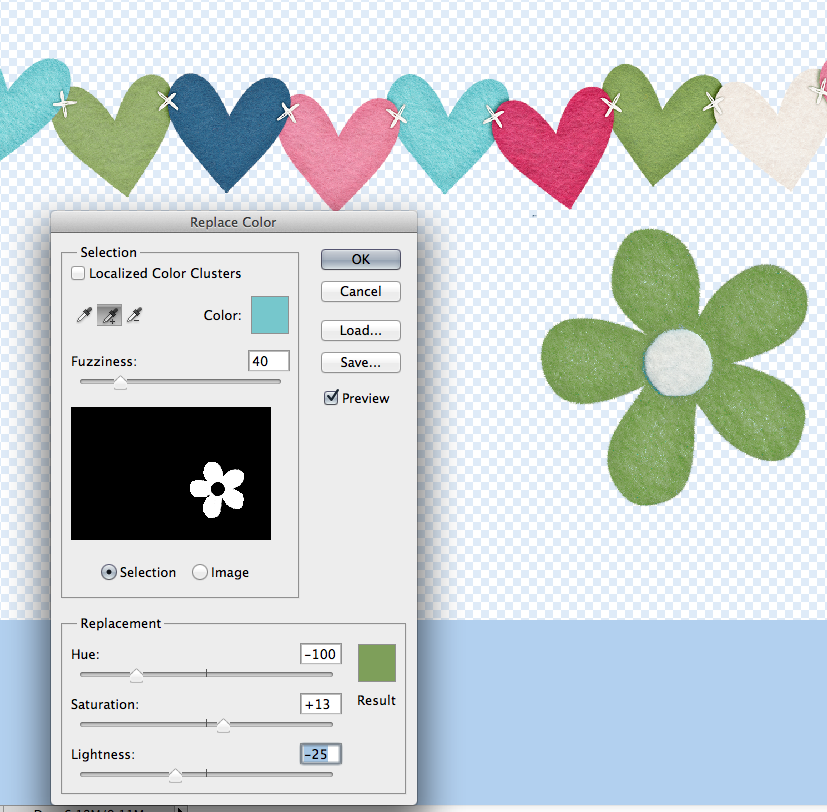
A pop up will appear, and you will use the eye dropper tools to select the color of what you wish to replace. If the image in the black box is not all white, just use the + eye dropper and click on other sections of the item that will be recolored. If other items are being included in the recolor, then use the – eye dropper tool to click and remove that color. You want a solid white image – this reflects what will actually be recolored.
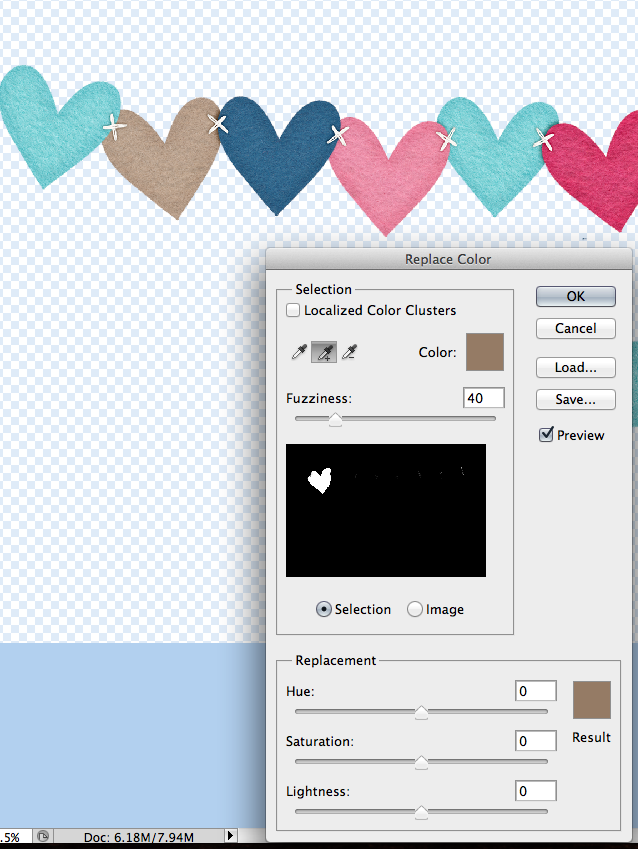
Recolor13

Now that you have the shape completed, we will start the color replacement. Use the sliders below, and move them to get to the color you want. Here is what my green heart looks like:
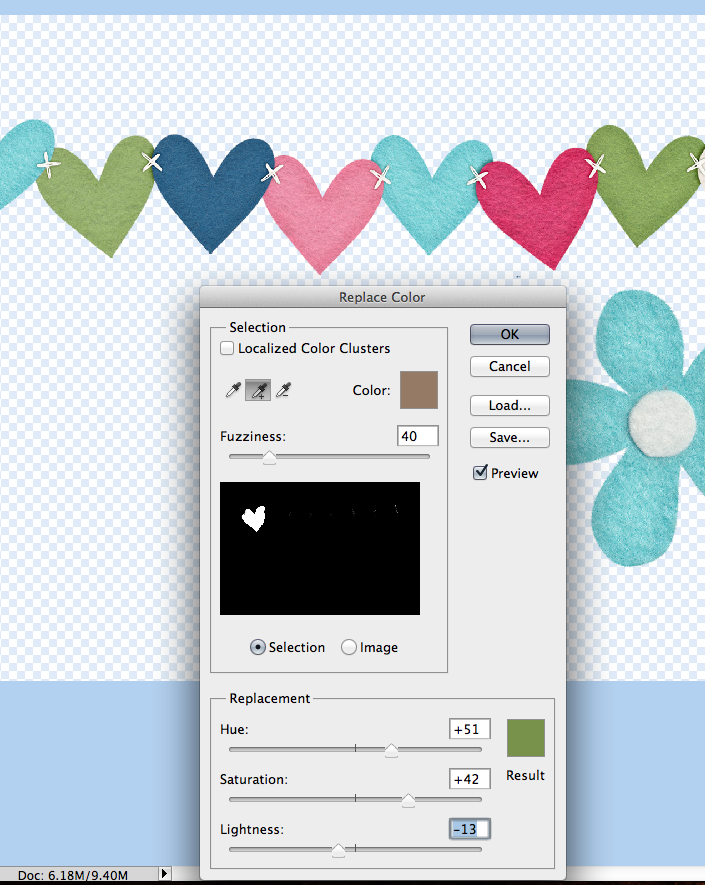
Recolor14

And here is a green flower:
Recolor15

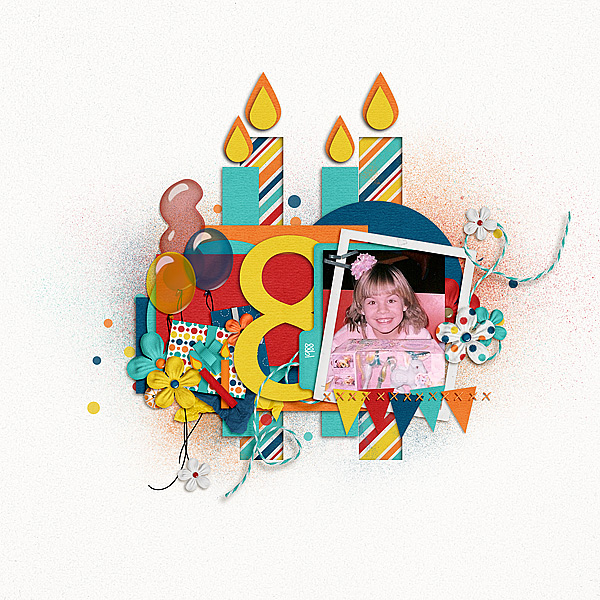
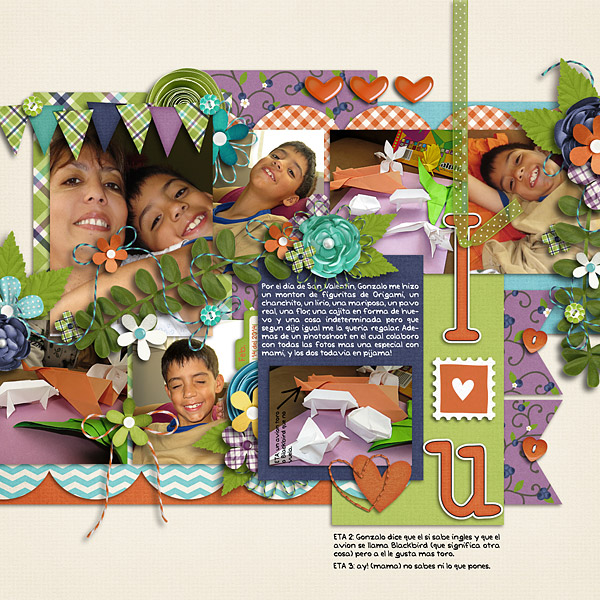
Two, pretty easy, methods for recoloring your stash! Stretch that stash and make it work for you! Here’s what the CT created. Melissa (pretty peaches) said she recolored the tissue paper to blue and the flower to orange. She changed the colour and also had to create another layer and use the filter multiply on it to give it the darker shade. She worked with One Year Older. 

LGFD-IOTCake-1_zpseae7e7be

Roxana (roxanamdm) said she used a red heart stamp, a gel heart and heart stitches from Technolove, which recolored easily with the Replace Color method. She then tried to recolor a pink heart button and felt but they proved to be a bit hard to recolor. She decided that Replace Color and Hue/Saturation technique weren’t working for her, so she clipped an orange paper. Then she changed the blending mode to color burn as well as an adjustment layer at this point.  With a Hue/Saturation layer, she moved the slider until I got the orange I wanted. The blue flower on top from About a boy was not from the tone I was using so recolored it with Replace Color as well. Roxana used Used Berryberry Blue, About A Boy, Techno Love and Mark My Words.

tiportutrecoloringfeb14-web

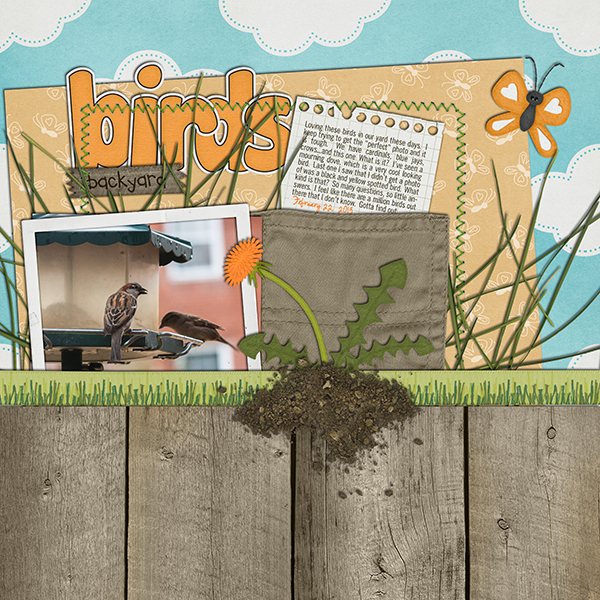
Jenn (jenny) said she used In the Backyard and recolored the butterfly, alpha, flower and background butterfly paper to orange!!

19_2014_backyardbirds_600_zps8524e38a

See, selective recoloring technique isn’t that difficult! Remember to play and try things out. There is always the Undo button! Hoping you learned a new technique, or another way of recoloring some of you (extensive) digi supplies! 😉 Have a great week everyone! Thanks for visiting! by_Jenn


Using Text Messages in Scrapbooking | Digital Scrapbooking Resources

Today I wanted to write about using text messages in your digital scrapbooking. Texts are such a part of our “smart” and everyday lives. 2 of my nieces actually taught me how to text. (not Chelle) We had a question and answer thread in our forum about how to move the text image so it can be inserted into a layout. This is how Kimberly (enjoyyourpix) explained it. {Thanks to her for the assist in explaining it.}

Screen shot is your best friend. Do you have an iPhone? If so, all you need to do is line up the text you want to save on your screen and hold down the power button on the top and the home button. The screen will kind of flicker/flash. If you go to your camera roll, you will see that the screen shot is in your camera roll. Move it to your computer like you move your photos and you are good to go. It is a png file.

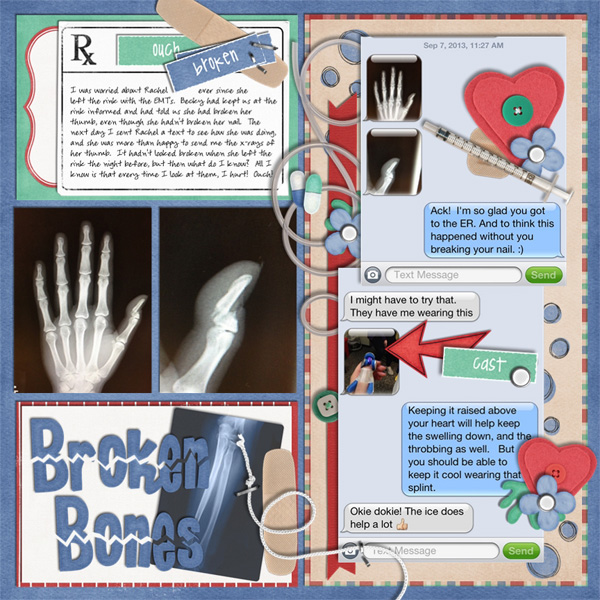
Now let me show you the layouts the CT Ladies created. This is by Jan (QuiltyMom). She used Get Well Soon! Aren’t the x-rays a great addition. They really add depth to the layout. The arrow is from Big City.

jan

cc_getwellsoon_preview_2post     cc_getwellsoon_wordart_preview_2post     cc_inpocket_strips-01     cc_bigcity_blog

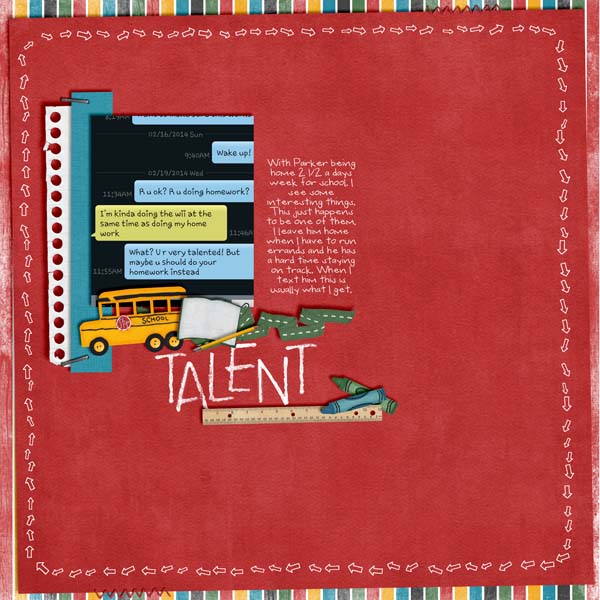
Next, Heather used her text messages about homework and a conversation with her son. I think children everywhere can multitask homework and a video game. LOL She used Back 2 School.

Heather

cc_back2school_preview_2_post     cc_fallsemester preview_2post

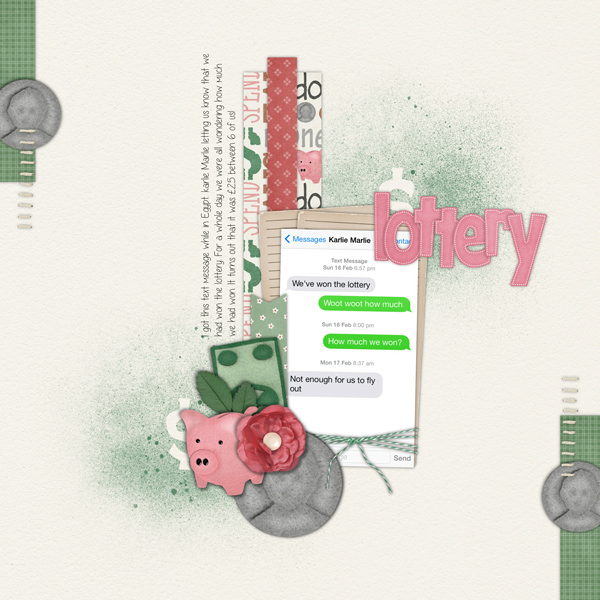
Next I have Helen’s text message about winning the Lottery! Isn’t this a fun layout idea? She used Money Money. Papers and flower from CTR {Trek} and the alpha from Pearly Whites

Helen

cc_moneymoney_kit     cc_CTRtrek_     cc_pearlywhites_preview_2post

Street Smarts & Make a Monster

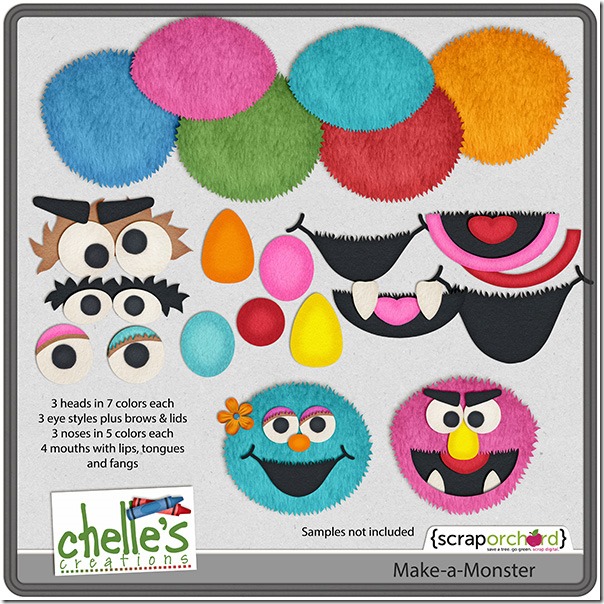
Somebody come and play! Chelle’s Creative Team did just that this week with her Street Smarts and Make a Monster. The combination of these two kits makes for an adorable digital scrapbooking page about playing, reading or coloring or any of your memories of a child’s preschool years. Let’s see what they did with it.

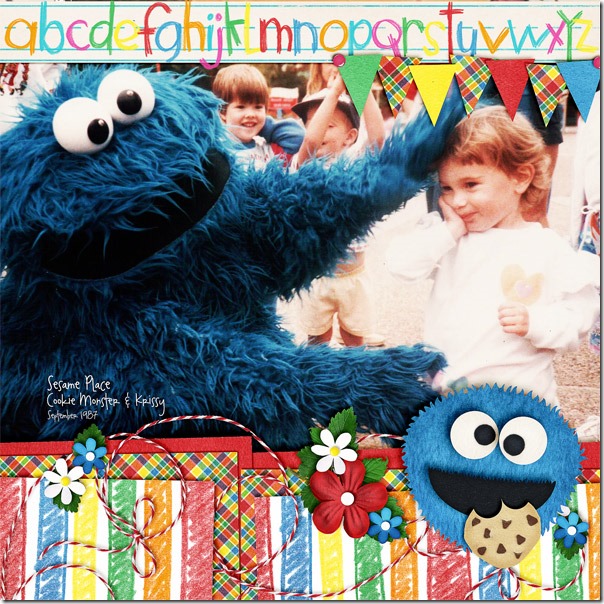
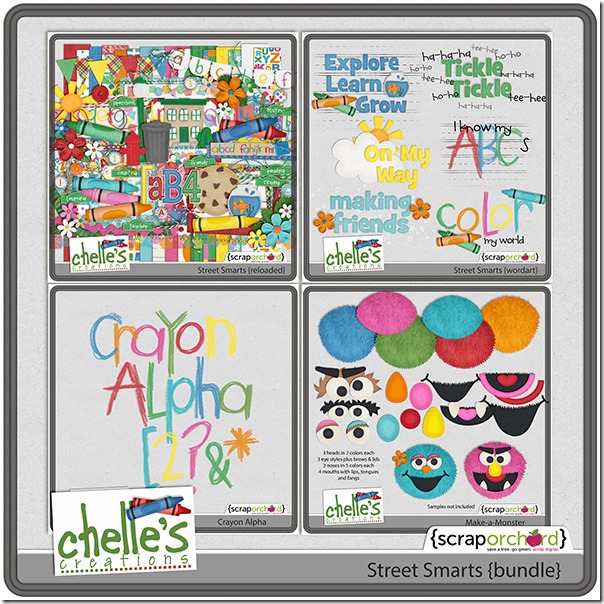
First, Donna created a digital felt monster to look just like the one in her large photo she took when her daughter Krissy visited Sesame Place. She used the Street Smarts {bundle}, which is a great deal since it includes the Street Smarts kit, Make a Monster, Word Art quickies, and the Crayon alpha.  web_djp332_cc_streetsmarts

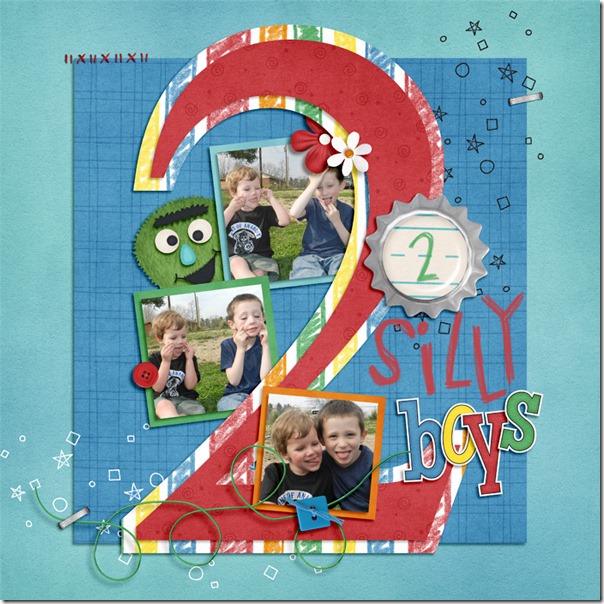
Next, Christine used some photos of her son and his friend having a silly time. The green monster she created is the perfect whimsical touch for the playful page. ol4ow

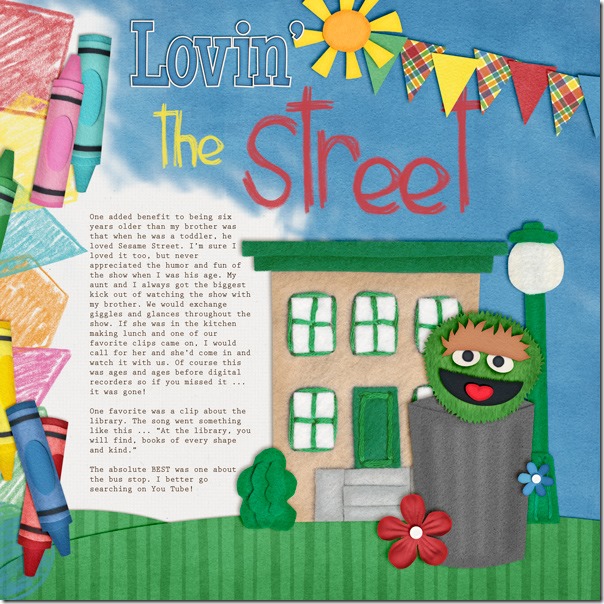
Finally, Kimberly had fun playing with the fun monster face pieces to build Oscar the Grouch. She used Chelle’s Me & My Shadow Styles to perfectly match the shadows in the felties and pre-made crayon border. She used a textured brush in PSE 11 to make a blended sky out of the solid blue paper with the white paper peeking through to highlight the journaling and make the sun look like it was chasing the clouds away. She clipped the green paper to oval shapes she made in PSE to give a ground to the felties.LovinTheStreet_zps9cf9f728

Like what you see? You can check it out more closely in the market. The images below are linked.cc_streetsmartscc_makeamonstercc_streetsmarts_bundle

by_Cheryl

Chelle Scraps | Digital Scrapbooking Inspiration

Hello! I have some of Chelle’s most recent layouts to share with you. I love to see how her creative process works. Looking at the kit she used and how it works for her in her digital scrapbooking.

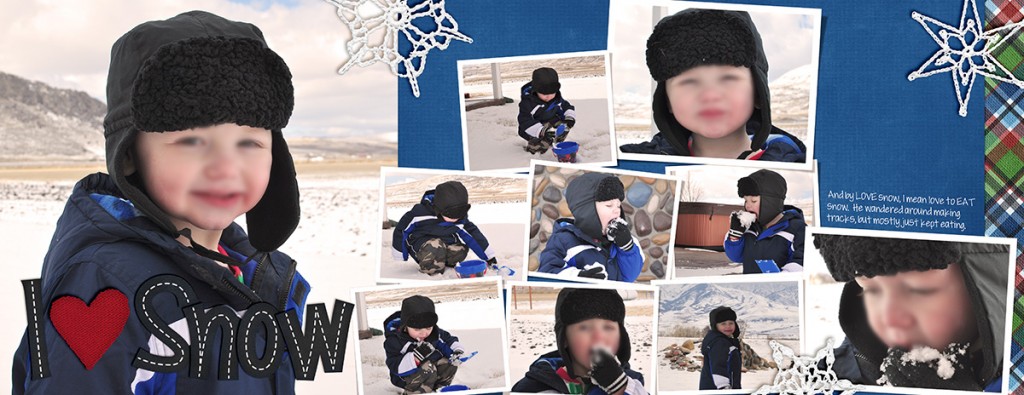
12_02_19_EatSnow_2post_blurred

Chelle told me she loves the new Basic Black Stitched Alpha and can’t get enough of them, it’s so fun and easy to use it to change colors and patterns.

cc_winterthrills_kit.jpg     cc_basicblackstitched copy

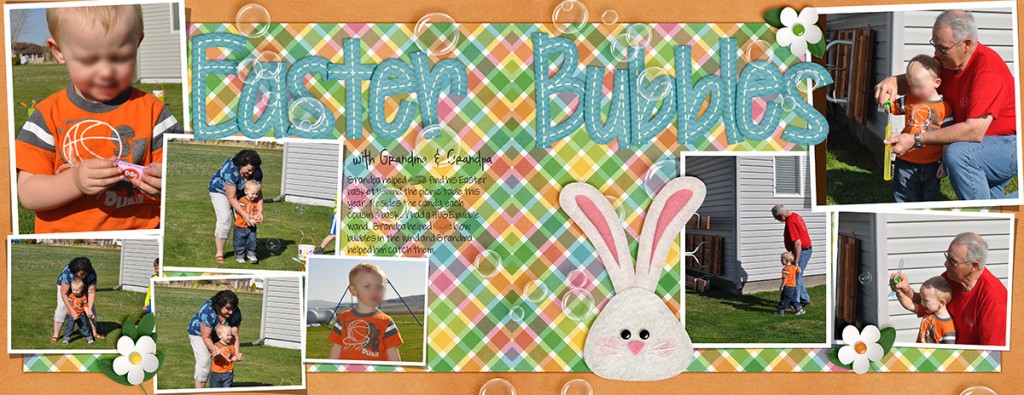
12_04_08 Easter_2post_blurred

Chelle used Hippity Hop Hop & the bubbles are from Kristin Aggard’s Splish Splash Kit.

cc_hippityhophop


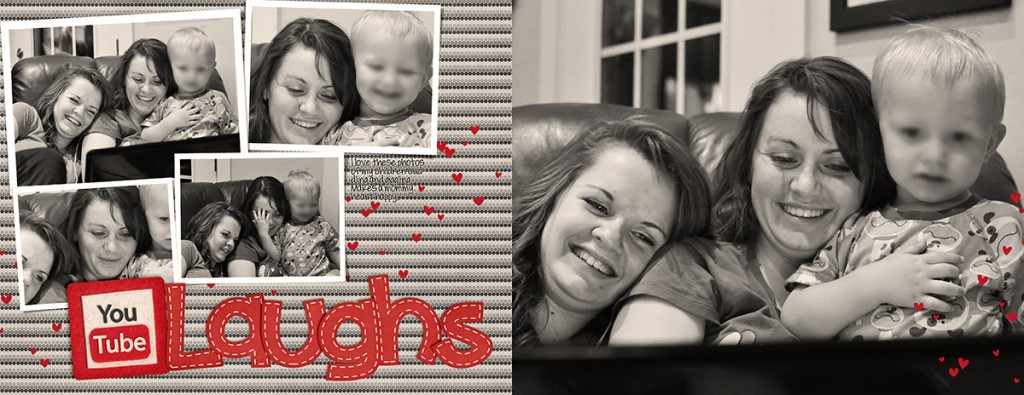
12_05_12_Kids_youtube_2post_blurred

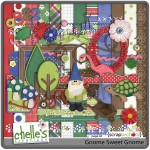
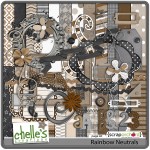
The Alpha is from Gnome Sweet Gnome, the paper is from Rainbow Neutrals and the hearts are from Techno Love.

cc_gnomesweetgnome_kit     cc_rainbowneutralss_kit     cc_technolove_kit.jpg


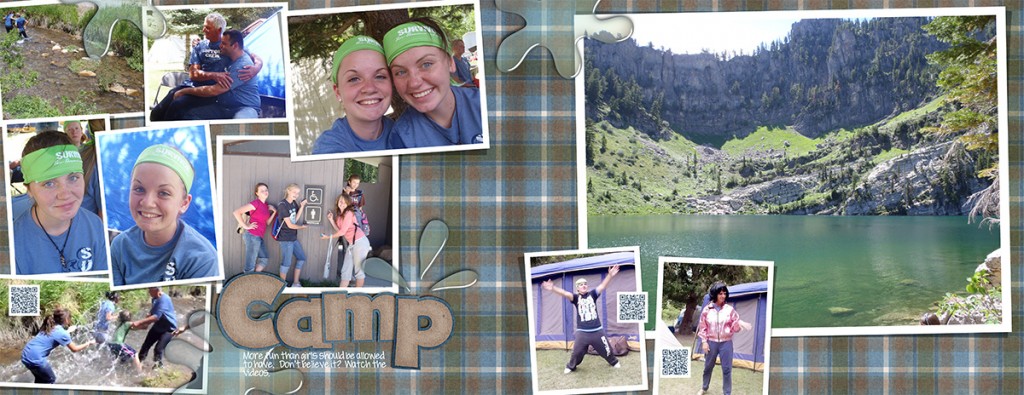
12_07_19_Girlscamp_2post

cc_gonefishin_preview2post     cc_gonefishin_wordart_preview 2 post


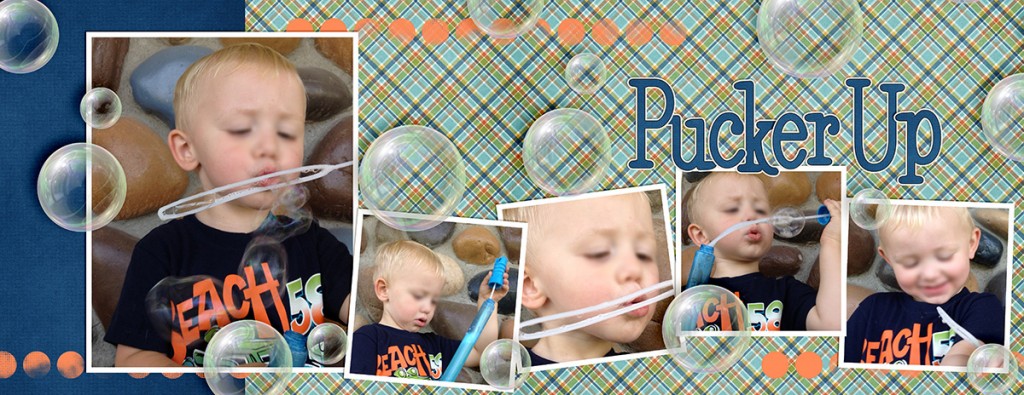
12_08_06_blowbubbles_2post_blurred

cc_aboutaboy

I can’t wait to see what Chelle comes up with for next week. Check back soon!

Ideas & Resources: Printed Guest Book

Ideas & Resources: Printed Guest Book

Hi Everyone! I’m here on one of my off weeks – this is Jenn, jk703! I used to be super duper crafty, but after kids, I lost interest in the glue and all the clean up! That’s when I became obsessed with digital scrapbooking! Recently, I did something that I’ve never done before! So, today, I’m going to share my story – Ideas & Resources: Printed Guest Book!
I’ve been scrapping for a few years now, and have printed my digital pages.  I was thrown for a loop when I was asked IF I could create a special gift for my husband’s cousin. A Guest Book for her wedding. Hmmm….I needed to create a masterpiece! Well, I took on that challenge and it was a bit of a stumble for me to start.  I scrap 12×12, but the book was going to be 8.5 x 11. I was limited on the pages, and what pictures would be included. What really through me for a loop was that I was scrapping for someone else, and I was completely worried she wouldn’t like our gift! But, after working hard, getting feedback, I loved the book! I’ve only included a few of the pages here, but I wasn’t disappointed in the least! I even mentioned and shared my Album with Liz of Scrapping with Liz, so maybe in the future there might be templates available. Check this out!

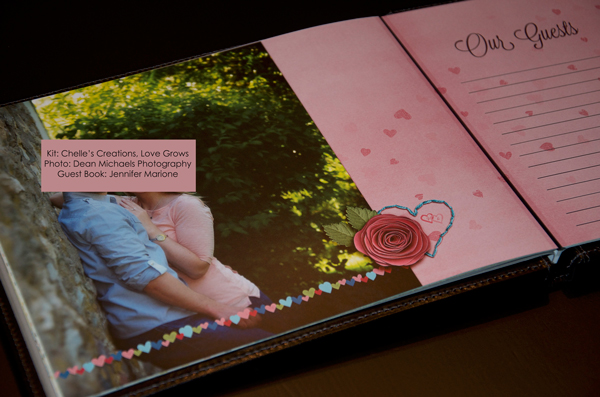
I’ve tried to share the photos with allowing for some privacy, so I added the information to the pages. Hope you understand. This was a Lay Flat printed book from My Publisher. First page uses Love Grows.

GuestBook1


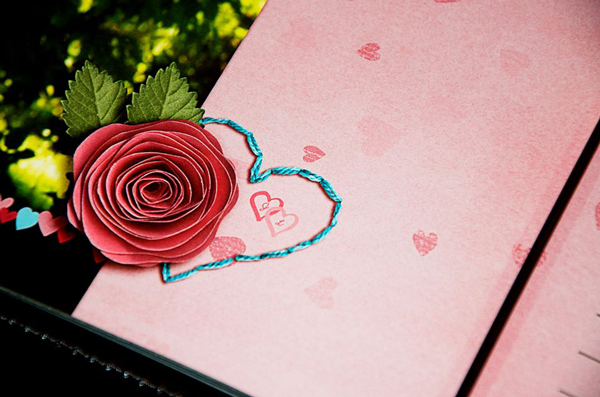
I lightened this picture up a little, just to show the detail. I added initials inside the little heart stamp. Just to add a little personal touch. Kit: Love Grows.

GuestBook2

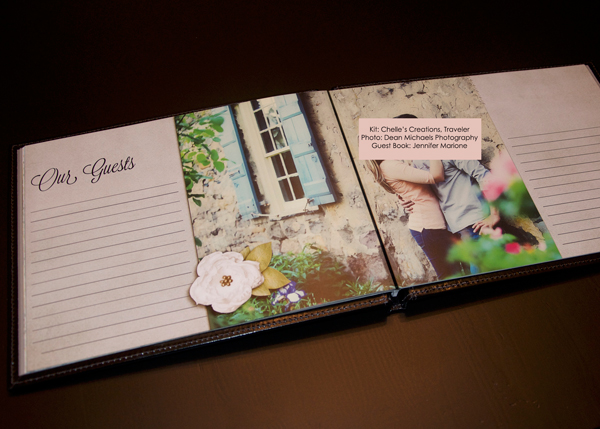
This page was a bit tough for me to create, only since I wanted to have the writing lines on each side, as well as keeping the couple intact. I was trying to mix up the formats of the pages, and it worked perfectly in the end. Kit for this page is Traveler.

GuestBook3

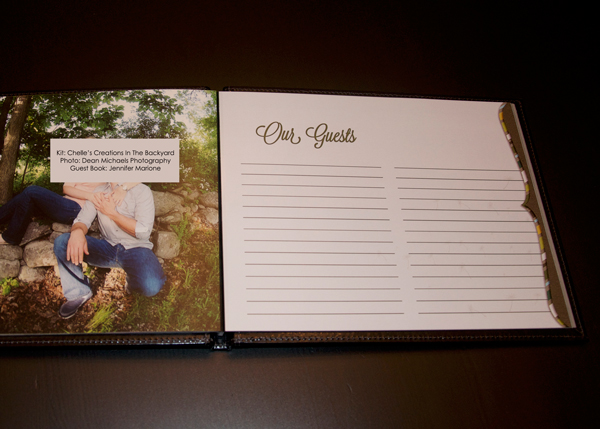
This next page uses In The Backyard. Working with the photos and colors, this one really was a fun page.


GuestBook4

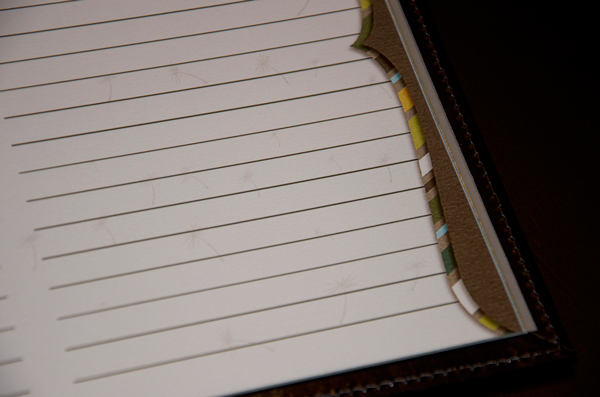
Here is a detail shot of the dandelion seeds that are on the lined side of the page. Faint, but I didn’t want to distract form the message being left.

GuestBook5


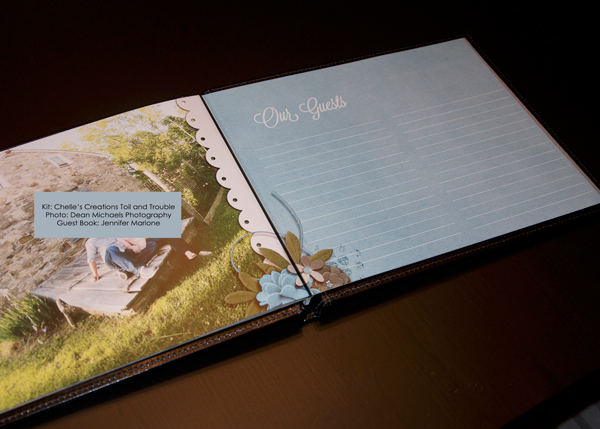
Trying to make the book continuous, yet different for every page depended on the coloring of the photos and what layout I finally settled on. I did’t want every page to be creme or pale colors, so I tried to mix up the colors. Kit Used: Toil and Trouble.

GuestBook6

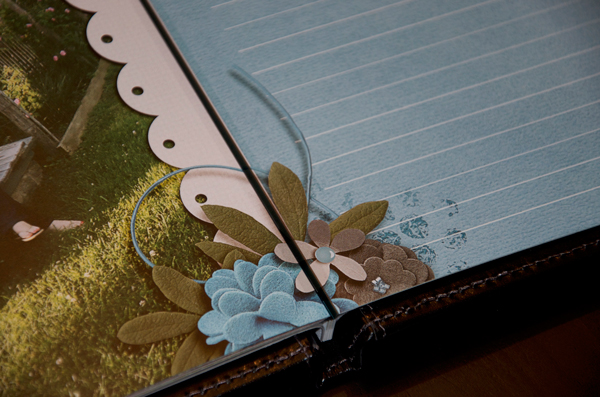
Close up of how the printing for the lay Flat book worked. I was worried, but they turned out awesome!

GuestBook7

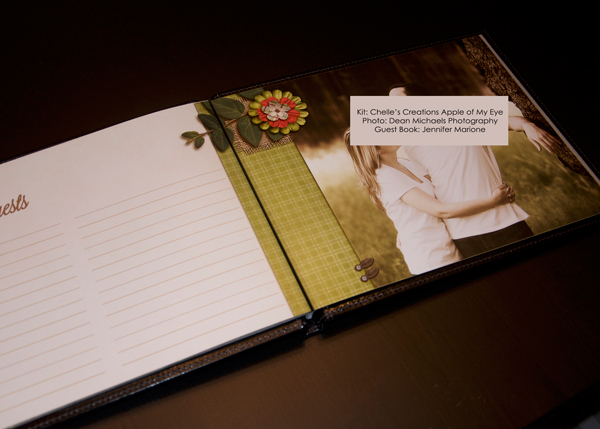
Another page with some details, but mainly the photos take center stage. Kit Used: Apple Of My Eye.

GuestBook8

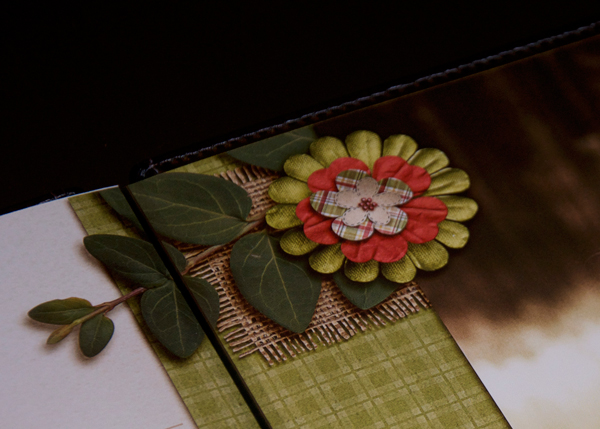
Close Up of the flower and burlap.

GuestBook9


There you have it… Ideas & Resources: Printed Guest Book. I loved the book so much, that I wanted to keep a copy for myself! I was so excited when they were delivered!

Oh… She LOVED the book, and so many people commented on it at her wedding. To me, and to her family! It was a special, one of a kind item that she can treasure.

by_Jenn


Using Paint Splats

Here’s a fun thing to do on your digital scrapbooking pages: use paint splats! Lots of kits and collections come with paint splats and splatters. Chelle’s Creations even has some CU paint splats in the market. Last week, Jenn wrote a blog post about using paint to highlight a title, and today Chelle’s creative team has been playing with different ways to use them on pages.

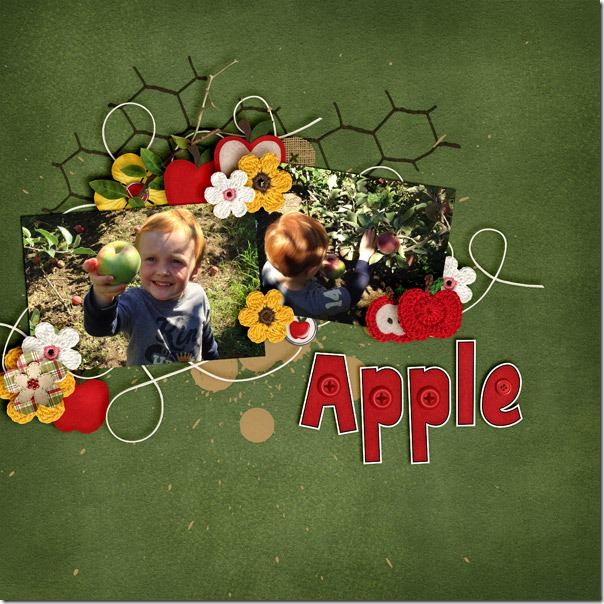
Jenny used the Apple of My Eye bundle to make her page. She used the paint splats as part of a large cluster of elements highlighting her adorable photos. (I absolutely LOVE that buttoned alpha in the bundle). Apple-Orchard-2013---1_web

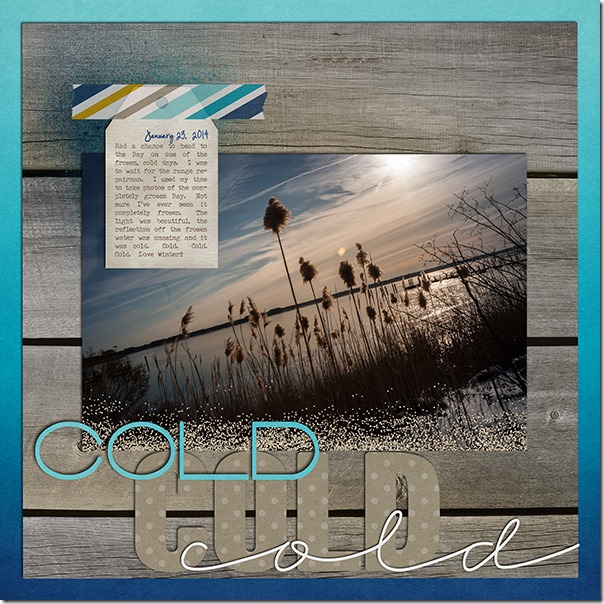
Jenn was feeling creative and headed to the bay to take photos on a really cold day. I like that idea! She used At the Beach, and she used the paint splat as a base for her journal tag. 14_2014_cold_600_zps8cf29e6d

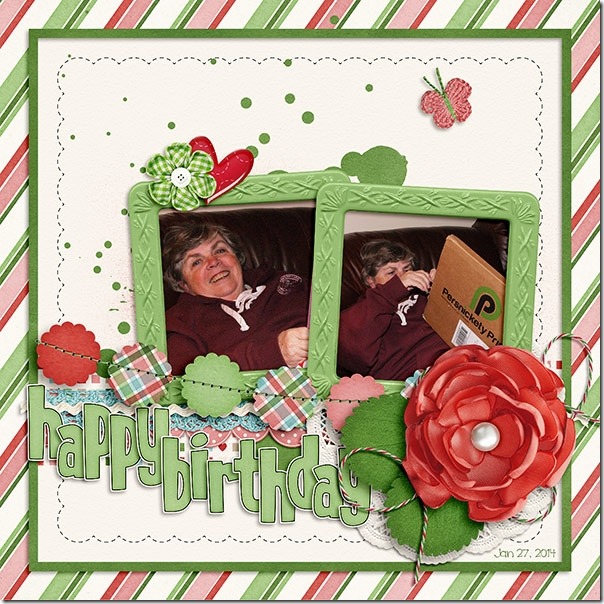
Finally, Jennifer used Berry Berry Sweet to make a birthday page, and she used Chelle’s CU Paint Splats to show you how to add them to a page. They are very versatile being easily recolored to match any kit. 39456

Digital paint – so much less messy than the real stuff, and yet it still feels like playing with paint when I add it to my page! Have you tried it? I think you’ll agree with me, if you do.

by_Cheryl

Unlikely Pairs O Holy Night & Graduation | Digital Scrapbooking Kit Coimbinations

Hello Friends!

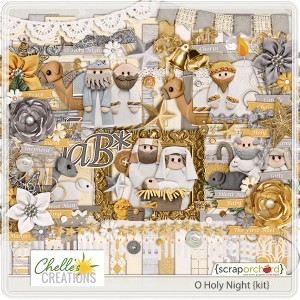
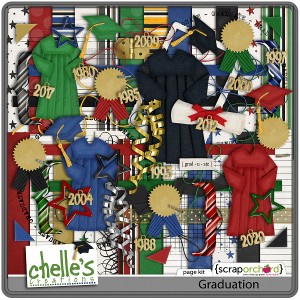
This week I challenged our creative team to combine O Holy Night & Graduation and then make a digital scrapbooking layout. When I look at these 2 kits, I don’t see a merge very easily. See what I mean…. (just look at them)

cc_oholynight     cc_graduation_kit

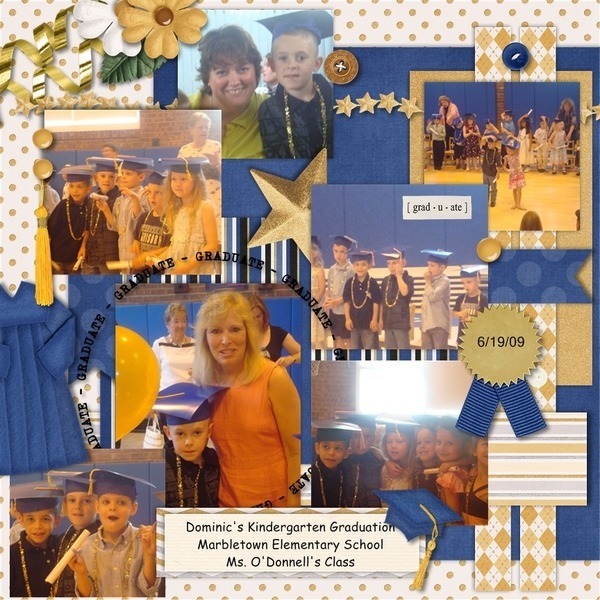
Now let me show you what the ladies’ came up with. Teresa used these 2 fine kits for her son’s graduation in 2009.

Teresa

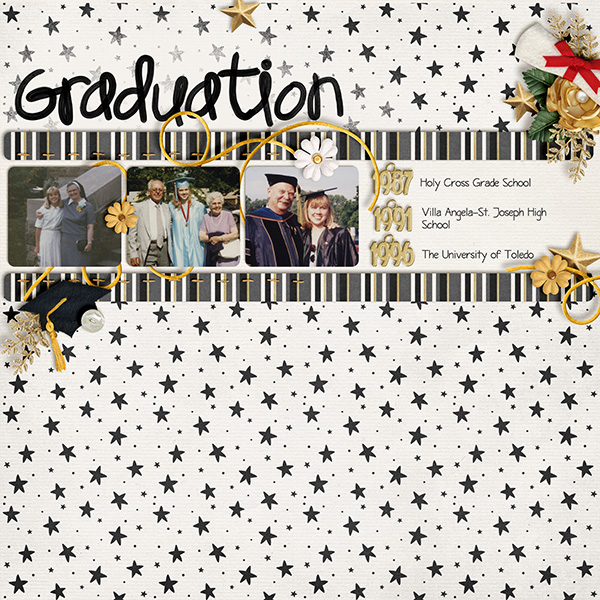
Next, Karen used them to create her graduation layout. Love those faded out stars.

Karen

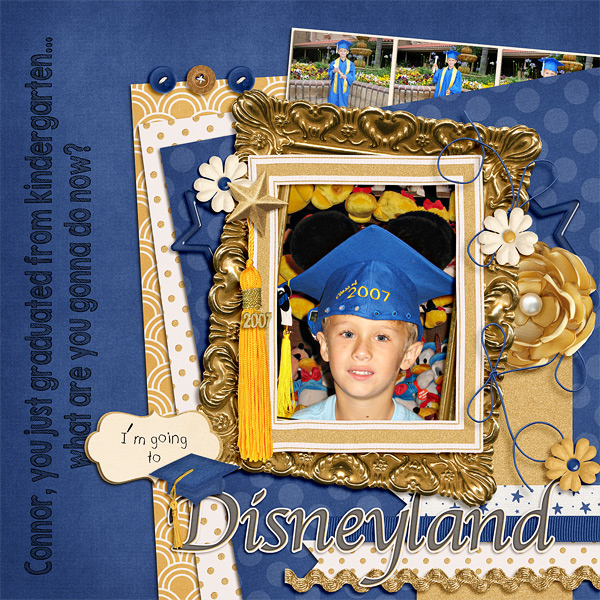
Next, Tammy created her graduation layout with that time-honored question, “You just graduated from Kindergarten, Where do you want to go now? {Love the humor.}

Tammy

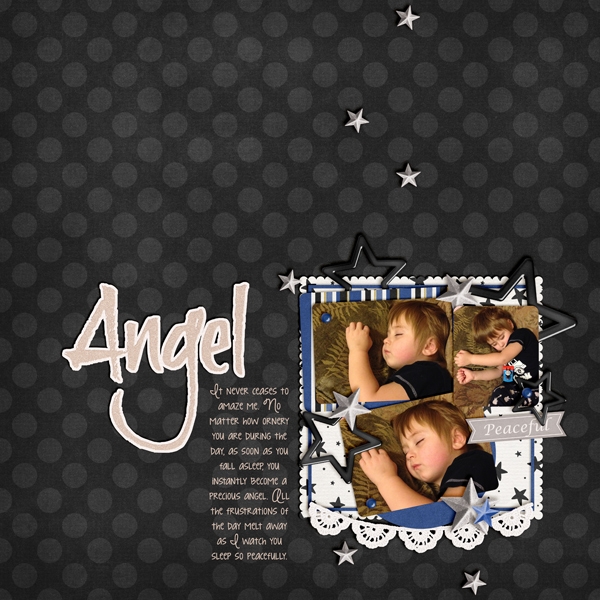
Next, Krista’s use of the two kits tugs at my heart. A lovely use of the 2 kits. Angel.

Krista

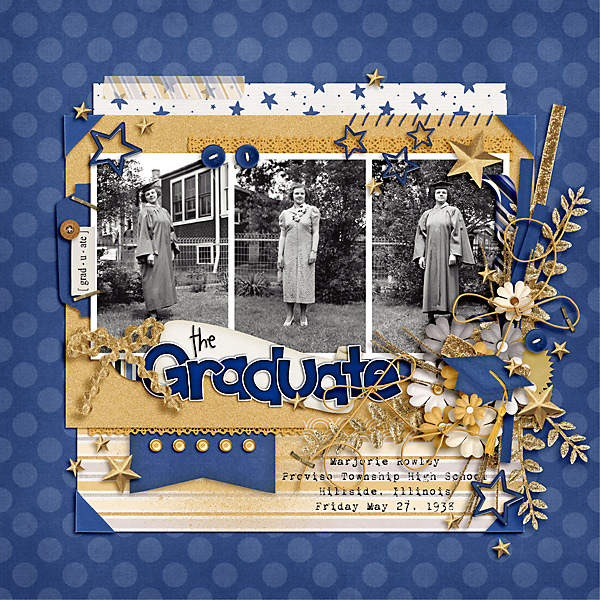
Last, Carol used the 2 kits for this graduation layout. Love the use of  the grasses and the cluster she created.

Carol

Isn’t it enjoyable to see how differently we each would combine 2 kits for one layout? Show me what you would do. Post it in the gallery. I look every week to see what’s newly posted.