Resolutions! For or Against? | Digital Scrapbooking Resources

Are you a resolution setter or are they a waste of time for you? Maybe you sit somewhere in the middle. I’m definitely in the middle category. I think it’s good to always challenge myself with daily exercise, I don’t think I should set out to do it on January 1st. We challenged our team to show us what they think about resolutions!  I purposely left the instructions rather vague, as I wanted their unbiased opinions. Here are their ideas.

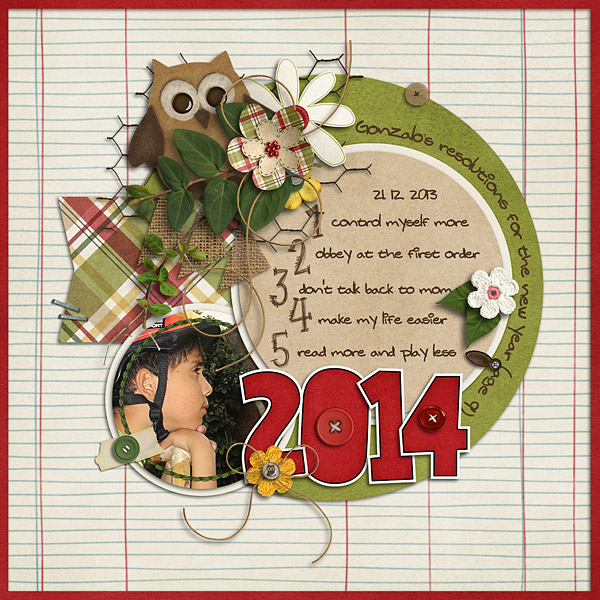
Roxana interviewed her son. English is a second-language for him, so writing everything down as he said them, adds to the story her layout tells. She used Apple of my Eye, AOME Bonus Alpha, Buttoned, and Scribbles Alpha.

Roxana

cc_applemyeye_bndle     cc_scribbles2

Jan has a definite opinion about resolutions. She used O Holy Night to make her thoughts known.

Janm600.

cc_oholynight

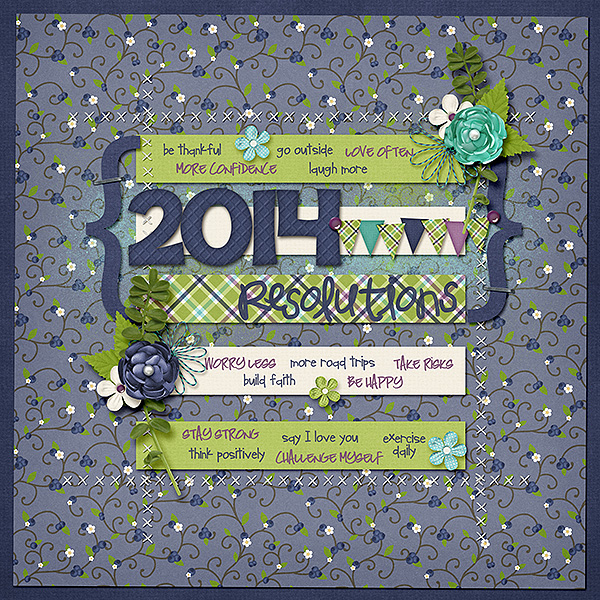
Karen listed her resolutions using this fancy layout. She used Berry Berry Blue to make her feelings known.

Karen

cc_berryberryblue

There are lots of ways to scrap your resolutions. With pictures, without, large letters or small and delicate. Why not do a layout today or go back to January of 2013 and see if you are still For or Against them.

Using Glitter and Glitter Styles

Chelle recently released some new glitter styles and her creative team members have been playing with these and other glitter elements on their digital scrapbooking pages. Take a look!

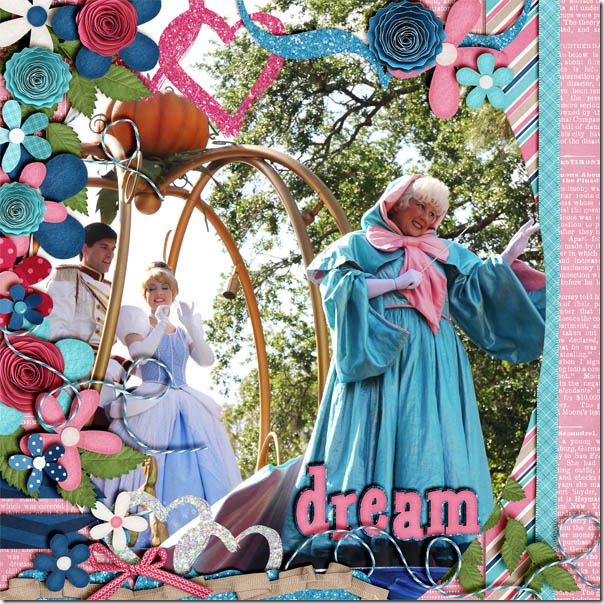
Jenn used a template by Fiddle Dee Dee Designs (Center of Attention) combined with Chelle’s kit Love Grows and her CU Iridescent Glitter Styles to create her page. She used the glitter styles to add sparkle to a bracket paper shape included in the template and to several hearts used for embellishment around the page. It’s the perfect touch for a page about a favorite princess. dream

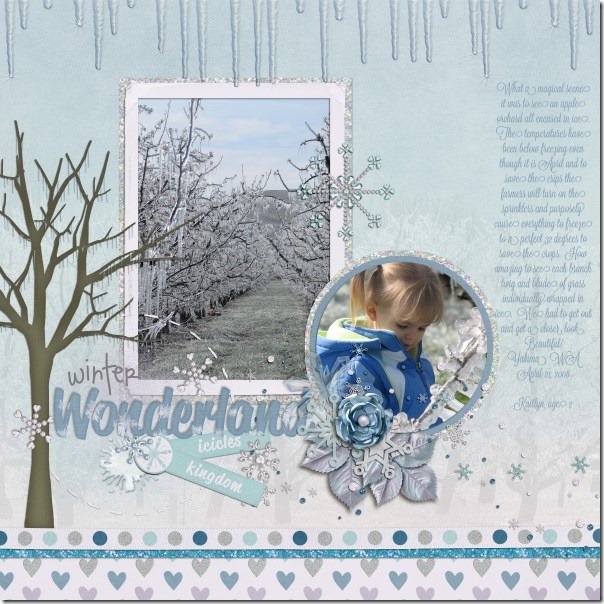
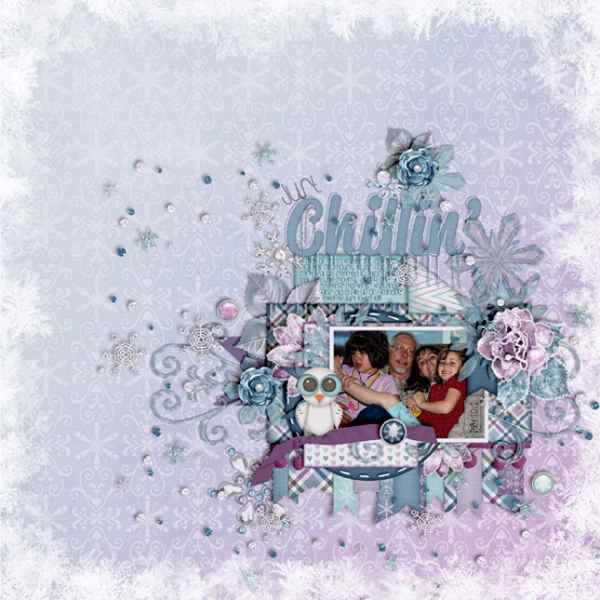
Next, Lisa shows us that the glitter styles look fantastic with a snowy page. She used glitter to embellish this magical snow scene she created using Chelle’s Snowlandia kit which is full of sparkly elements. I love the sparkling frames around the photos to draw attention to the focus of the page. She also has a small strip of glitter paper peeking out in the layers at the bottom of the page.1-2SnowlandiaGlitter600x600

If you don’t want to use the glitter styles, or if your program doesn’t allow use of them, you can still add the sparkle. Several of Chelle’s kits come with elements that are glittered for you already. Helen has used one of them for her page. She used Pearly Whites for her creation. This kit includes a glitter frame in three colors, so it makes it quite easy to add a touch of shine to your project. Helen-pearly-white

Finally, Kimberly show us how to add lots of shine and sparkle to a page. In addition to applying the CU Iridescent Glitter Styles to several of the paper mats, Kimberly used a gem from Girlfriend and utilized the same glitter style and CU Metal Style to create different looking centers to the flowers. She also added the purple glitter style to the white stitched border from the kit Mane Event. One great feature of the two styles is that they work nicely with the Me and My Shadow styles. It doesn’t matter which style you apply first. Now take a close look at the silver metal flower in the bottom left cluster on the page. Kimberly used a doodled flower from Girlfriend and added the CU Metal Style to it to totally change the look and add another element of sparkle to her page. 2013_01-evening-of-the-artsLGFD-WWood-SO-PSD_zpsec01f5bb

That’s a lot of bling, right? I’m inspired to dress up my next page as I’m sure you are.

by_Cheryl

Perfect Pairs! In the Backyard & Let’s Camp S’more | Digital Scrapbooking Kit Combinations

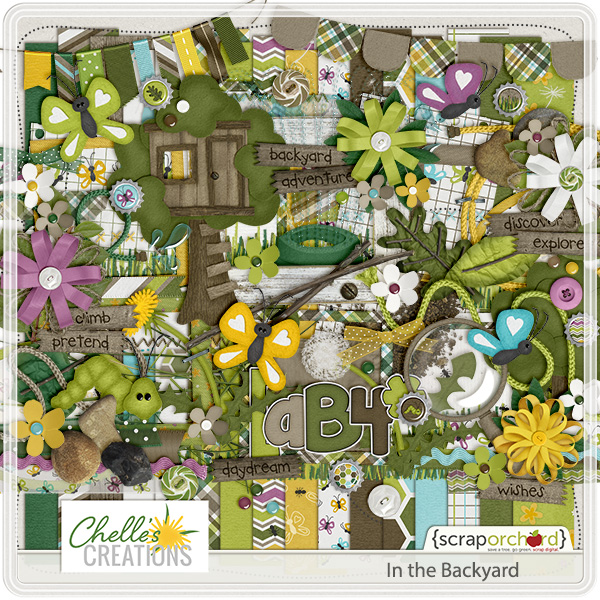
Hello Everyone! How’s your January plugging along? Let me show you what the design team came up with in their digital scrapbooking layouts.. It seems like most of the US is under a freeze warning. So the perfect pair kits should really warm you up. In the Backyard & Let’s Camp S’more. I’ve included all the products down below and they are linked to the market.

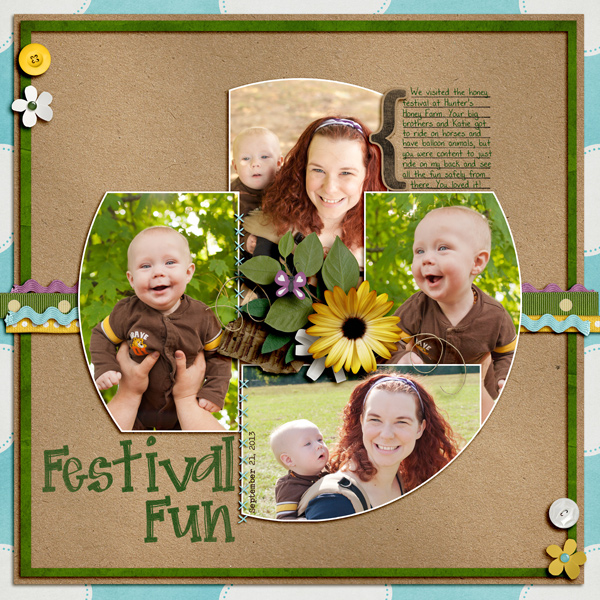
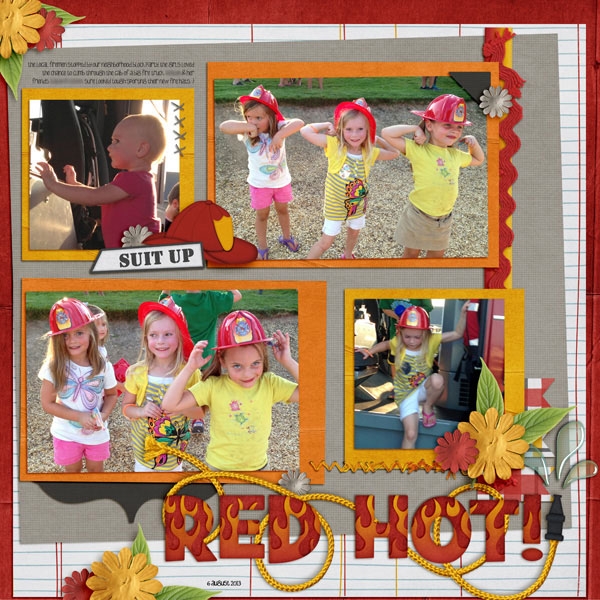
First we have Jen (SuperGirlJennie) She shares pictures of her family enjoying a summer festival. I like the rounded edges of her pictures.

Jen (SuperGirl)

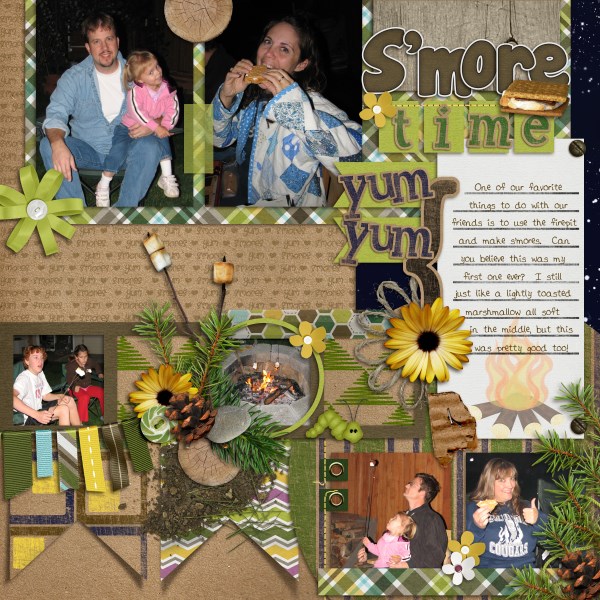
Next, Lisa (Kelseyll) She shares her families love of S’mores. Seriously, who doesn’t love a S’more. All that gooey chocolate and marshmallow, surrounded by graham crackers. Yum!

Kelseyll

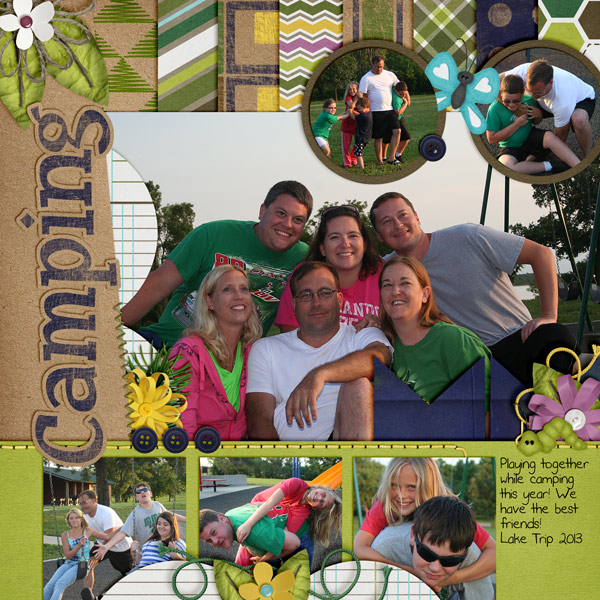
Melissa N (KSCroppyChic) made an eye-catching layout of her summer camp out. Love her cluster with the little worm.

KSCroppyChic

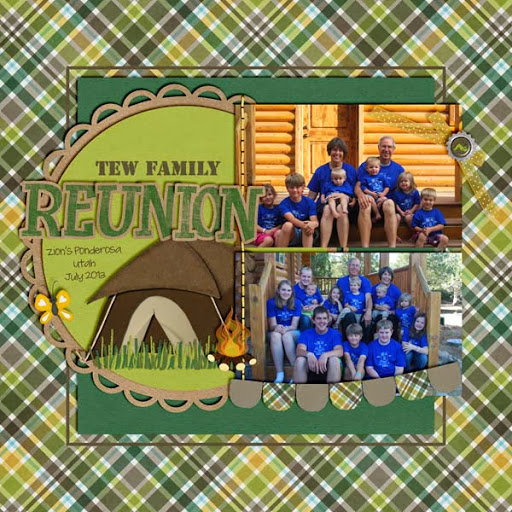
Heather (htew) Her layout using the plaid paper in these 2 kits is a great background to her LO. I like the edges she puts around off of her pictures. Banners & Scallops. They create really interesting depth in the LO.

htew


Here are the products used. They are linked up in the market for you.

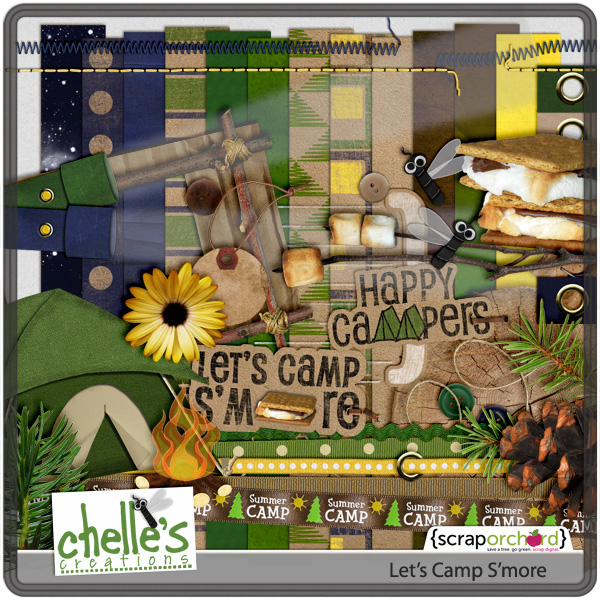
cc_letscampsmore_preview 2 postHere are the other coordinating peices.

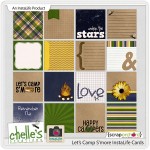
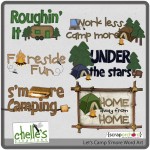
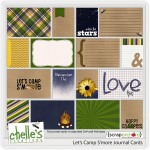
cc_lcsmr_instalife  cc_letscampsmore_WA_preview 2 post     cc_lcsmr_jc


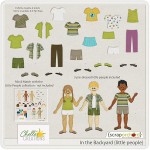
cc_inthebackyard

The coordinating product.

cc_inthebackyard_littlepeople

New Year’s Eve Playdate | Digital Scrapbooking Week In Review

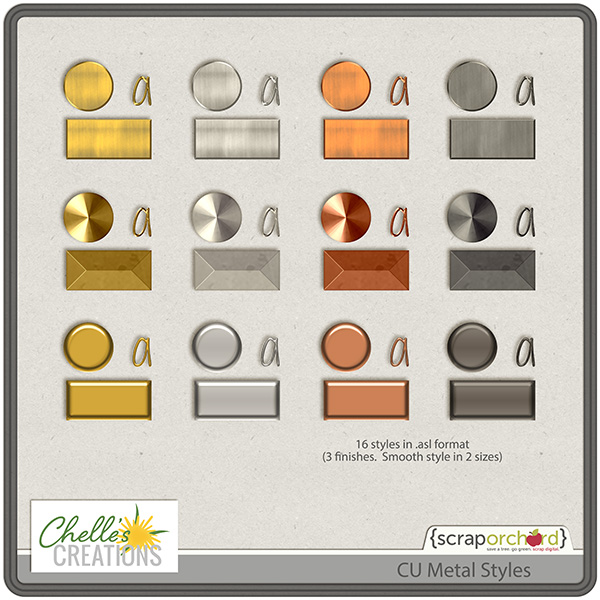
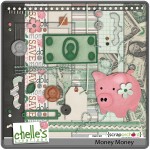
Hello Friends! Hope your New Year’s Eve was great fun! Have any new digital scrapbooking resolutions? Why not try out Chelle’s new CU Metal Styles? Wouldn’t it be fun to add these different metals (gold…copper…nickel…or iron) to you digital scrapbooking layouts? I’ve linked the image to the market for you. I think of Silver Bells, Silver & Gold, & Copper pennies. I can see some great LO’s using Christmas Carols & Chelle’s Money Money Mini. Maybe your New Year, New You goal is to expand your digital scrapbooking skills. Try ’em out.

cc_CU_metal_styles

cc_moneymoney_kit

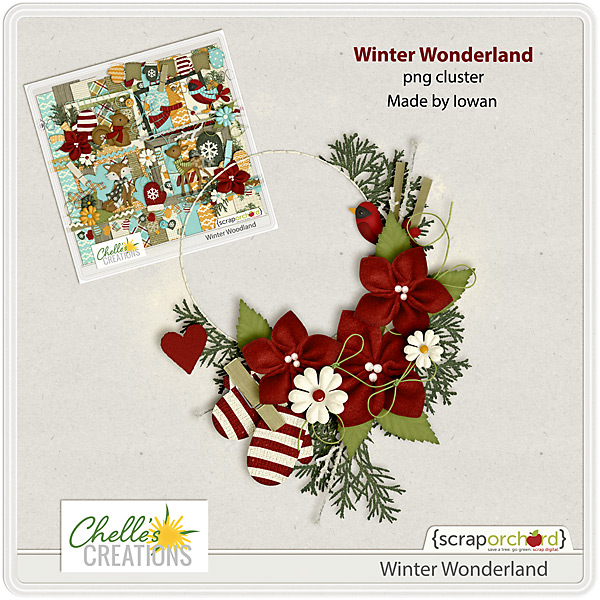
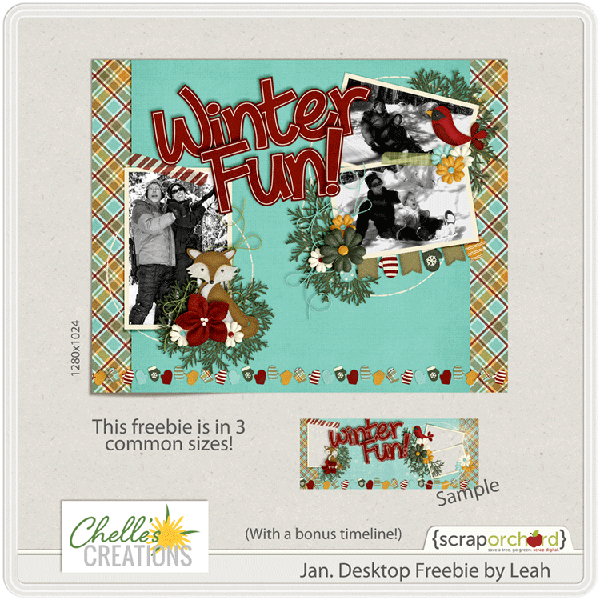
Did you pick up the FREEBIES available on Chelle’s blog this week? There’s a cluster FREEBIE using Winter Woodland by Carol (Iowan) and

cc_1-2014_Freebie_IowanPV-copy-2

Leah created this desktop FREEBIE using Winter Woodland also. They are both linked to the blog for your convenience.

cc_jdesktop_freebie_winterwoodland_

If you missed out on this great mini, here are links to the market for you.

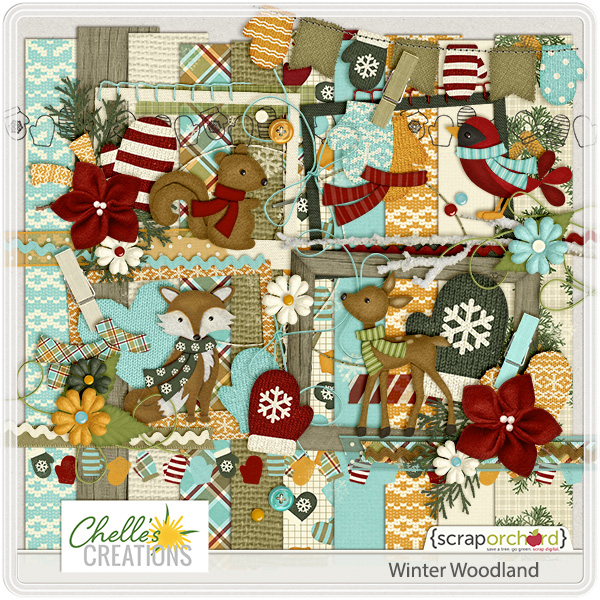
cc_winterwoodland     cc_winterwoodland_ap

Have a great week and keep stopping by the blog. We have some great NEW products releasing during January.

Hugs!

New Year – New Goals | Digital Scrapbooking Inspiration

Hey Scrappers!

Memory keeping takes time.  Sure, there are things you can do to be more efficient, but the reality is, it takes time.  Our “spare” time waxes and wanes, but overall we spend time on the things that are important to us.

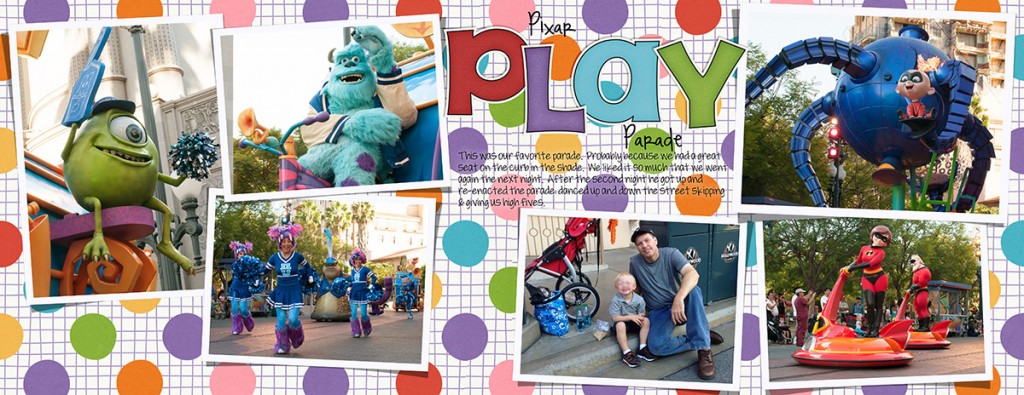
Last fall we took our youngest to Disneyland for 3 days.  I knew I didn’t want him to forget those magical moments…not now, not in 3 months, not ever.  But at the rate I was going, he’d see those pictures in a scrapbook about 3-5 years down the road.  I’m sure I’d’ve forgotten the little details by then.  So I changed up what I was doing.

1.  I committed to scrapping a layout every day until the project was complete.  Not every day forever, just until that one project was complete.  I wasn’t perfect at it.  I didn’t ‘keep score’ and have to ‘make up’ missed days.  But I did plan scrapping into my day.  (Scrapping a layout a day was a technique I used back in my paper days when my grown children were little…it helped me then when the photos were piling up faster than I could possibly scrap with 3 little ones.)

2. My layouts weren’t all gorgeous works of art with hundreds of layers and perfectly tweaked shadows.  Some were more complex, but i scrapped what I could fit into that day.  I chose templates that fit my style, focused on a few key elements for each page, and planned plenty of room for the story.
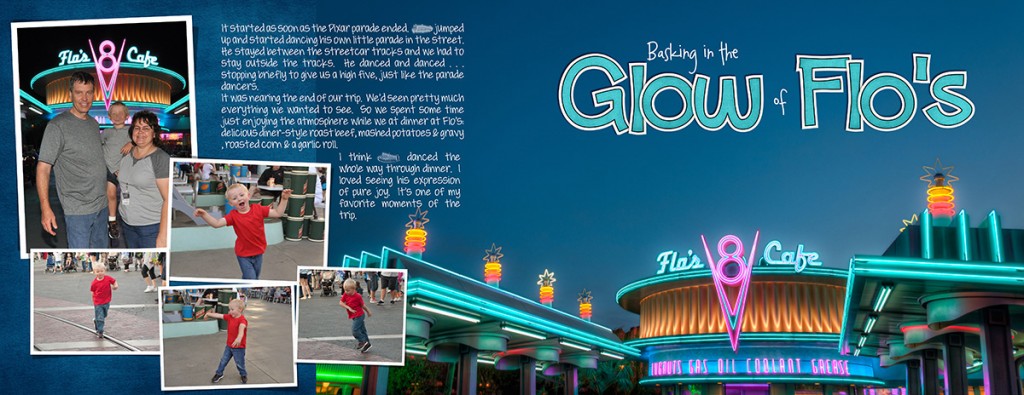
 

2013_disney_flos_2post_blur


2013_disney_pixar1_2post_blur

If I had more time, then I added more complex clusters, etc.
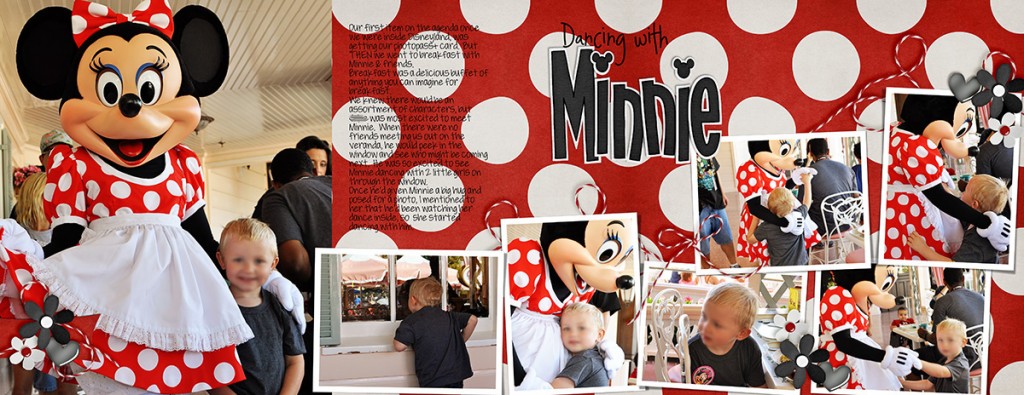
2013_disney_minnie_2post_blur

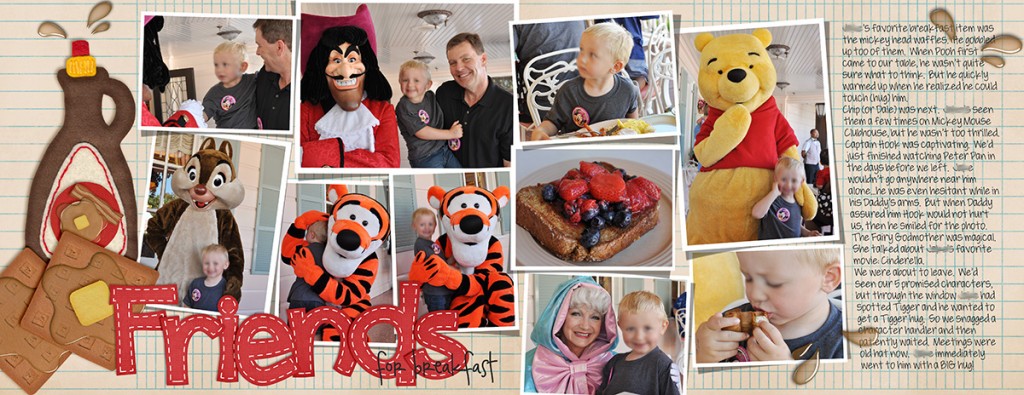
2013_disney_breakfast_2post

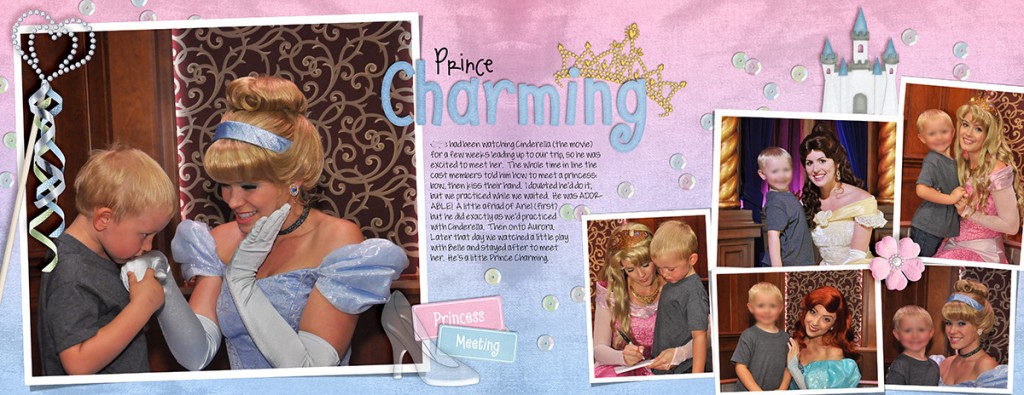
2013_1516_disney_princecharming_2post_blur

And it worked.  3 weeks after we returned I had a GORGEOUS album from Adoramapix in my hands.  And trust me, he LOVED it.
helovesit

I learned something very valuable:  Even with my busy schedule, I could fit scrapping a layout into MOST days.  And I remembered how much my family LOVES to look at the albums.  So I decided to stick with my layout a day habit just until the next project was complete.
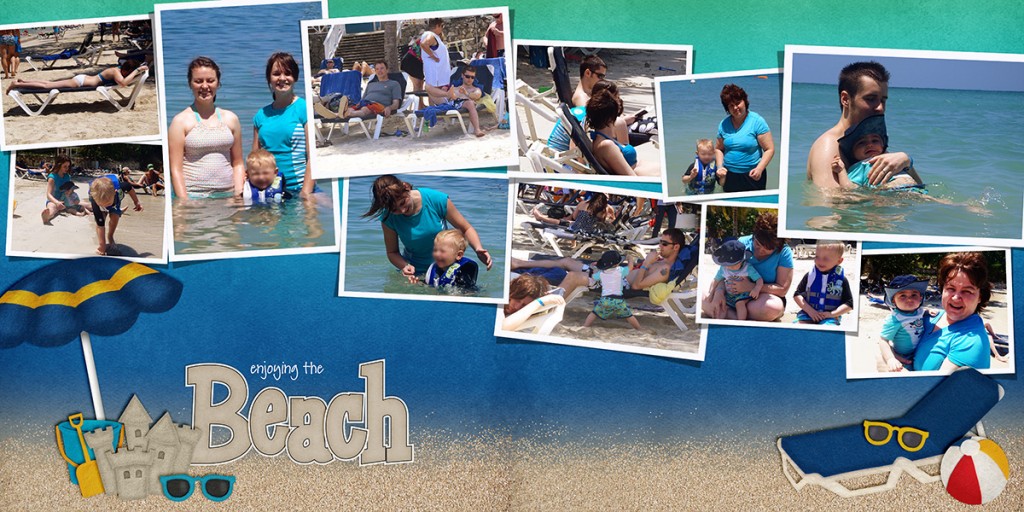
jamaica_ocean_1_2post_blur

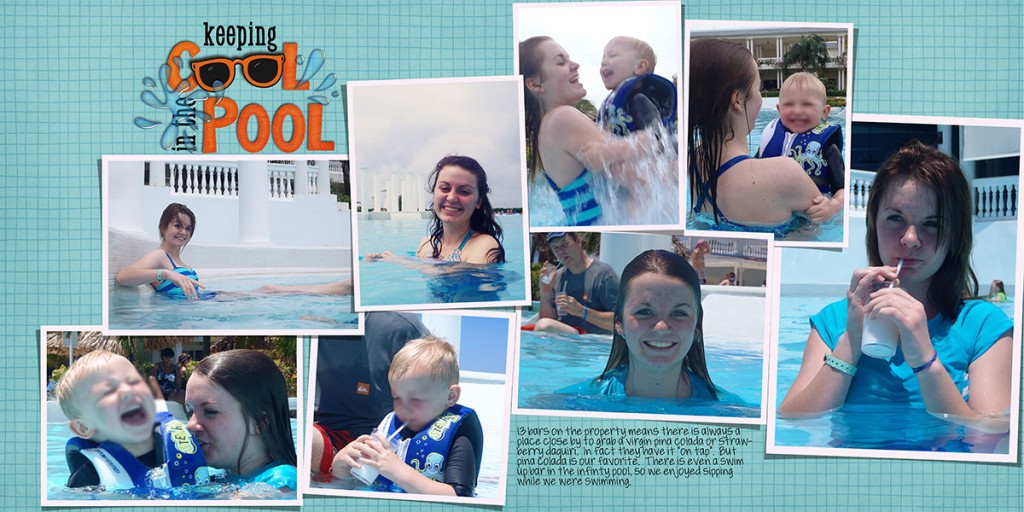
jamaica_pool_2post_blur

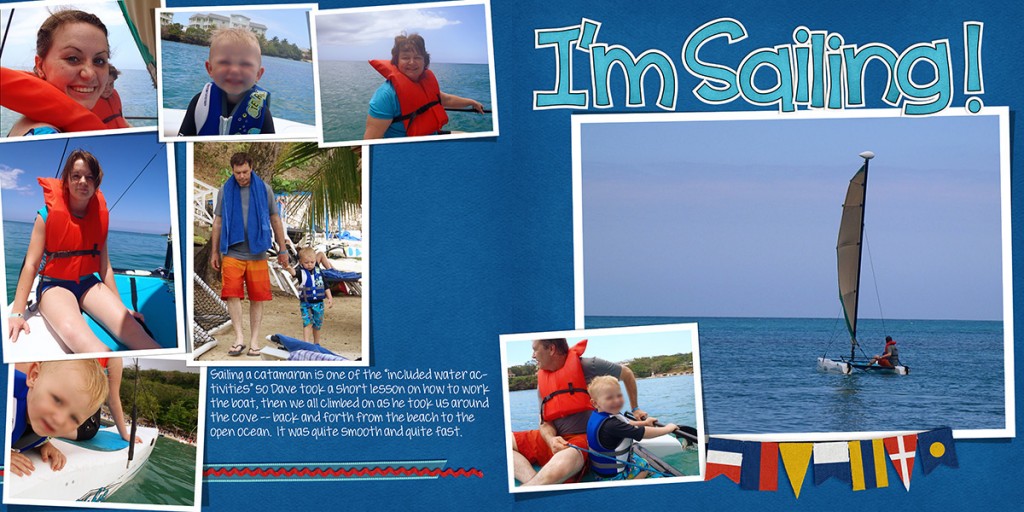
jamaica_sail_2post_blur

(Total silence on Christmas morning when everyone opened their book and soaked up the memories.)

And then I continued with a layout a day until my son’s baby book (his first year) was complete…  In fact, at this point the day doesn’t seem complete until I’ve scrapped a layout.  I don’t do it every day.  Some days are just too too busy.  I don’t punish myself for missing a day.  This isn’t about perfection, it’s about memory keeping.

SO…my goal for 2014 is to stick with my layout a day habit.  I would invite you to do the same.  Just one layout.  Doesn’t have to be the bestest-award-winning-layout-of-all-time.  Just a layout that savors a memory.

My plan is to keep you updated on how my goal is going each week.  I’ll post my layouts here (unless I’m keeping them a secret for gifts).  Are you in?  Let’s do this!
by chelle

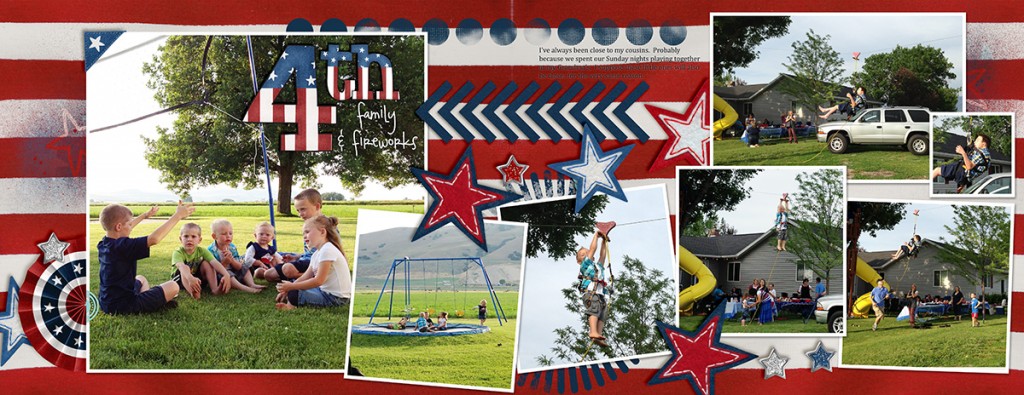
ps.  I almost forgot to do one last night.  LOL!  I tried some quick templates by Fiddle Dee Dee to make those layers & clusters quicker.  Love ’em.
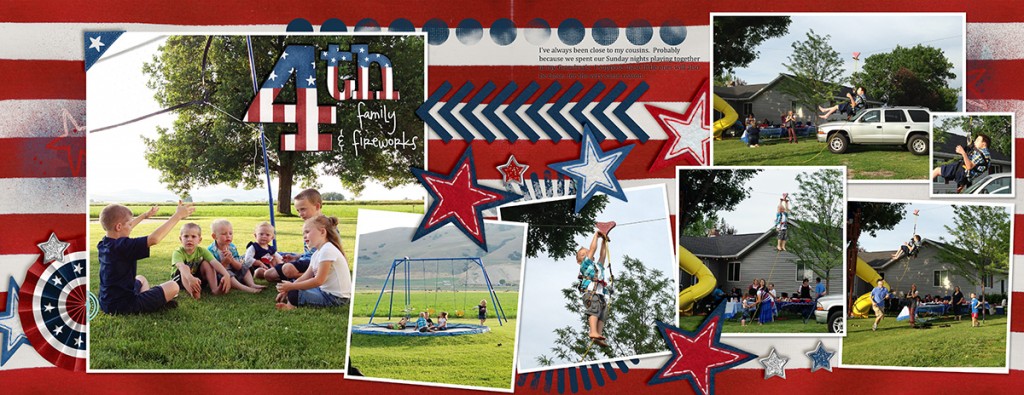
13_07_04_4th_cookout_2post

1.2 Tutorial: Folded Corners

1.2 Tutorial: Folded Corners

Hi Everyone!  Welcome to 2014! I’m Jenn, aka j703, and I’m  excited to start the year fresh and enjoy it! Let’s get to today’s Tutorial: Folded Corners!

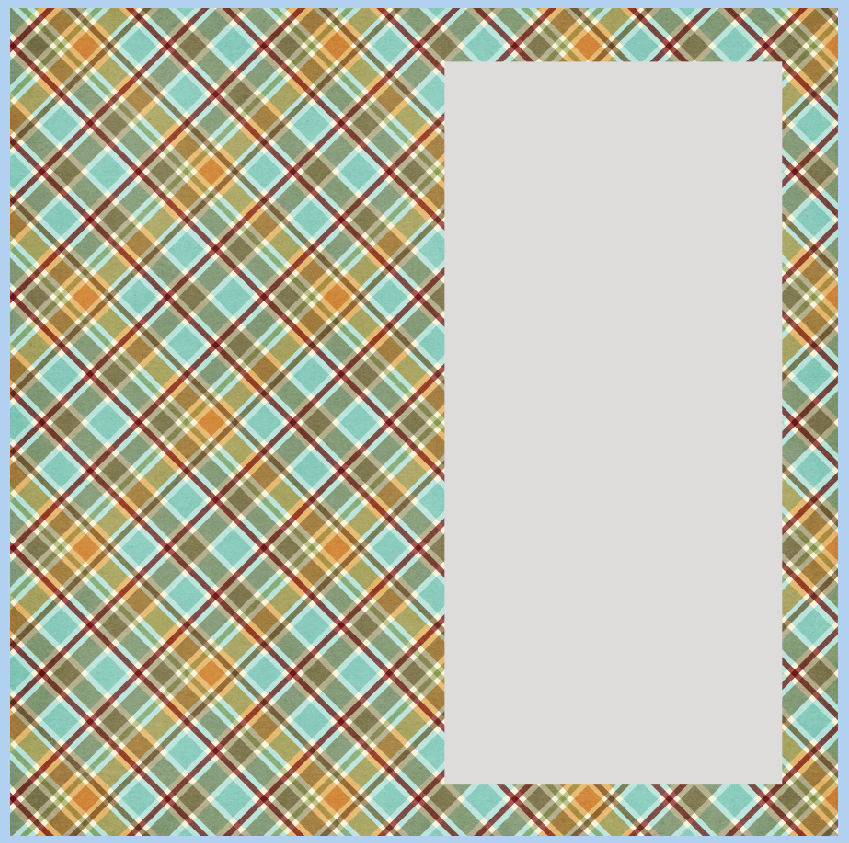
Begin your layout with a background paper, and a shape on top. For the tutorial, you will want a straight shape to easily try it out. I’ve chosen a rectangle – you can also try a circle or square. My examples uses Chelle’s Winter Woodlands kit.
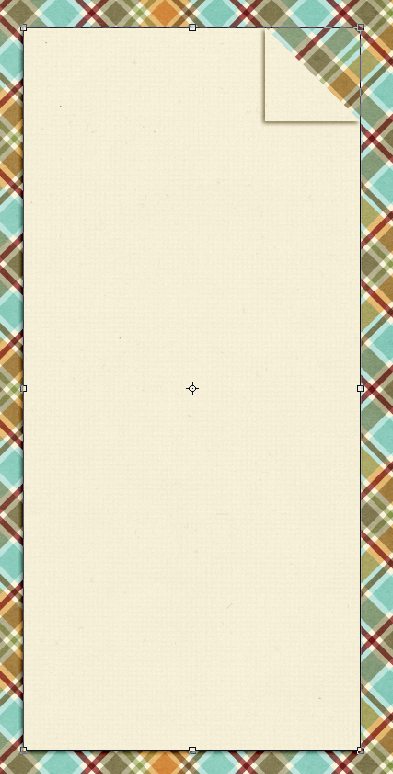
FC1

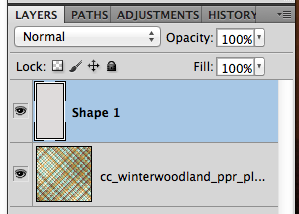
This is what my Layer’s Palette looks like:
FC2

Next, choose the Polygonal Lasso Tool. Click an hold the Lasso tool to get to the other tool options.
FC3

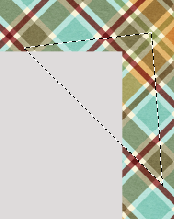
Once you have the Polygonal Lasso Tool selected, and the shape layer selected, click on the corner that you want to “flip.” I’ve created a triangular area that I will flip over, and once I connected all the points, the marching ants create the selection.
FC4

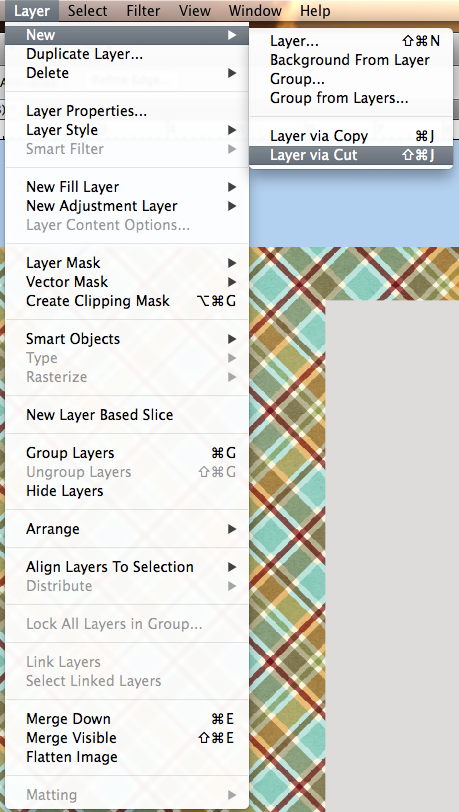
With the selection still marching, click on Layer > New > Layer Via Cut. This will cut the section out and put it on it’s own layer.
FC5

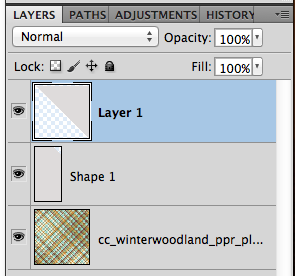
Here is what my Layers Palette looks like now. (If the ants are still marching, just press Command + D)
FC6

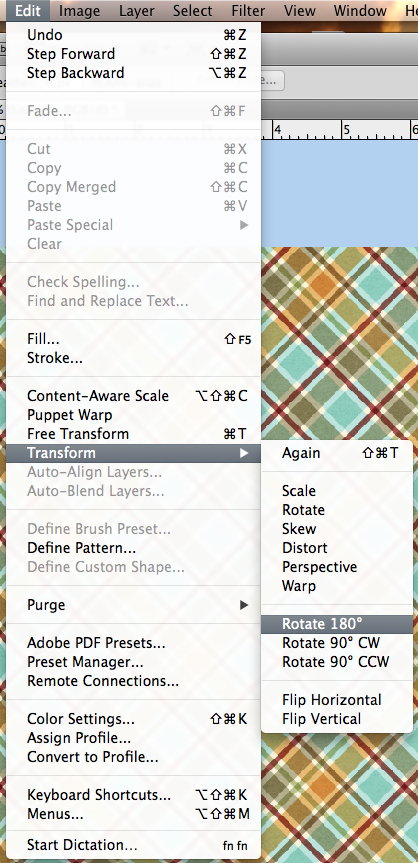
Now, with the new layer selected, choose Edit > Transform > Rotate 180*. Your shape should twist and not really be visible.
FC7

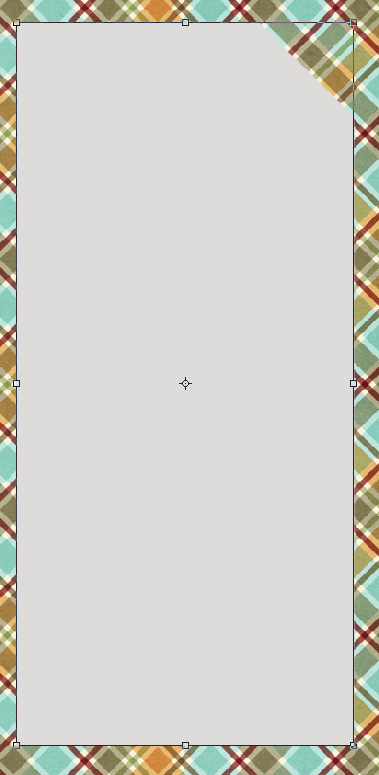
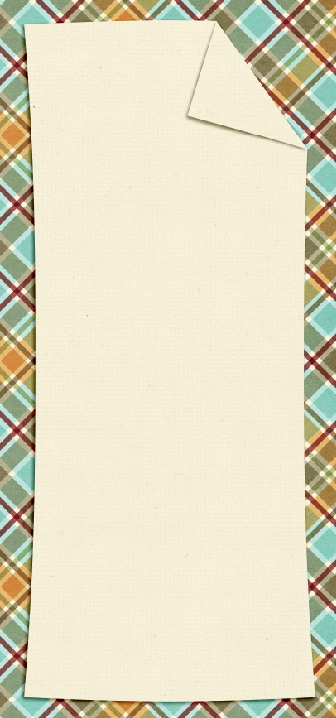
Here is what my shape looks like:
FC8

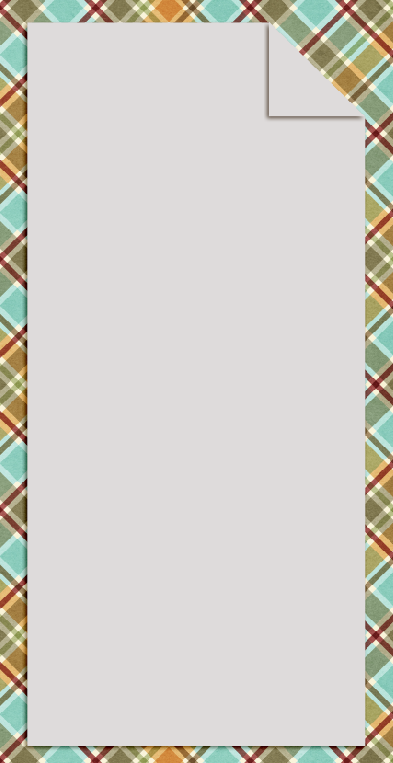
Add Shadows to all layers:
FC9

Add papers to all layers:
FC9a

Here is another example of a irregular shape. It’s a bit more tedious to get the edges/corners to line up. You may also want to warp the shadows a little using Edit > Transform > Warp. Irregular shapes are do-able, but take more time, and effort to get the same look.
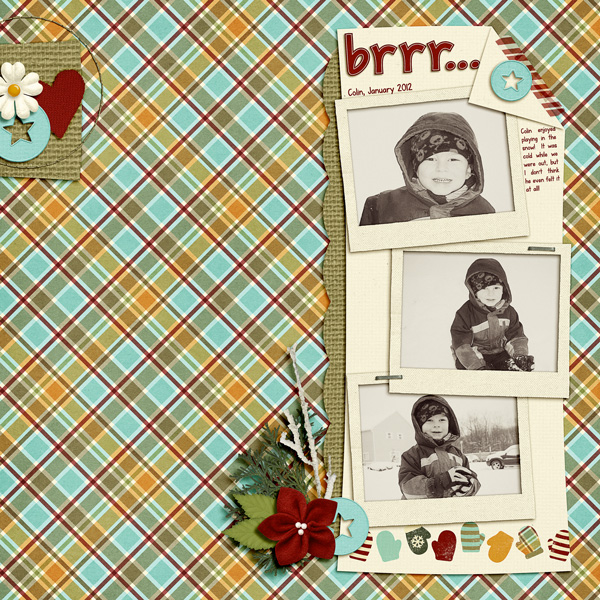
FC9bHere is the layout that I made:

SO_CC_WntrWdlnd_KGFallForYou_ColinJan2012_WEB


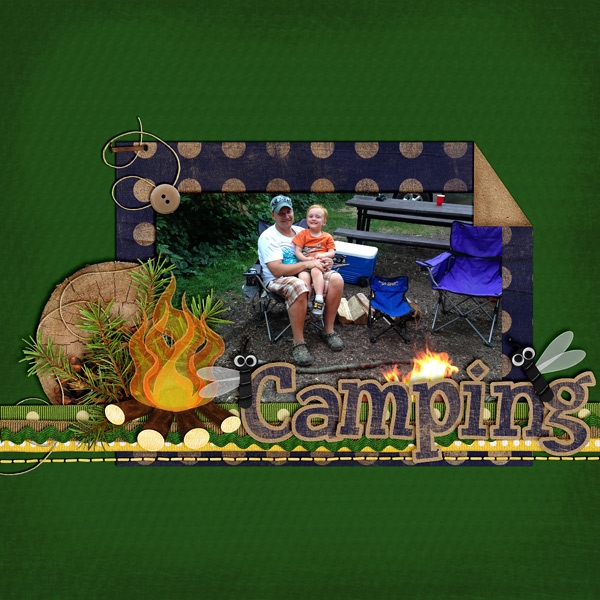
Here is a layout by Jenny (jenn18) that uses Let’s Camp S’more. I think the fire looks awesome!

35449


Leah (Cat Lady) used Snowlandia for her layout. So pretty!

35506

Not too hard – so give it a shot!  Add a little twist to your page using a folded corner! Have fun and thanks for visiting!

by_Jenn