Hello Everyone!
I have just one digital scrapbooking layout to share with you this week. Timberlyn did this layout using Street Smarts & Wild Blue Yonder. Such great pictures of her son and husband. Fantastic!
Hugs!

Hi Sari here! I get to announce our winners.
Snowlandia – Annette Noneye
Norlandia – Donna Oehlerking
Ladies, please send Chelle and e-mail and she will send you the coupon codes. chelles.creations1@gmail.com
Congratulations!
*******************************************************************
I’m so excited for Farmer’s Market coming this week! I’ve teamed up with Kami of Ziggle Designs. We are bringing you a couple of fun coordinating collections. You can enter to win either (or both) of these collections on my facebook page. Here’s a peek:
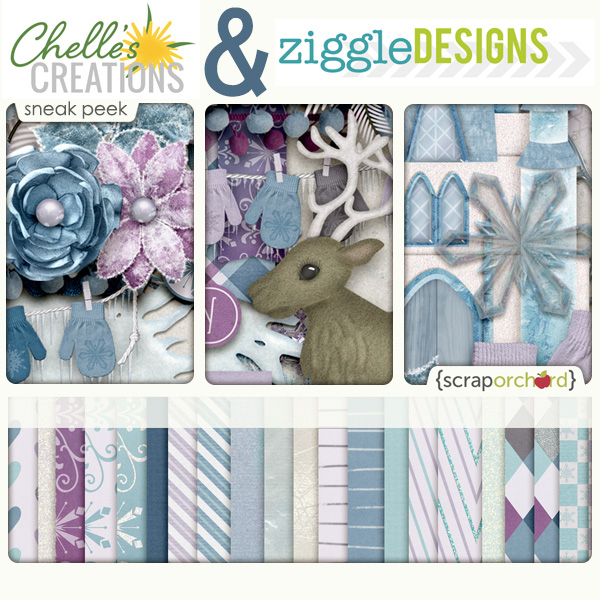
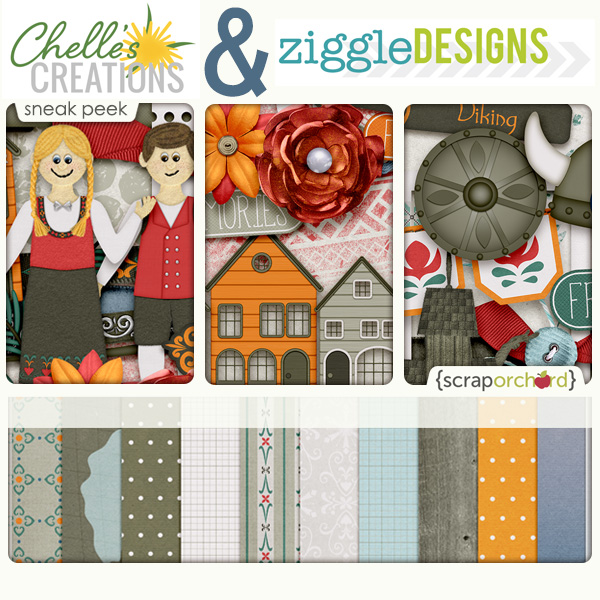
Hurry! Hurry! Hurry! This week our contest ends on TUESDAY evening.
What is farmer’s market? Here’s a little hint:
See you there!
Hey Everyone!
I’m amazed that next week is Thanksgiving here in the U.S. I’ve got some ideas from the Creative Team for hybrid digital scrapbooking projects you can create. Treat bag toppers, banners for your windows, invitations and thank-you cards, our ladies are getting it done with some great ideas for you. All of the ladies’ used Chelle’s Give Thanks kit.
Kayla (keepscrappin) made this treat bag topper. I love that phrase, “Gobble til ya Wobble.” That’s perfect! Anyone else want some popcorn, pretzels or candy corn? Yum!
Then we have a card by Lisa (kelseyll). Cute cluster.
Karen (zippyoh) made this wonderful card. I love that she used the “little people” included in the Give Thanks kit.
Last we have Kimberly (enjoyyourpix). I ADORE the banner she created. It looks amazing with her mirror in the background.
I’ve hooked you up with links to Chelle’s Give Thanks products. Just click on the images below..
No matter what you want to create for digital scrapbooking layouts, “Give Thanks” is sure to be a great addition.

Hi Chelle’s friends and fans! We’re looking at pocket-style digital scrapbooking today, and you are in for a huge treat! Chelle’s CTMs have provided lots of examples to show us the various ways they use her In the Pocket products : In the Pocket {square}, In the Pocket {small}, In the Pocket {strips}, and In the Pocket {pages}.
First, I want to show you a photo of a real pocket page by Kimberly. She used Chelle’s Let’s Camp Smore to create individual cards to fit her pocket page in real life. After printing the cards, she wrote her story on each and slipped them into the pockets of the plastic page. Look closely at the details. 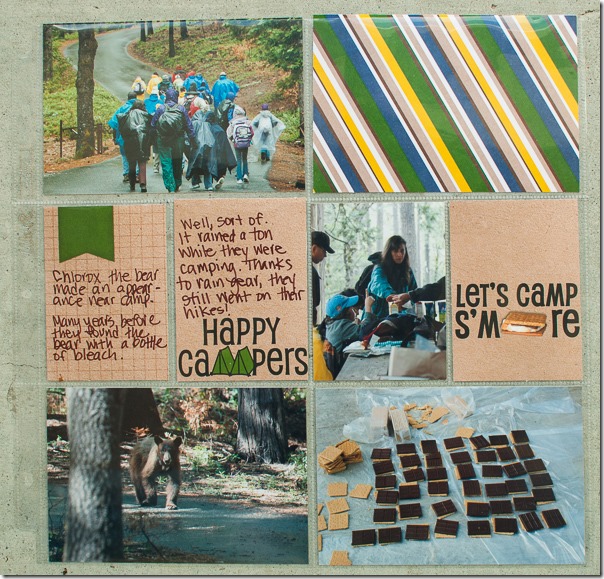
Now look at this page by Jenn, and compare the realistic look of Chelle’s plastic pocket effect in a digital format. Isn’t it amazing? By the way, Jenn used Chelle’s See Clearly Now, Marker Alpha, Chalked Cards, CU Label Shapes, and the wooden A tile is from Game On. 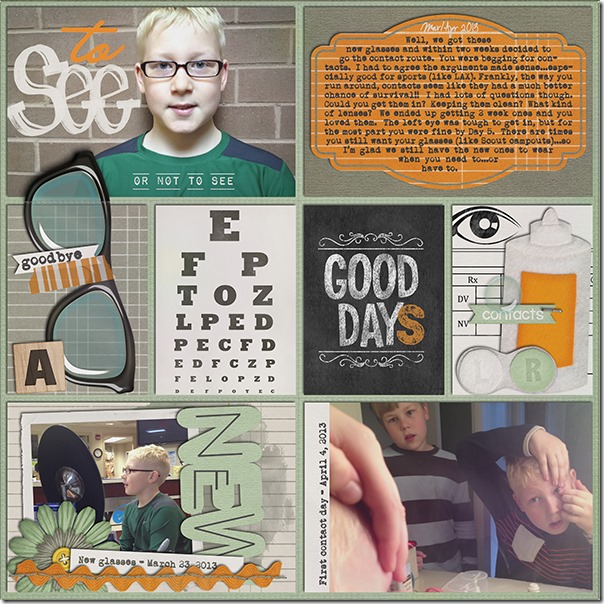
Next, Donna made a double page layout with 2 of the pocket pages. She likes to show the stitching of the pockets but prefers the look of her photos as they sit atop the plastic layer, which works easily in a digital scrapbooking page. She used On the Water and Gone Fishin. 
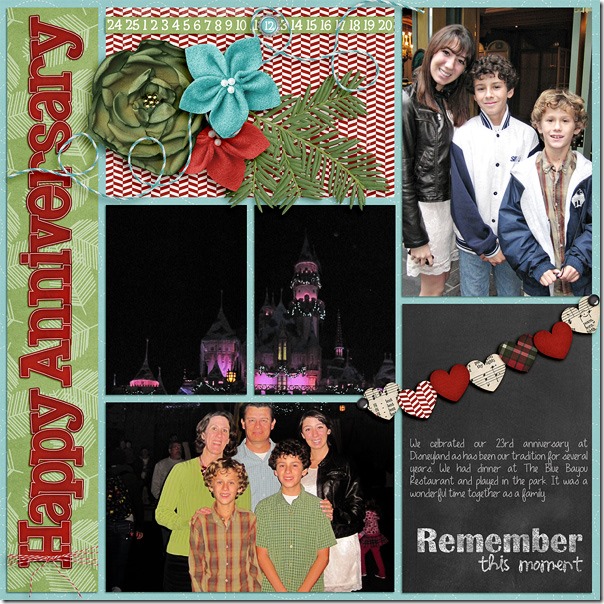
Mel and Tammy love to use the In the Pocket templates, but they prefer to leave the plastic layer off altogether, opting to cluster elements on top and overlapping across the seams. First, here’s Mel’s page using Zoopendous and the Zoopendous Felties. 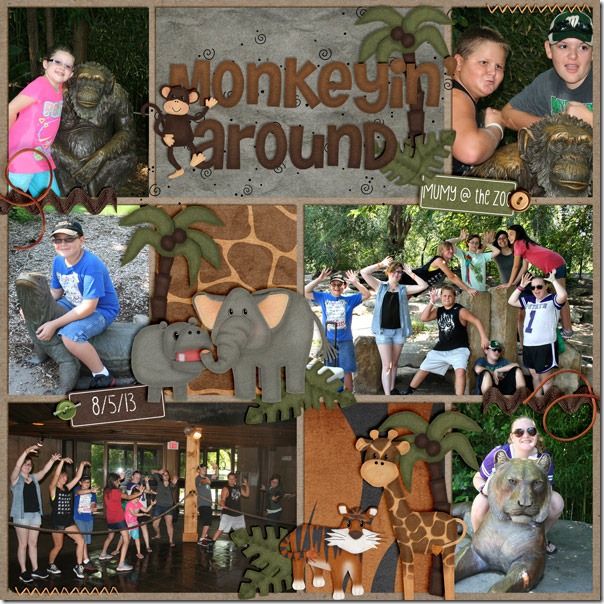 and Tammy used Capture Your December, We Wish You a Merry Christmas, Chalked Cards, Mark My Words, and Me and My Shadow.
Kimberly scanned her son’s artwork to put in the pockets of her page, and she used Give Thanks. 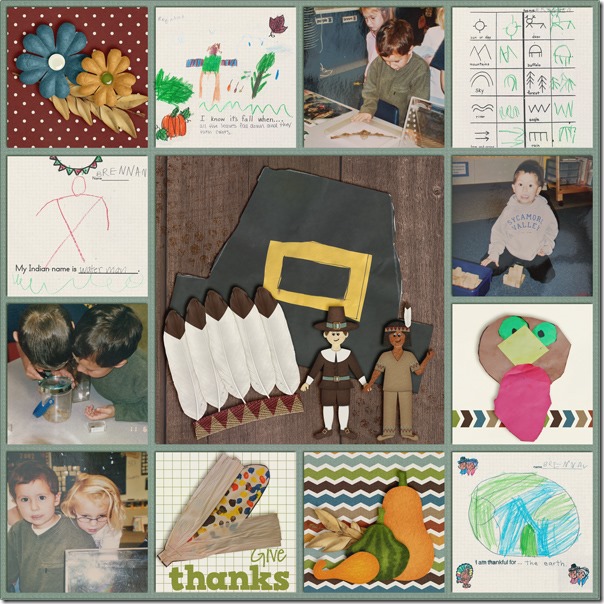
Jennifer used Naughty or Nice with her pocket page. 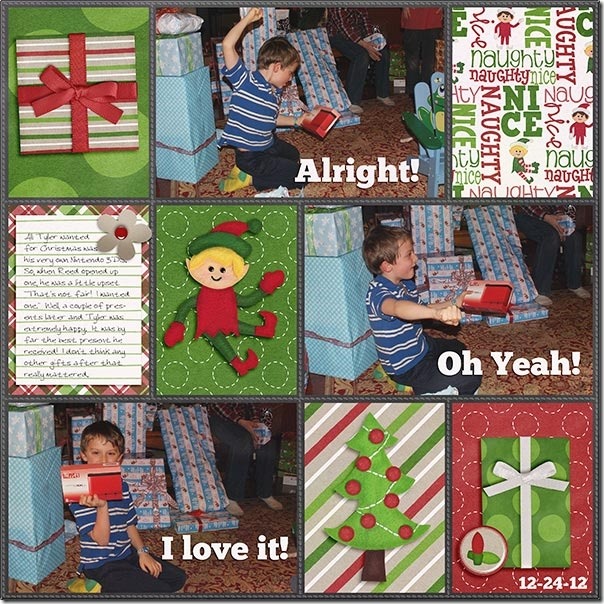
Jan used Winter Thrills and Naughty or Nice with In the Pocket {strips}. 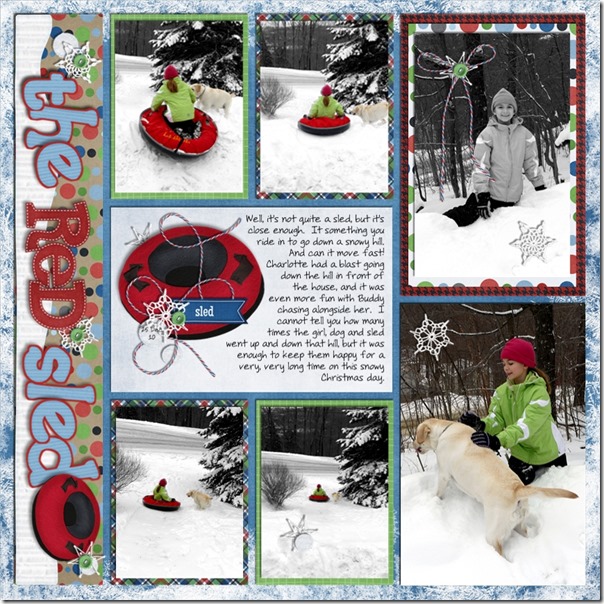
And last, but not least, Jenny used In the Backyard and In the Pocket {square}. 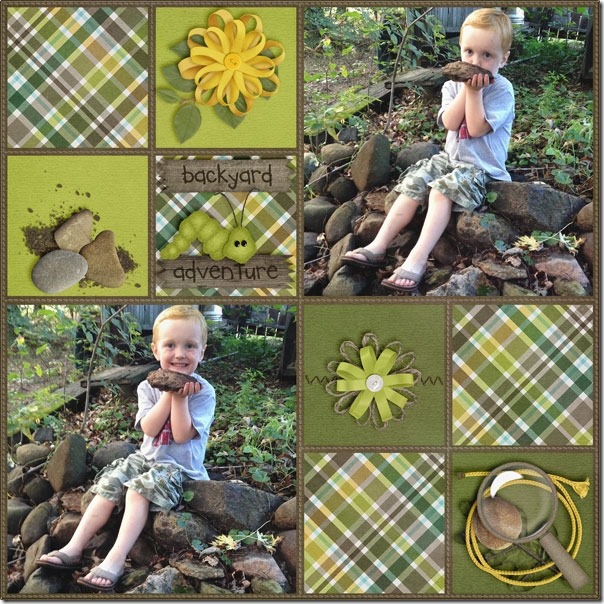
Surely, with all that inspiration, you’ll be making your next digital scrapbooking page with one of Chelle’s In the Pocket pages in the very next hour! If you do, pin it to the Scrap Orchard Gallery and tag it with #chelle so I can find it and leave you some love. I can’t wait to see what you make!
Hello Friends!
This week we challenged the creative teams to combine 2 of Chelle’s Christmas kits: Ho Ho Ho & Naughty or Nice in their digital scrapbooking layouts. The Reds, Whites & Greens in these 2 kits are what I picture when I think of Christmas.
Let me show you the layouts they created.
First we have Jan M (quiltymom).
Next Helen (Winipeg1)
then Jennifer J (jmljensen)
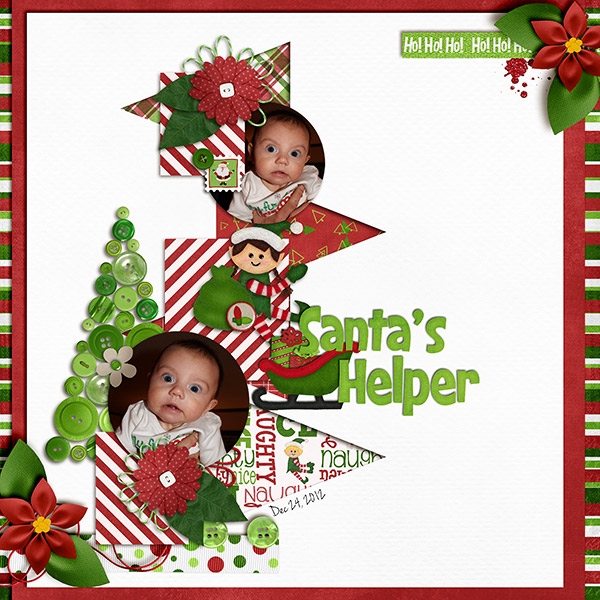
Last we have, Jenn S (jennschultz)
I can’t wait until Christmas to see what you, my digi-friends, share as your new layouts. I hope you’ll try these 2 kit combinations. Talk to you soon!

Hello Friends! I found some great digital scrapbooking layouts in the SO Gallery to share with you. I hope you are inspired and can think of several ways to scraplift these layouts.
First up is Mrs. Ashbaugh. She used One Year Older. I like the blocking style she used. Great photos of the little one.
Next, DoggiNo created this fun layout using At the Beach. How cute is the toenail polish? Gotta say that when I do paint my nails, I’m not this creative. Love the use of shapes and banners.
Next Zanthia122 created this fun layout using Play and Grow. I love the way the pictures are “tossed” around on the page.
See you soon!

Hi Ladies! On this lovely Saturday morning here in Utah, we are having SNOW! I love to watch snow accumulate on the trees and make them all so picturesque. Snow makes me think about how close we are to the end of 2013. Have you completed a calendar for 2014? This week Chelle and the Creative Team worked on 8.5×11 calendar toppers. Here, let me show you.
Now let me show you some examples of the digital scrapbooking calendars they created.
First a cover that Christine (CarolinaScrapper) created. Christine also provided the following link if you want to add the wordart to your calendar.
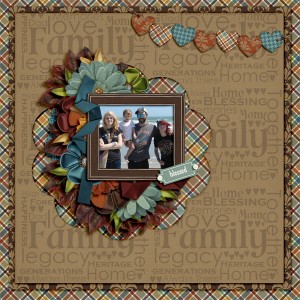
Chrstine {CarolinaScrapper) She used “Give Thanks“
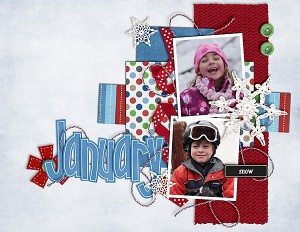
Carol {Iowan} January 2014 Topper Carol used Winter Thrills
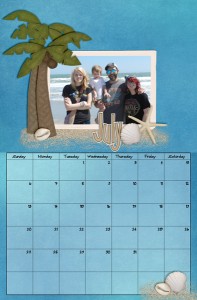
Christine {CarolinaScrapper} July 2014 Christine used At the Beach
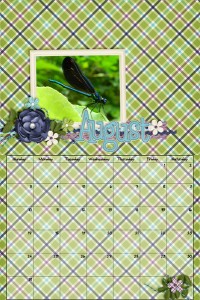
Christine {CarolinaScrapper} August 2014 Christine used Berry Berry Blue.
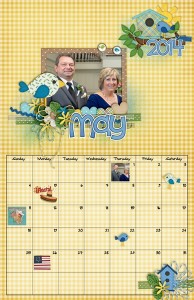
Donna (djp332) May 2014
She used Bluebird On My Shoulder.
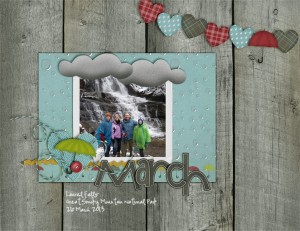
Jan {QuiltyMom} March 2014 Topper She used November SO Rain Mega
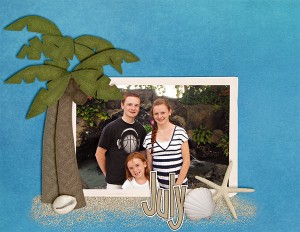
Kayla {KeepScrappin} July 2014 Topper She used At the Beach
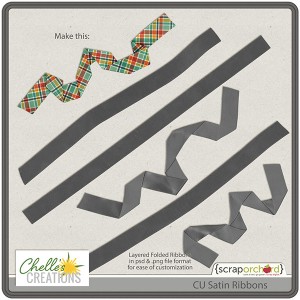
We also have a CU release this week, CU Satin Ribbons, for those of you who like to try “new” things.
I also have a freebie for you from Donna {djp332}. It is from the Aviator Kit.
I’ll be back on Monday with some Gallery Stand Outs to share with you. See you then.

Hi Everyone! I’m Jenn, my user name around Scrap Orchard is jk703. Hope you are having a great week – yay for Thursday! Today, I’m going to share some Tips for Changing Up Alphas. Chelle has awesome alphas in her kits – always a go to when I’m titling my layout – there are usually a couple to choose from in color, pattern or kind! She makes it super easy to use them. BUT, what happens if you want your alpha just to be a little different from everyone else’s? Well… you change them a smidge all by yourself! Here are three tips to Changing Up an Alpha! Oh… I am using the versatile Home for the Holidays for my example images. 
First, changing the color or pattern.
I have letter selected from the Layers Palette. We are going to make this green letter a striped pattern! (So simple/easy!)
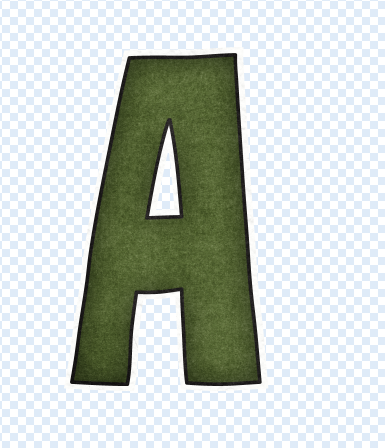
I click on the Magic Wand tool from the Tool Palette, and click on the inner dark green color. If there are any spots that weren’t included, just click near them, and it should then add them to the selection.
You will see marching ants at this point. Add a new layer ABOVE your letter – click on the little square with a folded corner (like a sticky note!) on the bottom of the Layers Palette. Make sure you have this filled layer selected in the Layers Palette after you create it. Now, press Command > Delete. Your marching ants will fill in with the background color.
Now, just bring your paper in, position it, and clip it to the filled layer. To clip, just right click on the paper, and choose to Create Clipping Mask.
You can merge the three layers if you like, but otherwise you are done!
OK. Next up is making a simple but fun edge. I have an “A” with a new pattern all ready to go. So, just like above, follow the steps to add a different pattern or colored paper, and we will add a bevel-ish shiny style. lol! Here is my alpha final.
Here are the three menus, and all the little parts for you to try out. It was easier to post pictures of my screens than try to write it down. This way you can get an exact lookalike!
Inner Glow:
Bevel and Emboss:
Contour:
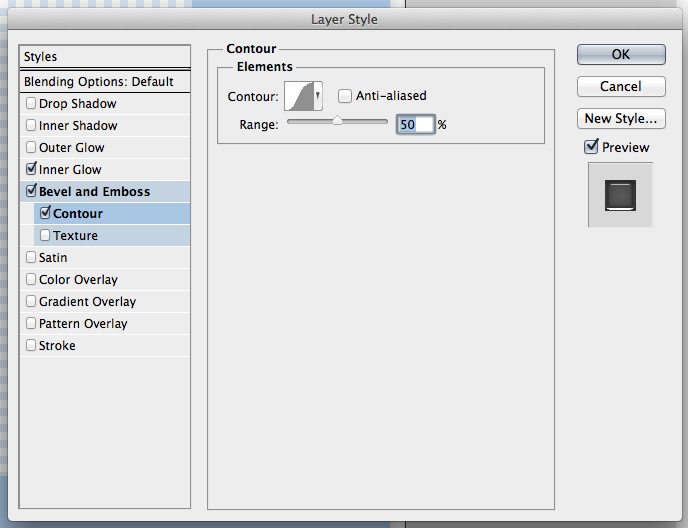
Once you change up your settings, your alpha will look similar to mine! Super easy!
Lastly, by far the easiest way to easily change up your alpha. Just clip a paper to the whole letter. Here is my green A changed to a clack A. All you have to do is right click on the paper, and choose Create Clipping Mask.
Pretty easy?! Now, your stash of kits, alphas can all be made into new goodies! Here is what the CT did (awesome layouts!)
Melissa (pretty peaches) created a wonderfully cute double – look at that smile/smirk!! She clipped a paper from Prehistoric to the alpha.
Roxana (roxanamdm) created her page using – Summer Lovin. For the Alpha, she clipped a Kraftabulous paper and duplicated each letter, added a thin black stroke to one layer and a white thicker to the other then merged both layers for each letter. She is also showing off (and keeping a copy) of her calendars – Chelle’s 2014 Calendars 4×6.
Jenny (jenn18) created her page using At The Beach, and changed the Alpha by clipping one of the papers to it.
Kimberly (enjoyyourpix) created this page using Taste of Home, In the Pocket {small}, Rainbow Gold alpha (not changed) and Wish You Merry Alpha (color changed). She said she clipped a hue/saturation layer over the top and made the color more fall-ish
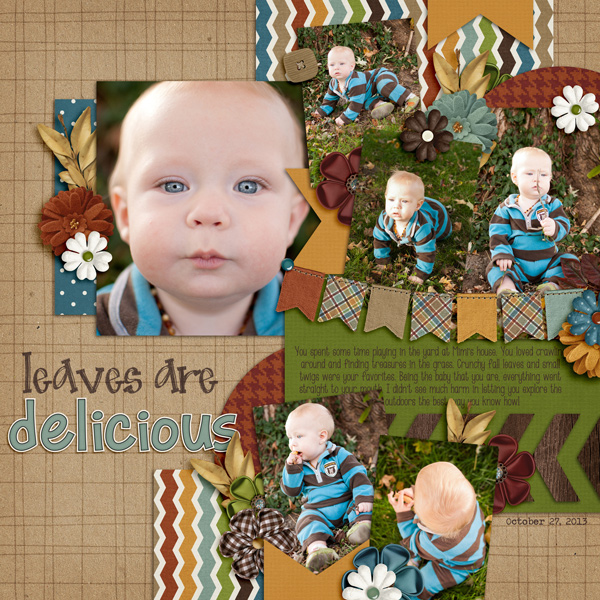
Jen (supergirljennie) created this cute layout (look at his eyes!) using Kraftabulous, Give Thanks and Marker Alpha. She changed the first part of her title (leaves are) by merging all the individual letters together, and then clipped a solid brown color to the phrase, and then using the blend mode overlay. Jenny also said she overlaid the phrase to the paper and reduced opacity by 20% so it looked more like it was written on the page and less like it was floating.
There you go… some really easy to do ways to Change Up your Alpha! Make the most of your stash! Have fun, I’d love to see the pages you create in the gallery! Thanks for visiting.
Can you believe Thanksgiving is just a couple weeks away, I need to get going on my digital scrapbooking layouts. I”m grateful all year long, but I really focus on it around this U.S. Holiday. Well, our new team members have upped our game at layouts and I can’t wait to show you what they did.
Kassie (Kass_23) shares her thankfulness for her children. I love those smaller pictures of her kids in addition to the large photo.
Next we have, Christine (CarolinaScrapper) She did some awesome clustering and then shares a list of things she is thankful for. I really like the way she spaced out her list.
Last, Cami (camijo) shares how thankful she is for Missionaries. She used Choose The Right {Missionary} & Make A Missionary kits.
Here are the kits used in these 3 layouts.
What are you thankful for? Scrap it and load it in the gallery. I can’t wait to see what you create.
Hugs!
