CU Stitch Toolkit | Digital Scrapbooking Inspiration

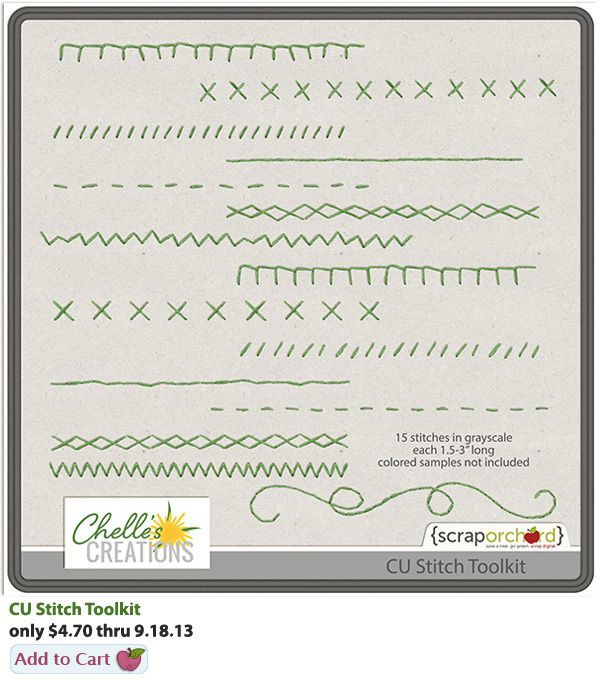
Hello Friends! It’s Saturday again and I’ve got our week in review all lined up for your digital scrapbooking pleasure. Today I have a CU Stitch Toolkit, and a couple of digital scrapbooking tutorial’s available on Chelle’s YouTube Channel. Tuesday night (9/17) is Scrap Twister and we wrap up this week with a link to our blog freebie created by Carol (Iowan).

Stitches_CU

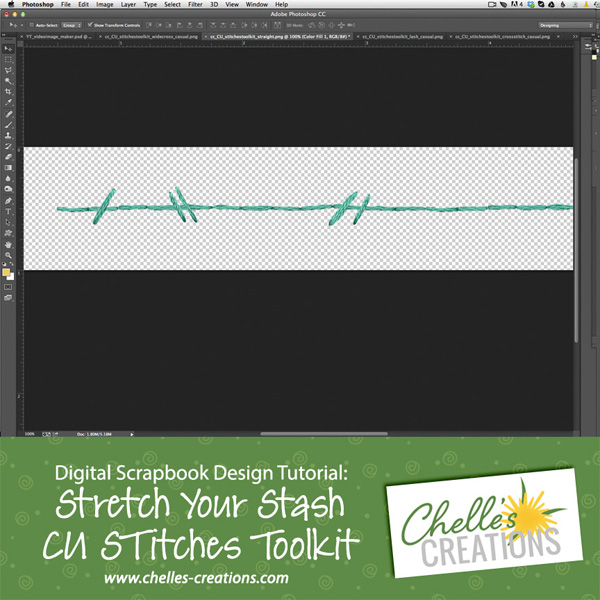
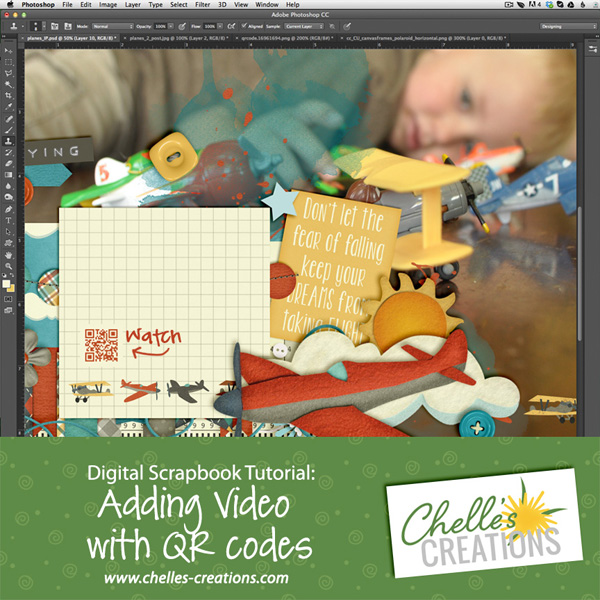
Here are the links to our 2 new YouTube Tutorials. If you want to see Chelle’s other video tutorials, head on over to the Chelle’s Creations YouTube Channel.

vidimg_stretchstitch

and

vidimg_qrcode

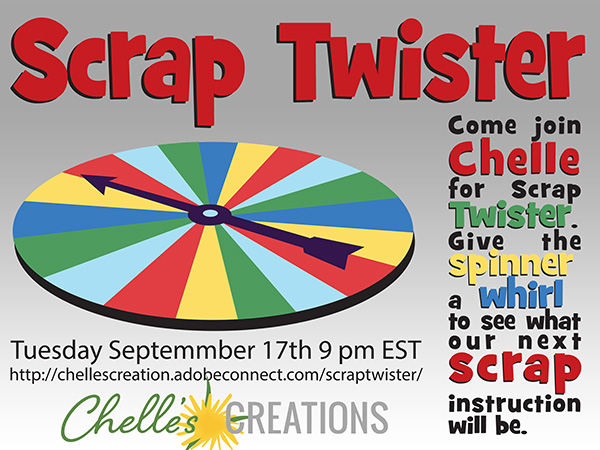
Come play Scrap Twister with us on Tuesday, September 17th at 9:00 pm eastern. Check Chelle’s blog on Monday to see what the participate freebie will be. It’s a lot of fun!

chelle_scrap_twister_ad_917

Last up, don’t forget the FREEBIE by Jenn Jensen (jmljensen).

folder1

See you next week!

9.12.13 Using Inner Shadows

9.12.13 Using Inner Shadows

Hi, Leslie here (lab130 in the Scrap Orchard forum).  I want to tell you how I make the Swiss-cheese effect in PSE.  The way I do it is to make it non-destructive because I always want to change my mind!   Too many times I’ve cut a hole in my paper and then decided later that the hole isn’t where I want it to be and have to bring the paper in anew.  Don’t know what I mean by Swiss-cheese effect?  Read on and I’ll tell you!

So, for this page that I’ve started of my nephew’s first birthday, I want the title to be “cut out” of the blue paper and reveal the patterned paper beneath. Here, I’ve used the font “GrilledCheese BTN”. And the kit I’m using is About a Boy by Chelle’s Creations.

image

So, then I’m going to clip a paper to the font layer by selecting the font layer and then dragging in the background paper above it.  Then using Control+G on a PC or Command+G on a Mac, I’ll clip the paper to the font.  It will now look like this:

image
But I want the font to look like it’s cut from the paper, so we’ll need some shadows. I’m going to use the default Inner Shadows style from PSE.

image

These aren’t fabulous selections, and full Photoshop CS users have more choices and editing options, but we can made due in PSE using a little trick.  I’m going to apply the low shadow and make sure my shadow angle agrees with the angle of the blue paper and the rest of the shadows on the page.

Now we’re getting there!  But, notice that the shadows on the letters appear deeper and have a larger distance than does the blue paper at the corner.  It wouldn’t really be that way in real life, right? They should agree, mostly.
image

So we’re going to manipulate the shadow a little.  Anna Forrest has a nice action that helps to edit the interior shadows and gives you some of the full Photoshop capabilities.  But for purposes of this tutorial, I’ll show you the way to manipulate the shadow for FREE!  Go to Layer—>Layer Style—>Scale Effects.  I chose to scale down the shadow 50%, and I think that looks pretty close.  At this point, I have more flexibility to edit the shadow of the corner of the blue paper than the interior shadow, so I’ll play with that until it matches.  That doesn’t look bad, right?

image     image
Except that now, I notice that the text doesn’t line up with the left of the photo above, and I want it to.  But now it’s not a problem!  I simply select the text layer, using Control T or Command T (Mac) to transform it and align it with the photo above.  Because I’ve used shadows and not actually cut the paper, making changes to the design is SO easy!  I can make the text bigger, too.  I just love having that flexibility!

image
Here is my finished page.  I added a little stroke that matched the kit’s off-white color just to define the alpha a little.  I’m pretending I did that with some chalk! haha!
——————————————————————————-
In Story Book Creator or Artisan, you can get a similar effect by putting shapes on top of your paper layer and finally when you’ve got them sized and placed JUST where you want them, after you have the rest of your page laid out, flatten the shapes to the paper and then use the Wand from the Cut and Fill ribbon to cut out the shapes you just flattened to the paper.  This will expose the paper you have beneath.

In Photoshop, you’d use the concept of inner shadows, but you can manipulate the size, distance, opacity and color without having to use the “scale effects” tool that PSE users would be compelled to use.
——————————————————————————–
Here is a page Donna (djp332) did using Prehistoric and a Santa hat from Ho! Ho! Ho! by Chelle’s Creations. She used the shadow technique to cut out the Mickey shape and also to inset her photos into the paper.  Man, the skeleton with a hat on it cracks me up!

image

Jan used Chelle’s newest kit, Aviator and a Fiddle Dee Dee template to make this cute page.  She used the interior shadows co cut out the clouds, exposing the cute plaid paper behind it.  Great idea!

jan-aviatortut

Here’s a final example from Jen (grahamlikethecracker). She used used Love Grows Bundle by Chelle’s Creations and Keepin’ It Real Double Templates by Scrapping with Liz.  She used the technique to make it look like she punched out the letters in her journaling square.  And what a cute baby!!
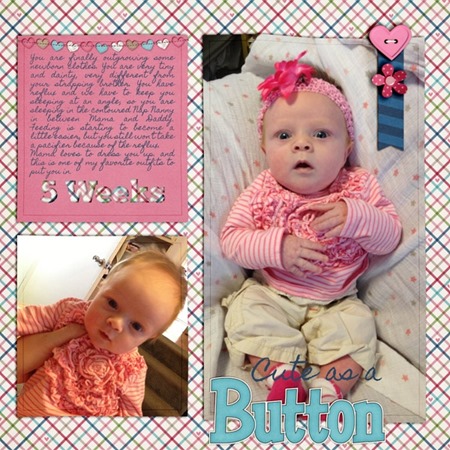
28966

————————————————————————————-
Well, that’s it for this week!  I hope you learned something new and we’ll be seeing you use this technique in your pages posted to the Gallery!


leslie

Leading – Adjusting The Lines | Digital Scrapbooking Words on Wednesday

Hello Friends! Have you ever wanted your journaling to sit on a line in your digital scrapbooking layouts? Chelle has you covered with a tutorial about it. It’s called “Leading, Making Your Journaling Fit On The Lines.” I hooked you up with a link, just click the image below. The TUT has gorgeous pictures and is done in Photo Shop Elements (PSE). Plus a couple of freebies for you practice on. Check ’em out below.
Tut_Leading_600

Some of our ladies have given an example for you to look at.

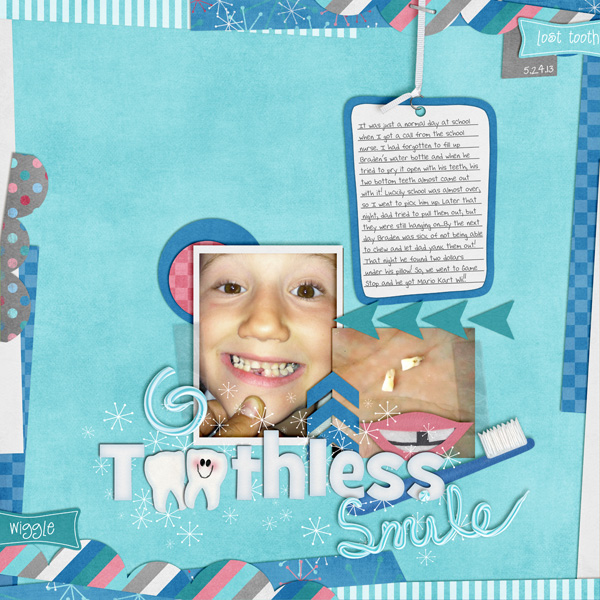
Kassie (kass_23) used Pearly Whites to create her layout. I like the wacky shape she used for her journaling. She definitely needing to adjust the lines to make that text line up.

toothlesssmile_zpsd9666c1f

cc_pearlywhites_preview_2post      cc_pearlywhites_wa_preview_2post

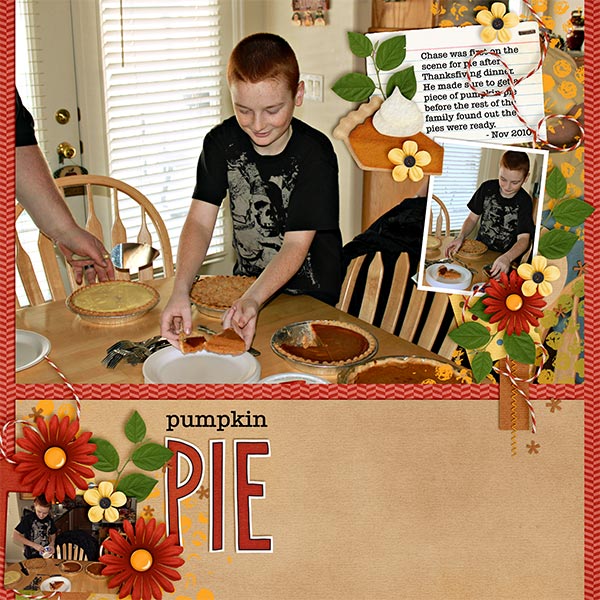
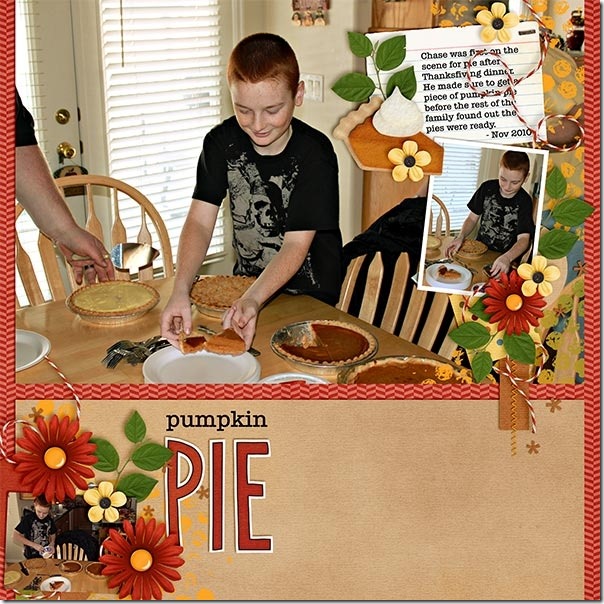
Next, Kayla (keepscrappin) used an index card for her journaling. I used the font – typewriter serial medium and set it to 12 pt with the leading set to 15 pt. This made it so the journaling would go between the lines on the recipe card. I also noted that I had rotated the recipe card -4 degrees when I placed it on my layout, so I could also rotate the text box -4 degrees and have the journaling text line up correctly. She used Taste of Home and Pasta & Pizza.

PumpkinPie_Nov10_web_zpsdedf3a84

cc_tasteofhome_preview     cc_pastalafeasta      cc_pizzaamore     cc_pizzanpasta_wa

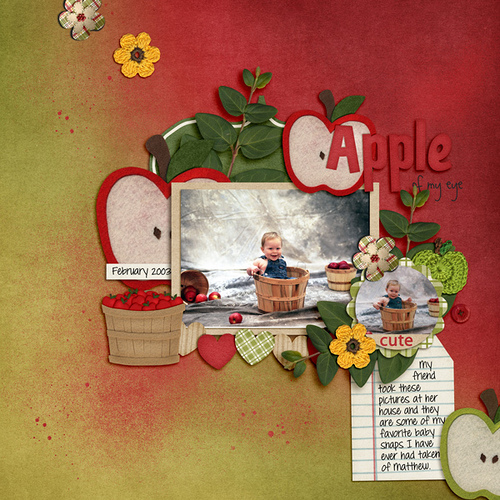
Finally, Leslie (lab130) shares her layout using  Apple Of My Eye. Her instructions, Font: DJB Britany Print, size 12, leading 19.5 (you can drub the leading to get it just where you want it to be by manipulating the mouse right and left over the word “leading”)

9704020722_0a12923111

cc_AppleofmyEye

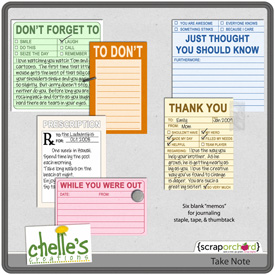
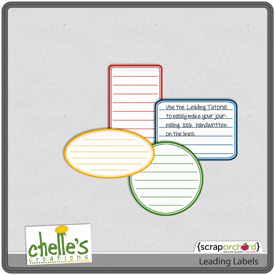
Want to try it out? Along with the tutorial, Chelle provides a couple of FREE items for you to use. Take Note & Leading Labels. Head on over to her blog and at the bottom of the tutorial you find these two images. They are already linked to the free downloads. Go for it.

cc_takenote_preview_2_post_small275      cc_leadinglabels_preview_2_post_small275

Hugs!

Classics: We Wish You a Merry Christmas

While shopping last week, I saw Christmas decorations already out in some of my favorite stores. It’s so exciting! I thought we could carry the excitement over to Chelle’s blog with a look at a classic kit We Wish You A Merry Christmas. Let me show you the merry pages Chelle’s team members have shared with us.

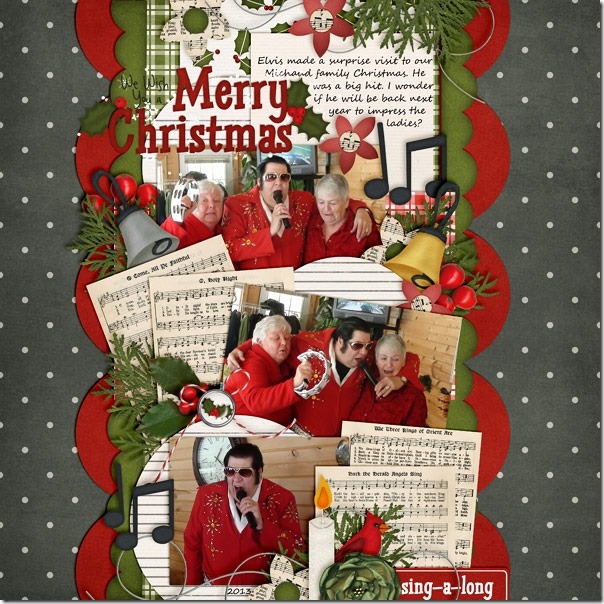
Here’s a fun page by Jenny. Looks like Elvis is still with us! He made a surprise visit to her family Christmas gathering, and Chelle’s kit matches her photos in theme and color perfectly. I love the music pages used as accent mats behind the photos, don’t you?  WWYAMCJenny 

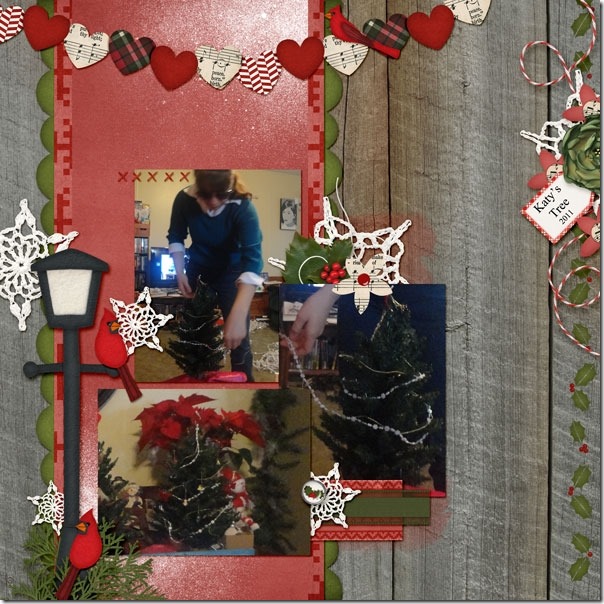
Next, Mary had some photos of Katy decorating her little tree, and she used We Wish You A Merry Christmas to make her page. I love the use of the wood paper for a background, and the heart banner across the top is the perfect touch. WWYAMCMaryS

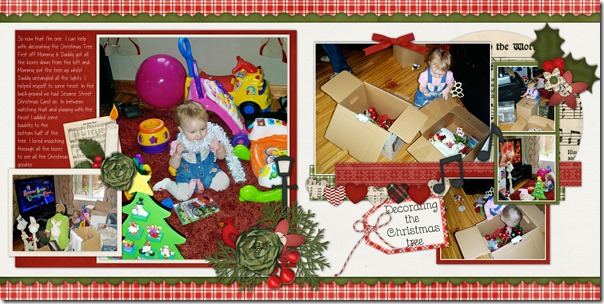
Helen made a double page layout for us, and her photos are also about decorating the tree. Looks like she has a cute little helper, too! I love the way she used the music notes as accents. It reminds me how we always have Christmas music playing in the background while we decorate. WWYAMCHelen-we-wish-you-a-merry-c

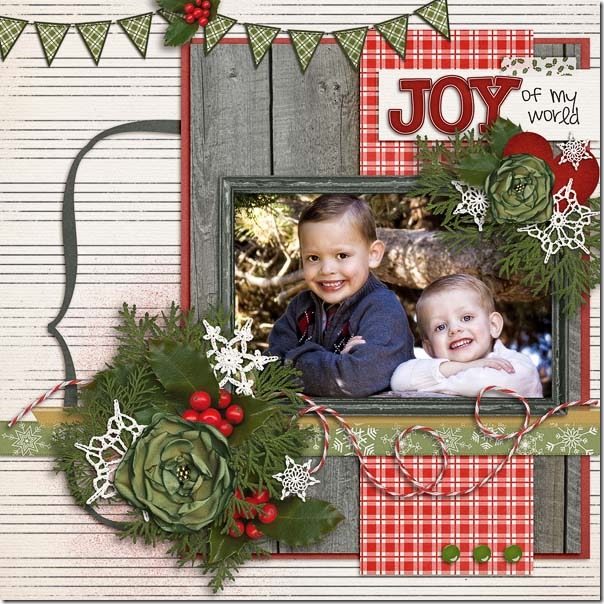
Erica has a page for us that is has a most adorable photo and the perfect title. I’m sure those boys ARE the joy of her world! She has done a masterful job of layering the mats and accenting the photo with clusters of greenery, snowflakes, berries, and flowers. We Wish You a Merry Christmas- by Chelle's Creations
Stand Alone vol. 5- by Trixie Scraps

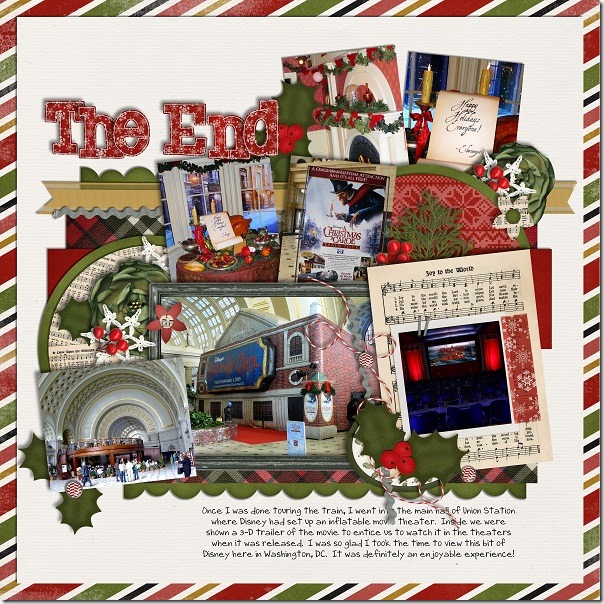
Finally, Jan has made a page about her visit to the Disney Christmas Carol Train when it visited Washington, DC. The style of Chelle’s elements coordinate perfectly with the decorations in the photos. I love the clustered look and the way she was able to use several photos on her page. She told me that she made 9 pages of her visit to this event using We Wish You A Merry Christmas bundle, and this page was the last in her series (hence, the appropriate title). Can you find the Quickies she used? Those Quickies save tons of time when making pages. WWYAMC600Jan

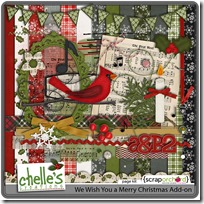
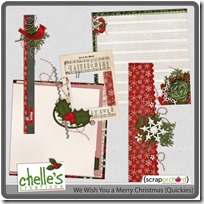
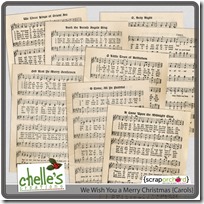
I’m getting more excited about Christmas coming again! I hope you are, as well. Here’s a closer look at the bundle and the individual kits and quickies in the market.

cc_wishumerry_bundlecc_wishumerry_kitcc_wishumerryao_kitcc_wishumerry_quickiescc_wishumerry_carols

Gallery Stand Outs

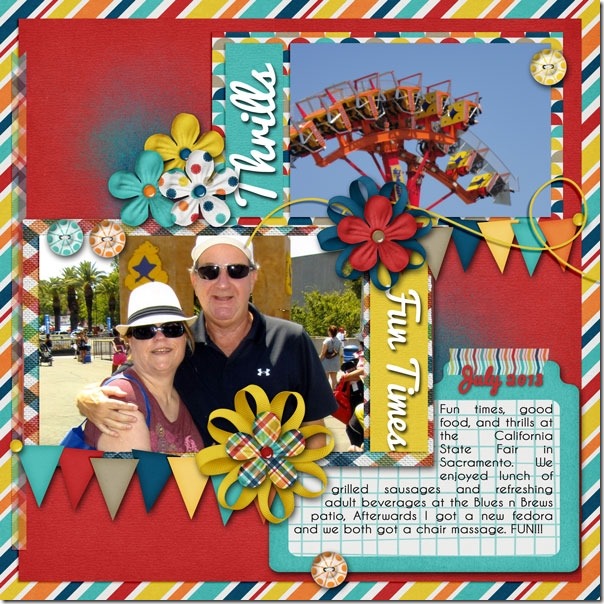
Good day, all! I’ve been taking a stroll through the gallery at Scrap Orchard, picking some of my favorite layouts posted in recent days. Two pages caught my eye that used Chelle’s newest birthday themed kit One Year Older. First, there’s this gorgeous page by larkd (Linda). I love the way she used the banners on the page, and I really like how she added a tight dark shadow to her title words to make them stand out. Did you notice she made a page about the fair with a birthday kit and it works perfectly? I love that.  larkd 

I also love this page by Spudgeon that is about a special birthday celebration using the same kit. I love the yellow paper background, and I love the way she added a semi-transparent paper behind her journaling to allow for easy reading. She also added the names of the children on the photo on top which I love to do in digital scrapbooking. Great memory keeping!spudgeon

Here’s another page that jumped out at me. Keepscrappin (Kayla) made this one using Chelle’s Taste of Home and her Pizza & Pasta Bundle which coordinate perfectly together. The large photo caught my eye, and the way she layered a few important elements on the corners anchoring the smaller photos really caught my attention, too. I love the small clusters with the ribbons tying everything together. keepscrappin

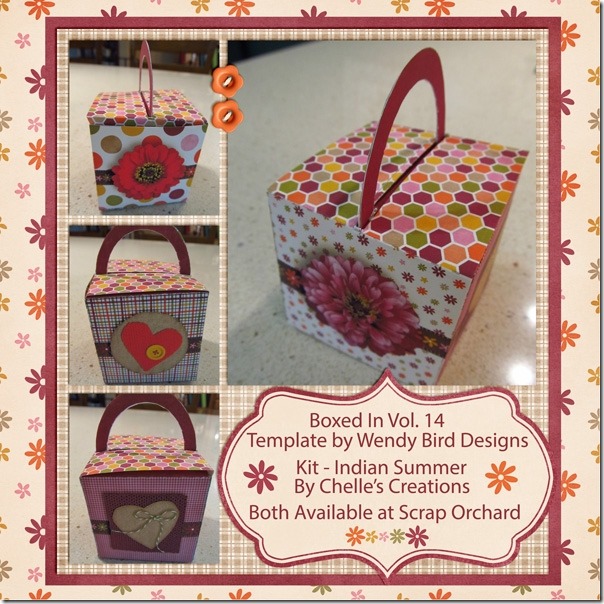
Finally, I found a page by djp332 (Donna) who is a guest on Chelle’s team this month. Look carefully: She has made a digital scrapbooking page about a paper box she made in real life using one of Chelles’s digital scrapbooking kits Indian Summer. I love that it’s a bit recursive to think about! And, I love all aspects of how this looks. The box she made is adorable and will be perfect for a small treat for someone, and the page she made about the box will allow her to save the memory for herself, as well. Perfect!djp332

I hope you are inspired as I am. Take a look in the gallery at Scrap Orchard for more inspiration by searching for #chelle in the search box.