Unlikely Pairs: In the Pool & Eeeek!/Carve It Up | Digital Scrapbooking Layouts

Hello Everyone! This month for unlikely pairs, I combined a couple of Chelle’s digital scrapbooking kits that I thought might stump our Creative Team. In the Pool, Eeeeek! & Carve It Up! Seriously how can you combine Halloween & Swimming? Of course the ladies did a magnificent job of showing me how wrong I was, they are un-stumpable! LOL!

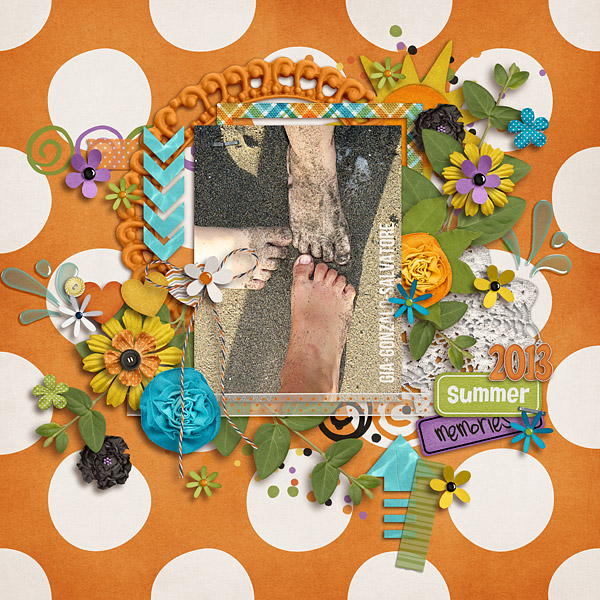
Roxana (roxanamdm) combined the blues and oranges and used a great photo of sand-covered feet. I immediately could “feel” that sand on my skin. That wonderful wet & grimy feeling.

Roxana (roxanamdm)

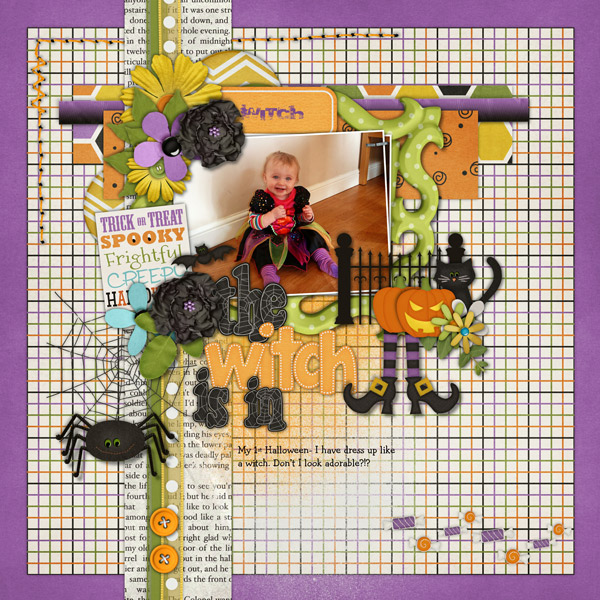
Next Helen (winipeg1). She also used the yellows of In the Pool with the purples & greens of Eeeek! A great combination of two unlikely kits. Highlighting the green elements works out well.

Helen (winipeg1)

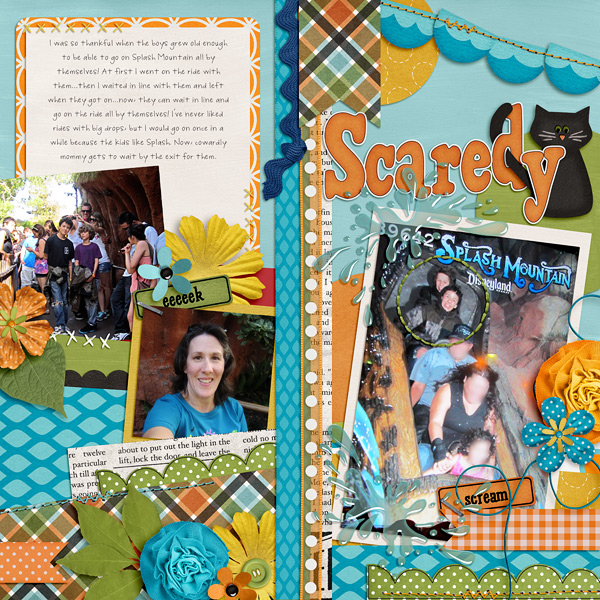
Last Tammy (CraftyTam) used Splash Mountain as the focus of her layout. Using “scared” for a water rollercoaster is a great way to combine these kits! Marvelous! Love the wave banner!

Tammy (Crafty Tam)

Now the related products!

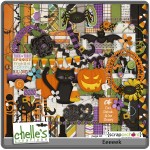
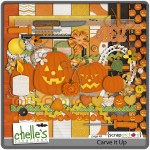
cc_eeeeek_bundle      cc_eeeeek_kit      cc_eeeeek_wa      cc_eeeeek_scatters-01      cc_carveitup_kit - Copy     cc_inthepool     cc_inthepool_lp

Check out your own pics. I bet you’ll think of a great way to combine water and Halloween. Have a great day!

Gallery Stand Outs | Digital Scrapbooking Layout Ideas

Hello! I was just over looking at the gallery and found some wonderful digital scrapbooking ideas to share with you.

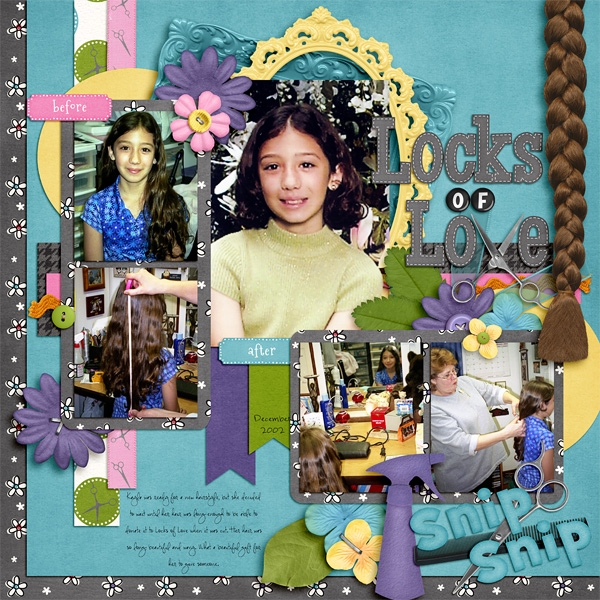
First let’s talk about CraftyTam. Tammy used Mane Event & Me & My Shadow Styles to create this layout about “Locks of Love.” What beautiful hair! Love the braid of hair on the side of the layout!

CraftyTam She used Mane Event & Me & My Shadow Styles

Mane Event     Mane Event Add-On     Mane Event Word Art     Me & My Shadow

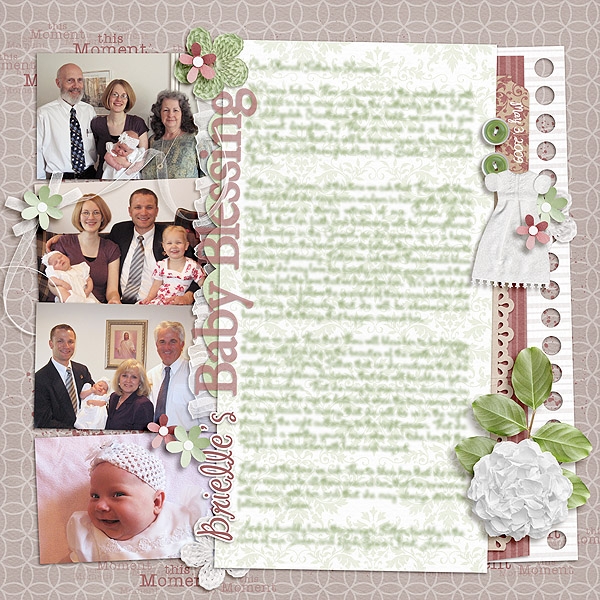
Next we have Sunnstergirl. She created this sweet layout to help remember her daughter’s blessing. I love the way she used the clustering and how she spelled out blessing dress and aligned the cluster of the blessing dress in a straight line. So pretty! She used Choose the Right {Eternal}.

shunnstergirl She used CTR {Eternal}

Choose The Right {Eternal}      cc_CTReternal_qk     cc_CTReternal_temples

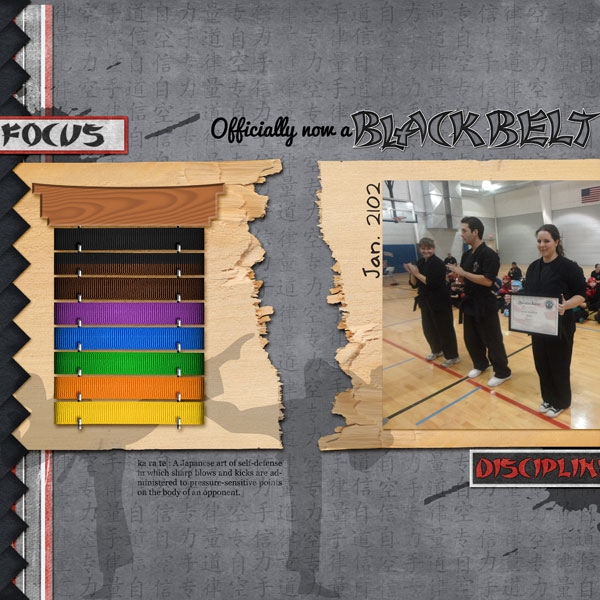
Tanni celebrates the milestone of finally becoming a blackbelt. Love the belt display & use of the shattered wood.

Tanni She used Black Belt

She used Black Belt & Defined.

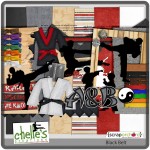
blackbelt     cc_defined

Hope you are getting some scrapping in this holiday weekend!

CU Striped Twill Ribbons & Summer Rewind Sale | Digital Scrapbooking Information

Hello Friends!

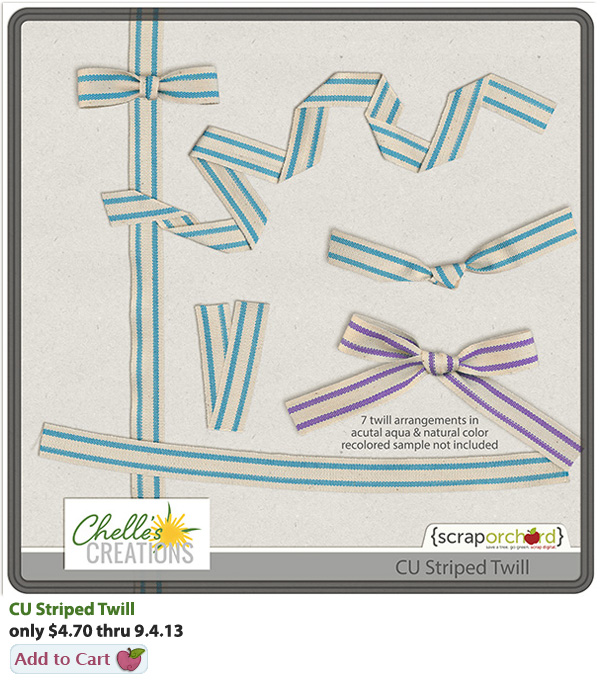
This week Chelle released a fun new digital scrapbooking CU item, CU Striped Twill. Twill & stripes.  Two staples in kit design.  CU Striped Twill by Chelle’s Creations includes 7 trim configurations in original natural and aqua color.  Tweak the colors to match your designs.

CU_Striped_Twill

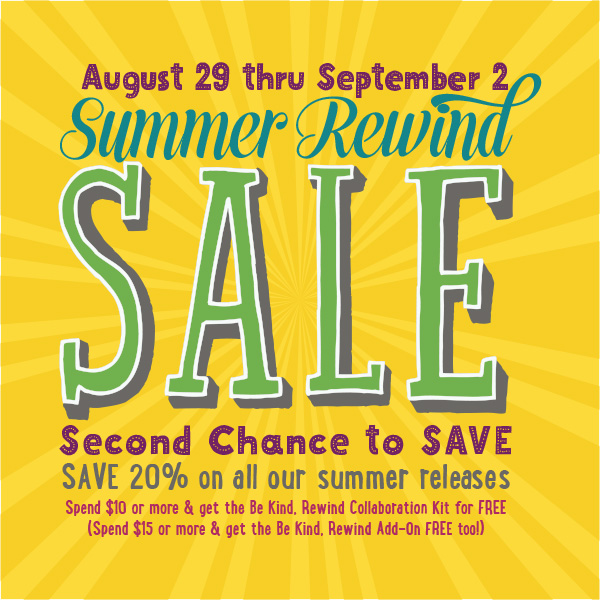
There’s a huge sale as Scrap Orchard on all of Chelle’s Summer Products!

2013_SOSR_ad_web

Click here to go to Chelle’s Store & see the items available for 20% off.

Spend $10 & get the Rewind Collab Kit for Free & Spend $15 & get the Rewind Add-On Free.

Don’t miss the September Mega & Facebook Train Journaling Cards Freebie.

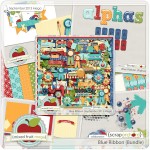
2013_09_SO_SummerRewind_Kit     2013_09_SO_SummerRewind_addon      2013-09_so_blueribbon_bundle      2013-09_SO_SummerRewind_free

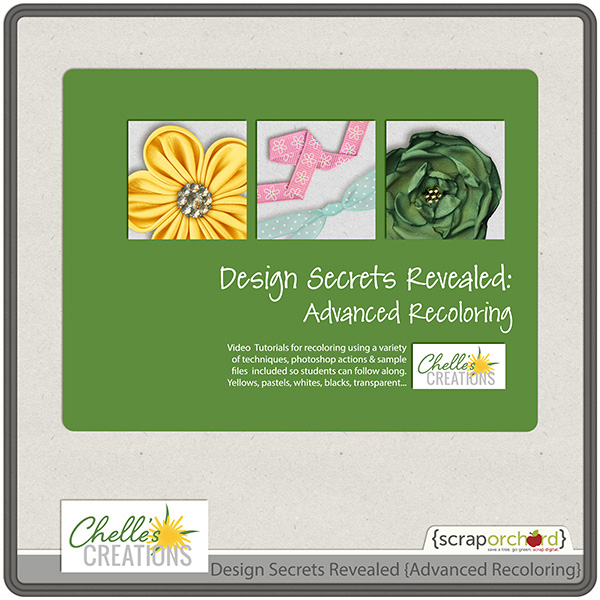
Last week she released a new class, DSR: Advanced Recoloring. So what IS the best way to make your recolored image look real?  How can you create realistic yellows and oranges?    What about pastels?  How do you recolor transparent items?  Design Secrets Revealed: Advanced Recoloring delves into these issues.  An in-depth discussion about how to recolor a variety of elements.  DSR: Scanning & Photographing: Advanced Recoloring includes 8 video lessons with over 135 minutes of instruction.  After purchasing this product, send an email with your invoice # to: chelles.creations1@gmail.com  Allow up to 24 hours for access to the video library.

cc_DSR_advancedrecolor

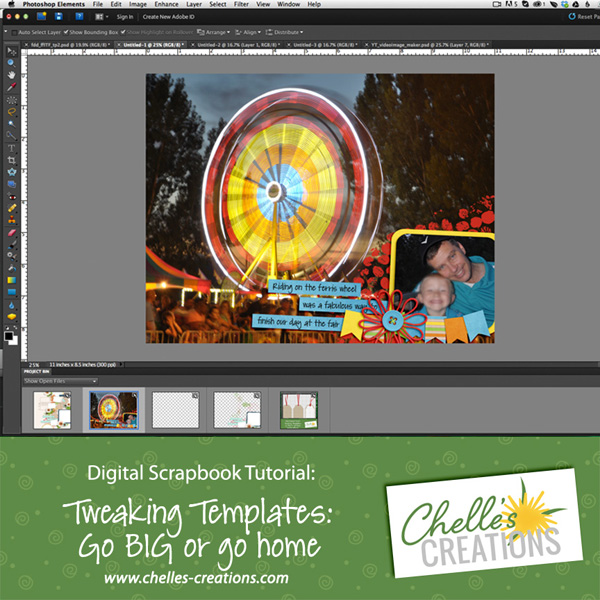
Chelle created a new You Tube video last week, Tweaking Templates: Go BIG or go home!

vidimg_gobiggohome

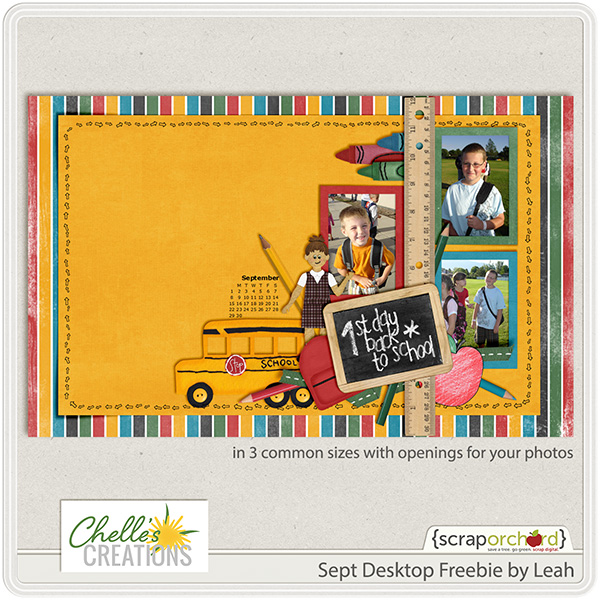
Leah created a new Desktop Freebie for you to use. It’s available in 3 different sizes & she used Back 2 School also. Do you sense it’s time for school to begin? LOL

cc_septdesktop

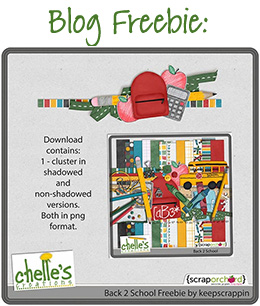
Finally Kayla created a Freebie using Back 2 School.

nl_0830_blogfree

Have a great Labor Day Weekend!

8.29 Tutorial: Plastic Wrap Filter

8.29 Tutorial: Plastic Wrap Filter

Hi Everyone!  It’s Jenn (jk703) here for today’s tutorial! How are you all doing – can you believe it’s almost September!! I’m in the Northeast US, and I am NOT ready for summer to be over… or school to start!  Homework is not my favorite! :) I accidentally found a cool filter in Photoshop that I’d love to share with you today – and it is really fun for wet or watery photos! I think with any tutorial I write – it all take s a little practice as well as patience to try new things!  Sometimes, pressing the wrong button will get you results that you will love!


Here is my beginning layout – I’ve used Chelle’s At The Beach kit along with some goodies from Scrapping with Liz. My photo looks a bit pale and washed out. That isn’t my intention… so I’ve decided to give it a little oomph and add a little Plastic look.

PW1

Next, before you get really into it, my sugestion is to make a few (or more) duplicate layers of your photo. This way you can run the filters and if you don’t like it, you can delete, or if you do but want to run it again or change the blend mode, different layers will give you different looks.

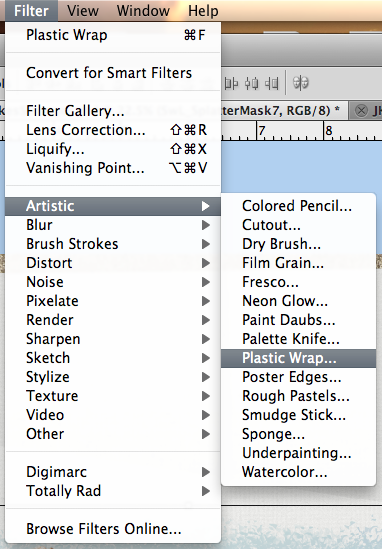
Click on Filter >Artistic > Plastic Wrap (pretty easy, right?)
PW2

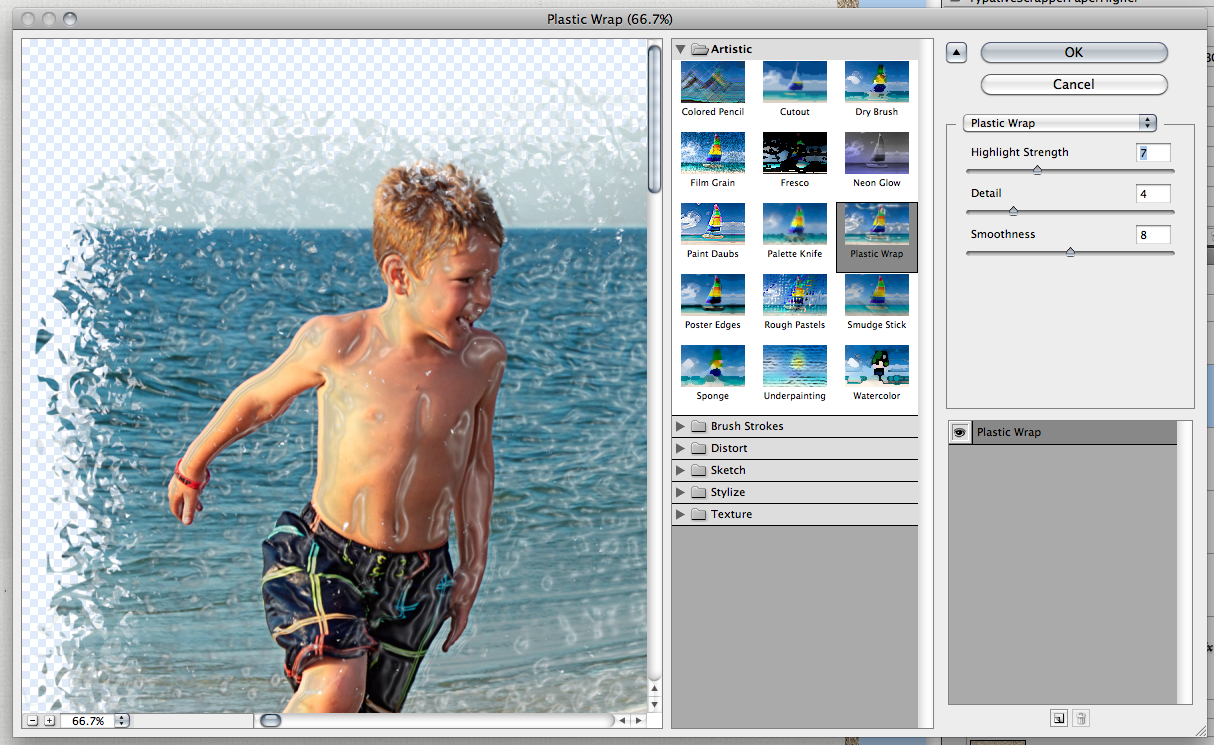
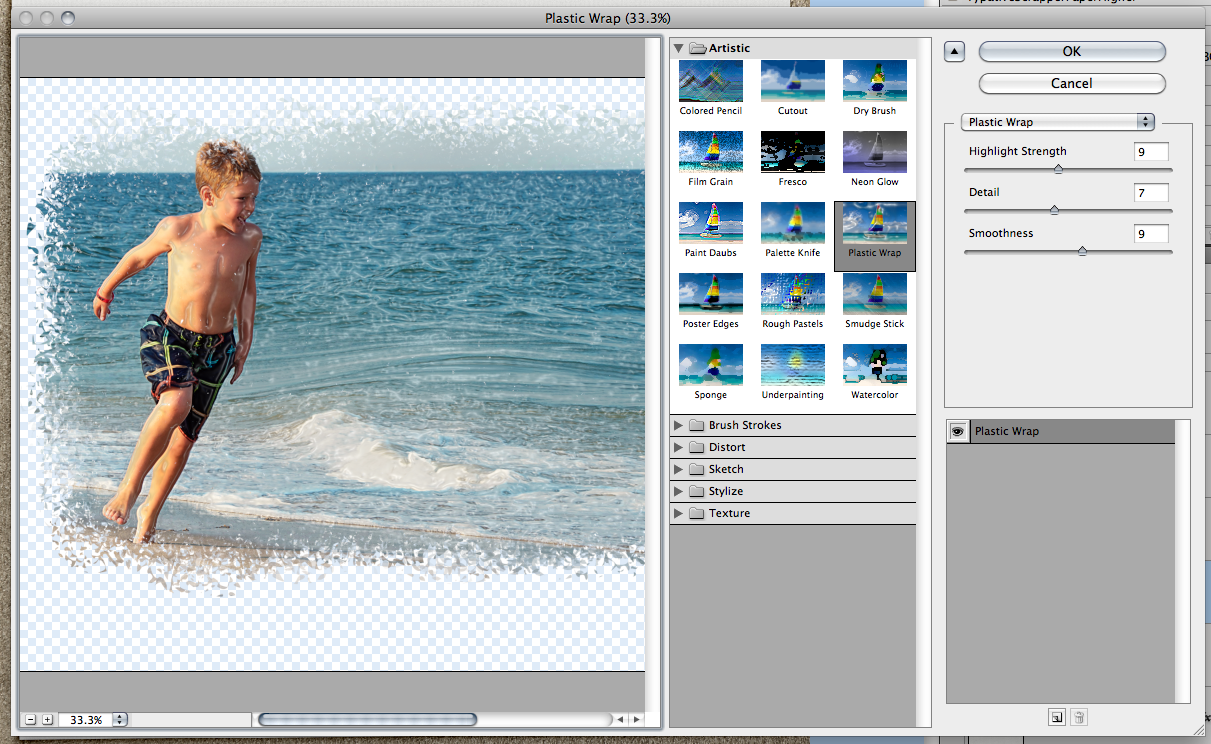
A large sub menu will pop up, and you will see your image on the left. This shows you the default to the Plastic Wrap – Highlight = 9, Detail = 7 and Smoothness = 9.
PW3

For my image, I’ve tried to zoom in a little to show the details – and my settings are Highlight = 7, Detail = 4 and Smoothness = 8. Play with these!!! :)

PW4

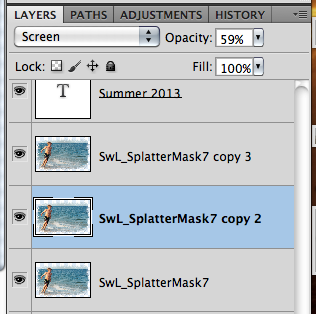
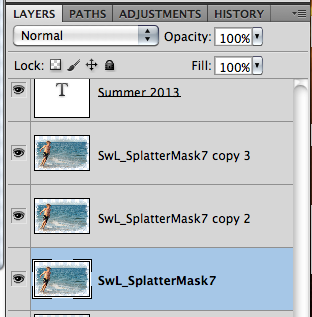
Ok. Remember, I mentioned multiple layering. Here is what I ended up with, all using the Plastic Wrap Filter. Layer 1 is a Normal blend mode, 100% opacity. Layer 2 of my photo is a Screen blend mode, and at 59% opacity. Finally, my last photo layer is Luminosity blend mode with a 80% fill. Right now, since I don’t have any layer styles associated with the layers, Opacity and Fill act like the same thing. If I had layer styles, then that would change things. (I think this might be a tutorial for next month, lol!)

Here are my layers below.
PW5

PW6

PW7

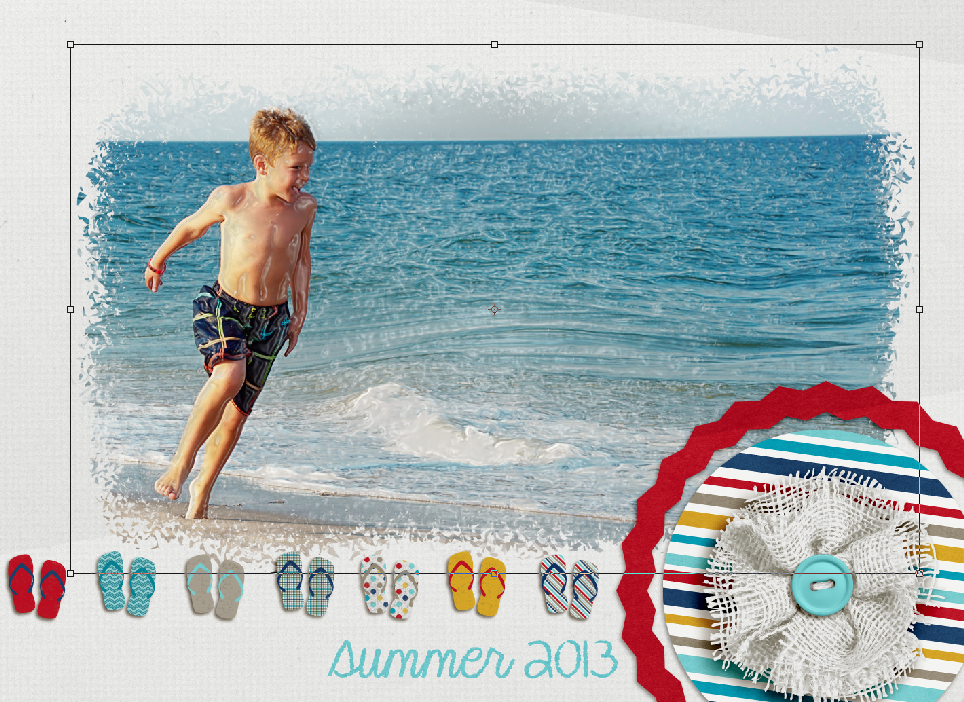
Here is a close up of my image using the above layers, blend modes and Opacity/Fill selections.
PW8

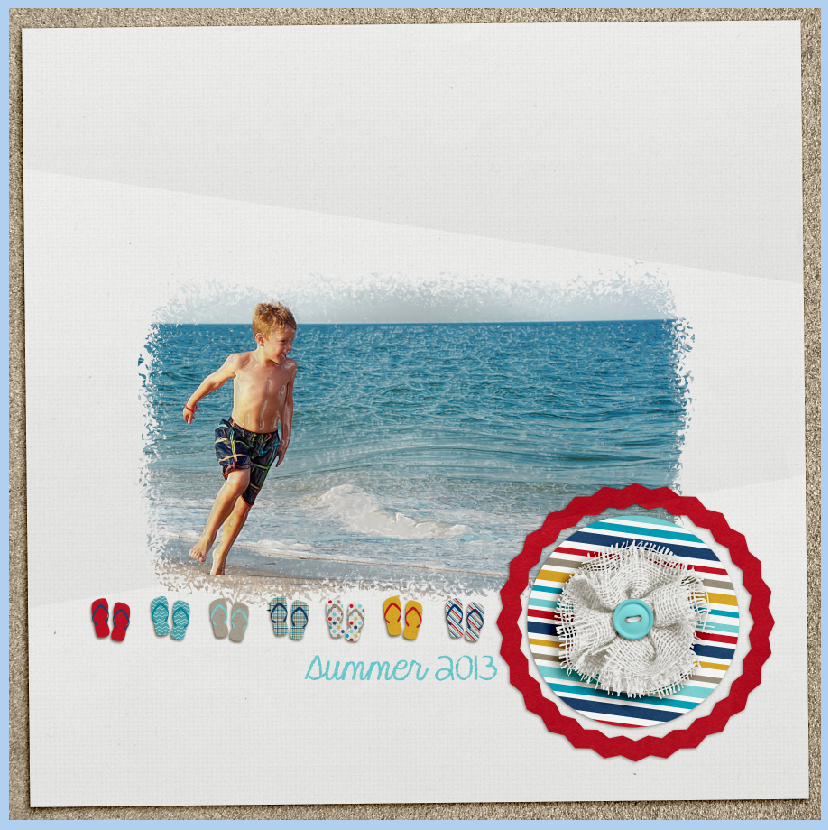
And my final layout…

PW9

That’s it!  Easy, right – but this can be so much fun! :) Here is what some of my fellow CT members came up with using the steps above…

Roxana – she used Gone Fishing by Chelle, as well as a template from Scrapping with Liz.

Kassie – created this summer layout using In The Pool by Chelle, and a template by Rainy Dayz.


What do you think?!  I hope it’s something new, and fun! Thanks for stopping by and have a great day!

by Jenn

Once Upon A Time | Digital Scrapbooking Words on Wednesday

Hello Hello! Hope your week is going well. How many stories have you told staring with “Once upon a time.,” that catch-all jumping point for our imaginations. We adapt the stories to fit our listeners, an event, or just pure fantasy. We challenged the creative team to use “Once Upon A Time.” in a layout they created. Just let your imagine roll…
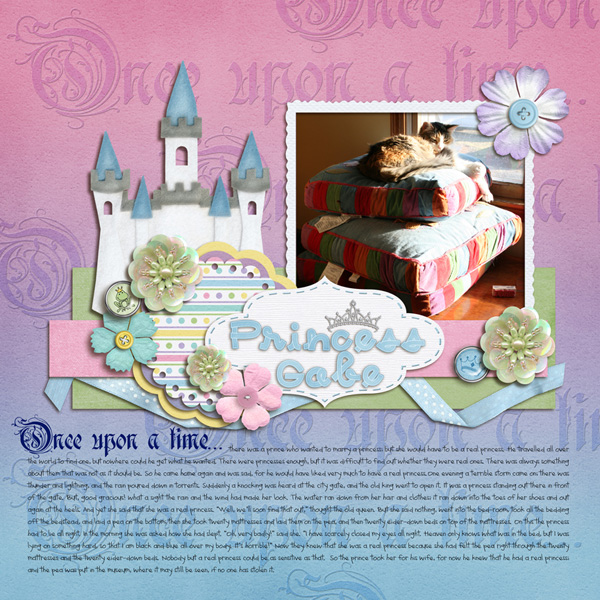
April (billvarmint) used our theme to share a story about her cat, Princess Gabriella. Love that the picture of her cat as she her drowsily enjoys the sunlight and window on her stack of pillows. Great clustering & layering.

Princess-Gabriella

April used Happily Ever After

cc_happilyeverafter_preview_2post      cc_happilyeverafter_wa_preview_2post

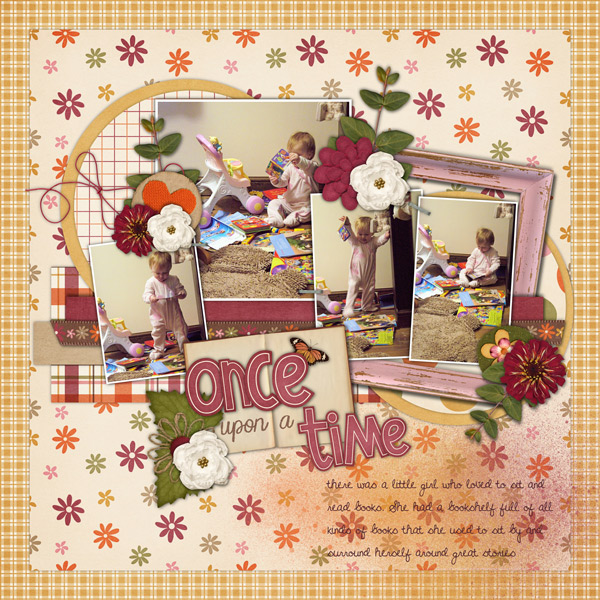
Helen (Winipeg1) tells the tale of her daughter’s love of books. She always wanted them to surround her.  Love the use of the plaid paper and flowers. The spritz of paint colors adds to the beauty of this layout.

Helen-indian-summer

Helen used Indian Summer.

cc_indiansummer_kit     cc_indiansmr_plaids

What’s the first thing that comes to mind when you say, “Once Upon A Time?” Scrap it and don’t forget to upload the layout to the gallery. I’d love to see your work.

Hugs!

Letters from Home

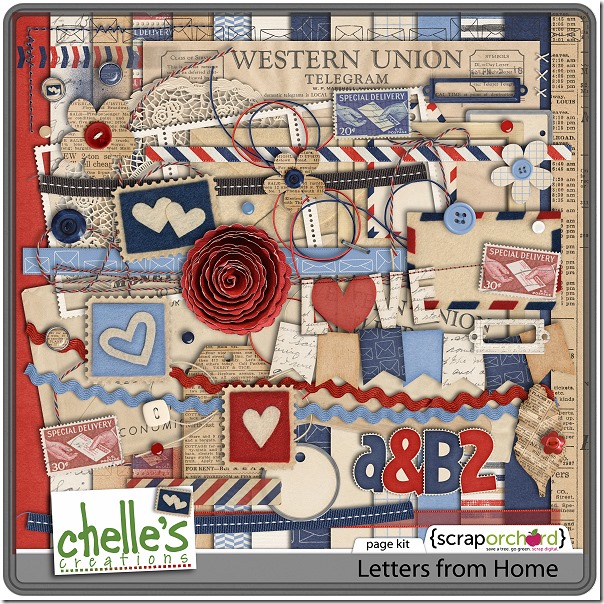
It’s Tuesday, Chelle’s friends, so let’s look at a classic Chelle’s Creations kit, Letters from Home. It has a vintage feel and a bit of a patriotic look, as well, so it’s perfect for your digital scrapbooking projects of various events from the past or present. Chelle’s Creative Team members have a few pages to show you.

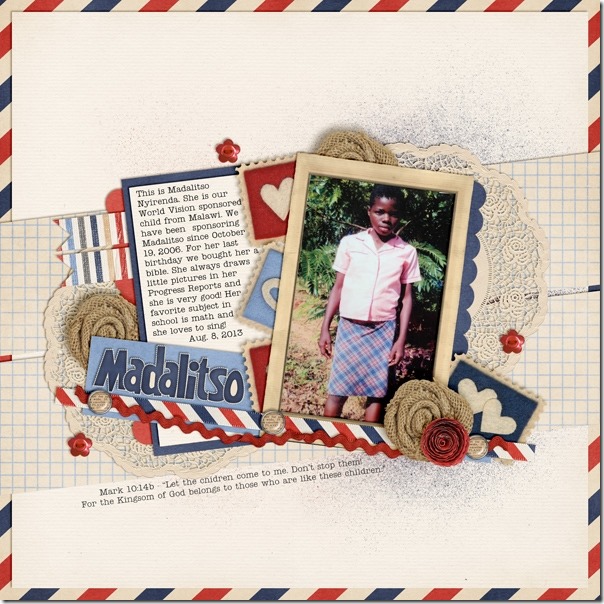
First, Krista has a photo of a young person she supports through World Vision, and she made a page using Chelle’s kit about her personal story and involvement with Madalitso in Malawi.  I love all the angles she used for placement of the photo and all her elements. And, I love the way the little felt stamps are tucked under the framed photo.27312

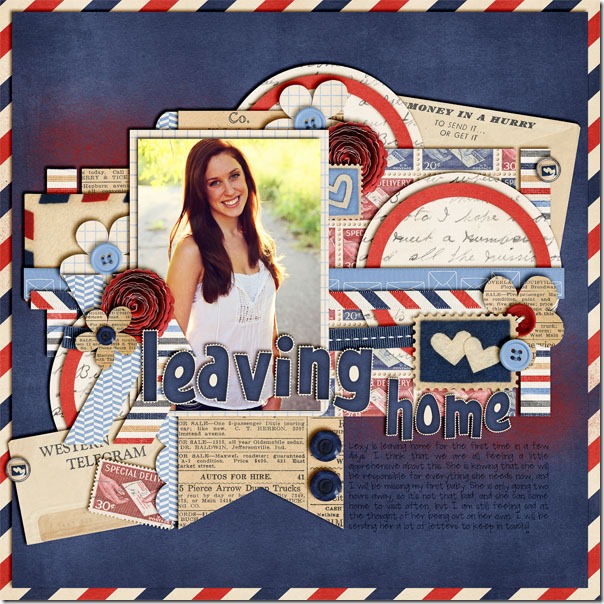
Next, Jenn made a page about her daughter leaving home to go to college. A lot of us, including Chelle, are going through that same experience right now, and what better way to celebrate a young person’s accomplishments and at the same time assuage the pangs of this bittersweet time than by making a scrapbook page as a tribute. Like Krista, Jenn used lots of layered frames and elements behind her photo, and yet the photo is still center stage and the highlight of the page. I love all the buttons Jenn used; it’s so much easier to do this digitally than with real buttons, right? And, yet, Chelle’s elements look like actual, tangible buttons on the page. leavinghome

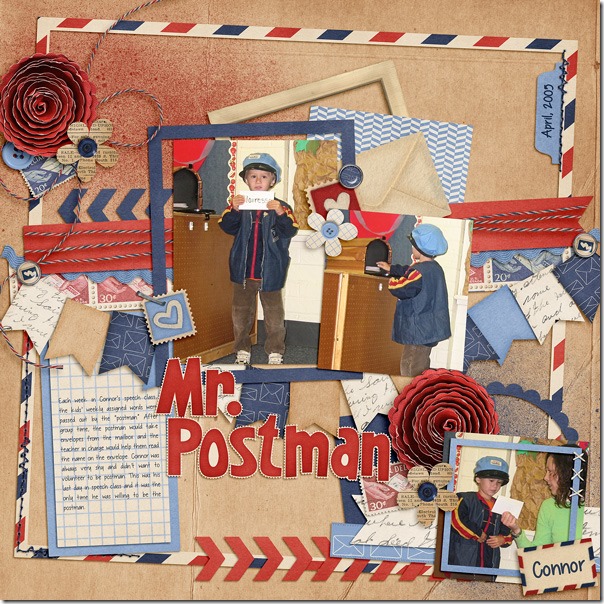
Finally, Tammy has made a page about her cute little guy dressed the part of postman for his speech class. She tells the story of how he was too shy to volunteer to play the part, but on the last day of class, he overcame his hesitancy and did very well. I’m so glad she has the photos for the page! Look how she used the twine in the kit – it looks great wrapped around the banner behind her pictures. Mr-Postman

Here’s a closer look at the kit in the market. The preview image is linked to the store, in case this classic kit has escaped your grasp in the past. cc_lettersfromhome_kit

by_Cheryl

Gallery Stand Outs | Digital Scrapbooking Ideas

Hello Friends! It’s Monday and that means I get to peruse the gallery for some great digital scrapbooking layouts to share with you. This week I found 2 that I want to show you.

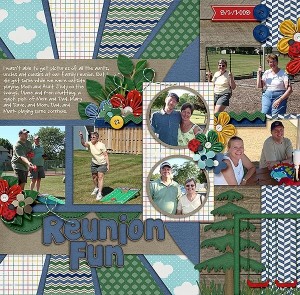
Zippyoh used At the Park to share her reunion memories. I really like the different shapes she used to create her layout.

by Zippyoh She used At the Park

by Zippyoh She used At the Park

cc_atthepark

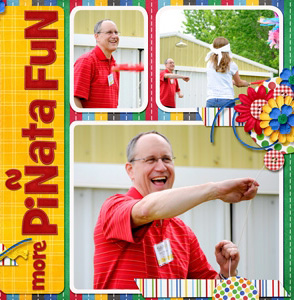
Shari used Primarily Mini, Celebrate Bold, & Chilln & Grillin. Her use of the 3 pictures really tells the tale of the pinata party they had.

Pinata Fun by Shari (Right) She used Primary Mini, Celebrate Bold, & Chilln & Grillin

Pinata Fun by Shari (Right) She used Primary Mini, Celebrate Bold, & Chilln & Grillin

Primarily Mini cc_Celebrate_bold_preview_2_post cc_chillngrill_preview 2 post

Make sure you remember to upload your layouts to the gallery. I really enjoy looking at what you create.

Hugs!