This link is no longer available. The CU Crochet Leaves pieces will be available in the market in August.
TGIF! The weekend is here. Woot! Daily Download #18 is available here.
Howdy Scrappers! It’s Friday and we have a new piece of the One Year Older daily download for you. Here’s day 17.
Hi Everyone… It’s Jenn, aka jk703 here to share some tidbits with you in our Tutorial: Bending Shadows. These are what I have learned over the last few years, and I will try to make them as simple as possible. First, you may want to work on a layout that you have already created, and resave to practice on the elements. Here is a page that I’ve created using Chelle’s In The Backyard. See the yellow String – that will be what I use to show how I bend shadows. I don’t know if all of these options are available in PSE or SBC; I am working in PS.
I’ve moved the string to another part of the layout so you can view more of the actual string and shadow.
Right click on the string’s layer in the Layers Palette, and choose to Create Layer. This will put the strings shadow on it’s own layer separated from the actual string. This really helps in being able to bend the shadow.
Next, choose the Smudge Tool from the Tools Menu. Here are the settings I have for the Smudge Tool – Size 160, Normal, and 25% strength.

Once you have the smudge tool selected, and all the setting as you like, make sure you have the shadow (of the string) selected in the Layers Palette. Start to “smudge” or move the SHADOW of the string away from the end of the string. It will appear as if it is lifting off the page some. Try to take the lighting into account.
After you have smudged enough and like your look, we have one more step. Choose the Eraser Tool from the Tools Menu. Here is the settings that I will use for the Eraser Tool. For the area that is lifted, I’ve erased some of the shadow – to make it lighter and less defined. As some shadows get further from the paper, they usually become less defined and not as dark as the others that are closer to the paper.
Another way to bend shadows is to use the Polygonal Lasso Tool. With your shadow on a different layer (as done above), create a shape by clicking and leaving anchor points. Click them around the “end” of the string. You will want to make sure be careful and choose your spacing wisely. Here is where I chose to move my string shadow.
As you look at my image above, you can see that there is an edge where it doesn’t appear to be a shadow and then I surround all of the other shadow and give some space. Once you have connected the shape, you should see the marching ants. Now, you will choose the Move Tool. You will see 8 points around your shape. If you press on the Command (Control on Windows), you get a triangle cursor when hovering over one of the four cursor points. Click on a corner and move the shadow as you like. Continue to do this until you have your string shadow as you want it to look.
Next, same as above, use the Eraser Tool to make your shadow layer appear less detailed and lighter.
One last way to bend your shadows (that I know) is to Warp them. Here’s a basic how to:
From the Top Menu Bar, choose Edit > Transform > Warp. You will see a square with 9 parts appear.
Click anywhere in the box, and slightly move the shadow. Be careful – the whole layer will move. Remember, there is an Undo Button! This takes some practice and getting used to. This is useful when you want to move more than just an end, plus you can move different parts together.
Here it is in action. My layout using At The Park by Chelle, and a freebie template that I got today (7/17) on the scrap Orchard blog from Scrapping with Liz. I used the Polygonal Lasso Tool for my page. I actually lifted both ends of the string.
Here is another layout from Leslie (lab130) that she created using On The Water by Chelle. She smudged the banner and word bits.
Those are the three ways that I’ve come to rely on – there are so many ways to do things in Photoshop, so play with these, and give it a try! Have a great day!
Jenn (jk703)
Hey everyone, I wanted to announce the winners of our sneaky peek for Chelle’s new release this week,”In the Pool.” We had so many entries we decided to give away 2 copies.
Candice in Colorado is our first winner, she said, “I love Chelle’s designs so very much! They’re unique, they’re always super-fun and she is a designing machine! I cannot believe how much she creates each month, it’s insane! She’s a true artist and I sincerely appreciate her work, even though I don’t get to shop much at all!!! Thank you so much for this chance!!!
P.S. I also posted your sneak peek and your giveaway info on Google +1! I have found it’s a GREAT social net working site! I have quite a large following and I follow many others! My post can be found here: https://plus.google.com/u/0/108542827898419612180/posts/eYYqHMF6m64
Nicole Gonzalez is our 2nd winner, she said, “I am a facebook fan!! Thanks for the opportunity!! I shared your giveaway link on Twitter. I shared your giveaway on Pinterest. Thank you for the opportunity to win this new kit… I love it, along with everything you create!”
Candice & Nicole, send Chelle and e-mail and she’ll respond with your coupon codes for the market. chelles.creations1@gmail.com
Congratulations!
Sari
********************************************
Hey Scrappers! Chelle’s on a roll with her summer themed collections. First it was In the Backyard, then At the Park, and this week we get the next installment. (I don’t know about you, but I can’t WAIT to see what the little people are wearing and doing this week.) Check out this peek & all the ways you can enter below:
Enter to win Chelle’s new digital scrapbooking kit, releasing on the 19th. Good Luck! Check out the ways you can enter below.
Remember we have NEW RULES!!!
You can enter to win by sharing the sneak peek. You can…
1. share it on your blog
2. Be a fan of Chelle’s Creations on Facebook, but we’d really love it if you share it on Facebook!
3. share it via twitter
4. share it on Pinterest
5. comment below
Remember, since the winner is chosen using a random number generator, be sure to come back and let us know in a new comment when you’ve done each method. Contest ends Wednesday 7.17 at 11:59 pm MDT.
The download links for today are no longer active. They’ll be available in August in the market.
Hey!
Just a quick reminder that Designer Club Q&A chat is on Wed (17th) at 9:00 am MST. If you didn’t attend, remember club member’s can watch it for FREE.
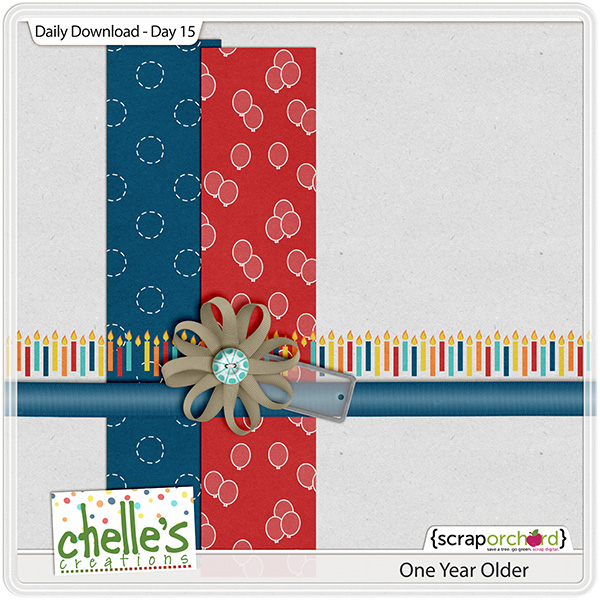
Here’s the latest on today’s Daily Download. (Day 15)
Remember today’s the last day to get the discount on At the Park & At the Park {Little People} Hint! Don’t forget the coupon in last week’s newsletter, to get an extra 30% off: park_30_off
Don’t you just love a good trip to the orchard? I love to take my camera to the orchard near my house and take photos, especially when the apples are in season. Chelle has a lovely digital scrapbooking kit perfect for use with my apple orchard photos called Apple of My Eye, but this kit is also perfect for pictures of the child who is the “apple of my eye.” Chelle’s Creative Team has been playing with the kit to show you its versatility. Check out these pages for some inspiration.
First, Jenn has a layout that matches the theme of the kit. Check out that apple tree in her photo – it is FULL of ripe, red apples, and the apple tree in the kit looks like Chelle designed it just for this page. I love how Jenn used the wood grain paper in the background and the basket of apples in a cluster of elements on the photo. I can’t wait for fall! 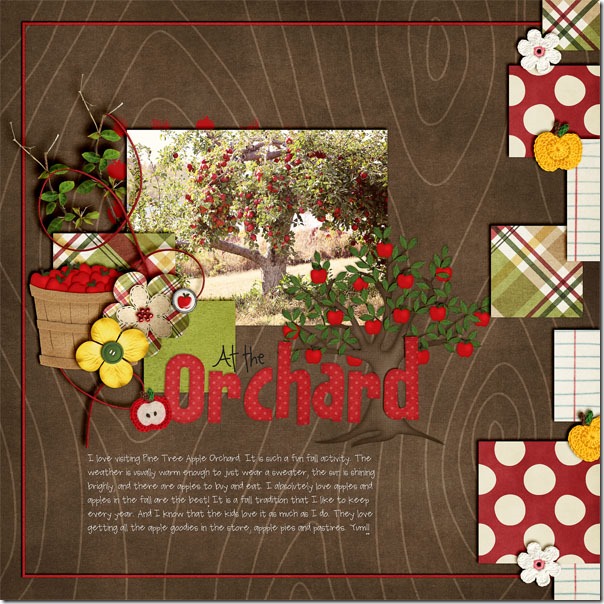
Next, Jen had some photos of her son’s preschool class field trip to an orchard, and this kit was perfect for them, as well. The chicken wire makes a great base, and the burlap pieces are perfect mats. She used one of the matching word arts for her title. Look at those faces! They are precious. 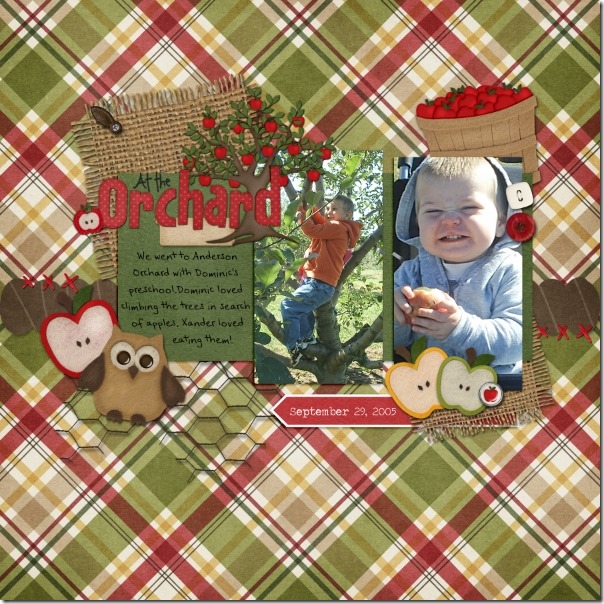
The next page is Helen’s, and she chose to follow the “apple of my eye” theme. Isn’t her baby adorable? The reds in the kit match her little red headband perfectly, and I love that she used the Buttoned Alpha for the title. 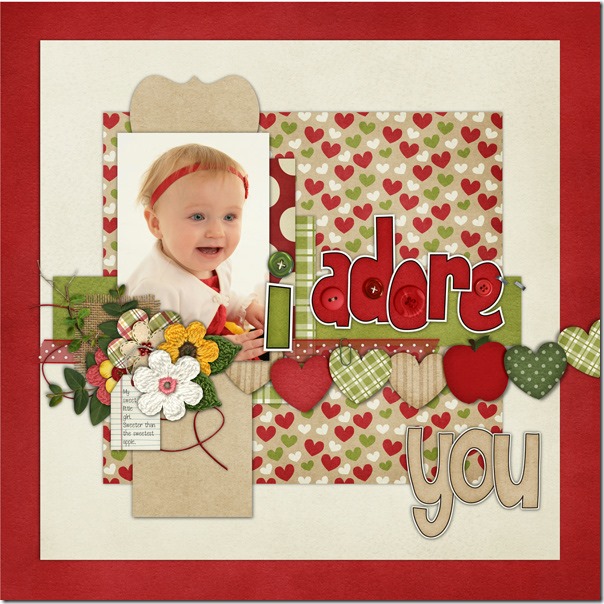
Finally, Leah made a page for us also following the “apple of my eye” idea. Her black and white photo makes a huge impact here, and the blue papers and flowers in the kit really draw us in to the photo. I love the way she stacked the papers in the background, and I love that she chose the blue elements.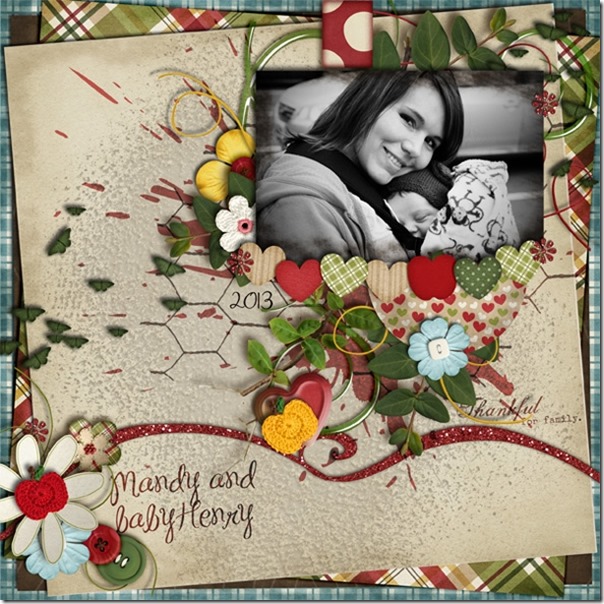
Here’s a closer look at the kit and the bundle in the market. 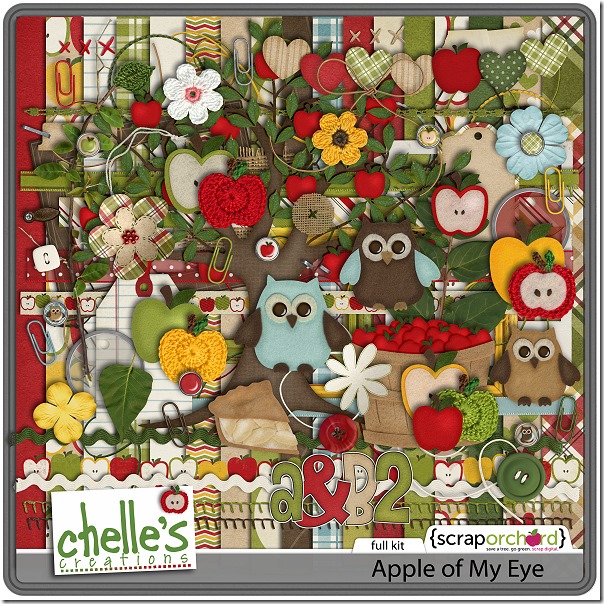
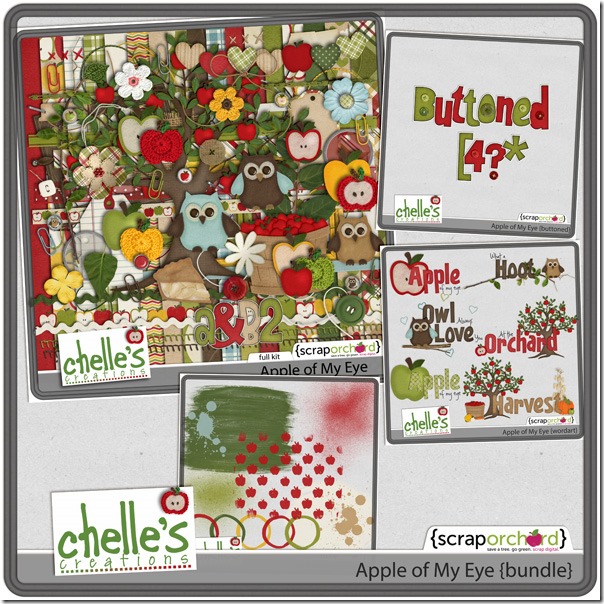
I’m inspired to use more of the blues from this kit. I usually scrap with the reds and greens, but Leah’s use of the blues has really spoken to me. What about you? If you make a page with any of Chelle’s kits, please share them in the Scrappin Gallery at Scrap Orchard and tag them with #chelle . I would love to see your pages!