CTR Sneaky Peek Winner Announced

Jayleigh3 you are the winner of the fabulous bundle.  Chelle will be sending you the coupon codes. Congratulations! If you aren’t already uploading your layouts to the pin gallery at Scrap Orchard, please do so. We’d really like to see what you create.

Hugs!

***********************************************************************************

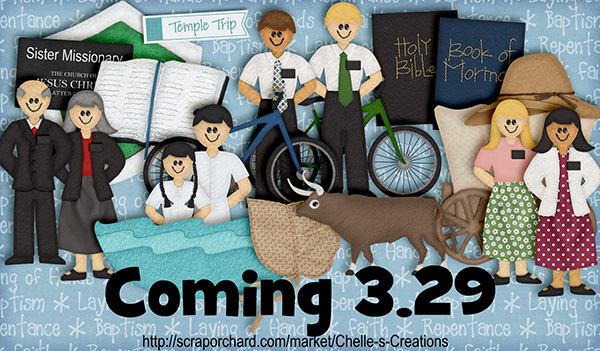
Hey scrappers! Chelle has a HUGE collection coming this week.

ctr_sneak

Enter to win Chelle’s new digital scrapbooking kit, releasing on the 29th. Good Luck! Check out the ways you can enter below.
Remember we have NEW RULES!!!
You can enter to win by sharing the sneak peek. You can…
1. share it on your blog
2. share it on Facebook
3. share it via twitter
4. share it on Pinterest
Remember, since the winner is chosen using a random number generator, be sure to come back and let us know in a new comment when you’ve done each method.  Contest ends Wednesday 3.27 at 11:59 pm MDT.

April 2013 Desktop Freebie! | Digital Scrapnbooking Freebies

Every month I say how fast it has gone by… and it is so true! Is it spring where you are? Here in the northeast, we still have snow on the ground… but the days are getting longer and warmer! I’m hopeful that spring is right around the corner, lol.

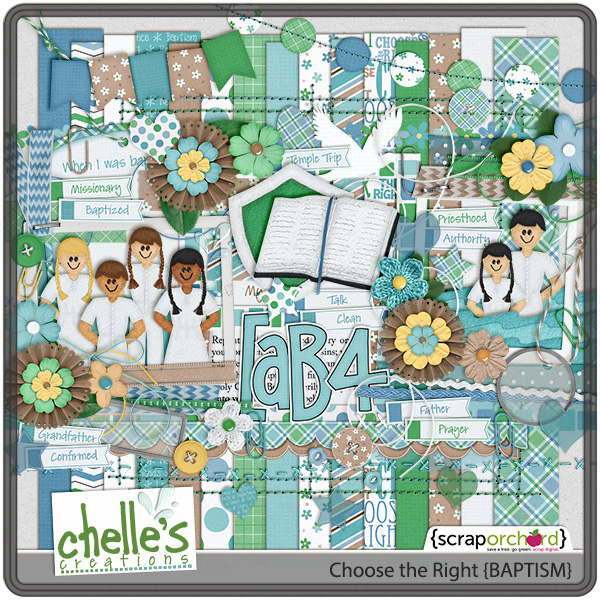
I wanted a springy desktop to keep me hoping… I used Chelle’s Baptism kit, which is great for lots of layouts – not just baptism ones! Take a look:

folder

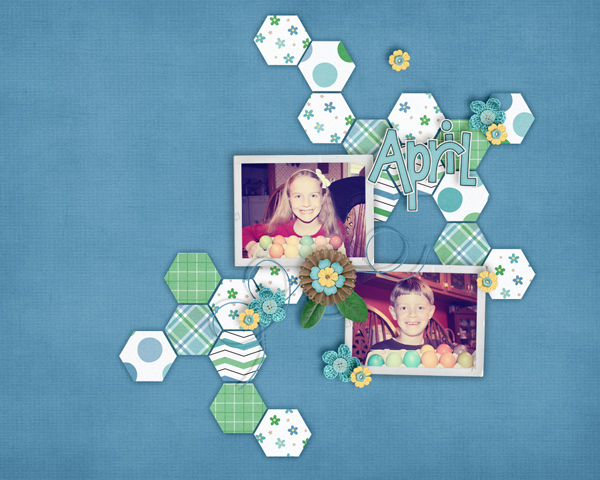
And this is what I created with it:

kairyn_APR2013-desktop_prev

I used a fun filter to alter the colors of my photos slightly and I love the instagram look!

Three sizes are available in one download: 1024×768, 1280×1024 and 1280×800.

~download here~

Happy Spring!

by Kairyn


Tutorial: Artistic Filter Blends

Tutorial: Artistic Filter Blends

Hi Everyone!  It’s Jenn, aka jk703, here to share a fun and super simple technique for you!  This technique is pretty subtle, but really allows you to stretch your stash!  We are going to use Filters in Photoshop to change our patterns and background papers. Artisitc Filter Blends really are easy, and fun to use. For my layouts, I used one of my favorite kits of Chelle’s, called Oh Snap! Let’s get to it!

Layer at least two papers in the layers palette.
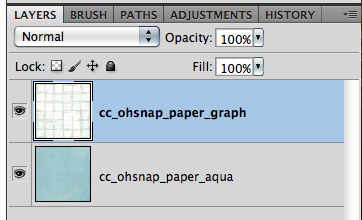
Screen shot 2013-03-20 at 10.01.00 PM

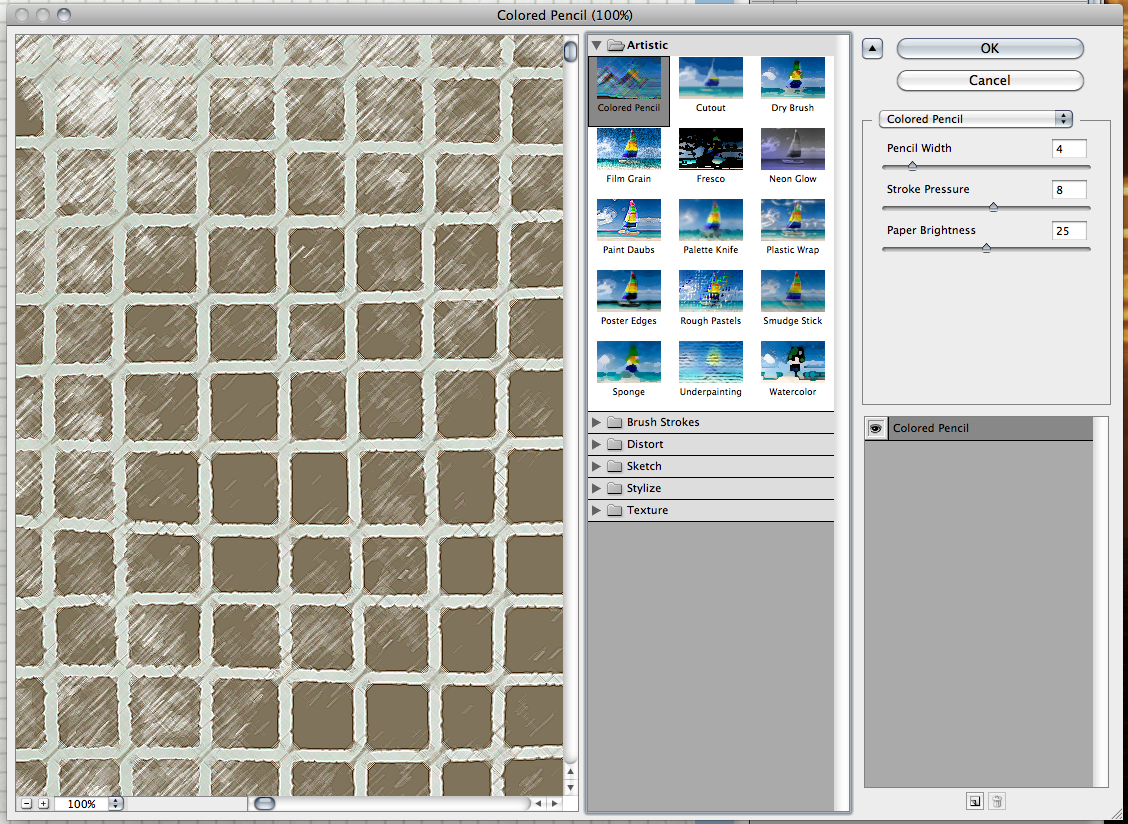
With the top layer chosen, click on Filter > Artistic > Colored Pencil. (Don’t worry, you can pick any once the menus pop up).  Screen shot 2013-03-20 at 10.01.18 PM
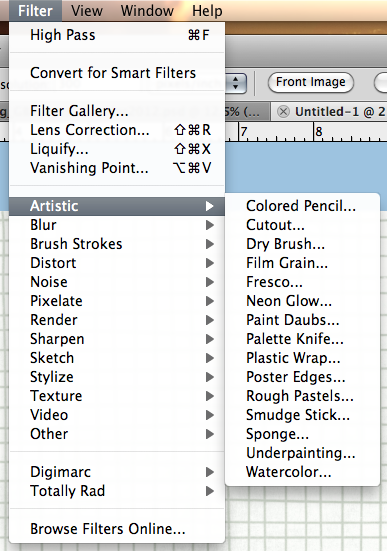
Once the Filters Menu pops up, you can click on each filter to see how each will interact with the paper that you chose. Screen shot 2013-03-20 at 10.13.30 PM
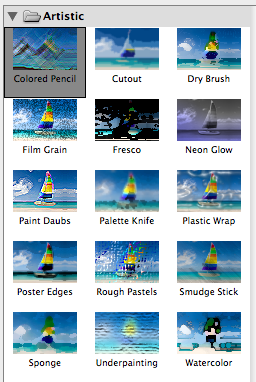
Play with each filters sliders to change any aspects – such as lighting, brush size and detail, stroke size and detail, and even definition.
When a filter is decided on, click ok.

Your paper will then change in your layers palette to the filterized version. :)

Go through the blend modes to blend it with the paper below. Play with the sliders for Opacity and Fill. Presto!  You have a new artisitc paper that you can use for your backgrounds, paper pieces, and strips. Here are some examples.

Colored Pencils:
CP1

Paper using Colored Pencils and a Multiply Blend Mode:
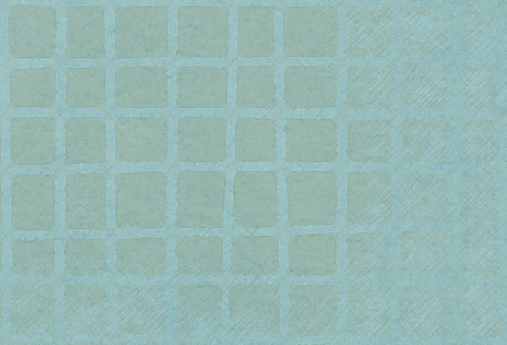
CP3

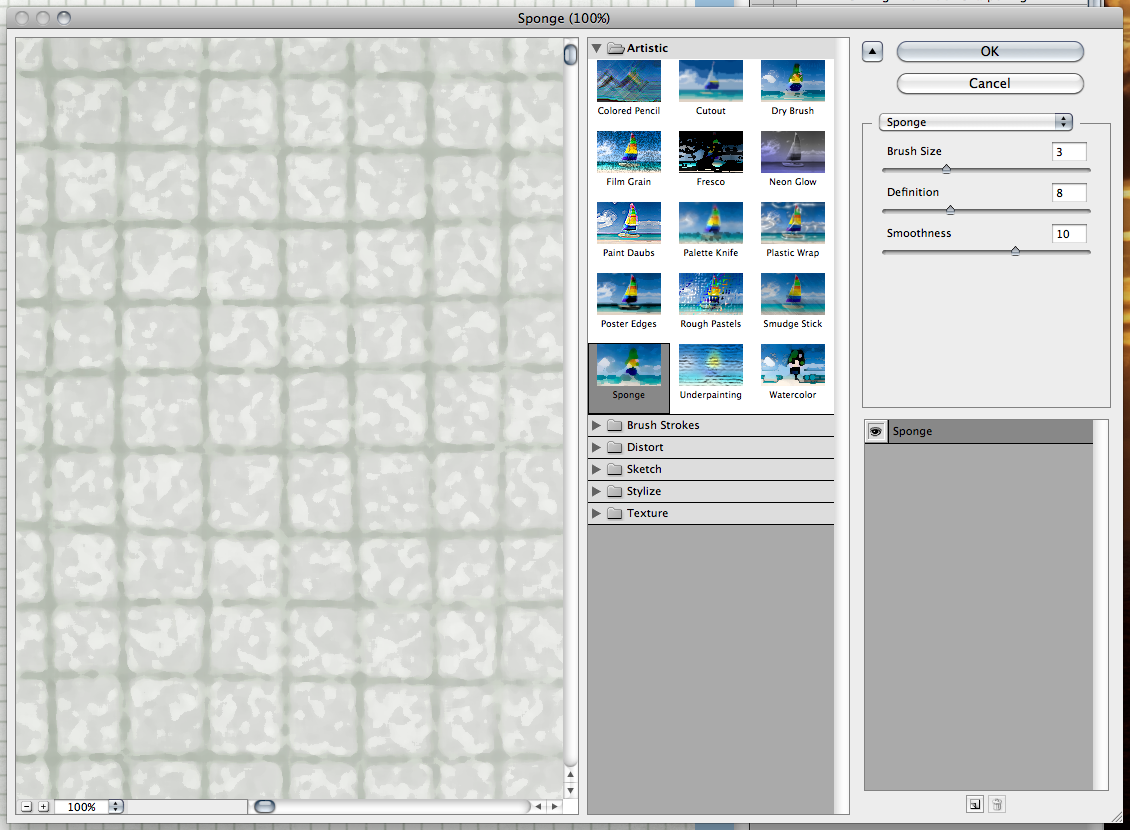
Sponge Filter:

Spg1

Paper using Sponge Filter and a Color Burn Blend Mode:
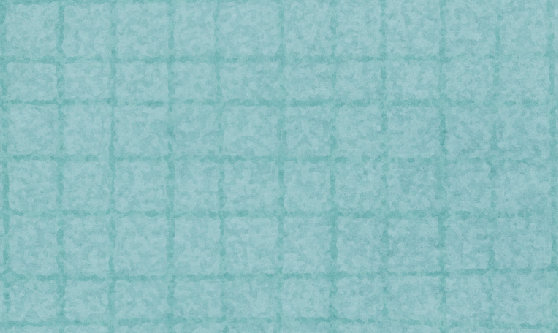
Spg3

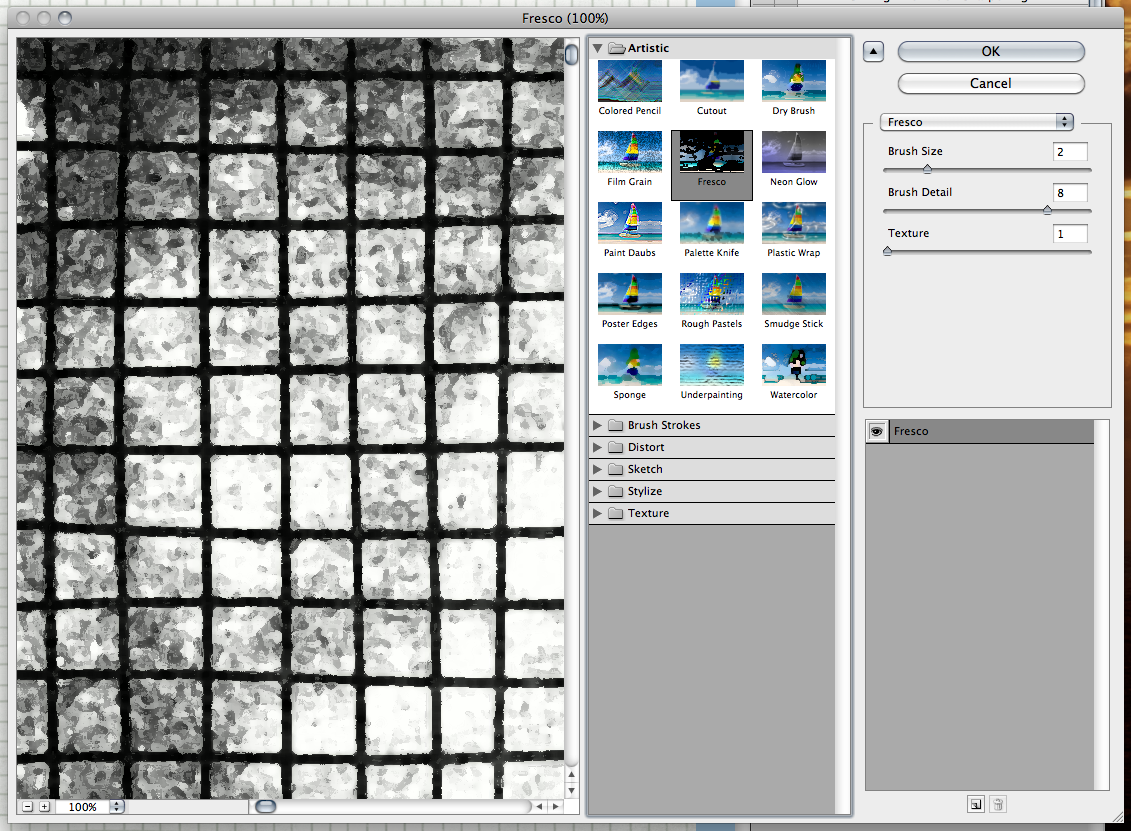
Fresco Filter:

FRE1

Fresco Filter with a Color Burn Blend Mode:
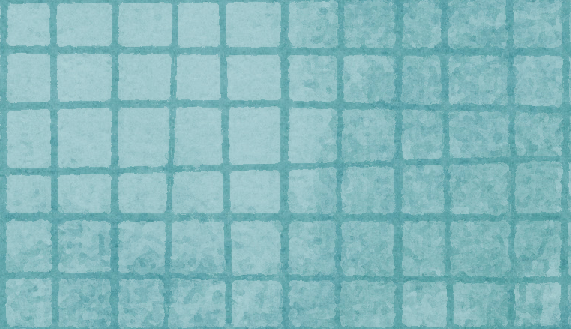
Fres4

Really easy, right!?  Here is a layout that Roxana (aka Roxanamdm) created. She said she used the Rough Pastels Filter on the brown flowered paper, but first deleted the brown color and then applied the filter, to keep just the flowers as the background is actually the wood grain paper. Now, the flowers kinda match the rub ons. Blended mode Normal and enlarged to 250% so the details are clearly seen when printed.
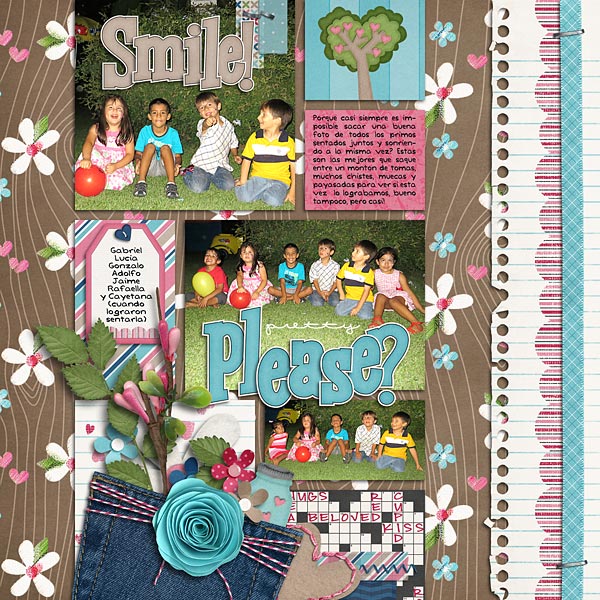
42-cousins-web

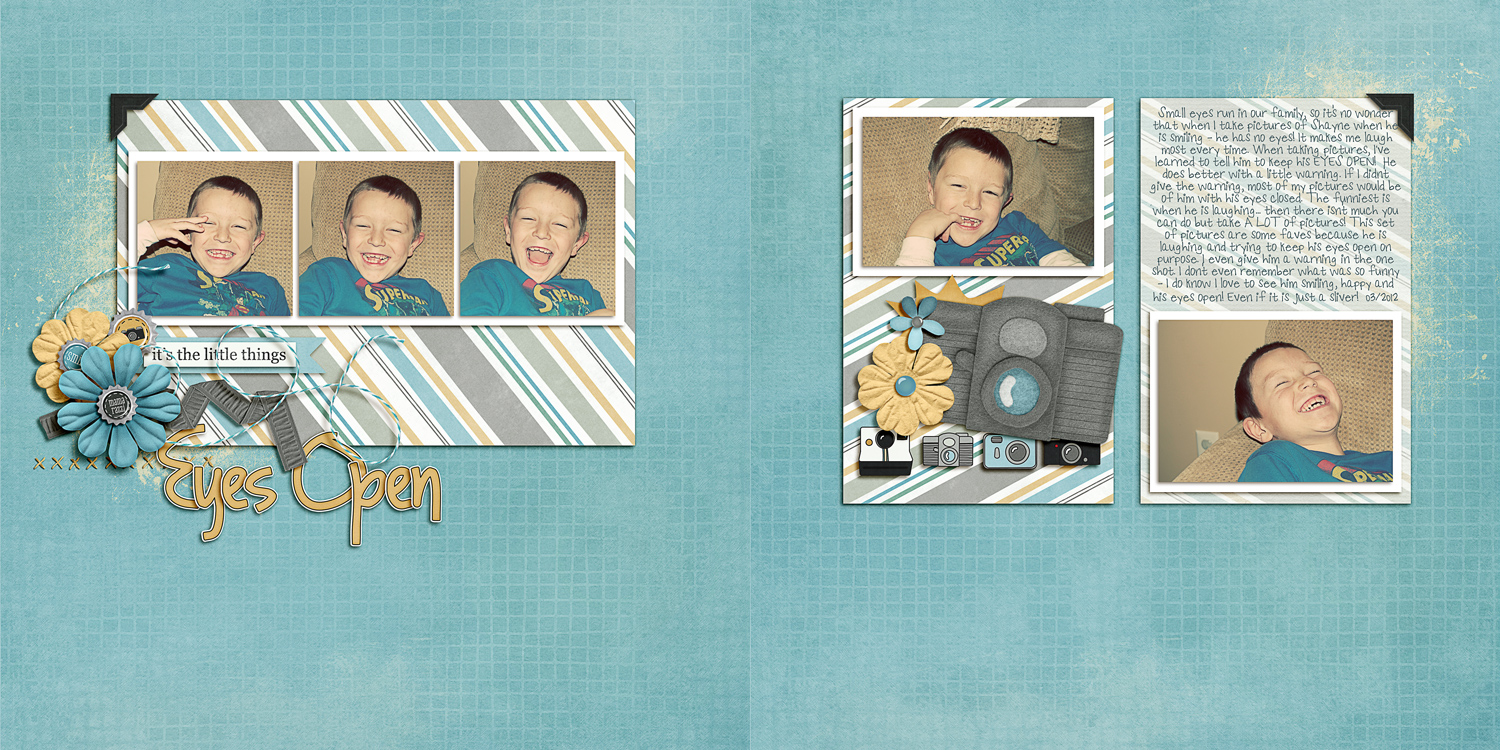
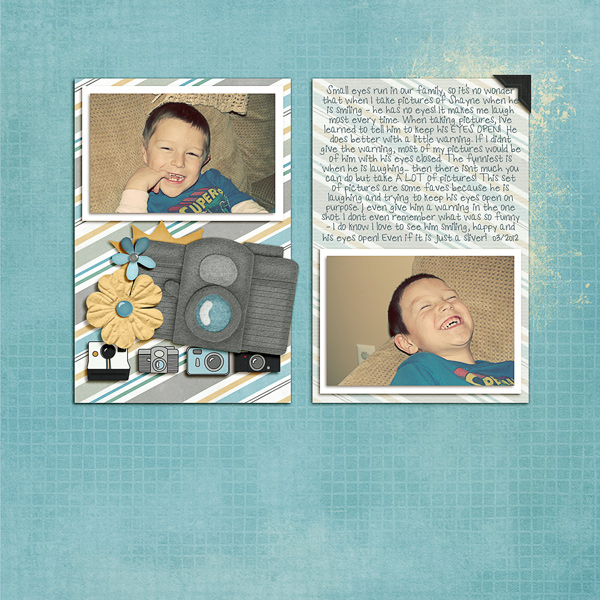
Here are the layouts that I created.
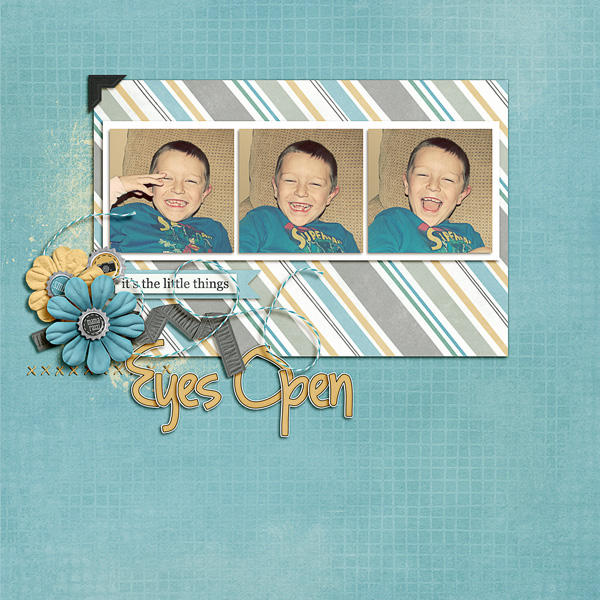
SO_CC_OSnp_Swl_SimpPhtCdTem1_WMWndyMsy_Hsg_GB3_EyesOpenMar2012_WEBDbl

SO_CC_OSnp_Swl_SimpPhtCdTem1_WMWndyMsy_Hsg_GB3_EyesOpenMar2012_WEBLft

SO_CC_OSnp_Swl_SimpPhtCdTem1_WMWndyMsy_Hsg_GB3_EyesOpenMar2012_WEBRght

CloseUp_WEB2

Fun, simple and super cute. Give it a try!  Thanks for visiting today!

by Jenn

Emphasis | Digital Scrapbooking Words on Wednesday

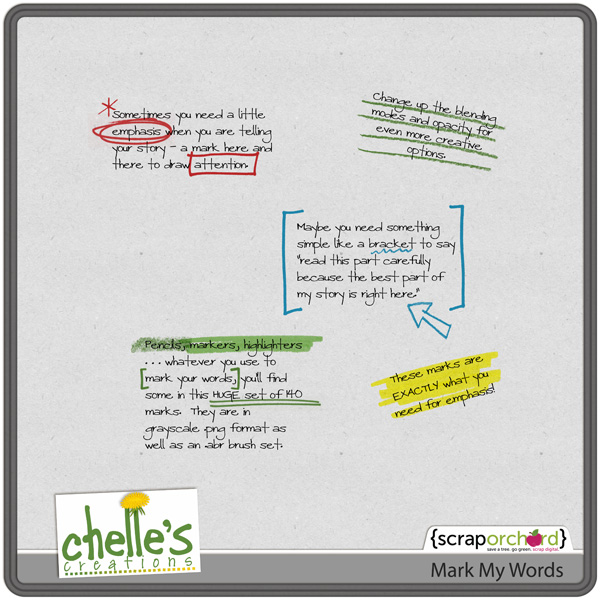
Hello Friends! Need a way to emphasize your layout? Why not use Chelle’s Mark My Words kit? With over 140 options, you should be able to find exactly what you need. For those of you even more creative, try adding color, changing blending modes, & adjusting the opacity for even more creative options. With this helpful kit, you should be able to “doodle-up” your layouts.  I bet if English teachers were in digi-land, they’d absolutely go crazy grading papers with these fun options. Let me show you the kit.

cc_markmywords

Here are a couple of ideas from the Creative Team.

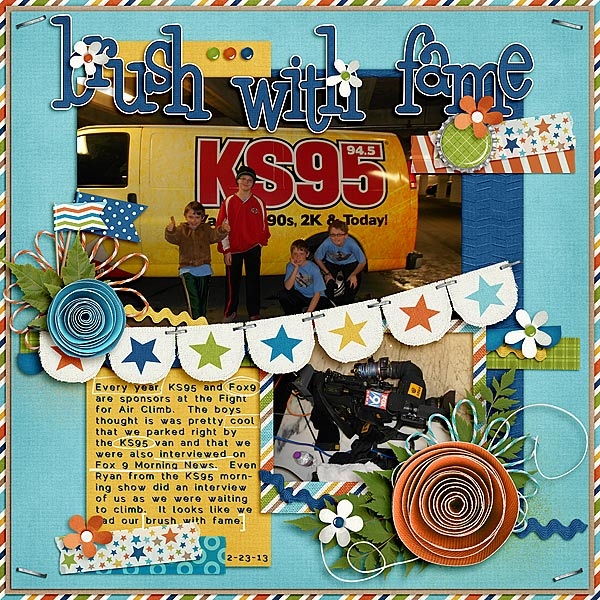
Jenn J (jmljensen) She used About A Boy & Mark My Words

Jenn J (jmljensen) She used About A Boy & Mark My Words

Jenn J (jmljensen) She used About A Boy & Mark My Words

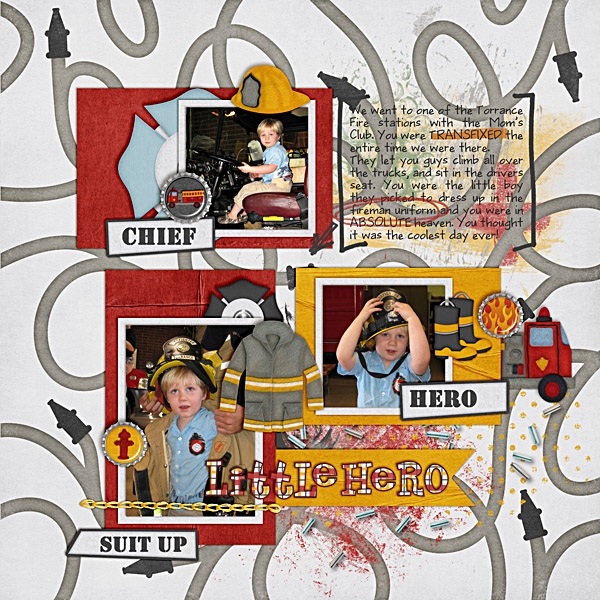
Jan (gramhamlikethecracker) She used Heroes {Fire} & Mark My Words

I bet you’ve thought of several layouts you can add some of these creative doodles to. Sit down! Pull your laptop over and have some “me” time. You know you want to.
Hugs!

Batter Up | DIgital Scrapbooking Classics

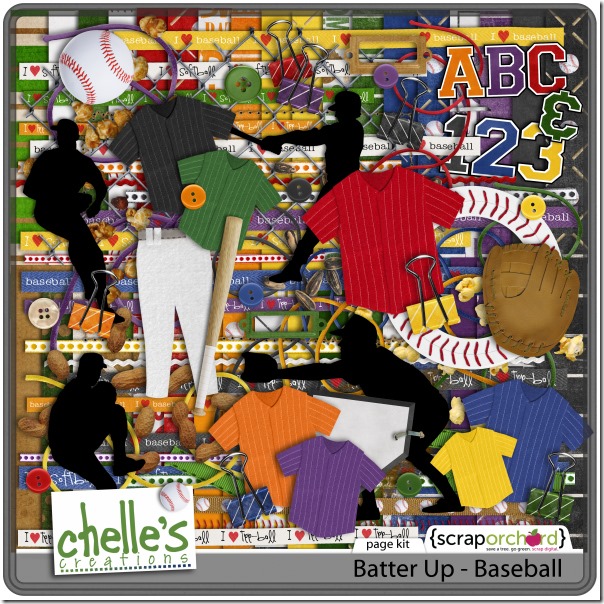
It’s spring, and it’s time to talk about my favorite sport – baseball! Chelle has the perfect digital scrapbooking kit for me to use with my baseball photos, and her creative team has been busy using this kit to remind us how awesome it is. It’s called Batter Up, and it’s great for pictures at professional sporting events and little league games, too.

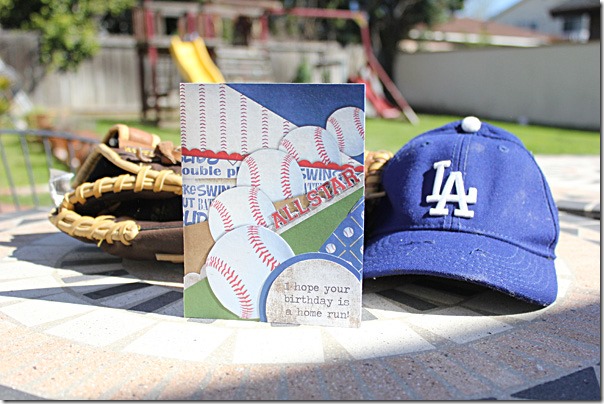
Jen used Batter Up to make a terrific card. Have you thought about using your digital scrapbooking goodies to make a hybrid project? Jen altered a 12×12 Chopped Paper template from Scrapping with Liz to make a birthday card for a special little guy. Look how awesome those baseballs look in the circle spots! I love that she has “All Star” in the title spot of the template. CardBaseball_zpsd3468c5eJen

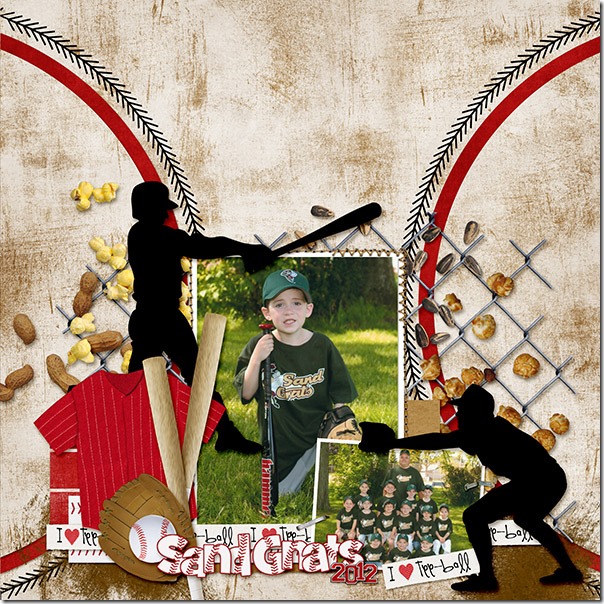
Next, Brandy has made a page for her son’s book with his t-ball pictures. I really love how she has layered the peanuts, sunflower seeds, and popcorn on the chain linked fence. The realistic elements Chelle included in this kit are so helpful in setting the mood, and the “I {heart} t-ball” ribbon is perfect. (There’s also one for baseball in the kit, of course). studio-a-tball-webBrandy

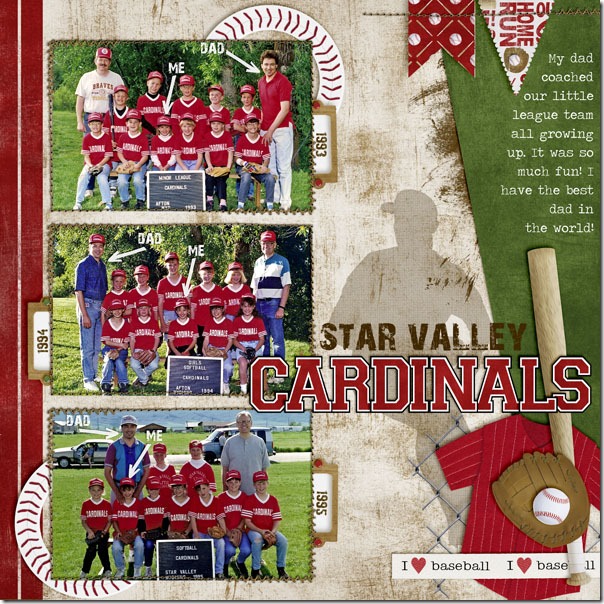
Kassie has made an adorable page for us using pictures of herself when she was a child playing baseball. Her dad was the coach, and I think he is probably beaming looking at this layout. The blend of the silhouette in the background gives a nice aged touch, and I love how she used Mark My Words to show us where she is in each photo.  So cute!littleleague-1Kassie

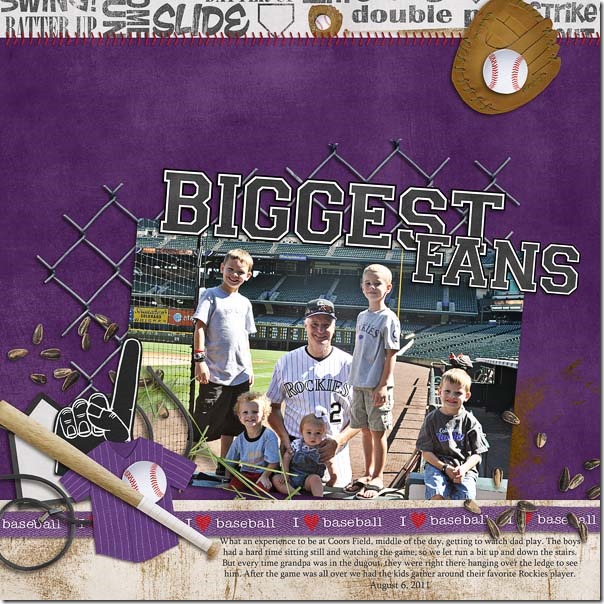
Finally, Erica has a page for us showcasing her dad with his grandchildren at the Colorado Rockies stadium. The Rockies host a Fantasy Camp week in Arizona at their training camp, and the fans who attend get to play ball with the Rockies coaches and some of the retired players. Later on during the regular season, the Fantasy Campers are invited to a game and special tour at Coors Field. Erica’s page is about that special game night where her children got to see their grandpa play ball with the Rockies. What she doesn’t say on her page, but is pretty spectacular to note, is that her sister also sang the National Anthem for the game that night. Wow! Batter Up- by Chelle's Creations
TT March13- by Yaz Bear Designs

Want a closer look at the kit in the market? Here it is! cc_batterup_kit

by_Cheryl

Sneaky Peek & A Chance To Win | Digital Scrapbooking Freebies

Hey scrappers! Chelle has a HUGE collection coming this week.

ctr_sneak

Enter to win Chelle’s new digital scrapbooking kit, releasing on the 29th. Good Luck! Check out the ways you can enter below.
Remember we have NEW RULES!!!
You can enter to win by sharing the sneak peek. You can…
1. share it on your blog
2. share it on Facebook
3. share it via twitter
4. share it on Pinterest
Remember, since the winner is chosen using a random number generator, be sure to come back and let us know in a new comment when you’ve done each method.  Contest ends Wednesday 3.27 at 11:59 pm MDT.

Friday Freebie Journal Cards! Street Smarts | Digital Scrapbooking Freebies

Hello digi friends,

Have you noticed all the project life/pocket style scrapping going on lately?  I have and I decided to jump on the band wagon too. I love the clean lines and simple style of these layouts, and decided to make up some journal cards for today’s freebie using Chelle’s Creations Street Smarts {reloaded} kit.
folder

download here

And here’s a look at the kit up close and some of Chelle’s Pocket Style Templates too. *wink

I hope these cards will help you give project life/pocket style scrapping a try.  Who knows, you may fall in love with this simple style too.  =)

take care and keepscrappin

Fonts as Shapes in SBC 4.0

SBC 4.0 offers a couple fun ways to use fonts. Inside the program, you can use any font and fill it with paper by going to the Insert ribbon and then in the text category selecting shape. I love doing this to add some papers and outlines to my fonts. But did you know that you can also make shapes from fonts? Making a font into shapes will allow you to fill your font with photos AND be able to adjust them just the way you want them.  You probably already have some dingbat fonts installed on your computer and SBC4.0 had a few of them pre-installed as shapes to use. I have gone searching for a few additional dingbats that would be GREAT for using as elements or photo holders.

What to do to turn your fonts into shapes:

Make Font into a shape11) Find the fonts you want to make into shapes. Install them to your computer.
2) If you already had SBC 4.0 running, you’ll need to restart the program for the font to be recognized.
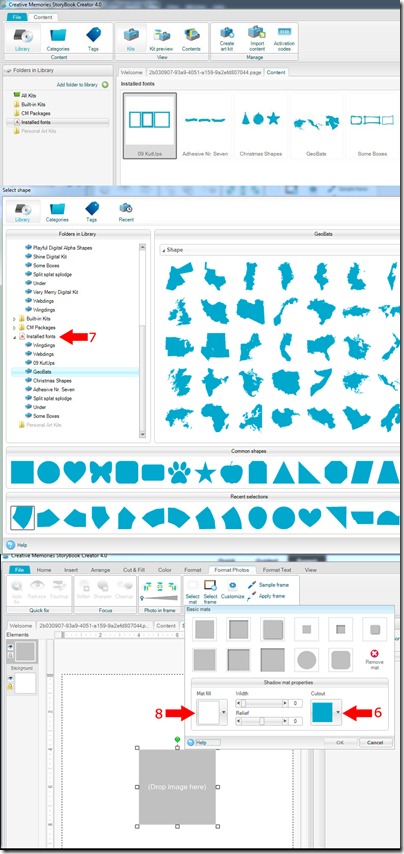
3) At the startup screen, select “Manage Content”. In the left hand column, you’ll see “Installed Fonts”.
4) Right click on that and select, “Add a font”. Scroll through your list to find the fonts you want to turn into shapes. Then select “Add” at the bottom.  [At this point, if you just want to use the shape, you can simply insert it by going to the Insert Ribbon and then Shape and find the font shape you want.  If you want to make it a live shape, able to move or scale a photo or paper inside it, read on.] 5) Insert an Empty Frame from the Insert Ribbon and select it.
6) Go to the Format Photos Ribbon and select “Select Mat”. Click on the Cutout button.
7) In the left hand column, select “Installed Fonts”. You should see the font you just installed. Select that
font and scroll in the font preview area for the shape you want and select it.
8) Before you exit out of the “Select Mat” pop-up window, change the “Mat fill” to transparent. This will allow your shape to have no background visible on your page.
9) Fill your shape with paper or a photo.

If you like horses, find a horse font. Birds, find a bird font. Install it, fill it with paper or a photo, and off you go. Find a frames font and fill those with paper and you’ll instantly have fun frames for any SBC+ project. Have fun playing. Here are some links to fonts you can try:

http://www.dafont.com/geobats.font
http://cleversomeday.wordpress.com/2…r-die-cutters/
http://www.fonts2u.com/dj-horses-1.font
http://bestdesignoptions.com/?p=10816

And here are some examples of pages made from our team using this technique:

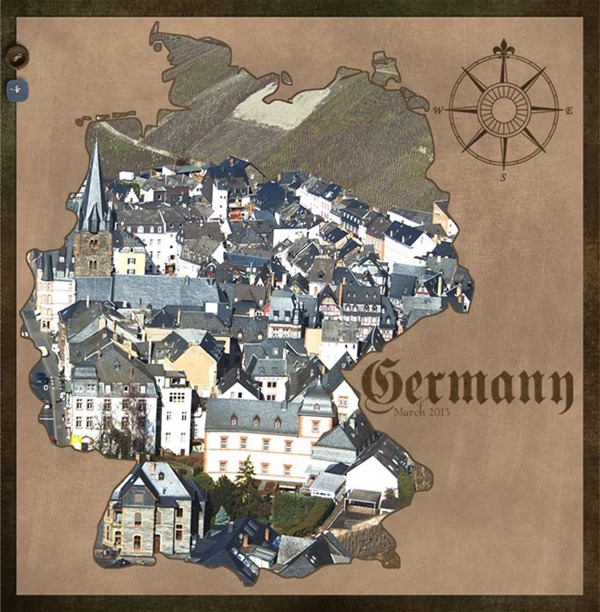
Here, I (aka lab130) used Chelle’s On The Trail and Geobats  font for my Germany shape.  I’ll use this as the title page for my recent trip to Germany. Germany

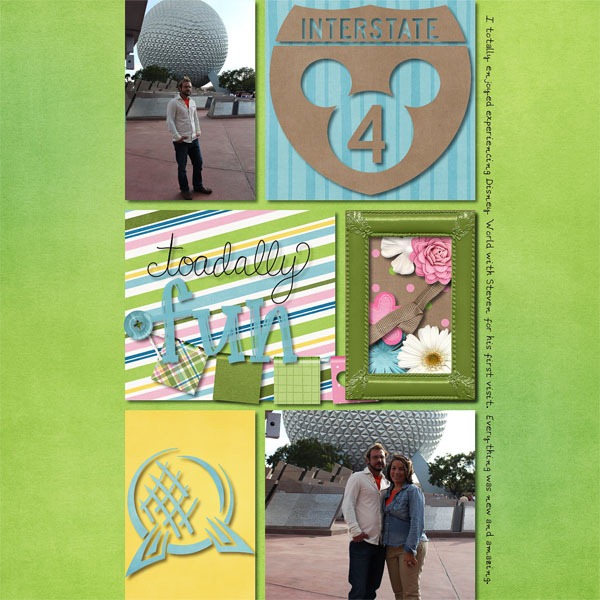
Here, Lynett  (aka Lynett_Rock) uses Disney Dings to make some great shapes.  I’m going to have to get this font for myself, I think!   The kit she used is Toadally.
epcotstevensfirstvisit_zps4c0f47da
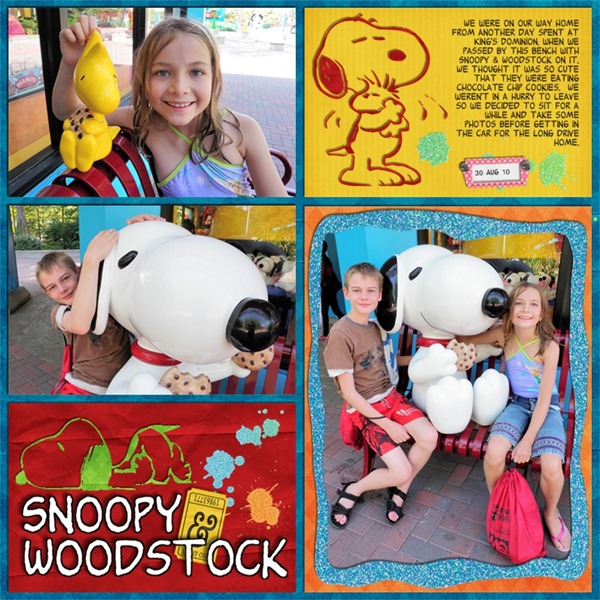
Here, Jan (aka QuiltyMom) uses her Snoopy Dings to make Snoopy shapes and fill them with paper.  Aren’t they cute?? She used Ticket to Ride and In the Pocket.

snoopy

Try out this technique and post your pages to Scrap Orchard with the hashtag #SBCfonts.  I’d love to see what you do with this!

by_Leslie

Unlikely Pairs: Gnome Sweet Gnome & Love Grows | Digital Scrapbooking Kit Combinations

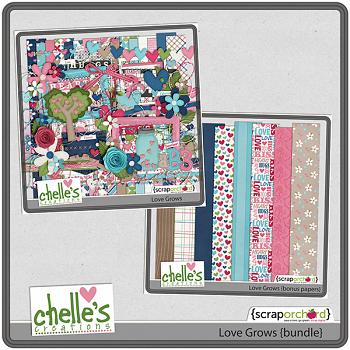
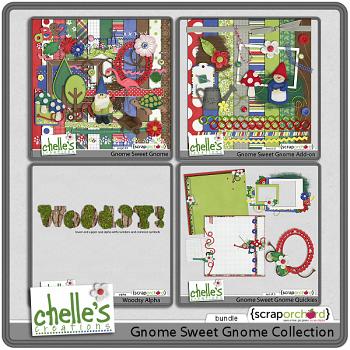
Hello Friends! Have I got some great news for you. Our Creative Team has been working on some new digital scrapbooking layouts combining two of Chelle’s collections. Gnome Sweet Gnome & Love Grows. Let me show you.

xctmprJ0dMExctmpHhLS9S

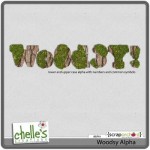
These two kits are so versatile and. I like the nature elements. Unlimited ways to combine them into your upcoming layouts. Chelle’s “Woodsy” alpha is full of delightful whimsy and can make a great impact on your layouts.  Me toes start to curl up when I look at it; I want to sink my toes into that soft & crunchy green grass.

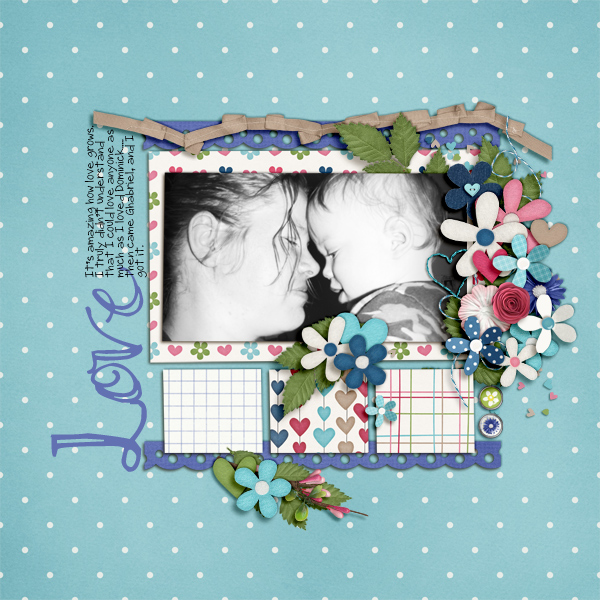
First let me show you what Teri (ta_merkins). Her use of the frame is baby sweet and I love the flower clusters. What a lovely photo of the joy of Mom & Son. The green leaves add some nice dimension to the layout.
Teri (ta_merkins) She used Gnome Sweet Gnome & Love Grows

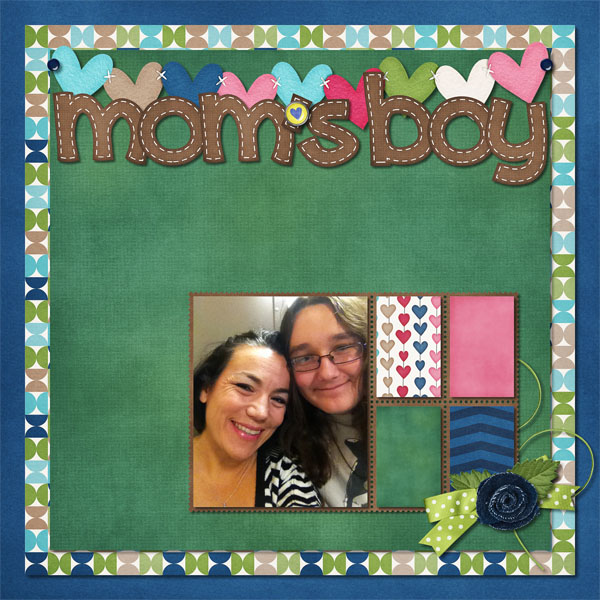
Next we have Lynett (Lynett_Rock). She combined patterns with a flower, leaf and ribbon. While it’s very simplistic, it really creates a great mood as you look at the paper images in the “stamps.” Simple, lovely, and many opportunities to journal.
Lynett (lynett_rock) She used Gnome Sweet Gnome, Love Grows, & Stamp Masks

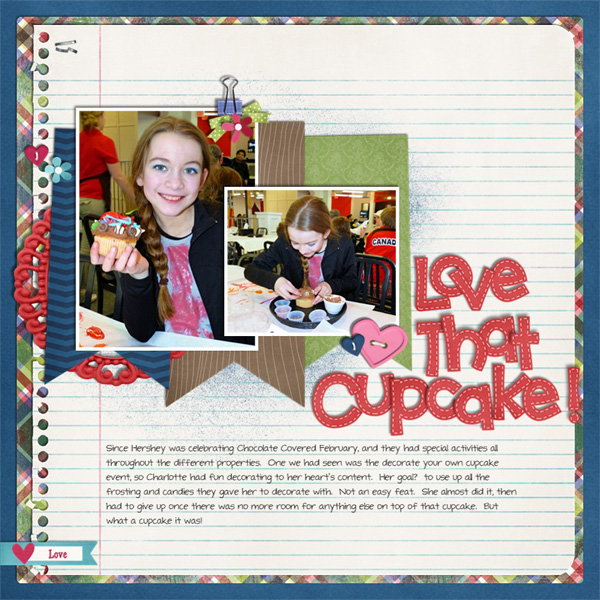
Jan (quiltymom) jumped on board with her layout, “Love That Cupcake!” Her interlocking photos  and title really catch your eye. Her binder clamp cluster is adorable.

Jan (quiltymom) She used Gnome Sweet Gnome & Love Grows

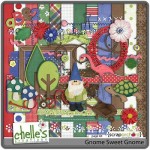
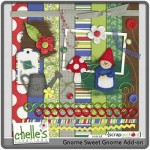
Here are the iamges/links to all the pieces available in the Love Grows & Gnome Sweet Gnome collections.
xctmp0RA2rRxctmpaLmoXwxctmpzsEd12xctmpzW8VGLxctmpIp2c7UxctmpYBnkpZxctmpLAEHZkxctmpW05J6m
Lynett also used Stamp Masks by Chelle.
xctmpXr9znr

I know you’ll have tons of fun combining these fantabulous collections. All those reds, pinks, greens & blues. I bet you have pictures that now scream to be used with these 2 collections.
Hugs!

Scrap Skills: Favorite Tips

Today, I’d like to show you some layouts that Chelle’s team members have made to demonstrate using a favorite tip or trick in Photoshop or Photoshop Elements. There are tons of shortcuts and handy tricks in these powerful programs. If you can incorporate a few, you’ll find you are spending less time getting a digital scrapbooking page put together and more time enjoying your memory keeping.

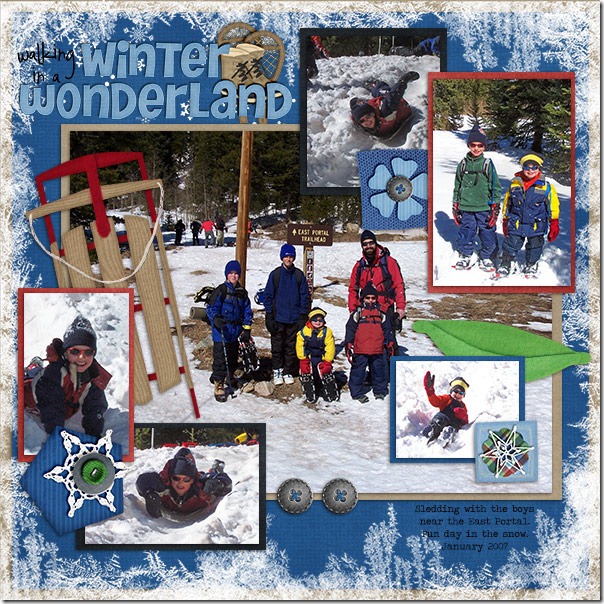
First tip: If you like to mat your photos on a page, Karen has a great tip for you. She makes the perfect mat for a photo by first duplicating the photo (hold down the alt key and drag the photo layer) Then, clip paper to the duplicate on the bottom. Next, select the photo on top and hold alt-shift to constrain proportions and make the picture smaller until just enough of the paper mat is showing on all sides. Center the photo on the mat if necessary. Here’s her page with all her fun pictures matted. Matting the photos is a great way to stack the photos on the page and get more photos included. She used Chelle’s Winter Thrills Bundle. sledding_zps75904596

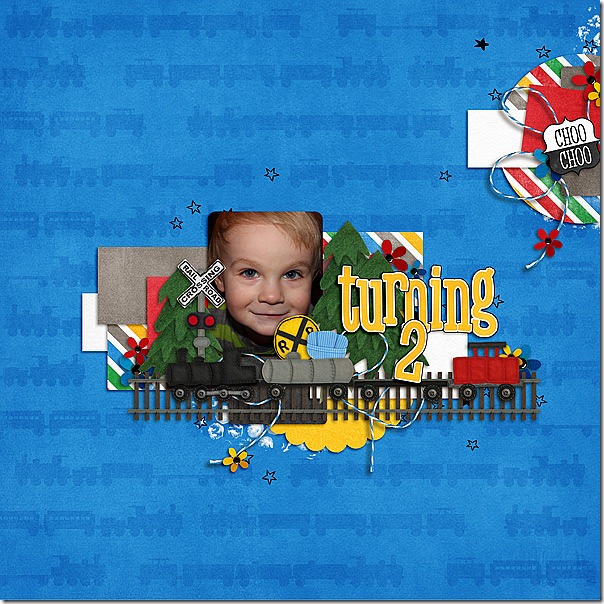
Another great tip is demonstrated by Melissa. She likes to duplicate elements on the page for visual impact. Again, she selects the layer to be duplicated and holds down the alt key while dragging on the layer to create a duplicate. Then she can click on the new element on the page and drag it to a new position. This duplicating action can also be accomplished by selecting the layer and typing the keyboard shortcut <crtl>J.  This is a lot faster than finding the element in the project bin and dragging it onto the page. Here you can see Melissa duplicated the evergreen trees from the Choo Choo Bundle on her page in a fraction of the time it would have taken her to add each tree individually. Turning-2

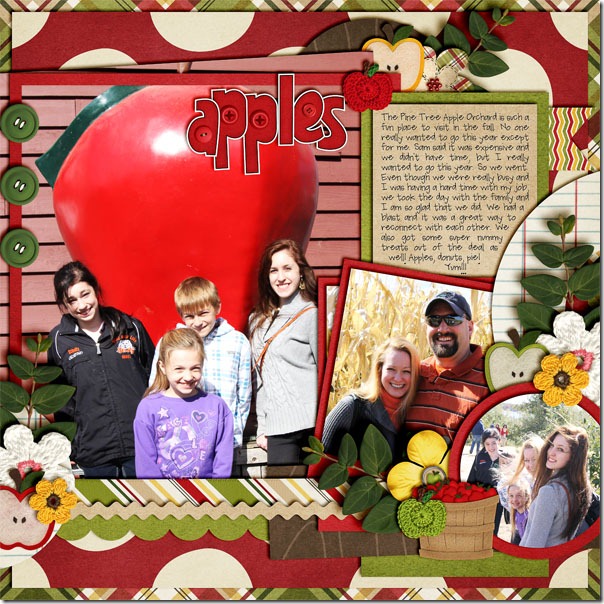
Another great tip after you’ve duplicated elements is to use the align and distribute buttons to locate your duplicates on the page. JennS made a cute page about a family trip to the apple orchard using Chelle’s Apple of My Eye Bundle. She duplicated the green buttons, roughly placed them on the page, and then used the align and distribute button to place them in a vertical line, evenly spaced on the left side of the page. apples

Finally, Jenn (jk703) told me that she has a favorite way to preview fonts on her page. Have the Type Tool selected. Click on your journaling layer, and then highlight the text that you’ve already typed out. Next, click on the Character Menu, and locate the font drop down menu. Click inside, where it says the name of the font. Then use your arrow keys and scroll through your fonts slowly. Your journaling will change every time you press the arrow key up or down. So easy to preview! I LOVE this tip!

I hope you’ve been inspired to try something new. I can’t wait to see your pages in the gallery at Scrap Orchard! Be sure to tag your pages with #chelle if you use any of Chelle’s products – I would love to see them!

by_Cheryl