Hello everyone! Hope you are enjoying September already! Whenever the seasons change, I always see new signatures (aka siggy) popping up in the forums! It is always a reminder to grab some pre-made ones or get cracking on a new one for myself! So, today I’ve got some tips today on how to scrap a siggy, and save it for the forums. It’s a bit photo heavy, so let’s get to it! For my siggy example, I used Chelle’s wonderful Family Tree – it had just the colors I wanted.
When I usually scrap siggys, I scrap like I regularly do for a cluster on my page. I do this so I am not re-sizing to an extremely tiny size. Another reason to scrap large is so you can see your shadows and how they will look. I know the first time I made a siggy, I made my canvas the size that my signature had to be – I think it was 400 x 250. It was hard to scrap for that size!
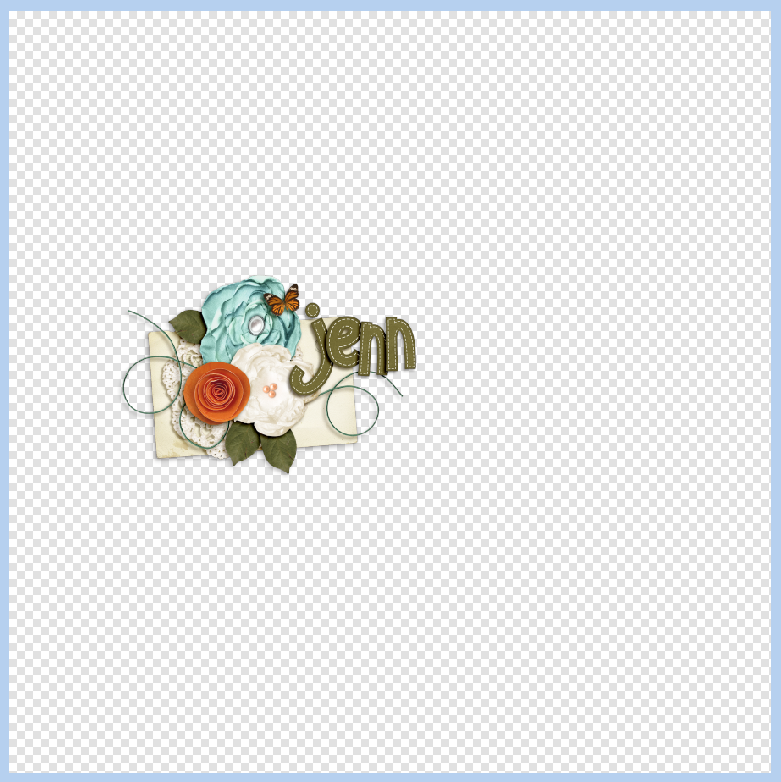
OK… Once my cluster is complete, I add my name last. Here is what I would see.
From the Tools, I’m going to choose the Crop Tool. It is the one that looks like a box. After this tool is chosen, I crop to just outside my cluster. Make sure not to cut anything off, especially splatters or paint! ![]()
Here is what my cropped signature looks like:
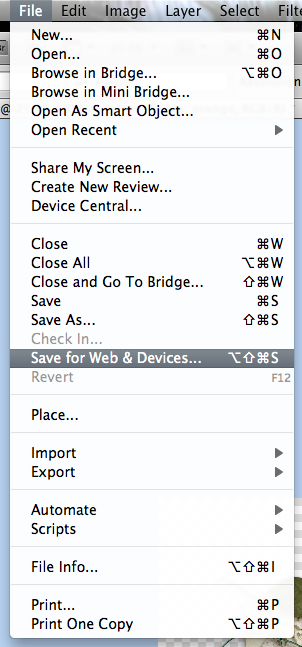
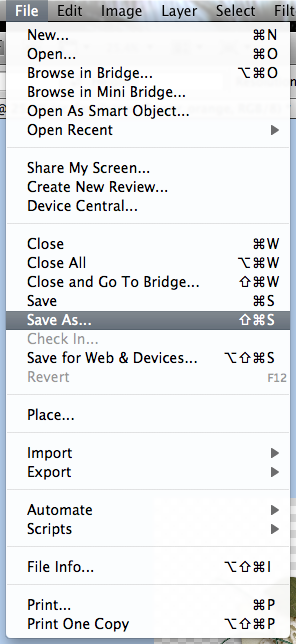
Next, I’m going to save it so I can upload and use it in forum settings. First, click on File > Save for Web and Devices:
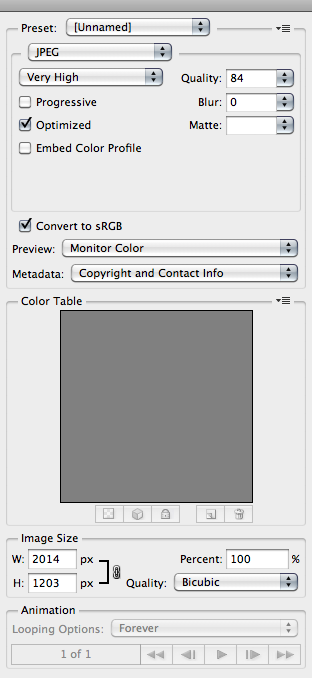
Next, a pop up screen will open. Toward the left of this screen there is a lot of information – some important. You can see that my signature is approximately 2014 x 1203 in pixel size, and my image right now is a JPEG, with a high quality. This is way bigger than any forum would allow! First… here is what you are looking at:
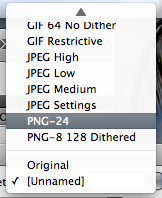
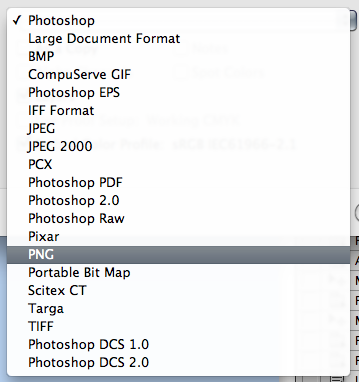
For signatures, you would like to have a transparent background. This is not important, but based more on what you prefer and what you find pleasing. If you have a transparent background, your signature will look just like what you see on the checkered box above. If you prefer JPEG, your image will have a white box where the grey and white checker box pattern is. Purely preference. I decided to choose PNG from the presets menu.
Next, I’m going to change my pixel size. The forums you post in should advise you of the signature size you are allowed in their guidelines – each one is different. For this example, I decided to make my signature 450 x 269. The 269 came about by itself. The lock feature will keep the sizing intact. See the pixel sizes and lock feature here:
Now, you are ready to save your file. Click on File > Save As and save as you wish. Make sure to have the file extension as you want – PNG, JPEG, etc.
Here is my final signature (I changed the size to 400). All I would add would be the teams that I am creative for, as well as my own blog. Hope that helped.
Here are a couple signatures that the CT made. Jennifer (jmljensen) made this awesome and bright siggy!
Ronnie (ronnie_texas) made the prettiest signature:
Have a great week and I’ll see you again at the end of the month! Thanks for stopping by!









 Hi! I'm Chelle: a 40 something mom of 7. My husband & I live in a rural community in the rocky mountains with our 4 children still at home. In the winters we enjoy sledding & snuggling by the fire. I the cool fall evenings we love relaxing around the campfire & meeting friends at the county fair. Admiring the stars


