Hello Chelle’s friends! I hope your Easter was wonderful and you’ve got lots of new photos to include in your digital scrapbooking projects. Today, I want to show you a tool that will speed up your scrapbooking process so you can get those photos onto pages for everyone to enjoy. Chelle has a collection of shadow styles for sale in the market that can save tons of time, if you’ve been making custom shadows, and increase the realistic look of your pages, if you’ve been using the standard drop shadow styles in PS or PSE. Me & My Shadow is a collection of styles for all different types of elements in 3 popular shadow directions: Lower Right (LR) (120 degrees), Lower Left (LL) (45 degrees), and Upper Left(UL) (-43 degrees). Start a page with any of Chelle’s quickies, and then use the Upper Left setting for any additional elements on your page to match her pre-shadowed styles. Also, she has a video on her YouTube channel to show you how easy it is to use the shadow styles.
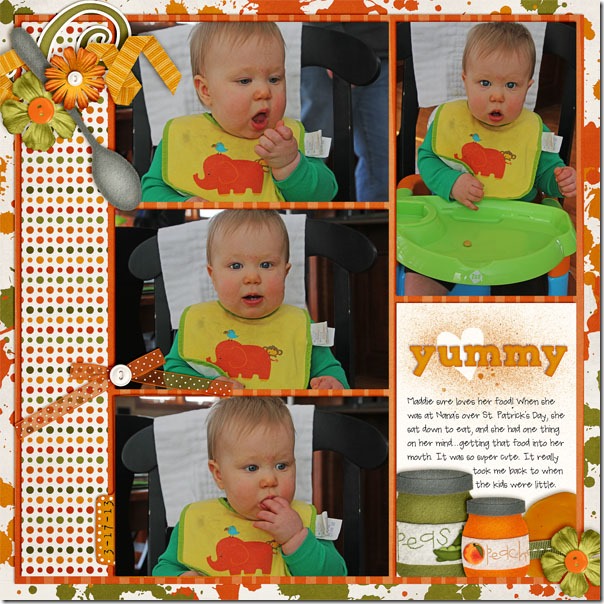
Let me show you some sample pages using Me & My Shadow. First, Jenn made a page for us using Chelle’s First Foods kit and the adorable photos of Maddie easting in her high chair. She used the UL paper shadow style for all the photos and paper mats on the page, the felt/chipboard style for the felt pieces, the small flower for the flowers, and the curly ribbon/string for the ribbon on the left. In addition, she used vellum style for the bow that has a slight transparent appearance.
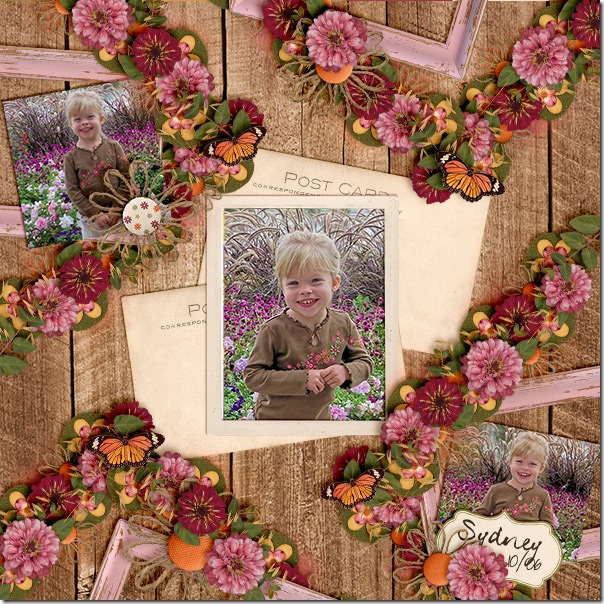
Next, Karen has a page that beautifully illustrates how to do lots of flower clusters to make them look realistic. She used Indian Summer – a perfect kit for her photos. Look closely at how the flower clusters on the page are a perfect match to the flowers on her little girl’s blouse. You can see she has used the thin paper style shadow for her photos and the post card elements from the kit. The flowers, leaves, and butterflies have larger thicker shadows by using the flower style, while the felt elements on the bottom layer of the clusters have the felt/chipboard style applied. 
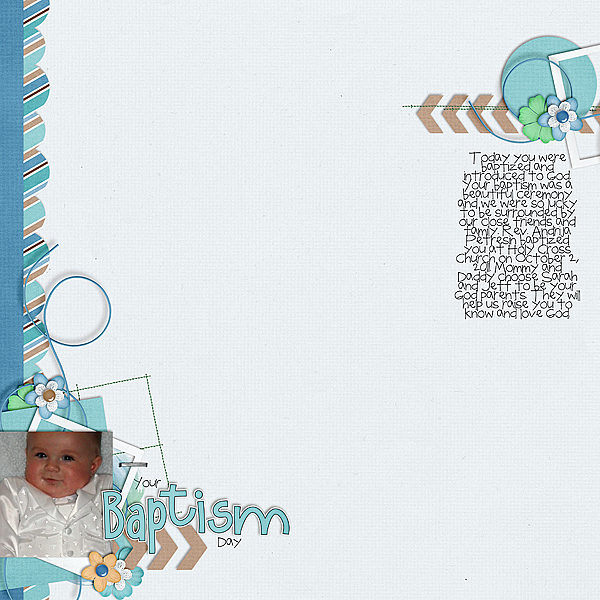
Melissa has made a page with a lot more white space, and yet the shadowing is just as important as a page filled with clusters. Notice how she used the string/ curling ribbon shadow style for her blue strings, and they seem to pop off the page. Also, she has the tiniest stitches perfectly placed on the page, and she has used the staples/ stitching layer style for those as well as for that little staple attaching the frame to the page.

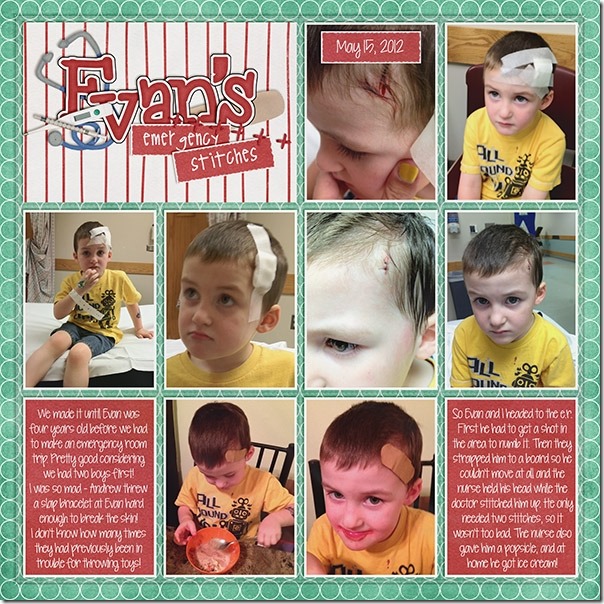
Finally, Brandy has been a guest on Chelle’s team for the past two months, and she has contributed some fabulous pages for us. Today, she has made a page to illustrate how to shadow the plastic pocket layer on one of Chelle’s In the Pocket {Small} pages. Here she has documented little Evan’s trip to the emergency room for stitches with lots of photos, and each photo has the paper shadow style applied. She used the acrylic shadow style to give a proper effect to the plastic pocket top layer on the page, and it completes the page with a very realistic look.
Do you own Chelle’s Me & My Shadow? Here’s a closer look at it in the market (the image is linked). Don’t forget, if you’re using any of Chelle’s pre-shadowed quickies, you’ll want to use her Upper Left shadow style from Me & My Shadow. 


